【注】本文译自:[https://www.tutorialspoint.com/spring_boot/spring_boot_bootstrapping.htm](https://www.tutorialspoint.com/spring_boot/spring_boot_bootstrapping.htm)
本文讲解Spring Boot应用如何执行自启( bootstrapping)。
Spring 初始化器(Intializer)
自启Spring Boot应用的一个方式是使用Spring 初始化器(Intializer)。使用Spring初始化器,要访问网页 [www.start.spring.io](https://start.spring.io/) 选择所要用到的 Spring Boot 版本和平台。还要提供运行应用的组(Group)、工件(Artifact ) 和所需的依赖等信息。
下面的截图展示了添加 spring-boot-starter-web 依赖,编写 REST 端点的界面:
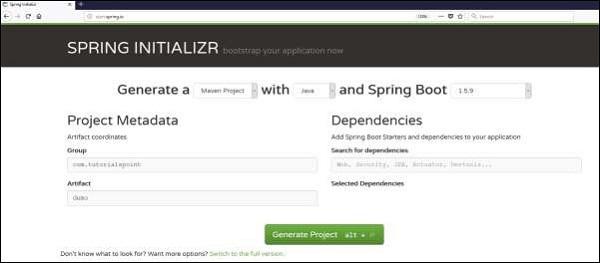
输入组、工件、依赖、构件项目、平台和版本之后,单击 Generate Project 按钮,相应的 zip 文件就会被下载下来并解压到本地目录。
下面讲解如何使用 Maven 和 Gradle。
Maven
在你下载项目、解压文件之后,pom.xml 文件看起来是这个样子的:
<?xml version="1.0" encoding="UTF-8"?><project xmlns="http://maven.apache.org/POM/4.0.0" xmlns:xsi="http://www.w3.org/2001/XMLSchema-instance" xsi:schemaLocation="http://maven.apache.org/POM/4.0.0 http://maven.apache.org/xsd/maven-4.0.0.xsd"> <modelVersion>4.0.0</modelVersion> <groupId>com.tutorialspoint</groupId> <artifactId>demo</artifactId> <version>0.0.1-SNAPSHOT</version> <packaging>jar</packaging> <name>demo</name> <description>Demo project for Spring Boot</description> <parent> <groupId>org.springframework.boot</groupId> <artifactId>spring-boot-starter-parent</artifactId> <version>1.5.8.RELEASE</version> <relativePath /> <!-- lookup parent from repository --> </parent> <properties> <project.build.sourceEncoding>UTF-8</project.build.sourceEncoding> <project.reporting.outputEncoding>UTF-8</project.reporting.outputEncoding> <java.version>1.8</java.version> </properties> <dependencies> <dependency> <groupId>org.springframework.boot</groupId> <artifactId>spring-boot-starter-web</artifactId> </dependency> <dependency> <groupId>org.springframework.boot</groupId> <artifactId>spring-boot-starter-test</artifactId> <scope>test</scope> </dependency> </dependencies> <build> <plugins> <plugin> <groupId>org.springframework.boot</groupId> <artifactId>spring-boot-maven-plugin</artifactId> </plugin> </plugins> </build></project>
Gradle
下载项目、解压文件后,build.gradle 文件看起来是这个样子的:
buildscript { ext { springBootVersion = '1.5.8.RELEASE' } repositories { mavenCentral() } dependencies { classpath("org.springframework.boot:spring-boot-gradle-plugin:${springBootVersion}") }}apply plugin: 'java'apply plugin: 'eclipse'apply plugin: 'org.springframework.boot'group = 'com.tutorialspoint'version = '0.0.1-SNAPSHOT'sourceCompatibility = 1.8repositories { mavenCentral()}dependencies { compile('org.springframework.boot:spring-boot-starter-web') testCompile('org.springframework.boot:spring-boot-starter-test')}
类路径依赖
Spring Boot提供了一系列 Starters 会加到你的类路径中。例如:写一个 Rest 端点,你要在类路径中加上 spring-boot-starter-web 依赖。代码如下:
Maven 依赖
<dependencies> <dependency> <groupId>org.springframework.boot</groupId> <artifactId>spring-boot-starter-web</artifactId> </dependency></dependencies>
Gradle 依赖
dependencies { compile('org.springframework.boot:spring-boot-starter-web')}
主方法
在 Spring Boot 应用类中应当加入主方法。这个类要加上 @SpringBootApplication 注解。这是spring boot 应用启动的入口点。你可以在默认包的 src/java/main 目录下找到主类文件。
在这个例子中,主类文件位于 src/java/main 目录下,默认包名是 **com.tutorialspoint.demo**。代码如下:
package com.tutorialspoint.demo;import org.springframework.boot.SpringApplication;import org.springframework.boot.autoconfigure.SpringBootApplication;@SpringBootApplicationpublic class DemoApplication { public static void main(String[] args) { SpringApplication.run(DemoApplication.class, args); }}
写一个 Rest 端点(Endpoint)
要在Spring Boot 应用的主类自身的文件中写一个简单的 Hello World Rest 端点,要做下面几步:
-
首先,在类上面加上 @RestController 注解。
-
现在,通过 @RequestMapping 注解标明请求 URI 方法。
-
接下来,请求 URI 方法应当返回 Hello World 字符串.
现在,主 Spring Boot Application 类文件看起来是这个样子:
package com.tutorialspoint.demo;import org.springframework.boot.SpringApplication;import org.springframework.boot.autoconfigure.SpringBootApplication;import org.springframework.web.bind.annotation.RequestMapping;import org.springframework.web.bind.annotation.RestController;@SpringBootApplication@RestControllerpublic class DemoApplication { public static void main(String[] args) { SpringApplication.run(DemoApplication.class, args); } @RequestMapping(value = "/") public String hello() { return "Hello World"; }}
创建可执行的 JAR
让我们在命令窗口用Maven和Gradle命令创建一个可执行的 JAR 文件来运行 Spring Boot 应用,如下所示:
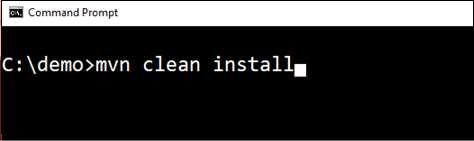
使用 Maven 命令 mvn clean install,如下所示:
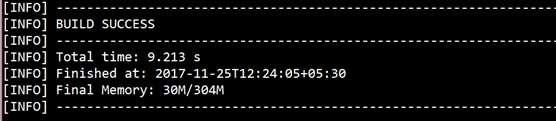
执行命令后,你会看到如下所示的 BUILD SUCCESS 的消息:
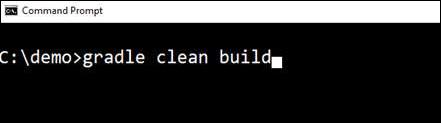
使用 Gradle 命令 gradle clean build,如下所示:
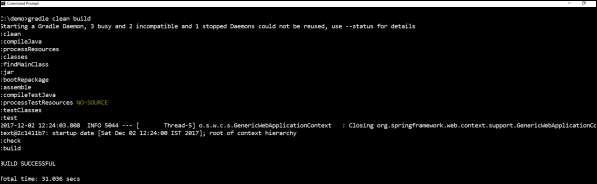
执行命令后,你会看到 BUILD SUCCESSFUL 的消息,如下所示:
以Java方式运行 Hello World
你可以在下面的目录下找到所创建的 JAR 文件。
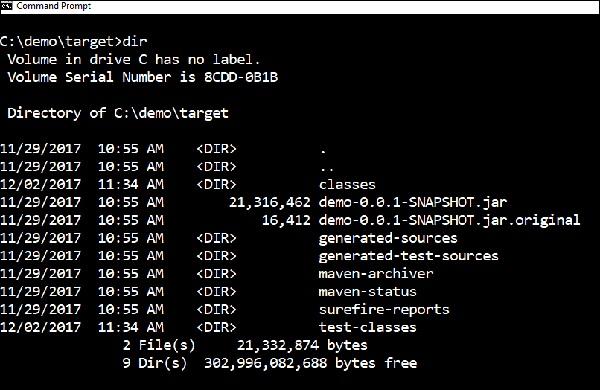
对于 Maven,你可以在 target 目录下找到 JAR 文件,如下所示:
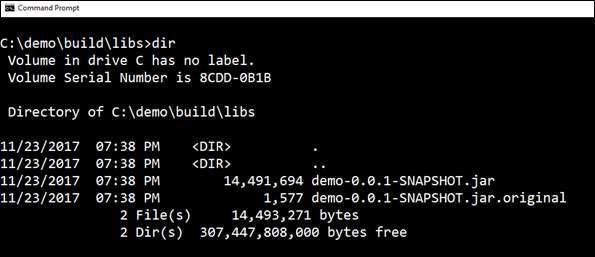
对于Gradle,你可以在 build/libs目录下找到 JAR 文件,如下所示:
下面,输入 java –jar 命令运行 JAR 文件。对于上面的示例,JAR 文件名是 demo-0.0.1-SNAPSHOT.jar

运行 jar 文件,你会在控制台窗口看到相应的输出,如下所示:

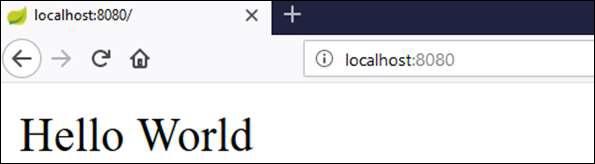
现在,看一下控制台,Tomcat 启动了,端口是 8080 (http)。现在打开 web 浏览器敲入 URL [http://localhost:8080/](http://localhost:8080/) 会看到下面的输出: