俗话有说:“磨刀不误砍柴功。”
俗话又说:“养兵千日,用兵一时。”
俗话还说:“台上十分钟,台下十年功。”
写代码也是这样。
利用平时悠闲的时间多做一些积累。
项目紧急需要赶工期的时候,就可以高效开发,
为什么会有10倍效率程序员,
是因为他们平时比别人少玩10倍,多学10倍。

1入门:flutter create xxx
初学者往往都会从这行命令开始。
$flutter create xxx
你将得到这样的工程:
xxx
├── README.md
├── android
│   ├── app
│   │   ├── build.gradle
│   │   └── src
│   │       ├── debug
│   │       │   └── AndroidManifest.xml
│   │       ├── main
│   │       │   ├── AndroidManifest.xml
│   │       │   ├── java
│   │       │   │   └── io
│   │       │   │       └── flutter
│   │       │   │           └── plugins
│   │       │   │               └── GeneratedPluginRegistrant.java
│   │       │   ├── kotlin
│   │       │   │   └── com
│   │       │   │       └── example
│   │       │   │           └── xxx
│   │       │   │               └── MainActivity.kt
│   │       │   └── res
│   │       │       └── values
│   │       │           └── styles.xml
│   │       └── profile
│   │           └── AndroidManifest.xml
│   ├── build.gradle
│   ├── gradle
│   │   └── wrapper
│   │       ├── gradle-wrapper.jar
│   │       └── gradle-wrapper.properties
│   ├── gradle.properties
│   ├── gradlew
│   ├── gradlew.bat
│   ├── local.properties
│   ├── settings.gradle
│   └── xxx_android.iml
├── ios
│   ├── Flutter
│   └── ...
├── lib
│   └── main.dart
├── pubspec.lock
├── pubspec.yaml
├── test
│   └── widget_test.dart
└── xxx.iml
这样创建工程简单快速,能快速的开始学习flutter。
如果你的目标是创建一个正式的项目而不是“Hello world”, 上面的命令就有些不够用了。
2基础:一个可发布的应用至少要修改这些属性
- 应用Id
- 应用名称
- 应用图标
指定应用Id
想要把你的应用发布到应用商店,你不得不指定你的应用ID,并尽可能保证你的应用ID的唯一性。
默认的Id将会是com.example.xxx,提交一个id为com.example.xxx的应用显然是容易冲突的。
android的源文件默认被放在这个目录。
src
└── com
    └── example
        └── xxx
            └── MainActivity.kt
这显然不容易记忆。
你当然可以先'flutter create xxx',
然后再手工修改android和ios工程下面的appId,
然后重命名你的文件目录。
最后修改哪些相关的引用路径。
但那样即费时、费力又容易出错。
明智的方法是通过--org指定你的包名,你指定的org将取代com.example。
方法如下
$ flutter create --org com.caojianfeng abc
得到的工程如下:
abc
├── README.md
├── abc.iml
├── android
│   ├── abc_android.iml
│   ├── app
│   │   ├── build.gradle
│   │   └── src
│   │       ├── ...
│   │       ├── main
│   │       │   ├── ...
│   │       │   ├── kotlin
│   │       │   │   └── com
│   │       │   │       └── caojianfeng
│   │       │   │           └── abc
│   │       │   │               └── MainActivity.kt
│   │       │   └── res
│   │       │       └── ...
│   │       └── profile
│   │           └── AndroidManifest.xml
│   ├── build.gradle
│   ├── gradle
│   │   └── wrapper
│   │       ├── gradle-wrapper.jar
│   │       └── gradle-wrapper.properties
│   ├── gradle.properties
│   ├── gradlew
│   ├── gradlew.bat
│   ├── local.properties
│   └── settings.gradle
├── ios
│   └── ...
├── lib
│   └── main.dart
├── pubspec.lock
├── pubspec.yaml
└── test
    └── widget_test.dart
查看AndroidManifest.xml中的package字段
<manifest xmlns:android="http://schemas.android.com/apk/res/android"
    package="com.caojianfeng.abc">
    <!--
        ...
    -->
</manifest>
查看ios/prooject.pbxproj中的PRODUCT_BUNDLE_IDENTIFIER字段
        ...
		LIBRARY_SEARCH_PATHS = (
					"$(inherited)",
					"$(PROJECT_DIR)/Flutter",
				);
				PRODUCT_BUNDLE_IDENTIFIER = com.caojianfeng.abc;
				PRODUCT_NAME = "$(TARGET_NAME)";
	    ...
appId都是我们想要的'com.caojianfeng.abc'。
修改应用显示名称
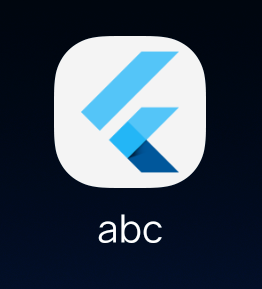
我们往往不希望用户看到项目名称而是产品名称,例如上面的“abc”。
手工修改显示名称不算麻烦,直接改两个字符串就OK了
下面的修改可以将用户看到的'abc'改成"入门例子"
安卓
android/app/src/main/AndroidManifest.xml
diff --git a/android/app/src/main/AndroidManifest.xml b/android/app/src/main/AndroidManifest.xml
index 0bc9e20..cb9d99a 100644
--- a/android/app/src/main/AndroidManifest.xml
+++ b/android/app/src/main/AndroidManifest.xml
@@ -7,7 +7,7 @@
          FlutterApplication and put your custom class here. -->
     <application
         android:name="io.flutter.app.FlutterApplication"
-        android:label="abc"
+        android:label="入门例子"
         android:icon="@mipmap/ic_launcher">
         <activity
             android:name=".MainActivity"
iOS
ios/Runner/Info.plist
diff --git a/ios/Runner/Info.plist b/ios/Runner/Info.plist
index 4adbd91..4d6f135 100644
--- a/ios/Runner/Info.plist
+++ b/ios/Runner/Info.plist
@@ -11,7 +11,7 @@
        <key>CFBundleInfoDictionaryVersion</key>
        <string>6.0</string>
        <key>CFBundleName</key>
-       <string>abc</string>
+       <string>入门例子</string>
        <key>CFBundlePackageType</key>
        <string>APPL</string>
        <key>CFBundleShortVersionString</key>
| 修改前 | 修改后 |
|---|---|
 |
 |
修改应用图标
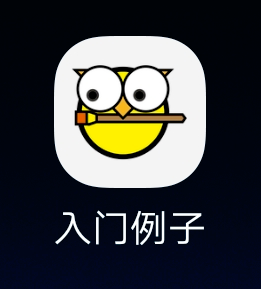
接下来进入项目目录,运行flutter run。看到项目运行起来的时候发现,图标还是flutter自带的。
新创建的工程中应用图标这这样几个文件中。
abc
├── ...
├── android
│   ├── app
│   │   ├── build.gradle
│   │   └── src
│   │       ├── main
│   │       │   ├── ...
│   │       │   └── res
│   │       │       ├── drawable
│   │       │       │   └── launch_background.xml
│   │       │       ├── mipmap-hdpi
│   │       │       │   └── ic_launcher.png
│   │       │       ├── mipmap-mdpi
│   │       │       │   └── ic_launcher.png
│   │       │       ├── mipmap-xhdpi
│   │       │       │   └── ic_launcher.png
│   │       │       ├── mipmap-xxhdpi
│   │       │       │   └── ic_launcher.png
│   │       │       ├── mipmap-xxxhdpi
│   │       │       │   └── ic_launcher.png
│   │       │       └── values
│   │       │           └── styles.xml
│   │       └── ...
│   └── ...
├── ios
│   ├── ...
│   ├── Runner
│   │   ├── Assets.xcassets
│   │   │   ├── AppIcon.appiconset
│   │   │   │   ├── Contents.json
│   │   │   │   ├── Icon-App-1024x1024@1x.png
│   │   │   │   ├── Icon-App-20x20@1x.png
│   │   │   │   ├── Icon-App-20x20@2x.png
│   │   │   │   ├── Icon-App-20x20@3x.png
│   │   │   │   ├── Icon-App-29x29@1x.png
│   │   │   │   ├── Icon-App-29x29@2x.png
│   │   │   │   ├── Icon-App-29x29@3x.png
│   │   │   │   ├── Icon-App-40x40@1x.png
│   │   │   │   ├── Icon-App-40x40@2x.png
│   │   │   │   ├── Icon-App-40x40@3x.png
│   │   │   │   ├── Icon-App-60x60@2x.png
│   │   │   │   ├── Icon-App-60x60@3x.png
│   │   │   │   ├── Icon-App-76x76@1x.png
│   │   │   │   ├── Icon-App-76x76@2x.png
│   │   │   │   └── Icon-App-83.5x83.5@2x.png
│   │   │   └── LaunchImage.imageset
│   │   │       ├── Contents.json
│   │   │       ├── LaunchImage.png
│   │   │       ├── LaunchImage@2x.png
│   │   │       ├── LaunchImage@3x.png
│   │   └── ...
兄弟不要发愁,
此时你可以用一行命令,更新flutter工程下所有图标
| 修改前 | 修改后 |
|---|---|
 |
 |
3扩展:指定项目类型,指定项目模版
创建工程的时候,
项目模版
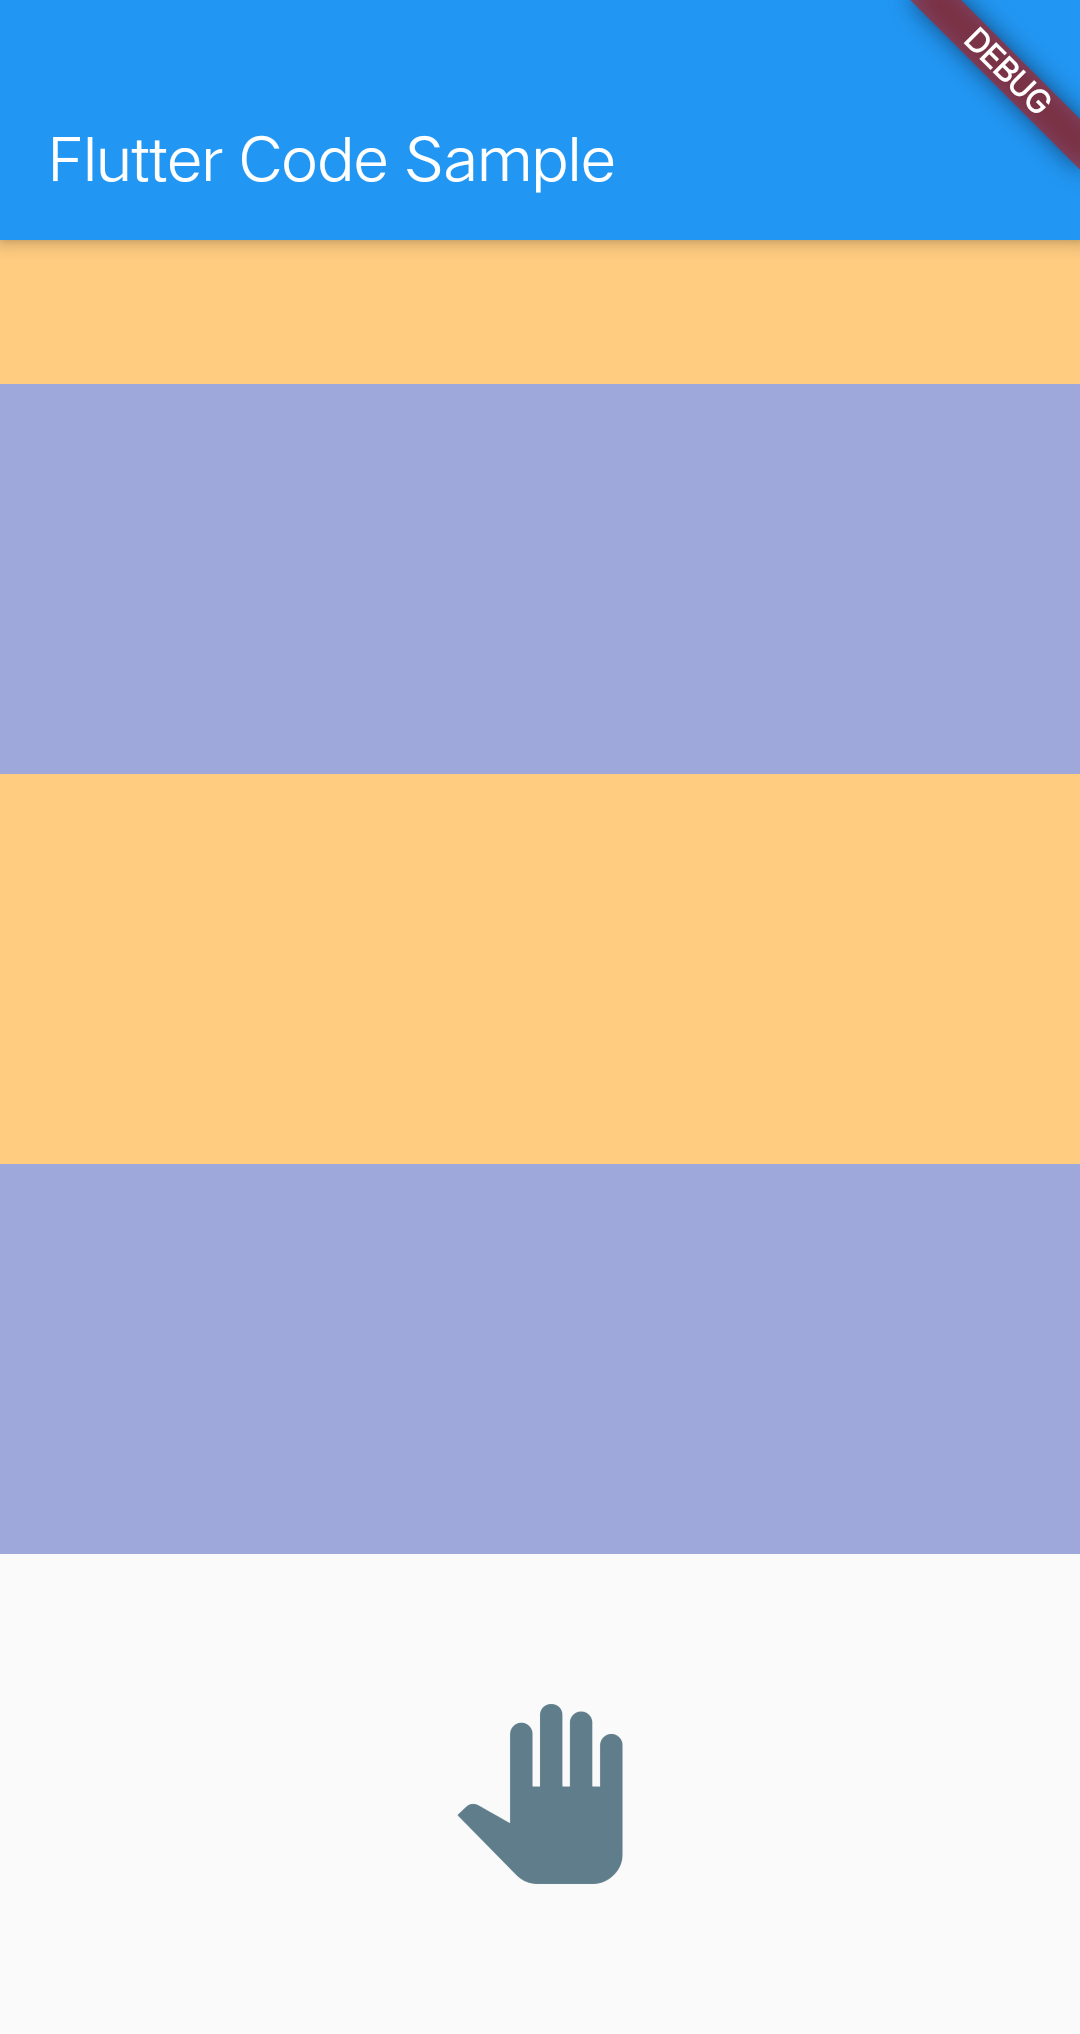
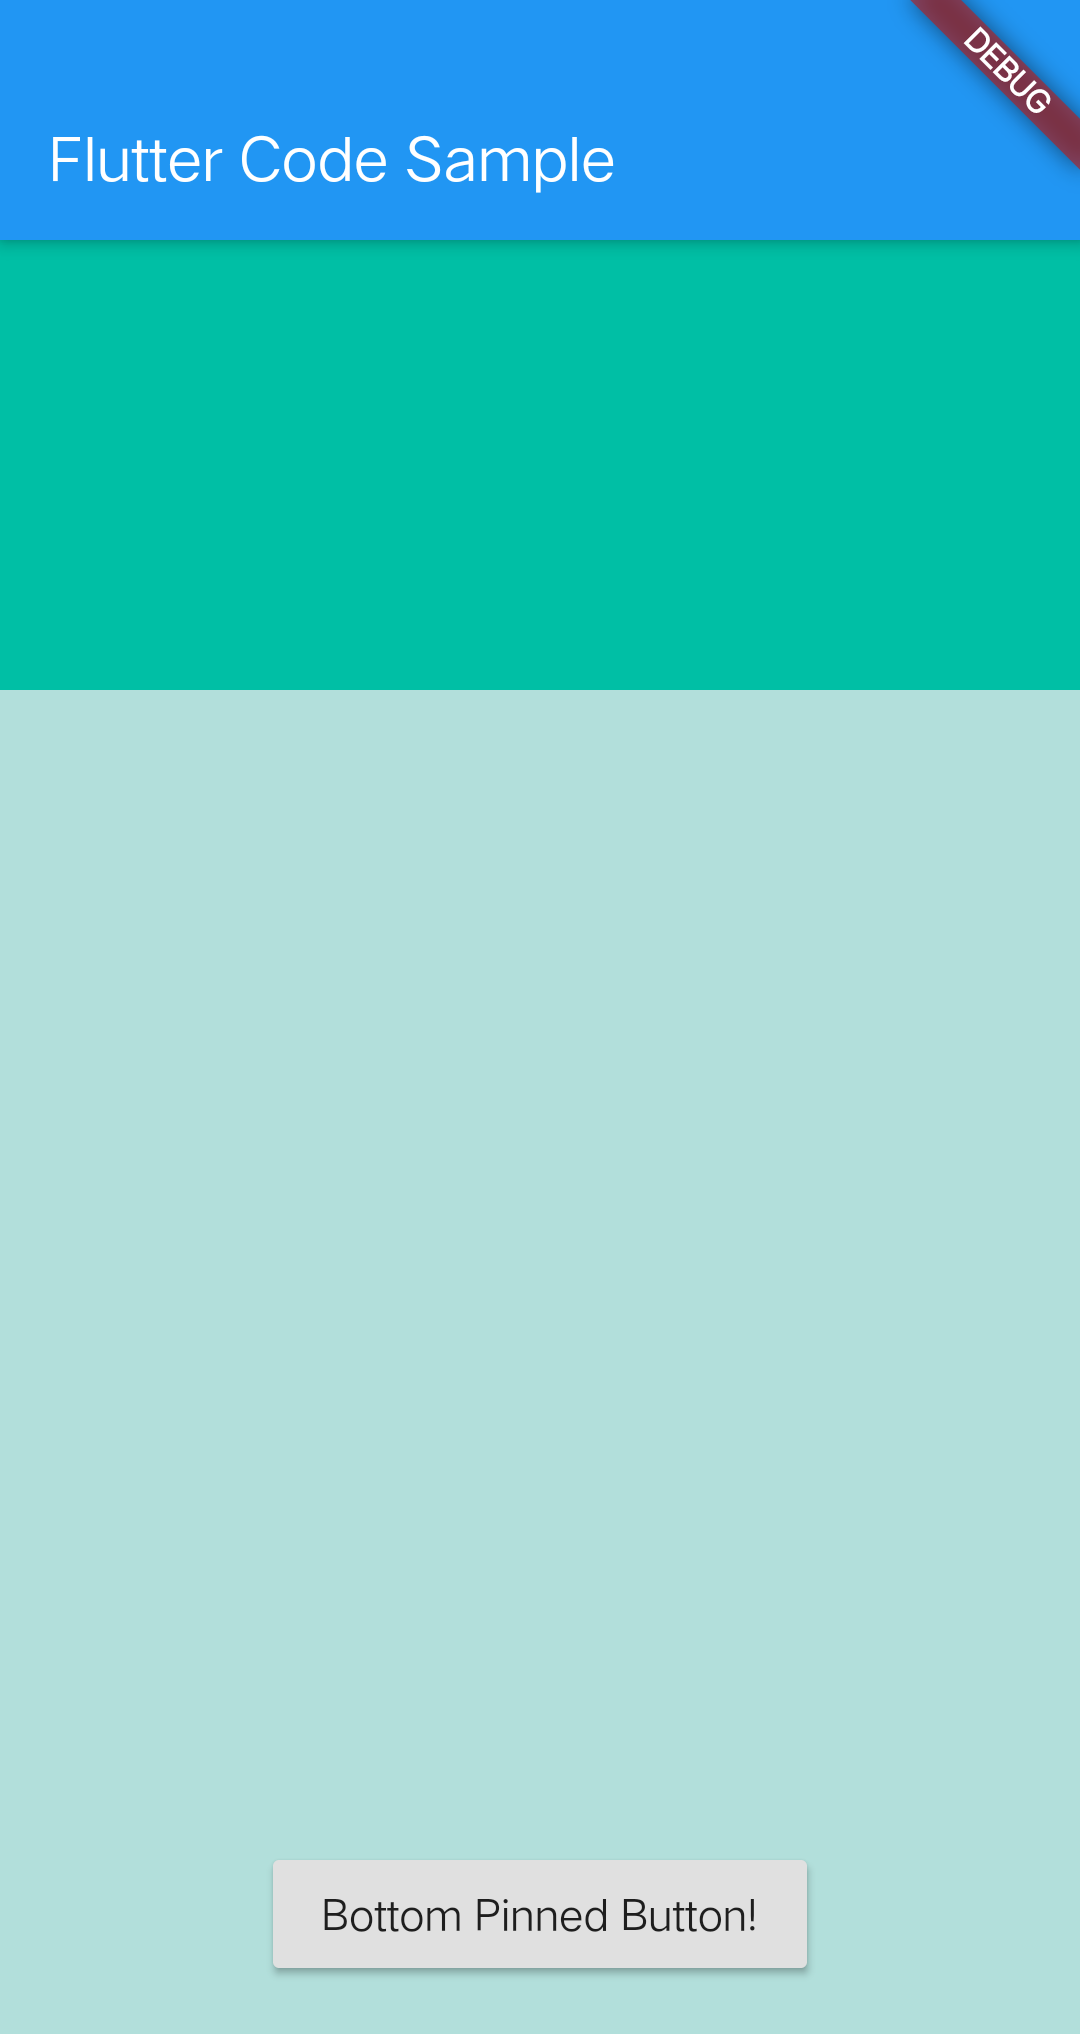
你可以使用--sample指定项目模版。
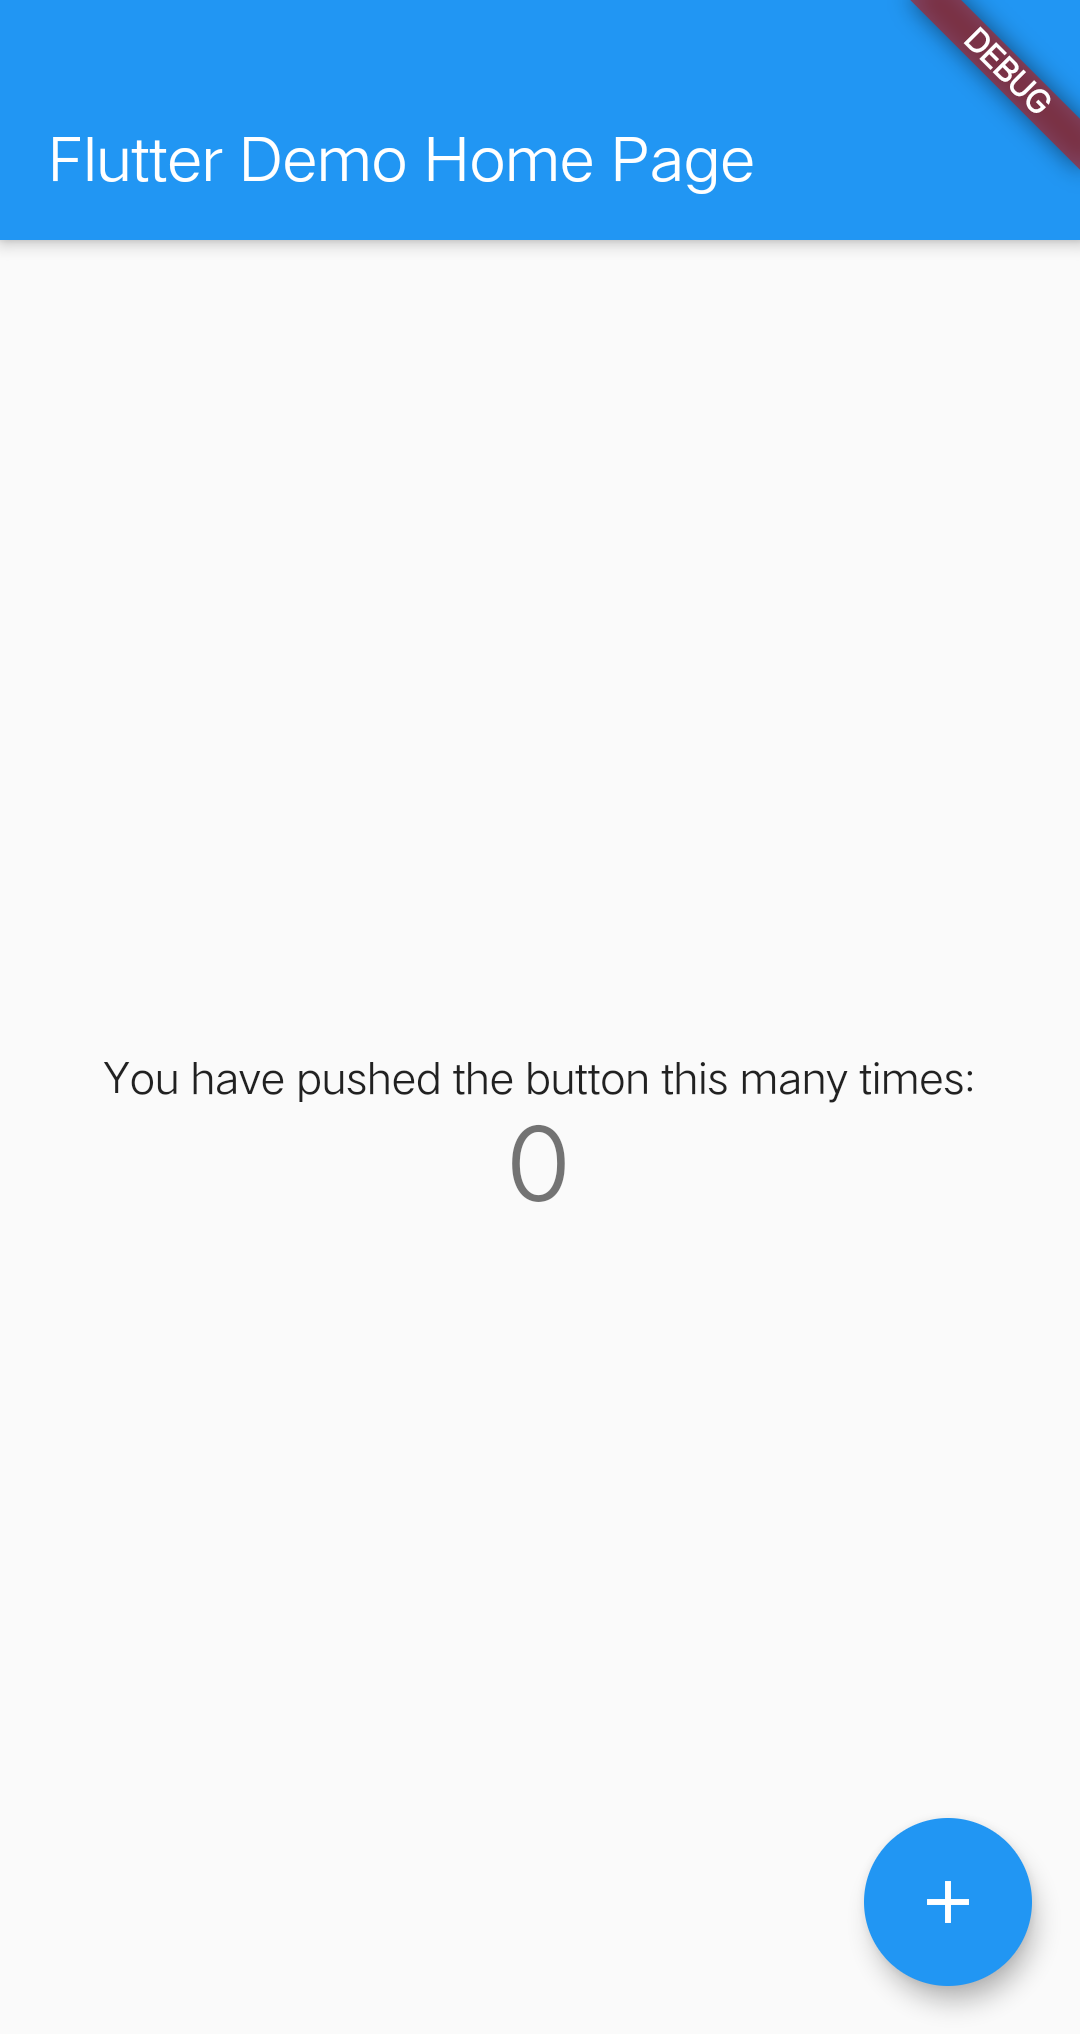
默认的模版是一个计数器,如图:
你也可以在创建的时候改成把它改成其他样式,例如:
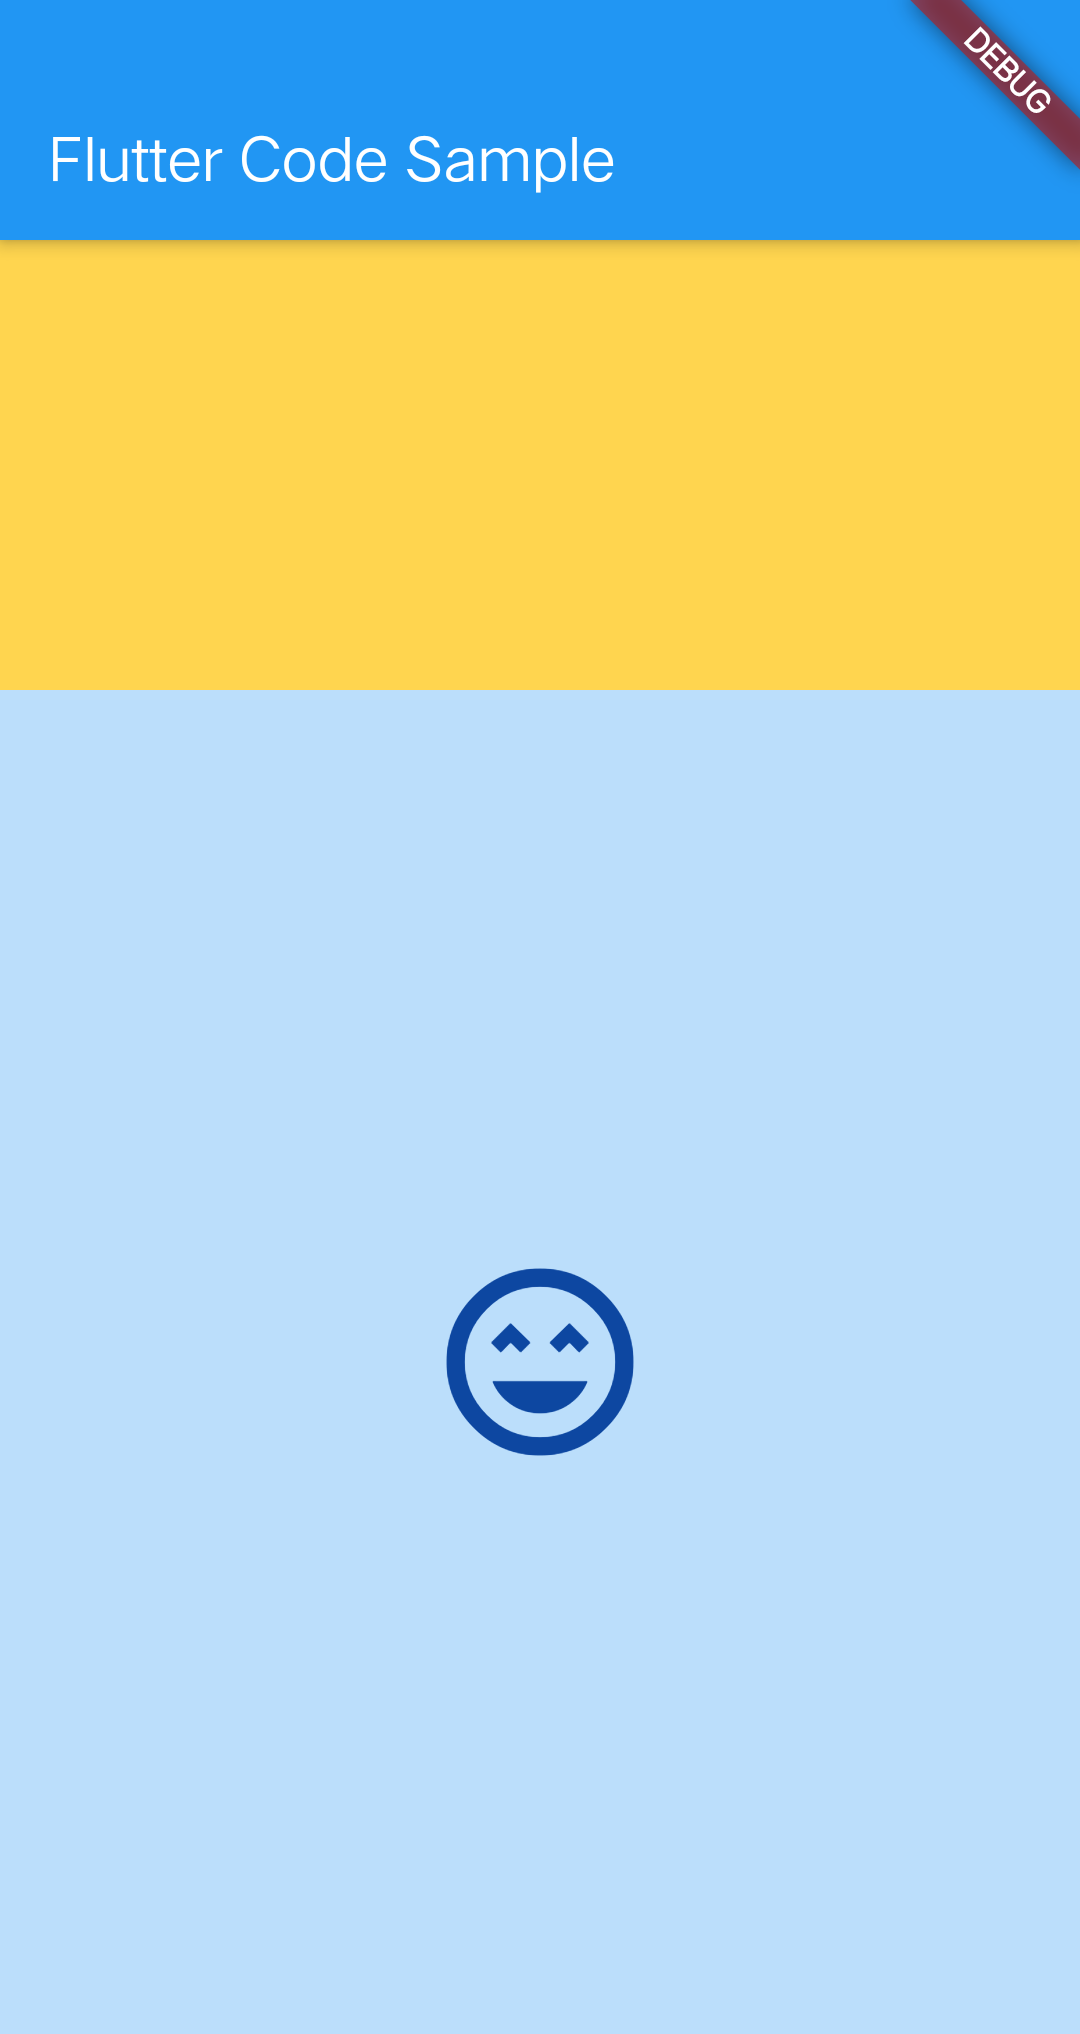
$flutter create --sample widgets.SliverFillRemaining.1 wigsfr1
还有其他的一些例子可供使用:
| id | widgets.Navigator.1 | widgets.SliverFillRemaining.1 | widgets.SliverFillRemaining.2 | widgets.SliverFillRemaining.3 | widgets.SliverFillRemaining.4 | ... |
|---|---|---|---|---|---|---|
| 截图 |  |
 |
 |
 |
 |
... |
想要知道都有哪些例子可以用可以使用 --list-samples:
flutter create --list-samples list.json
这样你会得到一个长长的列表
[
    {
        "sourcePath": "lib/src/widgets/sliver.dart",
        "sourceLine": 1680,
        "id": "widgets.SliverFillRemaining.4",
        "serial": "4",
        "package": "flutter",
        "library": "widgets",
        "element": "SliverFillRemaining",
        "file": "widgets.SliverFillRemaining.4.dart",
        "description": "In this sample the [SliverFillRemaining]'s child stretches to fill the\noverscroll area when [fillOverscroll] is true. This sample also features a\nbutton that is pinned to the bottom of the sliver, regardless of size or\noverscroll behavior. Try switching [fillOverscroll] to see the difference."
    },
    {
        "sourcePath": "lib/src/material/scaffold.dart",
        "sourceLine": 1310,
        "id": "material.Scaffold.of.2",
        "serial": "2",
        "package": "flutter",
        "library": "material",
        "element": "Scaffold.of",
        "file": "material.Scaffold.of.2.dart",
        "description": "When the [Scaffold] is actually created in the same `build` function, the\n`context` argument to the `build` function can't be used to find the\n[Scaffold] (since it's \"above\" the widget being returned in the widget\ntree). In such cases, the following technique with a [Builder] can be used\nto provide a new scope with a [BuildContext] that is \"under\" the\n[Scaffold]:"
    },
   {"..."}
]
如果你觉得description说的是你想要的。你可以将对应ID传给--sample。
项目类型
也可以使用--template指定项目类型。
默认的项目模类型就是最常用的app。
你还可以创建dart包和原生插件,
或者将一个Flutter模块添加到现有的Android或iOS应用程序
4自学:玩转flutter create 很容易
官方帮助
只要我们想学,我们随时可以很方便的查阅官方帮助文档:
终端中输入命令
$ flutter create --help
输出如下(中文当然是我手工翻译的):
Create a new Flutter project.
创建一个新的Flutter工程

If run on a project that already exists, this will repair the project, recreating any files that are missing.
如果在已经存在的项目上运行,这将修复项目,重新创建任何丢失的文件。

Usage: flutter create <output directory>
用法:flutter create <输出目录>

-h, --help                     Print this usage information.
    --[no-]pub                 Whether to run "flutter pub get" after the project has been created.
                               (defaults to on)
                               项目创建后是否运行“flutter pub get”。
                               (默认运行)
    --[no-]offline             When "flutter pub get" is run by the create command, this indicates whether to run it in offline mode or not. In offline mode, it will need to have all dependencies already available in the pub cache to succeed.
                               当经由创建命令运行“flutter pub get”时,是否在脱机模式下运行。在脱机模式下,需要pub缓存下面已经缓存了所有依赖。
    --[no-]with-driver-test    Also add a flutter_driver dependency and generate a sample 'flutter drive' test.
                               添加flutter_driver依赖项,并生成一个示例“flutter driver依赖项”测试。

-t, --template=<type>          Specify the type of project to create.
                               指定要创建的项目类型。

          [app]                (default) Generate a Flutter application.
                               (默认)生成一个Flutter应用程序。

          [module]             Generate a project to add a Flutter module to an existing Android or iOS application.
                               生成一个项目,将一个Flutter模块添加到现有的Android或iOS应用程序。

          [package]            Generate a shareable Flutter project containing modular Dart code.
                               生成一个可复用的Dart包。

          [plugin]             Generate a shareable Flutter project containing an API in Dart code with a platform-specific implementation for Android, for iOS code, or for both.
                               生成一个可复用的插件包,包括Dart代码及其对应的原生系统的相关的实现,这里的原生系统可以是iOS、android、或者两个都有。

-s, --sample=<id>              Specifies the Flutter code sample to use as the main.dart for an application.  --template=app. The value should be the sample ID of the desired sample from the API documentation website(http://docs.flutter.dev).
                               指定一套Flutter示例代码作为应用的main.dart。意味着--template=app。该值应该是来自API文档网站(http://docs.flutter.dev)的所需示例的示例ID

                               An example can be found at https://master-api.flutter.dev/flutter/widgets/SingleChildScrollView-class.html
                               例如:https://master-api.flutter.dev/flutter/widgets/SingleChildScrollView-class.html

    --list-samples=<path>      Specifies a JSON output file for a listing of Flutter code samples that can created with --sample.
                               想知道带——sample参数的的创建命令,有哪些可用的代码示例?用--list-samples=<path>指定一个JSON输出文件,可以列出这些代码示例。
    --[no-]overwrite           When performing operations, overwrite existing files.
                               执行操作时,覆盖现有文件。

    --description              The description to use for your new Flutter project. This string ends up in the pubspec.yaml file.
                               (defaults to "A new Flutter project.")
                               新Flutter项目的描述。这个字符串将出现在在pubspec.yaml文件中。
                               (默认为“A new Flutter project.”。)

    --org                      The organization responsible for your new Flutter project, in reverse domain name notation. This string is used in Java package names and as prefix in the iOS bundle identifier.
                               (defaults to "com.example")
                               负责您的新Flutter项目的组织名,通常是其域名的倒序。该字符串用于Java包名,并作为iOS包标识符中的前缀。
                               (默认“com.example”)

    --project-name             The project name for this new Flutter project. This must be a valid dart package name.
                               这个新的Flutter项目的项目名称。这必须是一个有效的dart包名。

-i, --ios-language             [objc, swift (default)]
-a, --android-language         [java, kotlin (default)]
    --[no-]androidx            Generate a project using the AndroidX support libraries
                               (defaults to on)
                               使用AndroidX support libraries生成一个项目
                               (默认使用)

Run "flutter help" to see global options.