

一、前言
这里说的是自己从 wordpress 源码开始搭建一个个人博客系统。当然,很多云端已经直接提供了在线安装的方式,这个就不在本文的讨论范围之内了。
二、关于 wordpress
wordpress是一款个人博客系统,并逐步演化成一款内容管理系统软件,它是使用PHP语言和MySQL数据库开发的,用户可以在支持 PHP 和 MySQL数据库的服务器上使用自己的博客。
总之是为众多的开源博客系统之一,也绝对是一部良心之作。在这里向作者以及贡献者致敬。本文主要讲述的是从 wordpress 源码进行安装,当然是要从 wordpress 官网这里去将其下载下来的。下载下来的是一个压约缩包,需要我们自己将其解压出来。
三、安装 wordpress
1.确认基础设施
wordpress 虽然只是一个个人博客系统,但其也是一个服务端系统。要安装 wordpress 就需要先安装相应的基础设施,php,mysql 以及 apache。不过这些在 Mac 上已经安装好了。我们要做的是执行相应的命令行查看一下版本是否符合。
查看Apache版本
$ apachectl -version
Server version: Apache/2.4.34 (Unix)
Server built:   Feb 22 2019 19:30:04
相看php版本
$ php -v
PHP 7.1.23 (cli) (built: Feb 22 2019 22:08:13) ( NTS )
Copyright (c) 1997-2018 The PHP Group
Zend Engine v3.1.0, Copyright (c) 1998-2018 Zend Technologies
2.配置并启动相应服务
2.1 开启 Apache 服务
启动 Apache
$ sudo apachectl start
关闭 Apache
$ sudo apachectl stop
重启 Apache
$ sudo apachectl restart
2.2 起用 php
起用 php 开启PHP,需要修改Apache配置文件,终端下(当然,你也可以直接在 Finder 中找到路径并用文本编辑器进行):
sudo vim /etc/apache2/httpd.conf
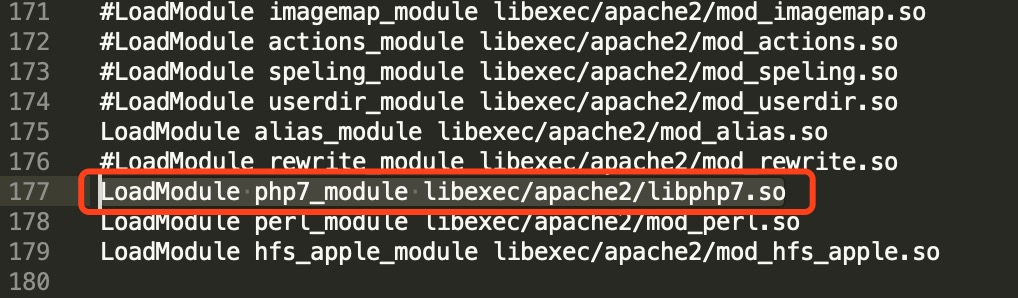
去掉如下配置的注释即为起动 php。
LoadModule php7_module libexec/apache2/libphp7.so
结果如下图
2.3 修改 Apache 的目录
默认情况下 Apache 的目录为 /Library/WebServer/Documents,我们当然希望 wordpress 应该工作在自己的独立目录下。假设我们已经把面下载并解压好的 wordpress 目录拷贝到 /Library/WebServer/Documents。那我们只要在 /etc/apache2/httpd.conf 再修改 DocumentRoot 的配置。
DocumentRoot "/Library/WebServer/Documents/wordpress"
<Directory "/Library/WebServer/Documents/wordpress">
    #
    # Possible values for the Options directive are "None", "All",
    # or any combination of:
    #   Indexes Includes FollowSymLinks SymLinksifOwnerMatch ExecCGI MultiViews
    #
    # Note that "MultiViews" must be named *explicitly* --- "Options All"
    # doesn't give it to you.
    #
    # The Options directive is both complicated and important.  Please see
    # http://httpd.apache.org/docs/2.4/mod/core.html#options
    # for more information.
    #
    Options FollowSymLinks Multiviews
    MultiviewsMatch Any

    #
    # AllowOverride controls what directives may be placed in .htaccess files.
    # It can be "All", "None", or any combination of the keywords:
    #   AllowOverride FileInfo AuthConfig Limit
    #
    AllowOverride None

    #
    # Controls who can get stuff from this server.
    #
    Require all granted
</Directory>
如上,我们在 /Library/WebServer/Documents 后面添加自己的目录 wordpress。然后再重启一下 Apache 服务。
apachectl restart
重启服务后,在浏览器的地址栏输入:
localhost
即可出现如下页面,就代表已经配置成功了。

注意,此响应的其实是
http://localhost/index.php
并且它会自动跳转到/wp-admin/setup-config.php。
http://localhost/wp-admin/setup-config.php
2.4 开启 Mysql
上面图中,告诉了我们要安装 wordpress ,所需要的 Mysql 服务及相关的配置
Database name Database username Database password Database host Table prefix (if you want to run more than one WordPress in a single database)
Can't connect to local MySQL server through socket '/tmp/mysql.sock' (2)
查看一下Mysql
$ mysql --version
mysql  Ver 14.14 Distrib 5.7.20, for osx10.13 (x86_64) using  EditLine wrapper
但这个并不是 Mysql 的服务端,这是客户端。我们应该这样来看是否已经安装了服务端。
$ mysql -u root -p
Enter password:
Welcome to the MySQL monitor.  Commands end with ; or \g.
Your MySQL connection id is 4
Server version: 5.7.27 MySQL Community Server (GPL)

Copyright (c) 2000, 2017, Oracle and/or its affiliates. All rights reserved.

Oracle is a registered trademark of Oracle Corporation and/or its
affiliates. Other names may be trademarks of their respective
owners.

Type 'help;' or '\h' for help. Type '\c' to clear the current input statement.

mysql>
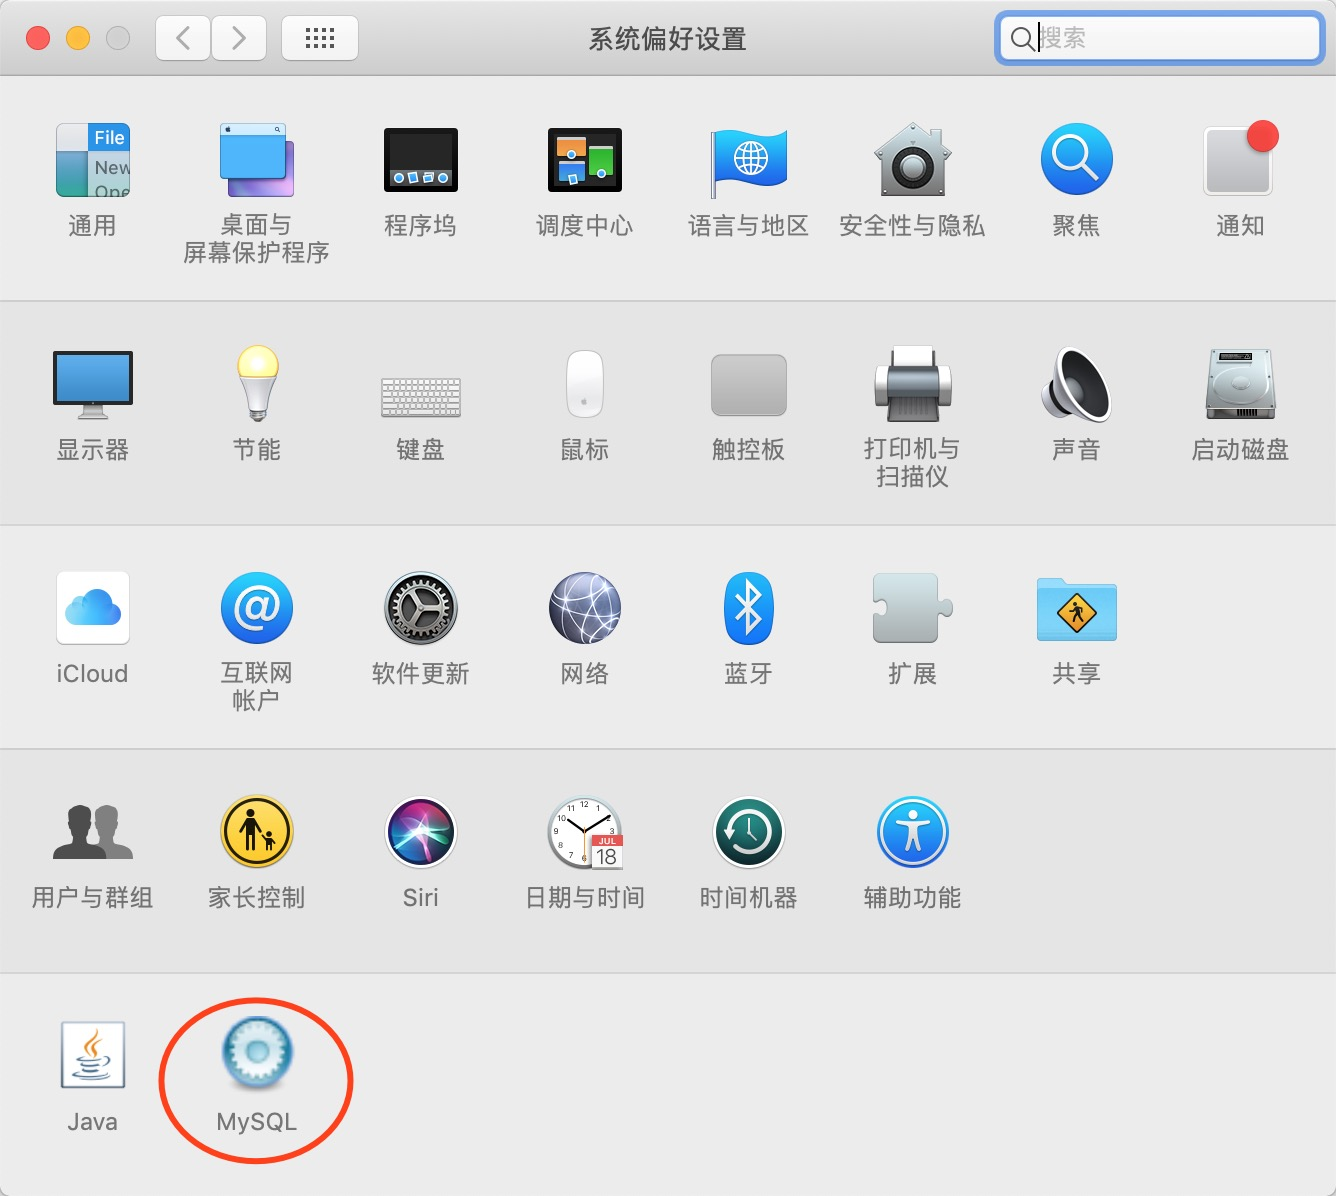
如果你不能进入到 Mysql 的控制台,说明你还没有安装好Mysql,那如果没有安装好的话就请去Mysql的官网下载吧。下载免费的社区版即可满足需求。如果已经安装就通过“系统偏好设置”来启动Mysql服务。当然要启动了该服务,才能进入到上面所说的Mysql控制台。
新建并配置数据库 新建数据库这个就不在这里讲述了,假设我们创建了一个数据库为 wordpress,空的就行。然后用 subline 等纯文本编辑工具打开之前存放在/Library/WebServer/Documents下面的 wordpress/wp-config-sample.php。并修改如下内容。
Database name Database username Database password Database host
样例如下:
// ** MySQL settings - You can get this info from your web host ** //
/** The name of the database for WordPress */
define( 'DB_NAME', 'wordpress' );

/** MySQL database username */
define( 'DB_USER', 'wordpress' );

/** MySQL database password */
define( 'DB_PASSWORD', 'wordpress123456' );

/** MySQL hostname */
define( 'DB_HOST', '127.0.0.1:/var/run/mysqld/mysqld.sock' );
注意上面的 DB_HOST 最好和作者改成一样的,不要直接用 localhost ,不然可能会连接不上。 然后将修改后的文件另存为 wp-config.php。这就完成了数据库的配置。
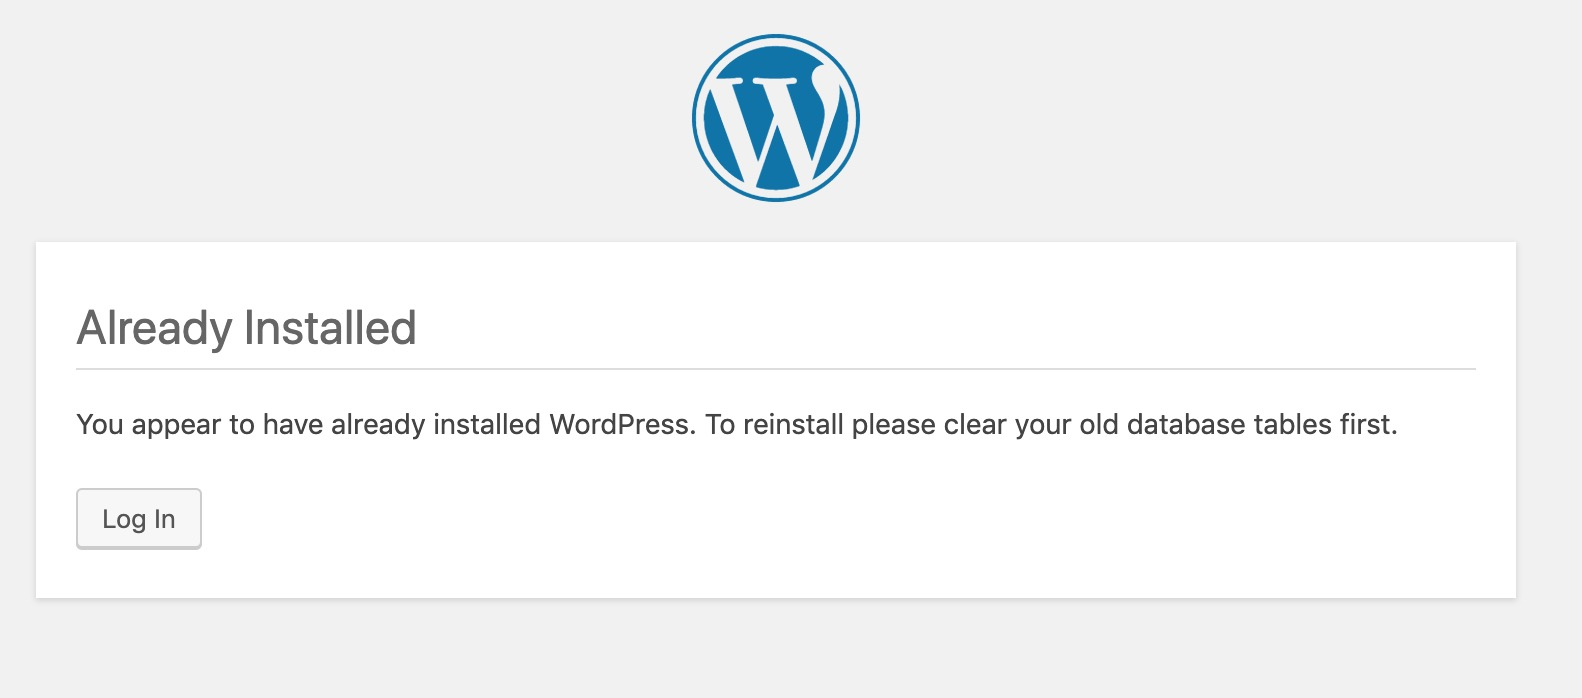
2.5 安装WordPress
前面啰嗦了一大堆,终于把要准备的环境准备好了,接下就在浏览器的地址栏输入http://localhost/wp-admin/install.php ,然后按照向导完成安装即可大功告成了。
四、总结
WordPress 是一款非常优秀的个人博客系统,并且还是开源的,可谓是非常良心了。而其实其安装也是非常简单的,总结下来就是: 1.安装好 php。 2.安装好 Mysql,当然,主要是指服务端。建立一个空的数据库,如 wordpress。 3.安装一个 HTTP 服务器,如 Apache。
文章非常简单,希望能给有需要的同学一些帮助,谢谢。
