

Nexior 是一个开源项目,旨在帮助开发者快速搭建自己的 AI 应用站点。通过 Nexior,用户可以实现 AI 问答、Midjourney 绘画、知识库问答等多种功能,而无需进行 AI 系统开发、购买 AI 账户或配置支付系统,真正实现零成本、无风险的 AI 收益生成。
本篇文章将介绍如何使用 GitCode(一个国内的代码托管平台)托管和部署 Nexior 项目。GitCode 提供了从 GitHub 导入项目和内置 CI/CD 流水线的功能,适合国内用户使用,访问速度快。
准备工作
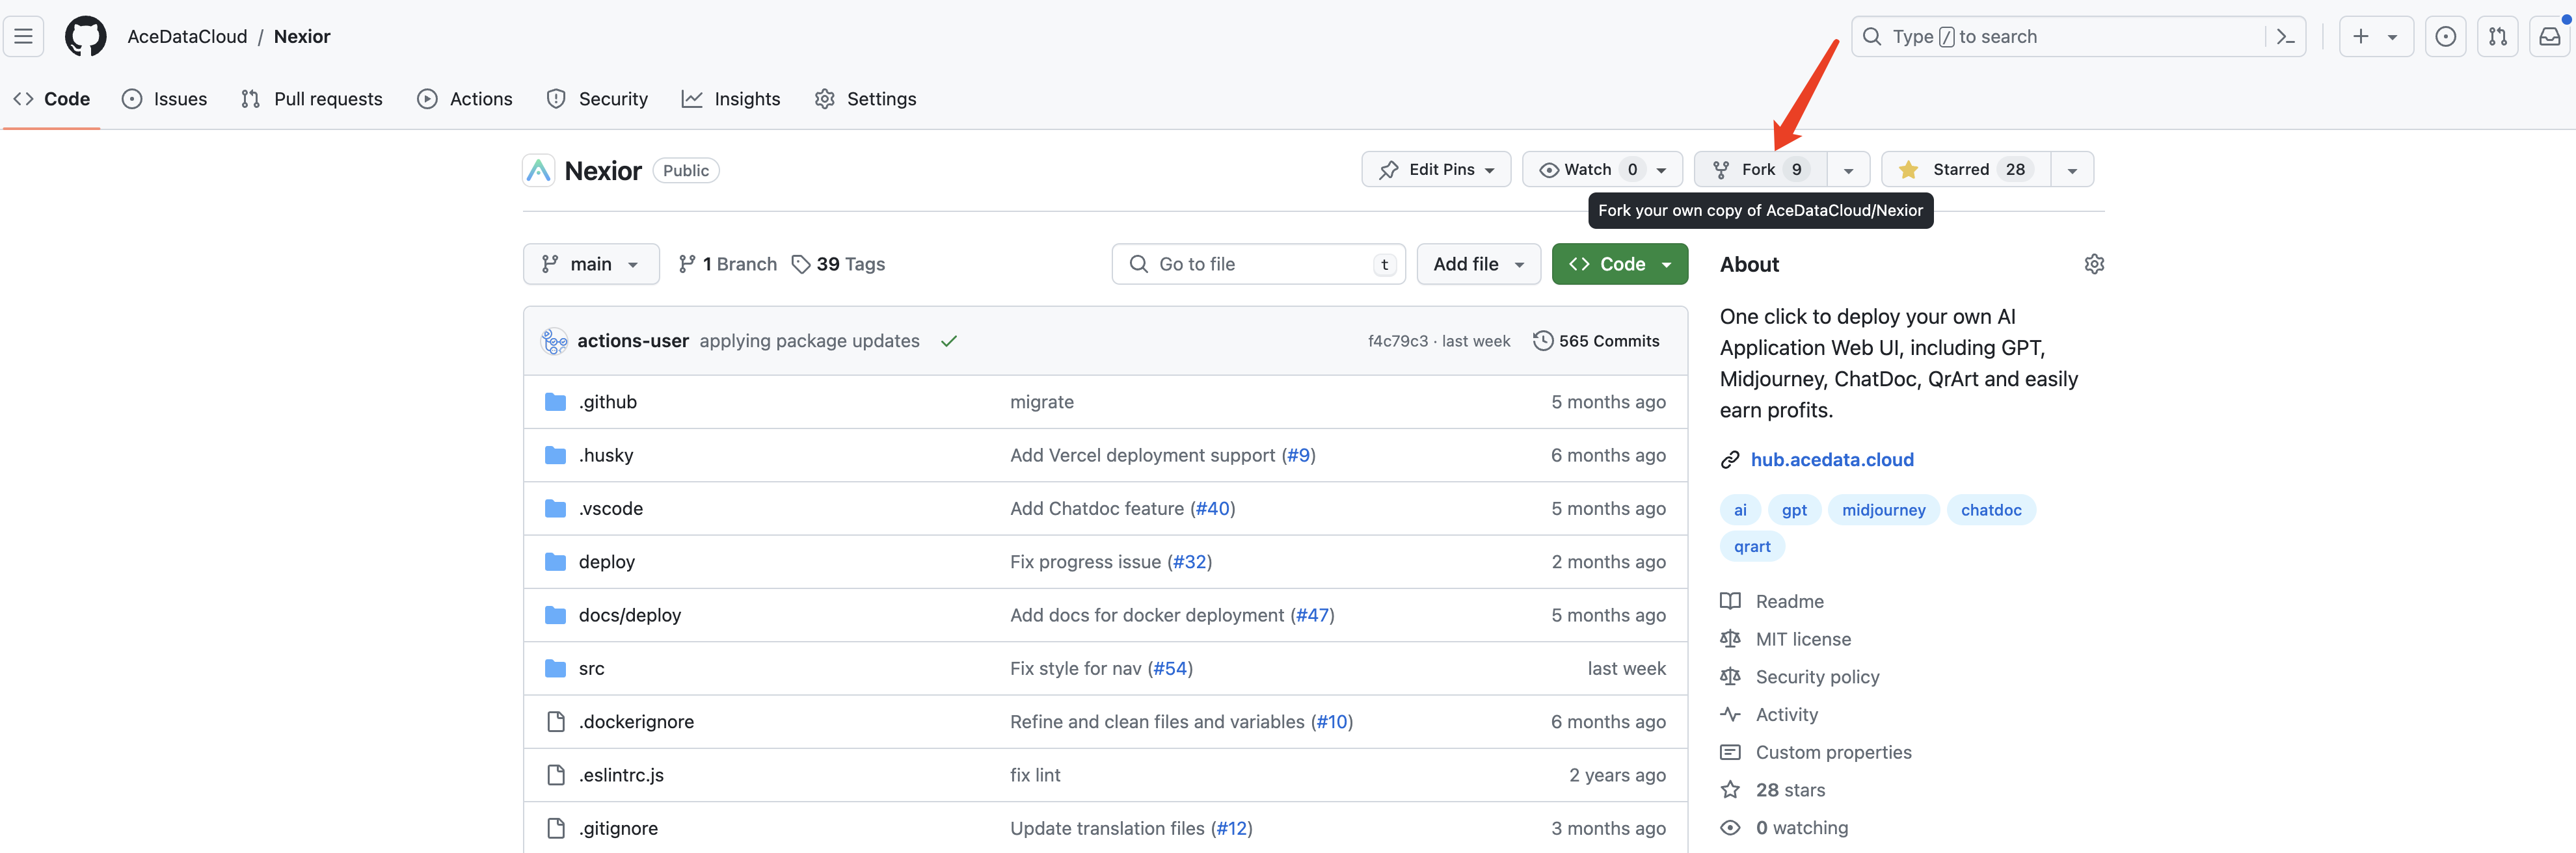
首先,访问 Nexior 的 GitHub 仓库:github.com/AceDataClou…。然后注册或登录你的 GitHub 账户,点击 Fork 将代码克隆到自己的仓库,如下图所示:
Fork 完成后,你将拥有一个标记为 "forked from AceDataCloud/Nexior" 的个人仓库,如下图所示:
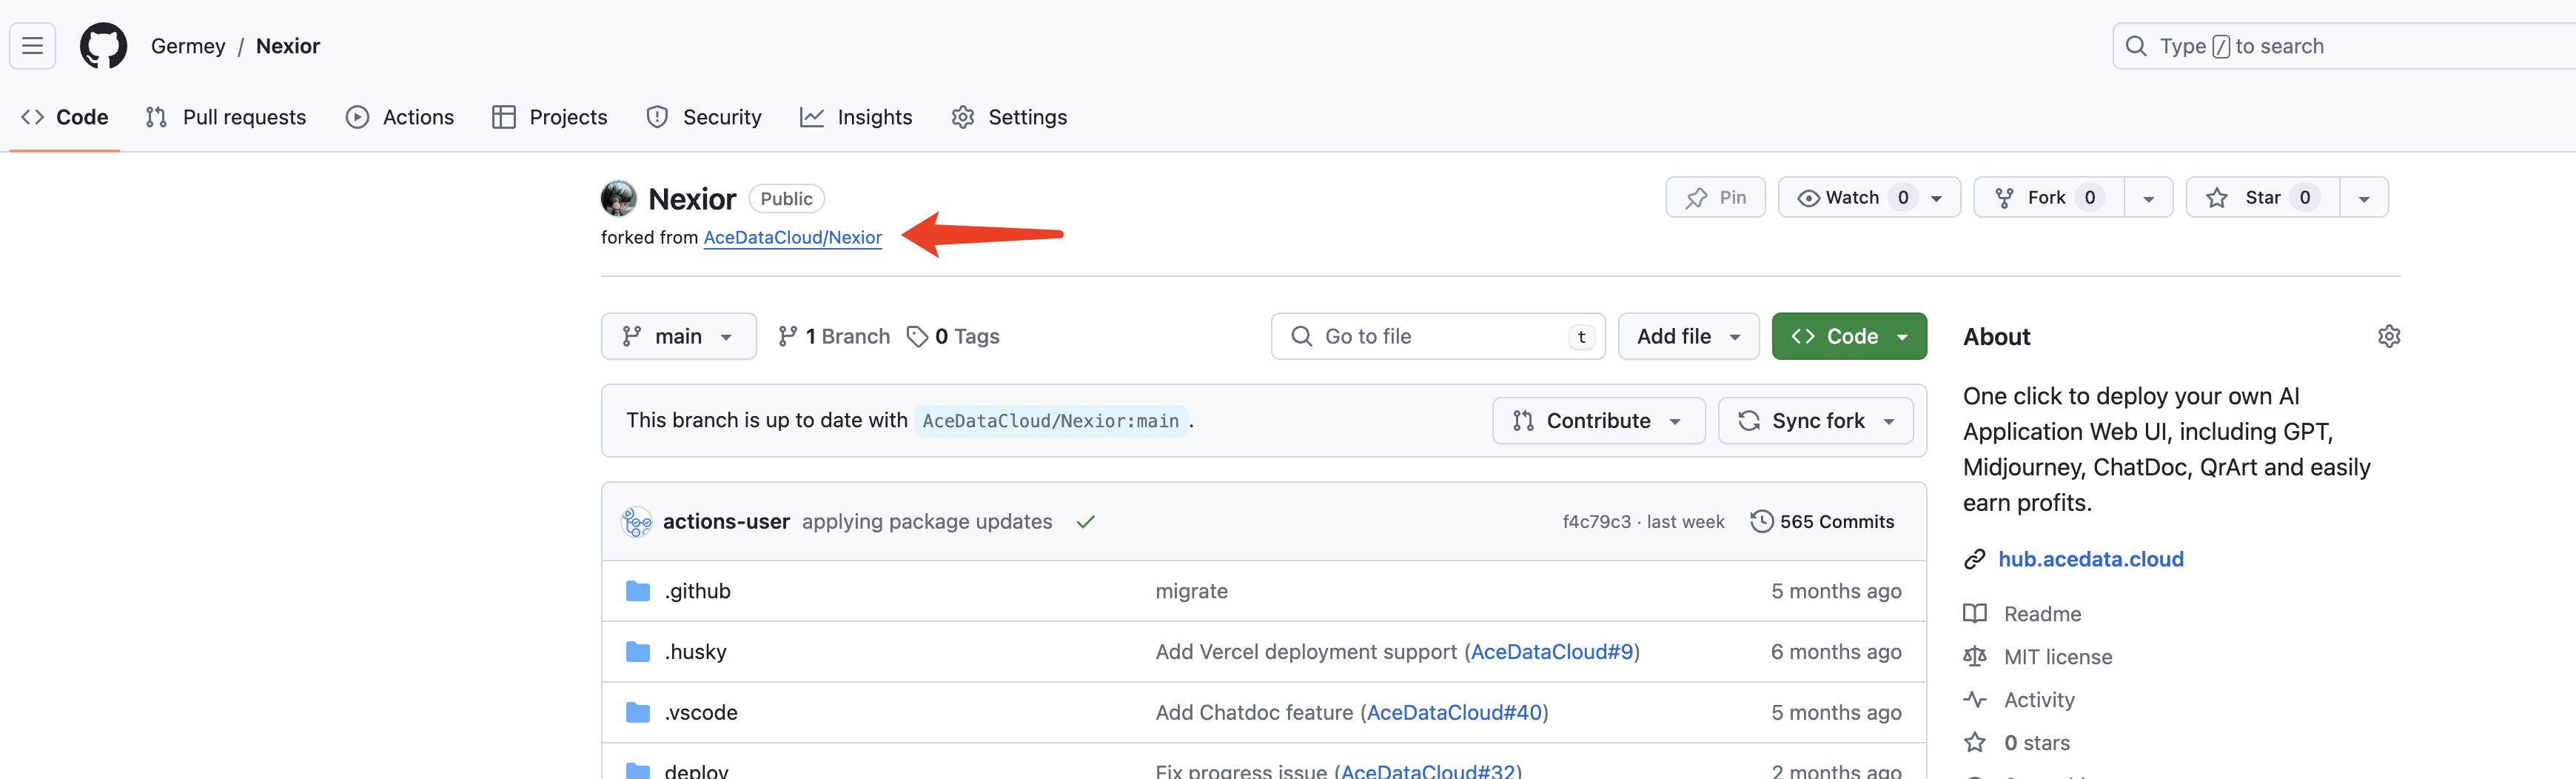
至此,准备工作完成。
将项目导入 GitCode
打开 gitcode.com/ 并使用 CSDN 账户、手机号码、微信等方式登录。
登录后,点击右上角的 "+" 按钮,选择 "导入项目"。
在导入页面,选择从 GitHub 导入,并输入你 Fork 的 Nexior 仓库 URL,例如:
https://github.com/<你的用户名>/Nexior
GitCode 支持直接从 GitHub 导入项目,导入后你将看到完整的 Nexior 代码仓库。
配置 CI/CD 流水线
GitCode 提供了类似 GitHub Actions 的内置 CI/CD 流水线功能,使用 .gitcode/workflows/ 目录下的 YAML 文件来定义构建和部署流程。
创建工作流文件
在项目根目录下创建一个名为 .gitcode/workflows/deploy.yml 的文件,内容如下:
name: Build and Deploy Nexior

on:
  push:
    branches: ["main"]

jobs:
  build:
    runs-on: euleros-2.10.1
    steps:
      - uses: checkout-action@0.0.1

      - name: Setup Node.js
        uses: setup-node@0.0.1
        with:
          node-version: '20.10.0'

      - name: Install dependencies
        run: cd repo_workspace && npm install --legacy-peer-deps

      - name: Build
        run: cd repo_workspace && npm run build

      - name: Upload artifacts
        run: |
          cd repo_workspace
          tar -czf dist.tar.gz -C dist .
          echo "Build completed, dist.tar.gz generated"
注意: GitCode 流水线的工作目录是
repo_workspace,因此在执行命令前需要切换到该目录。运行环境使用 EulerOS。
提交工作流文件
将上述文件提交到你仓库的 main 分支。GitCode 将自动检测 .gitcode/workflows/ 下的 YAML 文件并注册流水线。
你也可以直接在 GitCode 界面中创建流水线:进入项目的 "Pipeline" 标签,点击 "New Pipeline",选择合适的模板或直接编辑 YAML 配置。
部署方式
GitCode 主要是一个代码托管平台,并不提供类似 Vercel 或 Netlify 的静态网站托管服务。因此,你需要将构建产物(dist 目录)部署到其他服务。以下是适合国内用户的几种部署选项:
选项 1:使用腾讯云服务器(推荐)
这是最适合国内用户的选项。使用 GitCode 作为代码托管和 CI/CD 构建平台,将构建输出自动部署到腾讯云服务器。
1. 准备服务器
购买一台腾讯云轻量应用服务器(推荐 2 核 2GB RAM,Ubuntu 22.04),并安装 Nginx:
# 在服务器上执行
apt update && apt upgrade -y
apt install -y nginx
systemctl start nginx
systemctl enable nginx
2. 配置 Nginx
创建 Nginx 配置文件 /etc/nginx/sites-available/nexior:
server {
    listen 80;
    server_name your-domain.com;  # 替换为你的域名或服务器 IP

    root /var/www/nexior;
    index index.html;

    location /api/v1/ {
        proxy_pass https://platform.acedata.cloud;
        proxy_http_version 1.1;
        proxy_set_header X-Forwarded-For $proxy_add_x_forwarded_for;
        proxy_set_header X-Real-IP $remote_addr;
        proxy_set_header X-Forwarded-Proto $scheme;
        proxy_set_header Host $host;
        client_max_body_size 20m;
    }

    location / {
        try_files $uri $uri/ /index.html;
    }
}
启用配置:
ln -sf /etc/nginx/sites-available/nexior /etc/nginx/sites-enabled/
rm -f /etc/nginx/sites-enabled/default
nginx -t && systemctl reload nginx
3. 配置自动部署
在 GitCode 流水线中,可以通过 SSH 将构建产物部署到服务器。首先,在 GitCode 项目的 "Settings" → "Pipeline" 中添加以下变量作为秘密变量:
DEPLOY_HOST: 服务器的公网 IPDEPLOY_USER: SSH 登录用户名(如root)DEPLOY_KEY: SSH 私钥内容
更新工作流文件 .gitcode/workflows/deploy.yml:
name: Build and Deploy Nexior

on:
  push:
    branches: ["main"]

jobs:
  build-and-deploy:
    runs-on: euleros-2.10.1
    steps:
      - uses: checkout-action@0.0.1

      - name: Setup Node.js
        uses: setup-node@0.0.1
        with:
          node-version: '20.10.0'

      - name: Install dependencies
        run: cd repo_workspace && npm install --legacy-peer-deps

      - name: Build
        run: cd repo_workspace && npm run build

      - name: Deploy to server
        run: |
          cd repo_workspace
          mkdir -p ~/.ssh
          echo "$DEPLOY_KEY" > ~/.ssh/id_rsa
          chmod 600 ~/.ssh/id_rsa
          ssh-keyscan -H $DEPLOY_HOST >> ~/.ssh/known_hosts 2>/dev/null
          tar -czf dist.tar.gz -C dist .
          scp dist.tar.gz $DEPLOY_USER@$DEPLOY_HOST:/tmp/
          ssh $DEPLOY_USER@$DEPLOY_HOST "rm -rf /var/www/nexior/* && tar -xzf /tmp/dist.tar.gz -C /var/www/nexior/ && rm /tmp/dist.tar.gz"
        env:
          DEPLOY_HOST: ${{ secrets.DEPLOY_HOST }}
          DEPLOY_USER: ${{ secrets.DEPLOY_USER }}
          DEPLOY_KEY: ${{ secrets.DEPLOY_KEY }}
现在,每当你向 main 分支推送代码时,GitCode 流水线将自动构建并部署到腾讯云服务器。
选项 2:使用 Docker 部署
如果你更喜欢使用 Docker,可以直接在服务器上运行 Nexior。
1. 安装 Docker
curl -fsSL https://get.docker.com | sh
systemctl start docker && systemctl enable docker
2. 克隆并运行
# 从 GitCode 克隆代码
git clone https://gitcode.com/<你的用户名>/Nexior.git
cd Nexior

# 构建并运行
docker compose up -d --build
启动容器后,Nexior 将在服务器的 8080 端口上运行。
3. 更新代码
要更新,拉取最新代码并重建:
cd Nexior
git pull origin main
docker compose up -d --build
选项 3:使用其他国内云服务
如果你不想管理自己的服务器,可以将代码从 GitCode 同步到其他支持一键部署的平台:
