

JSAR开发教程:从入门到实战
本文通过一个完整的太阳系模拟器项目,教你学习JSAR空间小程序开发的核心技术。
完整源码
项目源码仓库:gitee.com/etilic/roki…
# 克隆项目到本地
git clone https://gitee.com/etilic/rokid_-jsar.git
cd rokid_-jsar

# 使用VSCode JSAR插件打开项目
code .
注意:本教程的完整代码已上传到Gitee,建议先阅读教程理解原理,再查看源码。
目录
什么是JSAR
JSAR(JavaScript Augmented Reality)是面向Web开发者的空间计算应用框架,它让开发者能够使用熟悉的Web技术来开发空间小程序。
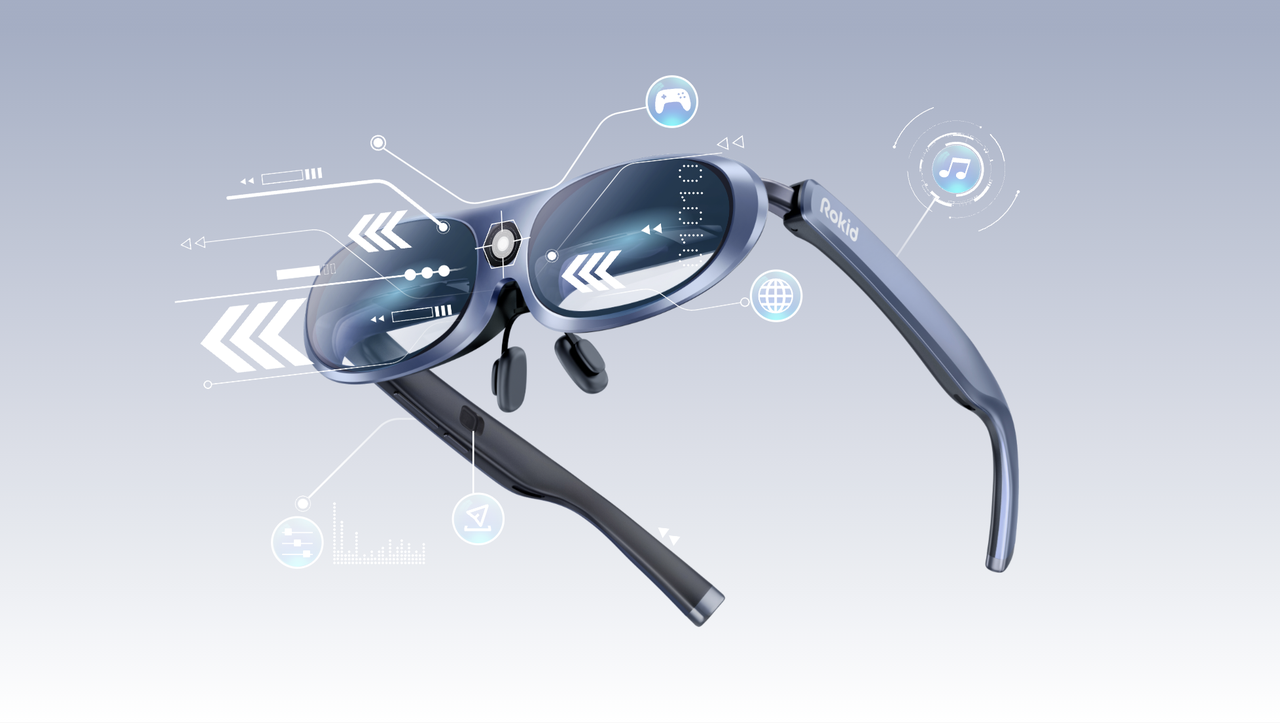
Rokid与JSAR
Rokid作为国内领先的AR眼镜厂商,一直致力于构建开放的空间计算生态。JSAR正是Rokid推出的开源空间应用运行时,旨在降低AR应用开发门槛,让Web开发者也能快速上手空间计算开发。
通过JSAR,开发者可以:
- 使用熟悉的Web技术栈(TypeScript/JavaScript)开发AR应用
- 在Rokid AR眼镜上运行空间小程序
- 无需学习复杂的3D引擎和AR SDK
- 快速将创意转化为可在真实空间中运行的应用
Rokid的AR眼镜配合JSAR运行时,为开发者提供了一个完整的空间计算开发和运行环境。从开发调试到实际部署,JSAR让整个流程变得简单高效。
JSAR技术特点
JSAR使用TypeScript/JavaScript和Babylon.js引擎,可在Visual Studio Code中开发。适合创建3D小摆件、教育工具、数据可视化等空间应用。
开发环境搭建
环境要求
- Node.js v18.12.1+
- Visual Studio Code
- JSAR Devtools扩展(可选但推荐)
快速开始
- 克隆模板项目
git clone https://github.com/M-CreativeLab/template-for-jsar-widget.git my-jsar-app
cd my-jsar-app
- 安装依赖
npm install
- 项目结构概览
my-jsar-app/
├── main.xsml          # XSML主文件(类似HTML)
├── package.json       # 项目配置
├── lib/
│   └── main.ts       # TypeScript主逻辑
├── model/
│   └── welcome.glb   # 3D模型资源
└── icon.png          # 项目图标
项目结构解析
package.json
{
  "name": "SolarSystem",
  "displayName": "太阳系模拟器",
  "version": "1.0.0",
  "description": "一个展示太阳系行星运动的JSAR空间小程序",
  "main": "main.xsml",
  "files": [
    "icon.png",
    "main.xsml",
    "lib/*.ts",
    "model/*.glb"
  ],
  "devDependencies": {
    "@yodaos-jsar/types": "^0.2.1-rc0"  // JSAR类型定义
  }
}
关键字段说明:
main: 指定XSML入口文件displayName: 用户看到的应用名称files: 需要打包的文件列表icon3d: 3D图标配置(可选)
main.xsml - 空间布局定义
<xsml version="1.0">
  <head>
    <title>太阳系模拟器</title>
    <!-- 引用3D模型 -->
    <link id="model" rel="mesh" type="octstream/glb" href="./model/welcome.glb" />
    <!-- 引用脚本文件 -->
    <script src="./lib/main.ts"></script>
    <script src="./lib/planets.ts"></script>
  </head>
  <space>
    <!-- 定义空间中的3D对象 -->
    <mesh id="solar-system-root" ref="model" selector="__root__" />
  </space>
</xsml>
XSML核心元素:
<head>: 元数据和资源声明<space>: 3D空间内容定义<mesh>: 3D网格对象<link>: 外部资源引用<script>: JavaScript/TypeScript脚本
核心概念详解
1. spaceDocument - 空间文档对象
JSAR提供全局的spaceDocument对象,类似浏览器中的document:
// 获取Babylon.js场景对象
const scene = spaceDocument.scene as BABYLON.Scene;

// 场景包含所有3D对象、相机、灯光等
console.log('场景中的网格数量:', scene.meshes.length);
2. Babylon.js集成
JSAR基于Babylon.js提供3D图形功能:
// 创建3D球体
const sphere = BABYLON.MeshBuilder.CreateSphere('mySphere', { diameter: 2 }, scene);

// 设置位置
sphere.position = new BABYLON.Vector3(1, 0, 0);

// 创建材质
const material = new BABYLON.StandardMaterial('material', scene);
material.diffuseColor = BABYLON.Color3.Red();
sphere.material = material;
3. 动画系统
// 注册渲染前回调,实现动画
scene.registerBeforeRender(() => {
  sphere.rotation.y += 0.01; // 每帧旋转
});
4. 类型安全
// JSAR提供完整的TypeScript类型支持
interface PlanetData {
  name: string;
  radius: number;
  distance: number;
  speed: number;
  color: string;
}
实战项目:太阳系模拟器
我们将通过5个步骤,从零开始构建一个完整的3D太阳系。每个步骤都可以独立运行,让你清楚地看到每一步的效果。
步骤1:创建太阳
文件:step1-sun.xsml
首先创建一个发光的太阳,并添加自转动画。
<xsml version="1.0">
  <head>
    <title>步骤1:创建太阳</title>
    <script>
      const scene = spatialDocument.scene;

      // 创建太阳
      const sun = BABYLON.MeshBuilder.CreateSphere('sun', {
        diameter: 3
      }, scene);

      // 太阳材质(发光效果)
      const sunMaterial = new BABYLON.StandardMaterial('sunMat', scene);
      sunMaterial.emissiveColor = new BABYLON.Color3(1, 0.8, 0);
      sunMaterial.diffuseColor = new BABYLON.Color3(1, 0.8, 0);
      sun.material = sunMaterial;

      // 添加太阳自转动画
      scene.registerBeforeRender(() => {
        sun.rotation.y += 0.001;
      });

      // 添加点光源
      const light = new BABYLON.PointLight('sunLight',
        new BABYLON.Vector3(0, 0, 0), scene);
      light.intensity = 1.5;

      // 设置相机
      const camera = new BABYLON.ArcRotateCamera('camera',
        0, Math.PI / 3, 10,
        BABYLON.Vector3.Zero(), scene);
      camera.attachControl(true);
    </script>
  </head>
  <space></space>
</xsml>
![[截图1] VSCode中打开step1-sun.xsml文件的代码界面](https://i-blog.csdnimg.cn/direct/10689a06d0c54ad4bba6967e8eb709f1.png)
![[截图2] 运行step1-sun.xsml后,显示一个金黄色发光的太阳在缓慢自转](https://i-blog.csdnimg.cn/direct/c981a9c3e5f44dbf9838f0e916afe7bd.png)
步骤2:添加地球和轨道
文件:step2-sun-earth.xsml
在太阳的基础上添加地球,并绘制轨道线。
<xsml version="1.0">
  <head>
    <title>步骤2:添加地球和轨道</title>
    <script>
      const scene = spatialDocument.scene;

      // 创建太阳(与步骤1相同)
      const sun = BABYLON.MeshBuilder.CreateSphere('sun', {
        diameter: 3
      }, scene);
      const sunMaterial = new BABYLON.StandardMaterial('sunMat', scene);
      sunMaterial.emissiveColor = new BABYLON.Color3(1, 0.8, 0);
      sun.material = sunMaterial;

      // 创建地球轨道
      const earthOrbit = BABYLON.MeshBuilder.CreateTorus('earthOrbit', {
        diameter: 15,
        thickness: 0.05
      }, scene);
      const orbitMaterial = new BABYLON.StandardMaterial('orbitMat', scene);
      orbitMaterial.emissiveColor = new BABYLON.Color3(0.3, 0.3, 0.3);
      orbitMaterial.alpha = 0.3;
      earthOrbit.material = orbitMaterial;
      earthOrbit.rotation.x = Math.PI / 2;

      // 创建地球
      const earth = BABYLON.MeshBuilder.CreateSphere('earth', {
        diameter: 1
      }, scene);
      const earthMaterial = new BABYLON.StandardMaterial('earthMat', scene);
      earthMaterial.diffuseColor = new BABYLON.Color3(0.2, 0.5, 1);
      earth.material = earthMaterial;
      earth.position.x = 7.5;

      // 地球公转和自转
      let angle = 0;
      scene.registerBeforeRender(() => {
        sun.rotation.y += 0.001;

        angle += 0.005;
        earth.position.x = Math.cos(angle) * 7.5;
        earth.position.z = Math.sin(angle) * 7.5;
        earth.rotation.y += 0.01;
      });

      // 光源和相机
      const light = new BABYLON.PointLight('sunLight',
        new BABYLON.Vector3(0, 0, 0), scene);
      light.intensity = 1.5;

      const camera = new BABYLON.ArcRotateCamera('camera',
        0, Math.PI / 3, 20,
        BABYLON.Vector3.Zero(), scene);
      camera.attachControl(true);
    </script>
  </head>
  <space></space>
</xsml>
![[截图3] 运行step2-sun-earth.xsml后,显示太阳和地球,地球沿着轨道线公转](https://i-blog.csdnimg.cn/direct/c93a03204d31444a95b1c99dd04c20f5.png)
![[截图4] 俯视角度观察地球绕太阳公转的轨迹](https://i-blog.csdnimg.cn/direct/19f98c306520419f93c57428dfa1133e.png)
步骤3:添加内行星
文件:step3-inner-planets.xsml
添加内行星:水星、金星、地球、火星。
// 行星数据
const planets = [
  { name: '水星', radius: 0.4, distance: 4, speed: 0.01, color: [0.5, 0.5, 0.5] },
  { name: '金星', radius: 0.8, distance: 6, speed: 0.008, color: [1, 0.8, 0.4] },
  { name: '地球', radius: 1, distance: 8, speed: 0.006, color: [0.2, 0.5, 1] },
  { name: '火星', radius: 0.6, distance: 10, speed: 0.005, color: [1, 0.3, 0.2] }
];

const planetMeshes = [];

planets.forEach(data => {
  // 创建轨道
  const orbit = BABYLON.MeshBuilder.CreateTorus(data.name + 'Orbit', {
    diameter: data.distance * 2,
    thickness: 0.03
  }, scene);
  const orbitMat = new BABYLON.StandardMaterial(data.name + 'OrbitMat', scene);
  orbitMat.emissiveColor = new BABYLON.Color3(0.3, 0.3, 0.3);
  orbitMat.alpha = 0.3;
  orbit.material = orbitMat;
  orbit.rotation.x = Math.PI / 2;

  // 创建行星
  const planet = BABYLON.MeshBuilder.CreateSphere(data.name, {
    diameter: data.radius * 2
  }, scene);
  const planetMat = new BABYLON.StandardMaterial(data.name + 'Mat', scene);
  planetMat.diffuseColor = new BABYLON.Color3(...data.color);
  planet.material = planetMat;
  planet.position.x = data.distance;

  planetMeshes.push({
    mesh: planet,
    distance: data.distance,
    speed: data.speed,
    angle: Math.random() * Math.PI * 2
  });
});

// 动画
scene.registerBeforeRender(() => {
  sun.rotation.y += 0.001;

  planetMeshes.forEach(p => {
    p.angle += p.speed;
    p.mesh.position.x = Math.cos(p.angle) * p.distance;
    p.mesh.position.z = Math.sin(p.angle) * p.distance;
    p.mesh.rotation.y += 0.01;
  });
});
![[截图5] 运行step3-inner-planets.xsml后,显示太阳和4颗内行星,每颗行星都在各自的轨道上运动](https://i-blog.csdnimg.cn/direct/f1fef45a46394203af1fff7b34357fde.png)
![[截图6] 近距离观察4颗内行星的大小和颜色对比](https://i-blog.csdnimg.cn/direct/b9b087a21a44464ba413e2537559ca7e.png)
步骤4:添加所有8大行星
文件:step4-all-planets.xsml
添加外行星:木星、土星、天王星、海王星。
// 8大行星完整数据
const planets = [
  { name: '水星', radius: 0.4, distance: 4, speed: 0.01, color: [0.5, 0.5, 0.5] },
  { name: '金星', radius: 0.8, distance: 6, speed: 0.008, color: [1, 0.8, 0.4] },
  { name: '地球', radius: 1, distance: 8, speed: 0.006, color: [0.2, 0.5, 1] },
  { name: '火星', radius: 0.6, distance: 10, speed: 0.005, color: [1, 0.3, 0.2] },
  { name: '木星', radius: 2, distance: 14, speed: 0.003, color: [0.8, 0.6, 0.4] },
  { name: '土星', radius: 1.8, distance: 18, speed: 0.002, color: [0.9, 0.8, 0.6] },
  { name: '天王星', radius: 1.2, distance: 22, speed: 0.0015, color: [0.6, 0.8, 0.9] },
  { name: '海王星', radius: 1.2, distance: 26, speed: 0.001, color: [0.3, 0.5, 0.9] }
];
![[截图7] 运行step4-all-planets.xsml后,完整的太阳系,所有8大行星都在运行](https://i-blog.csdnimg.cn/direct/eb9587a23875456e90dcc83b4161aacc.png)
![[截图8] 调整相机角度,从侧面观察太阳系的全貌](https://i-blog.csdnimg.cn/direct/1a09f0c6d23d4d38b2157bef5a9f146d.png)
步骤5:添加键盘控制
文件:step5-with-controls.xsml
添加交互控制,让用户可以暂停/继续动画,重置行星位置。
// 动画控制
let isAnimating = true;

// 动画循环
scene.registerBeforeRender(() => {
  if (isAnimating) {
    sun.rotation.y += 0.001;

    planetMeshes.forEach(p => {
      p.angle += p.speed;
      p.mesh.position.x = Math.cos(p.angle) * p.distance;
      p.mesh.position.z = Math.sin(p.angle) * p.distance;
      p.mesh.rotation.y += 0.01;
    });
  }
});

// 键盘控制
document.addEventListener('keydown', (event) => {
  switch(event.key) {
    case ' ':  // 空格键:暂停/继续
      isAnimating = !isAnimating;
      console.log(isAnimating ? '动画继续' : '动画暂停');
      break;
    case 'r':  // R键:重置
    case 'R':
      planetMeshes.forEach(p => {
        p.angle = Math.random() * Math.PI * 2;
      });
      console.log('位置已重置');
      break;
  }
});
完整版本
文件:solar-system.xsml
这是最终的完整版本,包含了所有功能和优化。
![[截图11] 最终完整版solar-system.xsml的运行效果](https://i-blog.csdnimg.cn/direct/741db4bc51104c29a33d97e8f6c1b947.png)
进阶技巧
// 显示调试信息
scene.debugLayer.show({
  overlay: true,
  globalRoot: document.getElementById('root')
});

// 性能监控
scene.registerBeforeRender(() => {
  const fps = scene.getEngine().getFps();
  console.log(`FPS: ${fps.toFixed(2)}`);
});
![[截图] JSAR调试界面,显示场景检查器和性能监控信息](https://i-blog.csdnimg.cn/direct/4255335e4aac401b9825bcd5f0a5f2c0.png)
关于Rokid与空间计算的未来
空间计算正在成为下一代人机交互的重要方向,而Rokid作为这一领域的探索者,通过开源JSAR项目,为开发者提供了一个低门槛、高效率的开发平台。
JSAR的出现意义重大:
- 降低开发门槛:Web开发者无需学习复杂的AR SDK即可上手
- 开放生态:开源的运行时让更多开发者参与到空间应用生态建设
- 快速迭代:熟悉的Web技术栈让应用开发效率大幅提升
- 跨平台潜力:基于Web标准的应用具有更好的可移植性
在Rokid AR眼镜上,你开发的JSAR应用可以真正运行在三维空间中,用户可以在现实世界里与虚拟内容交互。想象一下,你的太阳系模拟器漂浮在用户的桌面上,用户可以走近观察每颗行星的运动轨迹——这就是空间计算的魅力。
