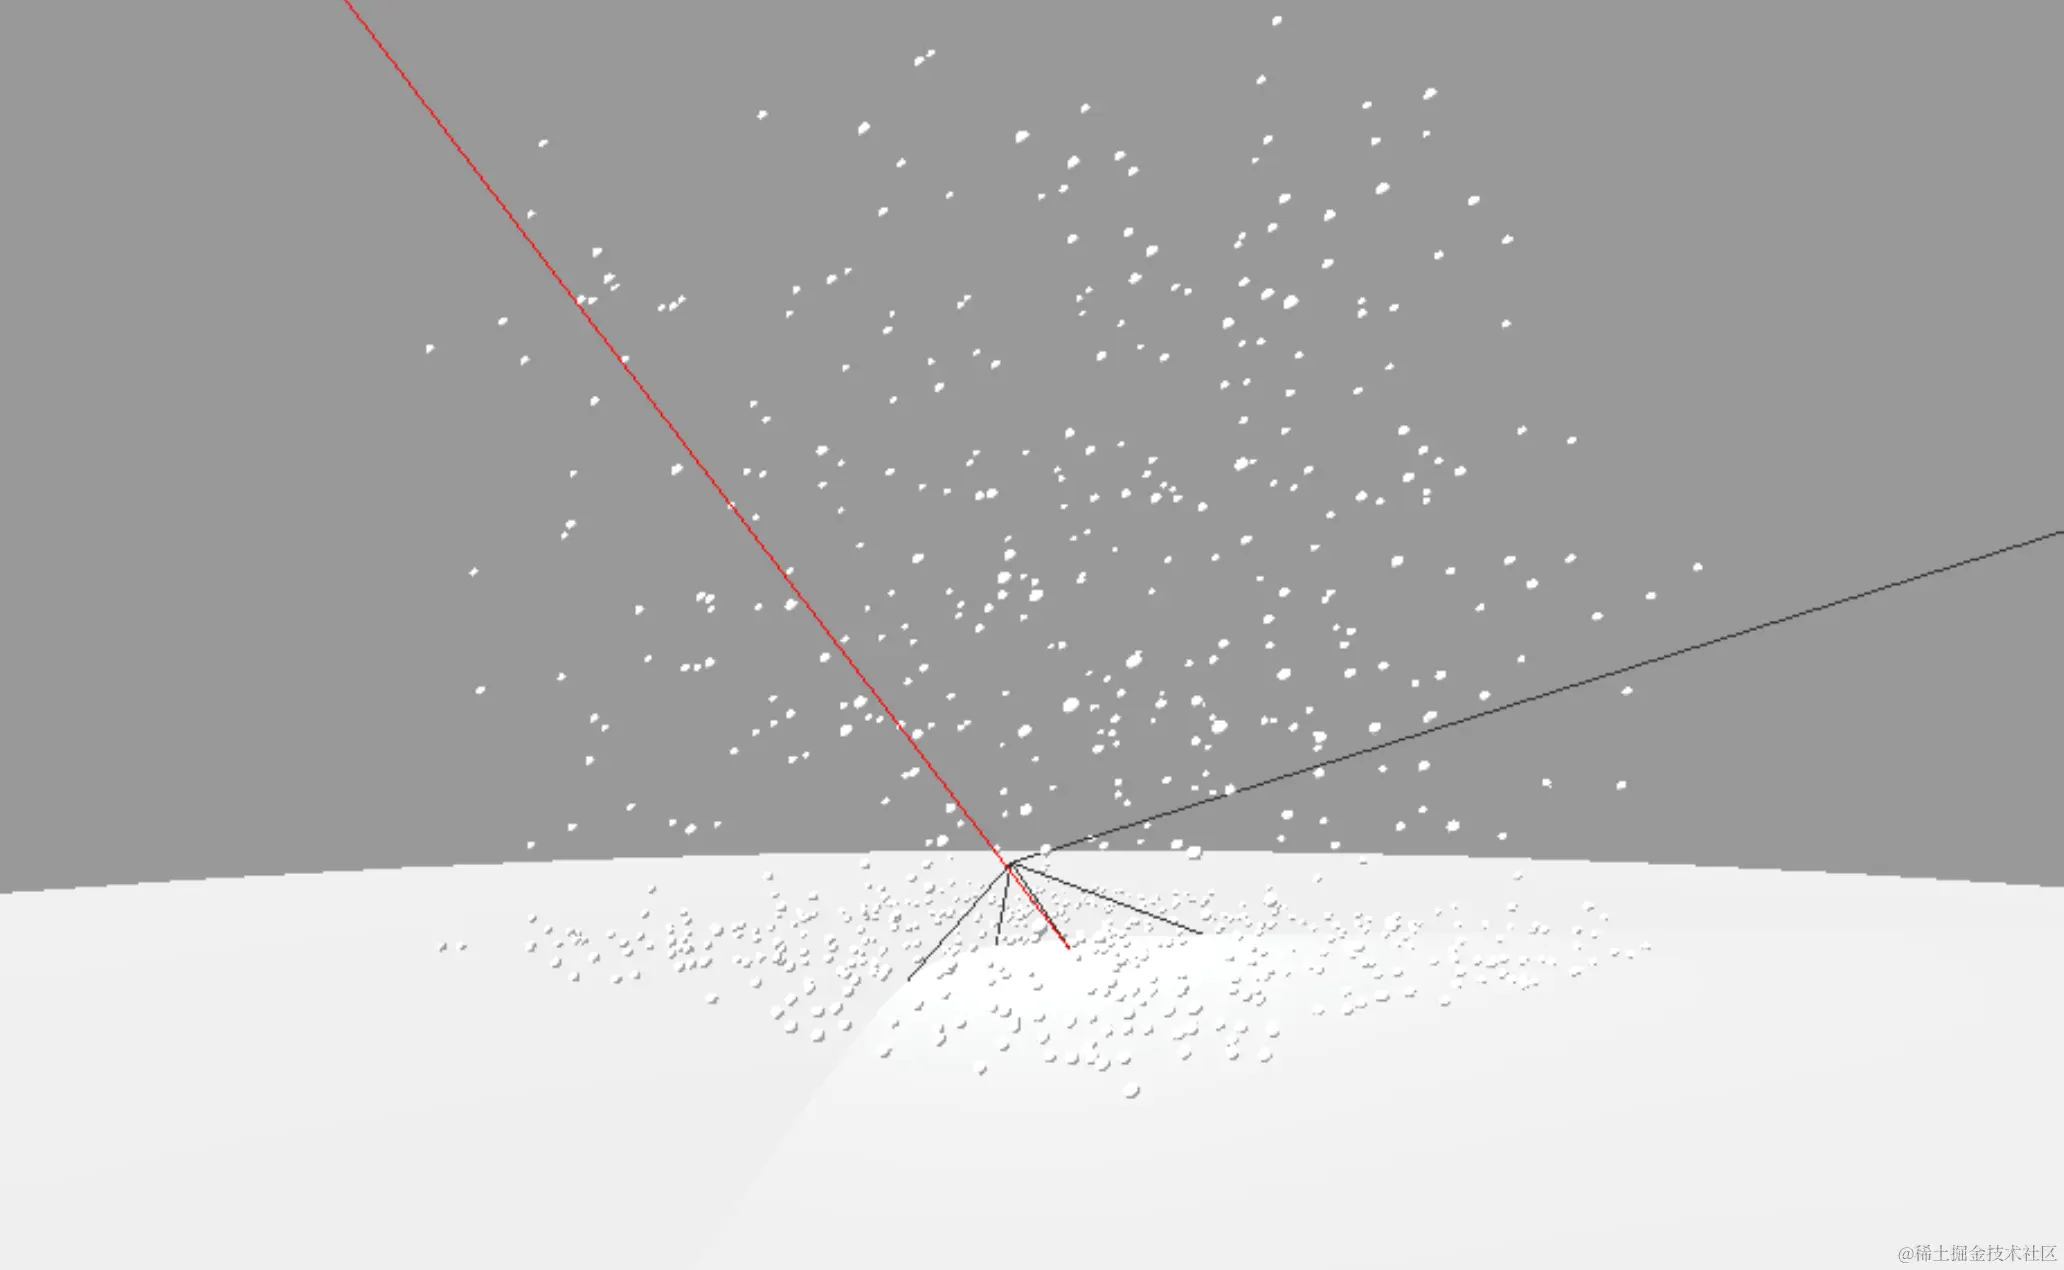
一、效果图
二、安装
1)Vite + Three + Cannon
安装
npm init @vitejs/app 项目名
npm install three cannon-es
三、在vue项目中使用three
1)概念
- 1)光:环境光、平行光、聚光灯
- 2)物体:平面、物体(长方体,球体,圆形平面、方形平面)
- 场景:
var scene = new THREE.Scene();
var renderer = new THREE.WebGLRenderer();
renderer.setSize(window.innerWidth, window.innerHeight);
document.body.appendChild(renderer.domElement);
var camera = new THREE.PerspectiveCamera(75, window.innerWidth / window.innerHeight, 0.1, 1000);
camera.position.set(200, 200, 200);
camera.lookAt(0, 0, 0);
const world = new CANNON.World();
world.gravity.set(0, -9.8, 0);
world.broadphase = new CANNON.NaiveBroadphase();
function render() {
world.step(1 / 60);
sphere.quaternion.copy( sphereBody.quaternion );
sphere.position.copy(sphereBody.position);
if (ballNumer > 0) {
for (const i in ballMother) {
ballMother[i].b.quaternion.copy(ballMother[i].bBody.quaternion);
ballMother[i].b.position.copy(ballMother[i].bBody.position);
}
}
renderer.render(scene, camera);
requestAnimationFrame(render);
controls.update()
}
render();
2)源码
<script setup>
import * as THREE from 'three';
import * as CANNON from 'cannon-es';
import { OrbitControls } from 'three/addons/controls/OrbitControls.js';
var scene = new THREE.Scene();
var renderer = new THREE.WebGLRenderer();
renderer.setSize(window.innerWidth, window.innerHeight);
document.body.appendChild(renderer.domElement);
var camera = new THREE.PerspectiveCamera(75, window.innerWidth / window.innerHeight, 0.1, 1000);
camera.position.set(200, 200, 200);
camera.lookAt(0, 0, 0);
const world = new CANNON.World();
world.gravity.set(0, -9.8, 0);
world.broadphase = new CANNON.NaiveBroadphase();
const sphereShape = new CANNON.Sphere(1);
const sphereWorldMaterial = new CANNON.Material({
friction: 0.05,
restitution: 1
})
const sphereBody = new CANNON.Body({
shape: sphereShape,
position: new CANNON.Vec3(0, 10, 0),
mass: 1,
material: sphereWorldMaterial,
});
world.addBody(sphereBody);
const floorShape = new CANNON.Plane();
const floorBody = new CANNON.Body();
const floorMaterial = new CANNON.Material("floor");
floorBody.material = floorMaterial;
floorBody.mass = 0;
floorBody.addShape(floorShape);
floorBody.position.set(0, 0, 0);
floorBody.quaternion.setFromAxisAngle(new CANNON.Vec3(1, 0, 0), -Math.PI / 2);
world.addBody(floorBody);
const sphereGeometry = new THREE.SphereGeometry(1);
const sphereMaterial = new THREE.MeshStandardMaterial({ color: "#ffffff" });
const sphere = new THREE.Mesh(sphereGeometry, sphereMaterial);
sphere.castShadow = true;
scene.add(sphere);
const MathRound = (num = 0) => {
let mathNum = Math.random() > 0.5 ? 1 : -1
return Math.round(mathNum * Math.random() * 100 + num)
}
let ballMother = [],
ballNumer = 0;
const addBall = () => {
let ballDefined = {
bWorldMaterial: '',
bShape: '',
bBody: '',
bGeometry: '',
bMaterial: '',
b: ''
};
let { bWorldMaterial, bShape, bBody, bGeometry, bMaterial, b } = ballDefined
bWorldMaterial = new CANNON.Material({
friction: 0.001,
restitution: 0.01
});
bShape = new CANNON.Sphere(1);
bBody = new CANNON.Body({
shape: bShape,
position: new CANNON.Vec3(MathRound(), MathRound(100), MathRound()),
mass: 1,
material: bWorldMaterial,
});
bGeometry = new THREE.SphereGeometry(1);
bMaterial = new THREE.MeshStandardMaterial({
color: "#ffffff",
opacity: 0.5
});
b = new THREE.Mesh(bGeometry, bMaterial);
b.castShadow = true;
b.position.set(MathRound(), MathRound(100), MathRound());
world.addBody(bBody);
scene.add(b);
ballMother.push({ bWorldMaterial, bShape, bBody, bGeometry, bMaterial, b })
++ballNumer;
}
const changeFloor1 = () => {
(floor1.material.opacity > 0) && (floor1.material.opacity -= 0.01)
}
setInterval(() => {
addBall()
changeFloor1()
}, 83.3);
const floor = new THREE.Mesh(
new THREE.CircleGeometry(400),
new THREE.MeshStandardMaterial({
color: "#999999",
opacity: 1,
side: THREE.DoubleSide,
})
);
floor.position.set(0, 0, 1);
floor.rotation.x = -Math.PI / 2;
floor.receiveShadow = true;
scene.add(floor);
const floorShape1 = new CANNON.Plane();
const floorBody1 = new CANNON.Body();
const floorMaterial1 = new CANNON.Material("floor1");
floorBody1.material = floorMaterial1;
floorBody1.mass = 0;
floorBody1.addShape(floorShape1);
floorBody1.position.set(0, 2, 0);
floorBody1.quaternion.setFromAxisAngle(new CANNON.Vec3(1, 0, 0), -Math.PI / 2);
world.addBody(floorBody1);
const floor1 = new THREE.Mesh(
new THREE.CircleGeometry(400),
new THREE.MeshStandardMaterial({
color: "#008000",
opacity: 1,
transparent: true,
})
);
floor1.position.set(0, 2, 0);
floor1.rotation.x = -Math.PI / 2;
floor1.receiveShadow = true;
scene.add(floor1);
const ambientLight = new THREE.AmbientLight('#fff', 1)
scene.add(ambientLight)
scene.background = new THREE.Color(0x999999)
const directionalLight = new THREE.DirectionalLight(0xffffff, 10);
directionalLight.position.set(0, 200, 200);
directionalLight.castShadow = true
scene.add(directionalLight);
const dirLightHelper = new THREE.DirectionalLightHelper(directionalLight, 1, 0xff0000);
scene.add(dirLightHelper);
const controls = new OrbitControls(camera, renderer.domElement);
controls.enableDamping = true
controls.dempingFactor = 0.01
controls.autoRotate = true
window.onresize = function () {
renderer.setSize(window.innerWidth, window.innerHeight);
camera.aspect = window.innerWidth / window.innerHeight;
camera.updateProjectionMatrix();
};
function render() {
world.step(1 / 60);
sphere.quaternion.copy( sphereBody.quaternion );
sphere.position.copy(sphereBody.position);
if (ballNumer > 0) {
for (const i in ballMother) {
ballMother[i].b.quaternion.copy(ballMother[i].bBody.quaternion);
ballMother[i].b.position.copy(ballMother[i].bBody.position);
}
}
renderer.render(scene, camera);
requestAnimationFrame(render);
}
render();
</script>
<template>
<div>
<h1>{{ msg }}</h1>
<div class="comedythreeBox"></div>
</div>
</template>
<style scoped>
.read-the-docs {
color: #888;
}
</style>


