三角按钮
三按钮模块一般有一个输入信号引脚,当按钮按下时会输出高/低电平。
/**
 * GND - GND
 * VCC   5v(具体看按钮参数)
 * OUT   D8(io15)
 */

int btnPin = 15; // 按钮引脚
int btnClick = 0; // 按钮是否按下

long lastDebounceTime = 0;  // 最后一次按下按钮的时间
long debounceDelay = 100;   // 按下多少 ms 才算,防止传感器自身的误差
int prev_state = 0;    // 输入引脚的先前读数

void setup() {
  Serial.begin(115200);  // 初始化串口,波特率为115200
  pinMode(btnPin, INPUT);
}

void loop() {

  int reading = digitalRead(blinkPin);
  long curTime = millis();
  if (reading == 1) {
    if ((curTime - lastDebounceTime) > debounceDelay) {
      lastDebounceTime = curTime;
      if (prev_state != reading) {
        prev_state = reading;
        Serial.print(F("按下了按钮"));
      }
    }
  } else {
    prev_state = reading;
  }
  delay(40);
}
逻辑二,按下后就做某件事
/**
 * GND - GND
 * VCC   5v(具体看按钮参数)
 * OUT   D8(io15)
 */

int btnPin = 15; // 按钮引脚
int btnClick = 0; // 按钮是否按下

long lastDebounceTime = 0;  // 最后一次按下按钮的时间
long debounceDelay = 300;   // 防抖

void setup() {
  Serial.begin(115200);  // 初始化串口,波特率为115200
  pinMode(btnPin, INPUT);
}

void loop() {

  int reading = digitalRead(btnPin);
  // Serial.println(reading);
  long curTime = millis();
  // 不同的三角按钮原理图这里可能不一样,案例代码是按下为高电平
  if (reading == 1) {
    if ((curTime - lastDebounceTime) > debounceDelay) {
      Serial.println("按下了按钮");
      lastDebounceTime = curTime;
    }
  }
}
L298/ULN2003
各种驱动板都差不多
/*
 * 驱动板  D1  arduino
 * GND - GND GND
 * VCC   5v
 * IN3   D5 io14
 * IN4   D6 io12
 */
 void setup() {
  Serial.begin(115200);
  pinMode(ULNPin3, OUTPUT);
  pinMode(ULNPin4, OUTPUT);

  // PWM 范围 0-250, 引脚按情况对应即可
  analogWrite(ULNPin3, 0);
  analogWrite(ULNPin4, 100);
}

void loop() {
}
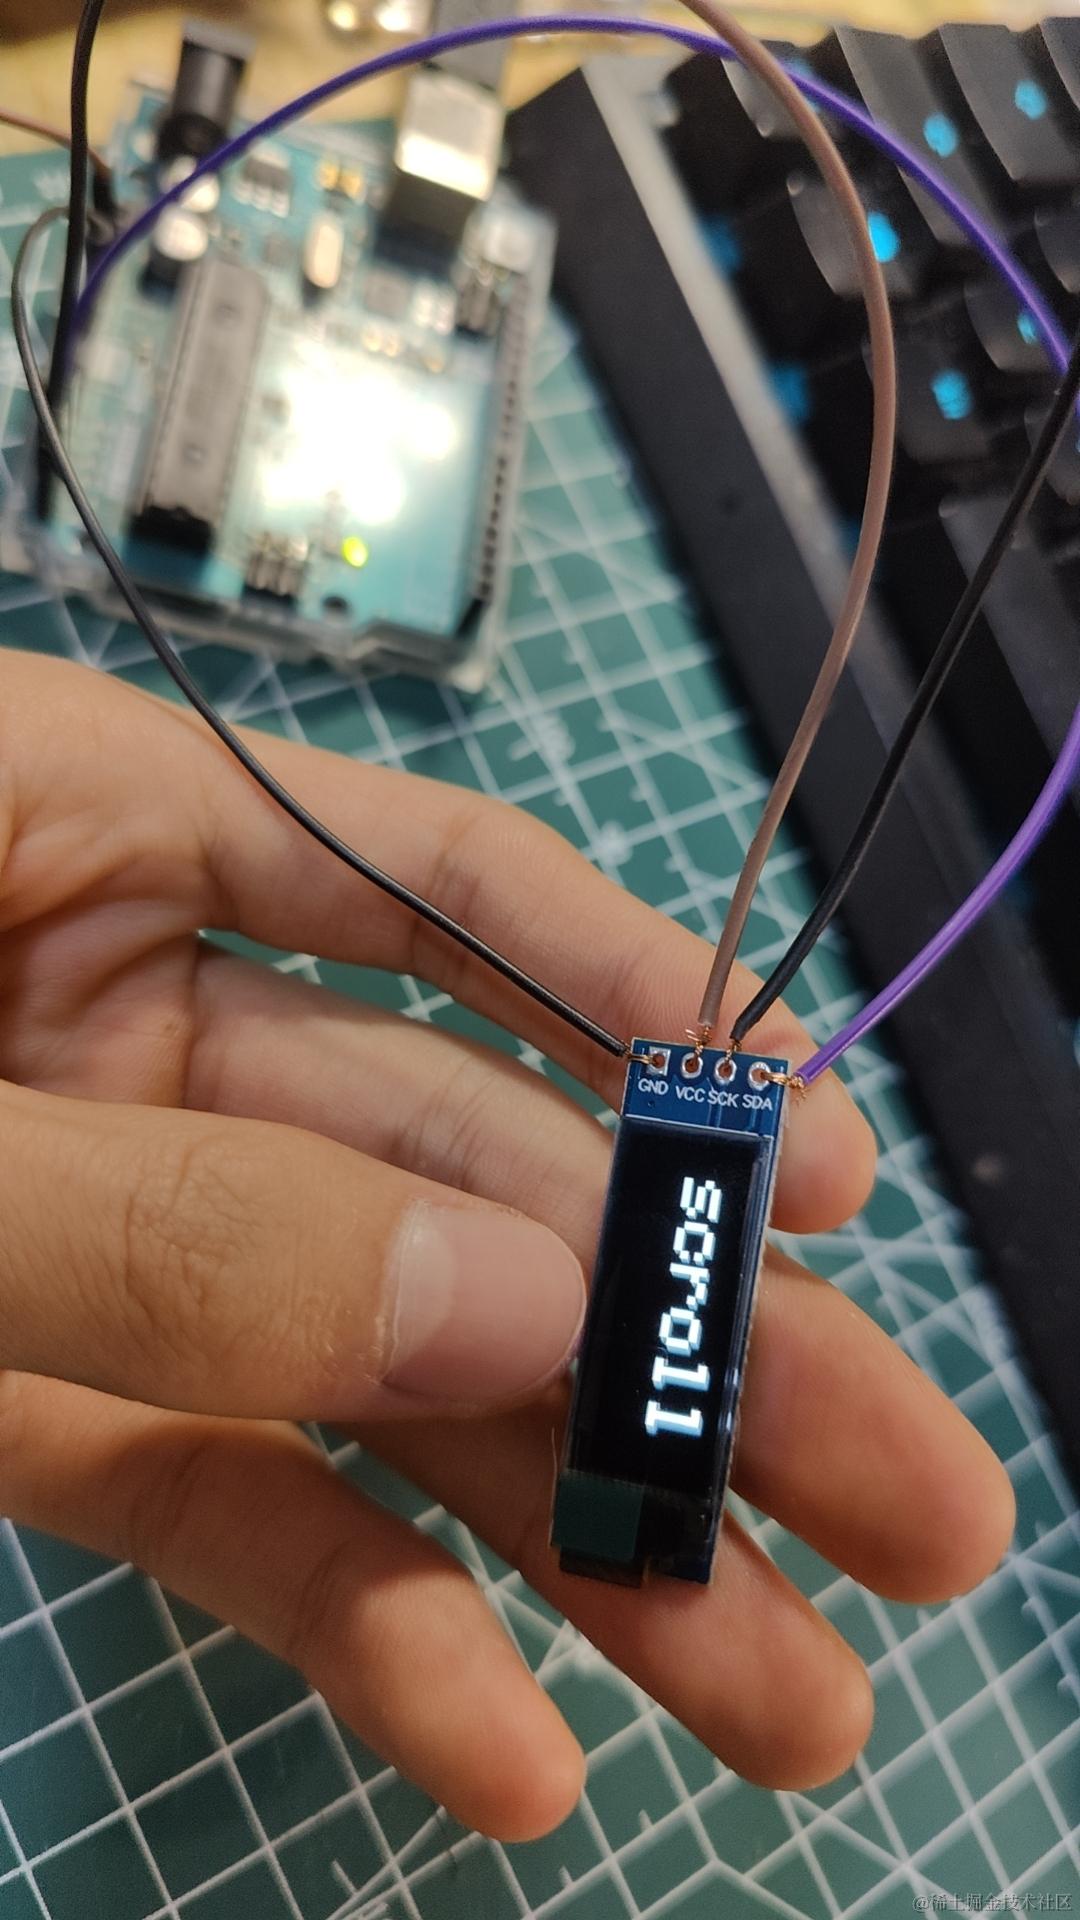
llc12832 0.91寸 oled显示屏(芯片:ssd1306, 分辨率:128*32)
/*
 * 板子  D1  arduino
 * GND - GND  GND
 * VCC   3.3v(如果不兼容 5v,接到了 5v 会直接烧坏)
 * SCK/scl   D1  A5
 * SDA   D2  A4
 *
 * 需要提前安装库:
 * 安装库:IDE—工具—管理库—搜索 Adafruit_SSD1306 —安装
 * 安装库:IDE—工具—管理库—搜索 Adafruit_GFX — 安装
 */
#include <SPI.h>
#include <Wire.h>
#include <Adafruit_GFX.h>
#include <Adafruit_SSD1306.h>

#define SCREEN_WIDTH 128 // OLED display width, in pixels
#define SCREEN_HEIGHT 32 // OLED display height, in pixels
#define OLED_RESET     -1 // Reset pin # (or -1 if sharing Arduino reset pin)
#define SCREEN_ADDRESS 0x3C ///< See datasheet for Address; 0x3D for 128x64, 0x3C for 128x32
Adafruit_SSD1306 display(SCREEN_WIDTH, SCREEN_HEIGHT, &Wire, OLED_RESET);


void setup() {
  Serial.begin(9600);

  // SSD1306_SWITCHCAPVCC = generate display voltage from 3.3V internally
  if(!display.begin(SSD1306_SWITCHCAPVCC, SCREEN_ADDRESS)) {
    Serial.println(F("SSD1306 allocation failed"));
    for(;;); // Don't proceed, loop forever
  }

  // Show initial display buffer contents on the screen --
  // the library initializes this with an Adafruit splash screen.
  display.display();
  delay(2000); // Pause for 2 seconds

  // 清除画布
  display.clearDisplay();
  // 画一个白色像素
  display.drawPixel(10, 10, SSD1306_WHITE);
  // 调用这个方法就可以显示出来
  display.display();
  delay(2000);

  testscrolltext();


  // display.displayOff();  // 关闭显示器
  // delay(5000);
  // display.displayOn();  // 开启显示器
}

void loop() {
}

// 绘制滚动文字
void testscrolltext(void) {
  display.clearDisplay();

  display.setTextSize(3);
  display.setTextColor(SSD1306_WHITE);
  display.setCursor(10, 0);
  display.println(F("scroll"));
  display.display();
  delay(100);

  // 向不同方向滚动,中间暂停:
  display.startscrollright(0x00, 0x0F);
  delay(2000);
  display.stopscroll();
  delay(1000);
  display.startscrollleft(0x00, 0x0F);
  delay(2000);
  display.stopscroll();
  delay(1000);
  display.startscrolldiagright(0x00, 0x07);
  delay(2000);
  display.startscrolldiagleft(0x00, 0x07);
  delay(2000);
  display.stopscroll();
  delay(1000);
}
I2C IIC 0.96寸 oled显示屏(芯片:ssd1306, 分辨率:128*64)
和 0.91 寸的一样,直接用 Adafruit_SSD1306 库提供的 I2C 128 * 64 提供的案例。
I2C IIC 0.96寸 oled显示屏(芯片:ssd1306, 分辨率:128*64),开发板 D1
下载该仓库中的发布的zip文件:github.com/wemos/esp82…
然后导入到 arduino 中(项目-导入库)
详情文件见仓库文档
/**
 * VCC - 3.3v
 * GND - GND
 * SDA	A4(D2)
 * SCL	A5(D1)
  */

#include <Wire.h>
#include "SSD1306Wire.h"

SSD1306Wire display(0x3c, SDA, SCL);

void setup() {
  display.init();

  // 设置对比度
  display.setContrast(255);

  display.clear();
  // 文字对齐 TEXT_ALIGN_LEFT, TEXT_ALIGN_CENTER, TEXT_ALIGN_RIGHT, TEXT_ALIGN_CENTER_BOTH
  display.setTextAlignment(TEXT_ALIGN_CENTER_BOTH);
  display.setFont(ArialMT_Plain_24); // 10  16  24 三种字体大小
  display.drawString(display.getWidth() / 2, display.getHeight() / 2, "XM IO");
  // 显示在屏幕上
  display.display();


  // display.displayOff();  // 关闭显示器
  // delay(5000);
  // display.displayOn();  // 开启显示器
}

void loop() {}

0.96寸 绘制二维码,开发板 D1
在 arduino 依赖中搜索 ESP8266_QRcode 安装。
/**
 * VCC - 3.3v
 * GND - GND
 * SDA	A4(D2)
 * SCL	A5(D1)
  */

#include <qrcode.h>
// #include <SSD1306.h> 用这个依赖也可以,有哪个用哪个就行
#include "SSD1306Wire.h"

// SSD1306  display(0x3c, D6, D7); // nodemcu 可以指定
SSD1306Wire display(0x3c, SDA, SCL); // 通用
QRcode qrcode (&display);

void setup() {

    Serial.begin(115200);
    Serial.println("");
    Serial.println("Starting...");

    display.init();
    display.clear();
    display.display();


    // enable debug qrcode
    // qrcode.debug();

    // 初始化
    qrcode.init();
    // 创建二维码
    // qrcode.create("Hello world."); // 文字
    qrcode.create("https://juejin.cn/user/114004941606440/posts"); // 网址

    // 10s后清除
    delay(10000);
    display.clear();
    display.display();

}

void loop() {}

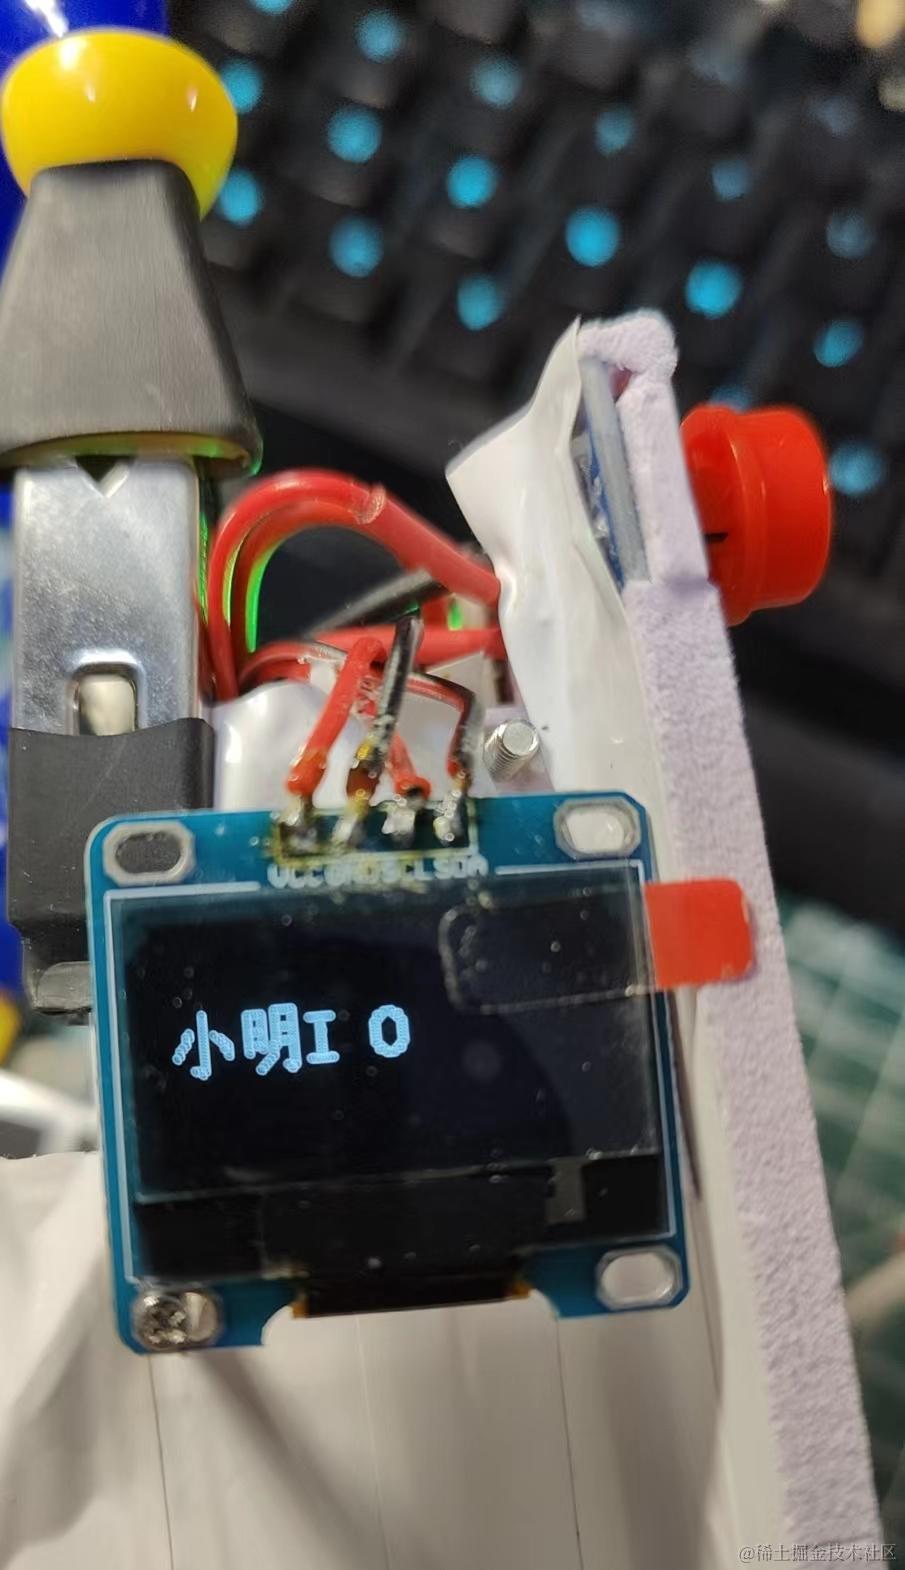
0.96寸 绘制图片、汉字,开发板 D1
字模软件下载
链接:pan.baidu.com/s/1ajH4MM7y… 提取码:xmio
按下图设置即可

/**
 * VCC - 3.3v
 * GND - GND
 * SDA	A4(D2)
 * SCL	A5(D1)
  */

#include <stdint.h>            // 不加的话 uint8_t 会报错
#include "SSD1306Wire.h"

SSD1306Wire display(0x3c, SDA, SCL); // 通用


uint8_t text_xiaoming[][128] = {
  { 0x00, 0x00, 0x00, 0x00, 0x00, 0x00, 0x00, 0x20, 0x00, 0x00, 0x18, 0x00, 0x00, 0x04, 0x00, 0x80, 0x03, 0x00, 0xC0, 0x00, 0x00, 0x00, 0x00, 0x02, 0x00, 0x00, 0x02, 0x00, 0x00, 0x06, 0xFE, 0xFF, 0x03, 0x00, 0x00, 0x00, 0x00, 0x00, 0x00, 0x80, 0x00, 0x00, 0x00, 0x01, 0x00, 0x00, 0x03, 0x00, 0x00, 0x0E, 0x00, 0x00, 0x3C, 0x00, 0x00, 0x00, 0x00, 0x00, 0x00, 0x00 }, /*"小",0*/
  { 0x00, 0x00, 0x00, 0x00, 0x00, 0x00, 0x00, 0x00, 0x00, 0xFC, 0x3F, 0x00, 0x84, 0x08, 0x00, 0x84, 0x08, 0x00, 0x84, 0x08, 0x04, 0xFC, 0x1F, 0x02, 0x00, 0x00, 0x01, 0x00, 0x80, 0x00, 0x00, 0x78, 0x00, 0xFE, 0x0F, 0x00, 0x42, 0x04, 0x00, 0x42, 0x04, 0x00, 0x42, 0x04, 0x02, 0x42, 0x04, 0x06, 0xFE, 0xFF, 0x03, 0x00, 0x00, 0x00, 0x00, 0x00, 0x00, 0x00, 0x00, 0x00 }, /*"明",1*/
  { 0x00, 0x00, 0x00, 0x10, 0x00, 0x01, 0x10, 0x00, 0x01, 0x10, 0x00, 0x01, 0xF0, 0xFF, 0x01, 0x10, 0x00, 0x01, 0x10, 0x00, 0x01, 0x10, 0x00, 0x01, 0x00, 0x00, 0x00, 0x00, 0x00, 0x00 },                                                                                                                                                                                     /*"I",2*/
  { 0x80, 0x3F, 0x00, 0x60, 0xC0, 0x00, 0x20, 0x80, 0x00, 0x10, 0x00, 0x01, 0x10, 0x00, 0x01, 0x10, 0x00, 0x01, 0x20, 0x80, 0x00, 0x60, 0xC0, 0x00, 0x80, 0x3F, 0x00, 0x00, 0x00, 0x00 },                                                                                                                                                                                     /*"O",3*/
};


// 绘制文字的函数
// 文字对象,文字长度,文字大小,字间距,文字逐个渲染速度
void drawTextFn(uint8_t textArg[][128], int textLeng, int fontSize = 20, int letterSpain = 2, int aniSpeed = 800) {
  for (int16_t i = 0; i < textLeng; i++) {
    display.drawFastImage(fontSize * i, fontSize + letterSpain, fontSize, fontSize, textArg[i]);
    display.display();
    delay(aniSpeed);
  }
}

void setup() {

    Serial.begin(115200);

    display.init();
    display.clear();
    display.display();

    drawTextFn(text_xiaoming, 4);
}

void loop() { }