html代码###
<canvas class="canvas" :style="{width: canvasWidth + 'px', height: canvasHeight + 'px'}" canvas-id="myCanvas"></canvas>
``` // 创建画布对象
const ctx = uni.createCanvasContext('myCanvas', this)
// 获取图片信息, 要按照原图来绘制, 否则图片会变形
// 根据 图片的大小 绘制底图 的大小
let imgW = 300;
let imgH = 540;
this.canvasWidth = imgW;
this.canvasHeight = imgH;
ctx.drawImage(this.agent_poster, 0, 0, imgW, imgH)
// 绘制文本
ctx.font = "15px Medium"; // 字体大小
ctx.fillStyle = '#FFFFFF'; //字体填充颜色
ctx.fillText(this.user_info.nickname, 20, 470);
// ctx.font = '11px Regular'; // 字体大小
// ctx.fillStyle = '#FFBFB8', // 字体填充颜色
// ctx.fillText('邀请你使用懂体验商城,不仅能体', 80, 130)
// ctx.font = '11px Regular'; // 字体大小
// ctx.fillStyle = '#FFBFB8', // 字体填充颜色
// ctx.fillText('验产品不踩坑,还能购物领红包!', 80, 146)
// res.data.imgUrl二维码
ctx.drawImage(this.self_qrcode, 220, 460, 60, 60)
// 绘制裁剪头像为圆形
let radius,diameter
let width = 40; // 头像宽度
let height = 40; // 头像高度
let x = 30; // 头像显示位置
let y = 480; // 头像显示位置
if (width > height) {
radius = height / 2;
} else {
radius = width / 2;
}
diameter = radius * 2;
ctx.beginPath();
ctx.arc(x + radius, y + radius, radius, 0, Math.PI * 2, false);
ctx.clip();
ctx.strokeStyle = "#ff6352"; // 改变边框颜色
ctx.drawImage(this.user_info.avatar, x, y, diameter, diameter);
setTimeout(function() { // uni-app必须加上延迟,不然显示不出来, 亲测
ctx.stroke();
ctx.draw() //必须加上 uniapp 没这儿玩意儿 显示不出来不比原生 不加可以显示
}, 100)
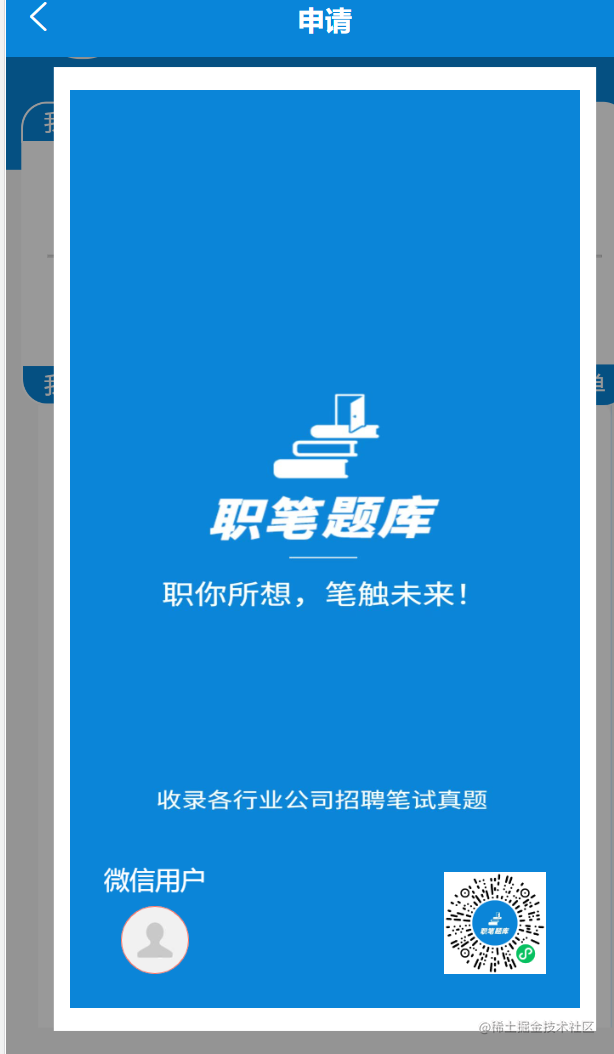
### 页面展示