next.js
服务端渲染的react
install
npx create-next-app next-create
目录结构
-
components文件夹:这里是专门放置自己写的组件的,这里的组件不包括页面,指公用的或者有专门用途的组件。
-
node_modules文件夹:Next项目的所有依赖包都在这里,同webpack的nodemodules
-
pagesw文件夹:这里是放置页面的,这里边的内容会自动生成路由,并在服务器端渲染,渲染好后进行数据同步。
-
static文件夹: 这个是静态文件夹,比如项目需要的图片、图标和静态资源都可以放到这里。
-
gitignore文件: 这个主要是控制git提交和上传文件的,简称就是忽略提交
-
package.json文件:定义了项目所需要的文件和项目的配置信息(名称、版本和许可证),最主要的是使用npm install 就可以下载项目所需要的所有包
全局components
在组件中直接引用
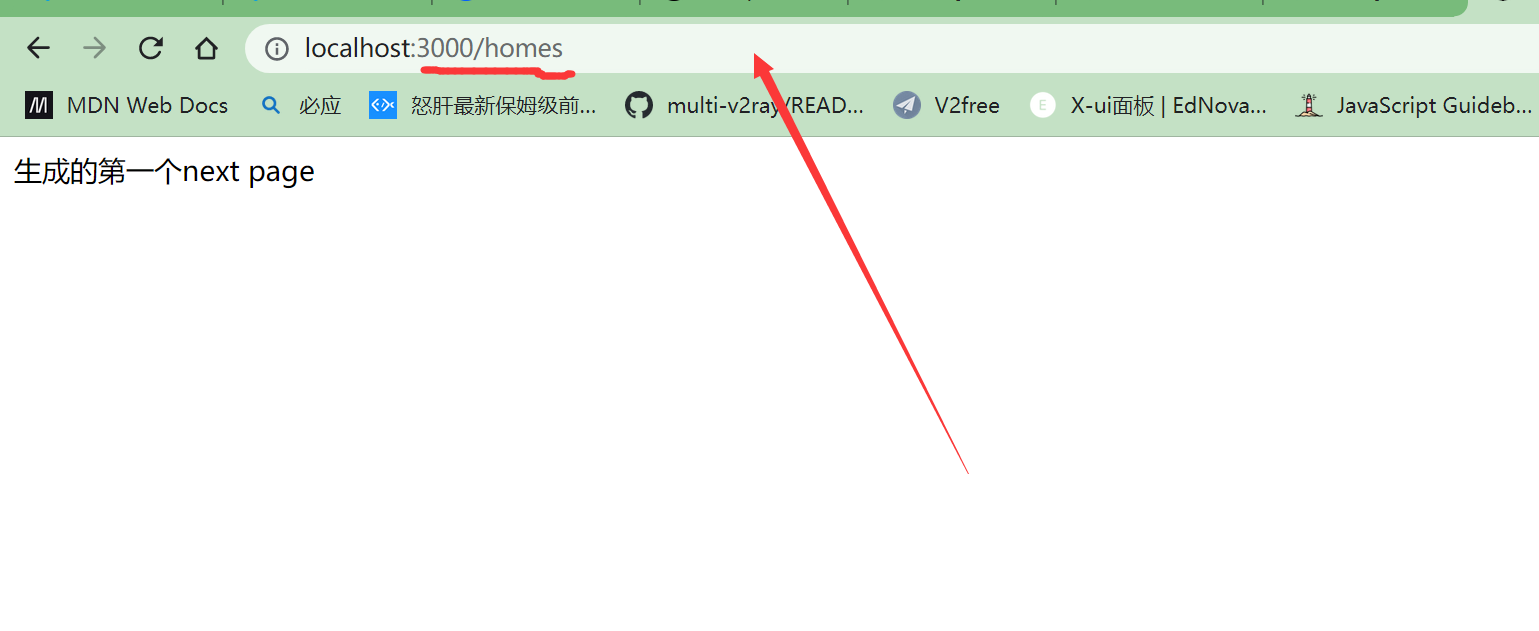
路由-基础和基本跳转
标签跳转
import Link from "next/link";
//引入

export default function Home() {
  return (
    <>
      <div>
          //使用跳转到指定页面
        <Link href="/Pageone">go one</Link>
      </div>
    </>
  );
}
有标签嵌套的话
 return (
    <>
      <div>
      //带上这个属性
        <Link href="/Pageone" legacyBehavior>
          <a >go pageone</a>
        </Link>
      </div>
    </>
  );
函数跳转
进行函数跳转
import Router from 'next/router'
引入后直接调用函数跳转
return (
    <div>
      this is pageone
      <Link href="/">返回首页</Link>
      <button onClick={()=>{
        Router.push('/') //url 直接跳转到页面
      }}>去页面</button>
    </div>
  );
query 传参
query方式传递参数?...
<div>

 <Link href="/Pageone?name='nameone'">传递参数</Link>
      </div>
页面接收参数:
import { withRouter } from "next/router";
const Pageone = (props: any) => {
  //解构router
  return (
    <div>
      this is pageone
      <Link href="/">返回首页</Link>
      <p>{props.router.query.name}</p>
      <button
        onClick={() => {
          Router.push("/");
        }}
      >
        去页面
      </button>
    </div>
  );
};
//外面包着,这是router提供的reactnode

export default withRouter(Pageone);
withRouter是Next.js框架的高级组件,用来处理路由用的
编程式跳转传递参数
export default function Home() {
  const Gotopage=()=>{
      Router.push('/Pageone')
      //编程跳转
  }
  return (
    <>
      <div>
        <Link href="/Pageone" legacyBehavior>
          <a >go pageone</a>
        </Link>
        <Link href="/Pageone?name='nameone'">传递参数</Link>
        <button onClick={Gotopage}>去页面 </button>

      </div>
    </>
  );
}
对象传递参数
Router.push({
      pathname: "", //目标地址
      query: {
        //query
        name: "123",
      },
    });
const Gotopage = () => {
    Router.push({
      pathname: "", //目标地址
      query: {
        //query
        name: "123",
      },
    });
  };
  return (
    <>
      <div>

        <button onClick={Gotopage}>去页面 </button>
      </div>
    </>
  );
标签也可以写成这种格式
<Link href={{pathname:'/Pageone',query:{name:1}}}>传递参数</Link>
路由的钩子函数
routerChangeStart路由发生变化时
//开始变化 监听
Router.events.on("routeChangeStart", (...args) => {
    console.log("1.routeChangeStart->路由开始变化,参数为:", ...args);
  });
//结束变化 监听
  Router.events.on('routeChangeComplete',(...args)=>{ts
    console.log('routeChangeComplete->路由结束变化,参数为:',...args)
  })
beforeHistoryChange浏览器history触发前
 Router.events.on('beforeHistoryChange',(...args)=>{
    console.log('3,beforeHistoryChange->在改变浏览器 history之前触发,参数为:',...args)
  })
routeChangeError路由跳转发生错误时
 Router.events.on('routeChangeError',(...args)=>{
    console.log('4,routeChangeError->跳转发生错误,参数为:',...args)
  })
转变成hash路由模式
 Router.events.on('hashChangeStart',(...args)=>{
    console.log('5,hashChangeStart->hash跳转开始时执行,参数为:',...args)
  })

  Router.events.on('hashChangeComplete',(...args)=>{
    console.log('6,hashChangeComplete->hash跳转完成时,参数为:',...args)
  })
在getInitialProps中用Axios获取远端数据
yarn add axios
import axios from 'axios'
在页面中获取数据
import axios from "axios";
import { resolve } from "dns";
import Link from "next/link";
import Router from "next/router";
import { withRouter } from "next/router";
const Pageone = (props: any) => {

  return (
    <div>
      this is pageone

      <div>{props.stars.contributors_url}</div>

    </div>
  );
};
//获取数据
Pageone.getInitialProps = async (ctx: any) => {
  const res = await axios("https://api.github.com/repos/vercel/next.js").then(
    (res) => {
    return res.data
    }
  );
		把数据给 peops starts对名字
  return { stars: res };
};
export default withRouter(Pageone);
初识Style JSX语法 把字体设成蓝色
 return (
    <>
      <div>
        this is pageone
        <Link href="/">返回首页</Link>
        <p>{props.router.query.name}</p>
        <div>{props.stars.contributors_url}</div>

      </div>
     //样式熟悉vue的话非常熟悉 模板语法
      <style jsx>
        {
            `
            div{
                color:blue
            }

            `
        }
      </style>
    </>
  );
界面上自动添加了前缀
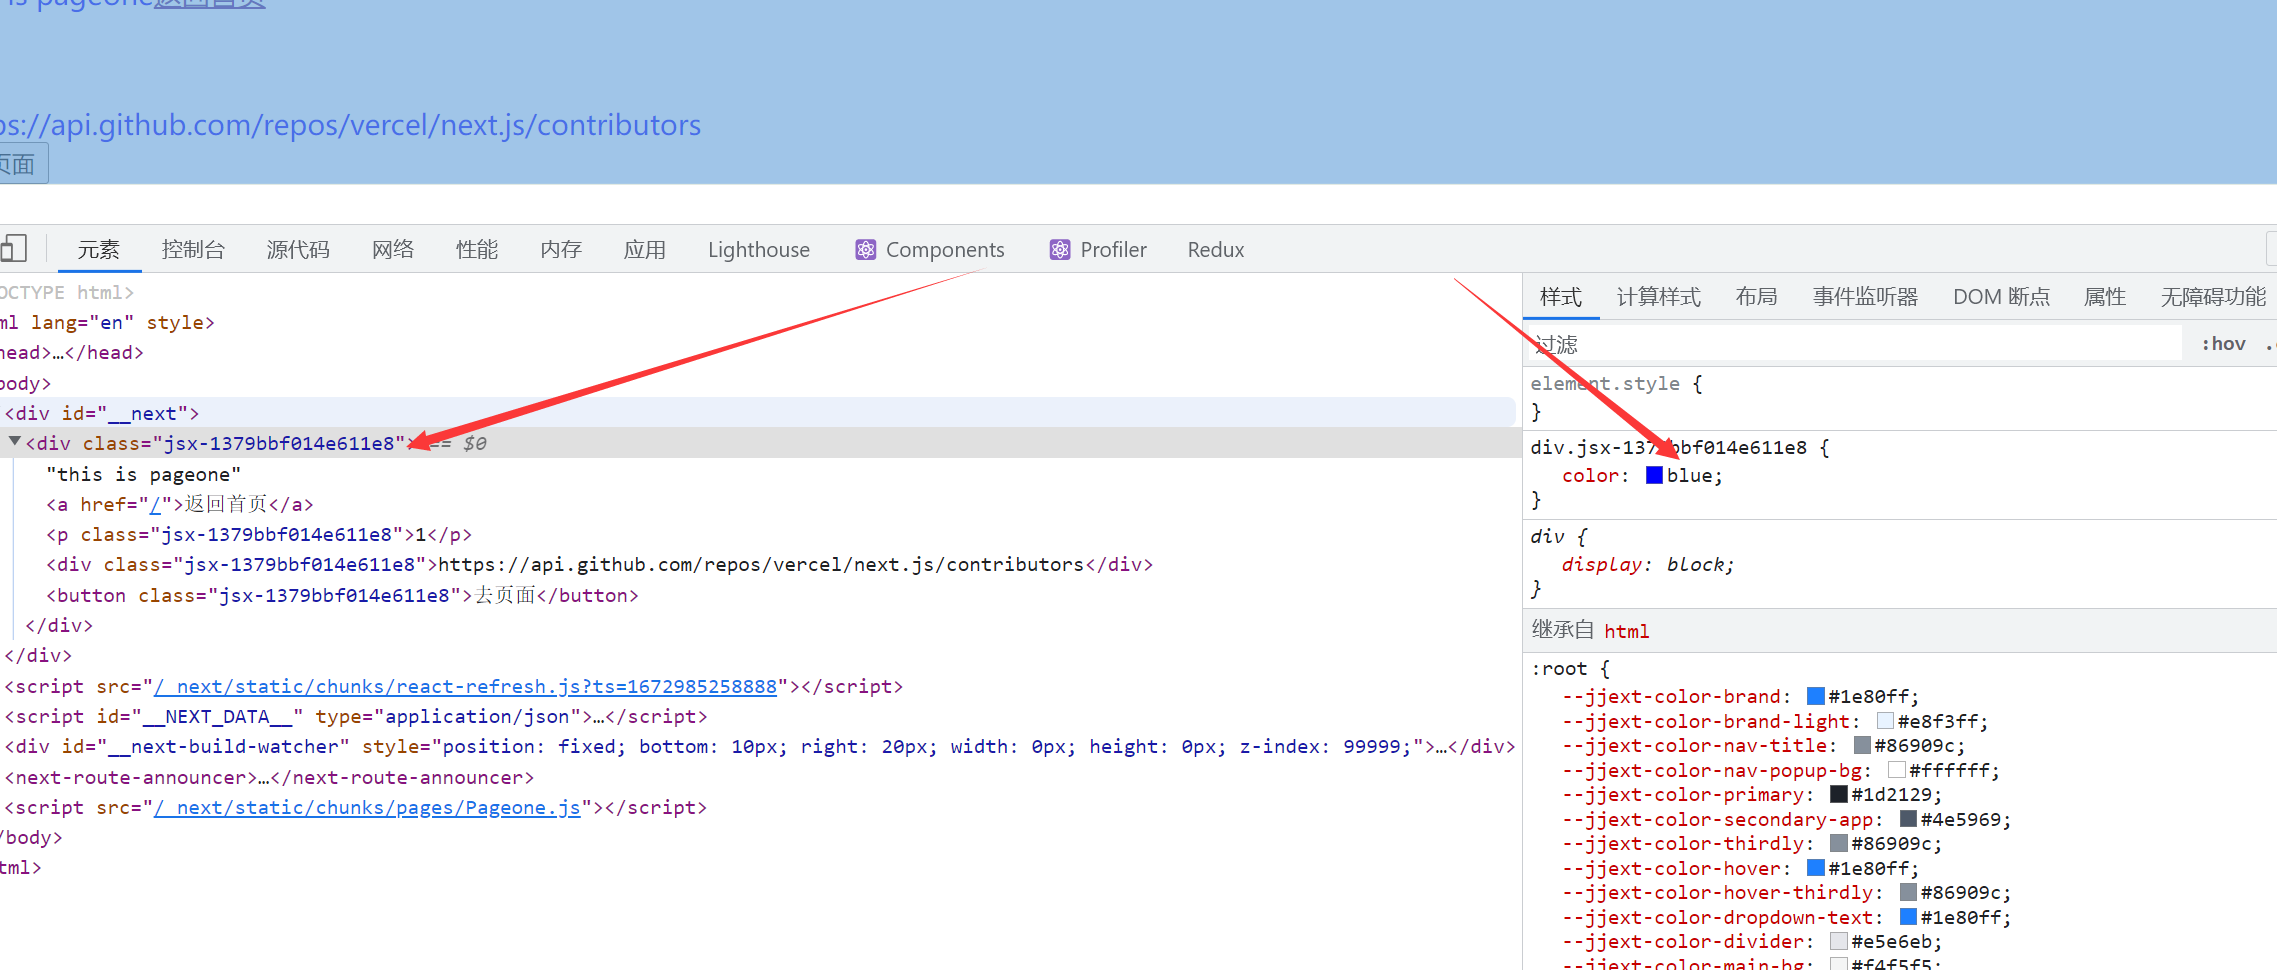
优点支持 div 类 的嵌套 缺点 都要用{}包起来
可以使用state变量
 const [color,setcolor]=useState<string>('blue')
  return (
    <>
      <div>
        this is pageone

        <div>{props.stars.contributors_url}</div>
        <button
          onClick={() => {
            Router.push("/");
          }}
        >
          去页面
        </button>
      </div>
      <style jsx>
        {
            `
            div{
                color:${color} //颜色变量
            }

            `
        }
      </style>
    </>
  );
模块懒加载
import dynamic from 'next/dynamic'
使用
const Newcomponents=dynamic(import('../components/newcomponents'))
//懒加载模块
 <>
      <div>
        <Newcomponents></Newcomponents> //使用
      </div>
    </>
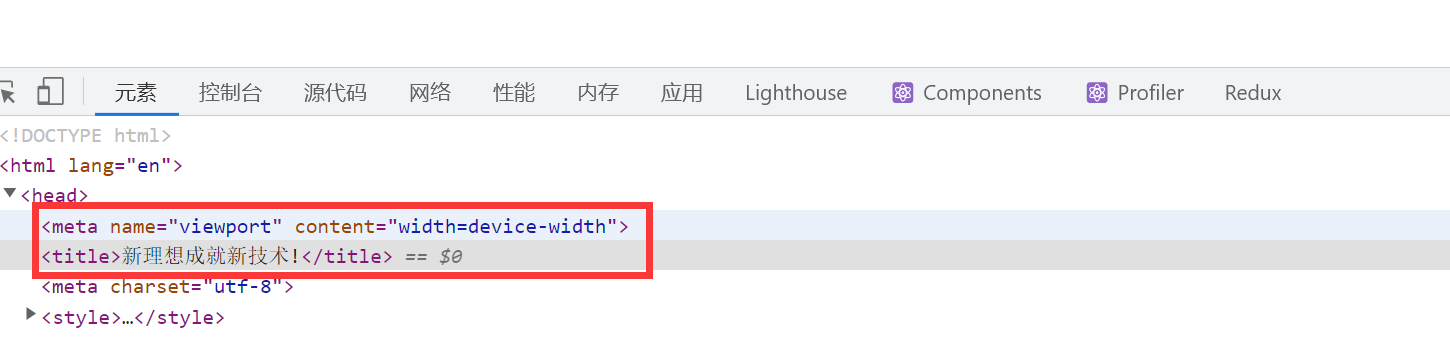
自定义SEO
import Head from 'next/head'
<Head>
        <title>新理想成就新技术!</title>
        <meta charSet="utf-8" />
      </Head>
页面中