1. 安装satis包
composer create-project composer/satis --stability=dev --keep-vcs
2. 添加配置文件
- cd satic
- vim satis.json添加类似如下内容
{
    "name": "My Repository",
    "homepage": "http://composer.xxxx.com",
    "repositories": [
        {"type": "vcs", "url": "https://github.com/xxxxx/reps_demo.git"},
        {"type": "vcs", "url": "https://github.com/xxxxx/hello-world.git"}
    ],
    "require":{
        "xxxxx/helloworld":"*",
        "xxxxx/hellow-world":"*"
    },
    "archive":{
        "directory":"dist",
        "format":"tar",
        "prefix-url":"http://composer.xxxx.com/",
        "skip-dev":true
    }
}
3. 配置文件详解
- name:仓库名字
- homepage:主页地址
- repositories:包所在地址
- require:指定获取哪些包及对应的版本,获取所有包使用"require-all": true,与包中composer.json中的名称相同,不同会出现问题
- directory: 必需要的,表示生成的压缩包存放的目录,会在build时的目录中
- format: 压缩包格式, zip(默认)和tar
- prefix-url: 下载链接的前缀的Url,默认会从homepage中取
- skip-dev: 默认为假,是否跳过开发分支
- absolute-directory: 绝对目录
- whitelist: 白名单,只下载哪些
- blacklist: 黑名单,不下载哪些
- checksum: 可选,是否验证sha1
4. 生成站点
bin/satis build satis.json ./public
5. 服务配置
php -S 127.0.0.1:8080 -t ./public
server {
    listen  80;
    server_name composer.xxxx.com;
    index index.html index.php;
    root /home/wwwroot/satis/public;

    location ~ \.php$ {
        include fastcgi_params;
        fastcgi_pass   127.0.0.1:9000;
        fastcgi_index  index.php;
        fastcgi_param  SCRIPT_FILENAME  $document_root$fastcgi_script_name;
        include        fastcgi_params;
    }
    access_log  /home/wwwlogs/composer.xxxx.com-access.log;
    error_log /home/wwwlogs/composer.xxxx.com-error.log  error;
}
6. 查看私有仓库是否正常访问
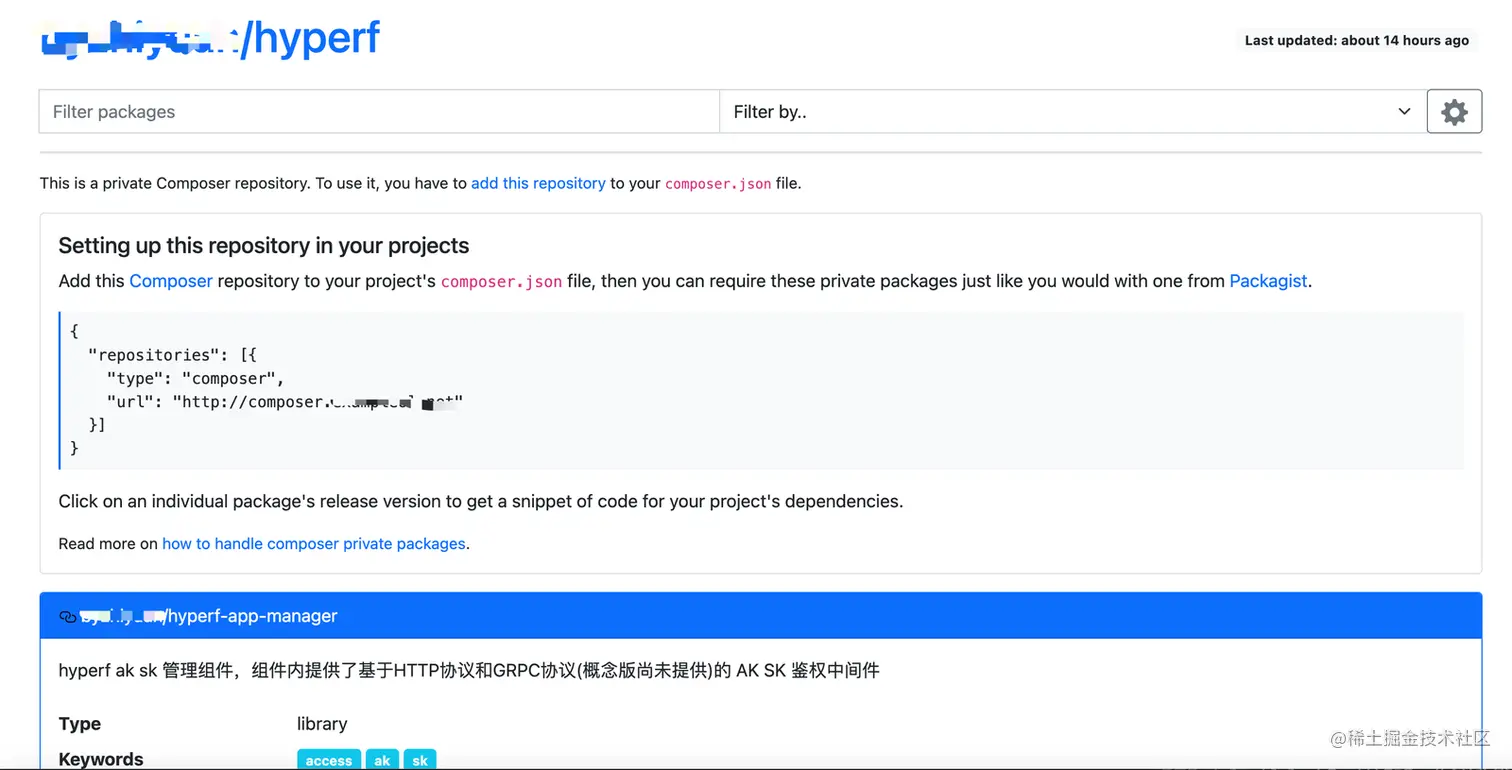
7. composer配置
composer config -g secure-http false
8. 使用私有仓库包
- 在自己项目中的composer.json中添加类似如下内容
{
  "repositories": [
      {"type": "composer","url": "http://composer.xxxx.com"}
  ],
  "config": {
      "secure-http": false
  },
  "require":{
      "xxxxx/helloworld":"*",
      "xxxxx/hellow-world":"*"
  }
}


