

请记住,这是一篇"超级简单的开始 "的文章。这意味着本文的目标读者是那些有使用Remix经验的人,他们对没有Remix为你提供的所有好东西的零碎工作感到好奇。正因为如此,这篇文章可能会让人觉得Remix比实际情况更难使用。如果你刚开始使用Remix或想了解它,这不是一篇好文章。
我将很快写一篇好的初学者指南文章。
自从我在2015年开始使用React以来,Remix让我对建设更好的网站比其他任何东西都更兴奋。我有很多话要说,但在这篇博文中,我们要尽可能地排除干扰,给Remix一个 "超级简单的开始 "的待遇。因此,尽管Remix有一个花哨的npx create-remix@latest ,你可以运行(这比我要给你看的要简单得多),我们要跳过这一点,建立一个简单的remix应用,从完全没有到运行,这样我们就可以检查让它运行所需的每一点。
在我们开始之前,为我们的项目创建一个文件夹。我将是超级原创的,把我的放在桌面上,文件夹名称为 "super-simple-start-to-remix"。好了,现在我们准备好了!
1.安装Remix
我们可以像往常一样,将Remix与我们需要的其他软件包一起安装,以便开始工作。
npm install react react-dom
npm install --save-dev @remix-run/dev
2.配置Remix
很好,安装好这些东西后,让我们来配置Remix。创建一个remix.config.js 。
module.exports = {}
是的,这就是你需要的一切。默认情况下都能正常工作,但如果没有配置文件,Remix就无法构建,所以我们要创建这个文件。
3.用Remix构建应用程序
让我们在我们的package.json ,添加一个build 脚本。
{
  "scripts": {
    "build": "remix build"
  },
  "dependencies": {
    "react": "^18.2.0",
    "react-dom": "^18.2.0"
  },
  "devDependencies": {
    "@remix-run/dev": "^1.6.5"
  }
}
很好,让我们来运行构建!
npm run build

Building Remix app in production mode...
Missing "entry.client" file in ~/Desktop/super-simple-start-to-remix/app
啊,是的,让我们添加那个文件。
mkdir app
touch app/entry.client.jsx
然后再次运行构建。
npm run build

Building Remix app in production mode...
Missing "entry.server" file in ~/Desktop/super-simple-start-to-remix/app
好的,让我们添加那个。
touch app/entry.server.jsx
再来一次。
npm run build

Building Remix app in production mode...
Missing "root" file in ~/Desktop/super-simple-start-to-remix/app
也许这是最后一个了?
touch app/root.jsx
好的,让我们再运行一次构建。
npm run build

Building Remix app in production mode...
Built in 234ms
成功了!现在让我们看看我们的文件结构。这里是构建前的情况(忽略了node_modules )。
.
├── app
│   ├── entry.client.jsx
│   ├── entry.server.jsx
│   └── root.jsx
├── package-lock.json
├── package.json
└── remix.config.js
而一旦我们运行npm run build ,Remix就会为我们创建一些文件。
.
├── app
│   ├── entry.client.jsx
│   ├── entry.server.jsx
│   └── root.jsx
├── build
│   ├── assets.json
│   └── index.js
├── package-lock.json
├── package.json
├── public
│   └── build
│       ├── _shared
│       │   └── chunk-DH6LPQ4Z.js
│       ├── entry.client-CY7AAJ4Q.js
│       ├── manifest-12E650A9.js
│       └── root-JHXSOSD4.js
└── remix.config.js
注意:Remix支持TypeScript,但我们要保持简单。 此外,由于我们计划在这些文件中使用JJSX,它们需要.jsx。Remix使用esbuild,如果你想使用JJSX,它需要一个.jsx 或.tsx 扩展。
很好!我们建立了它...现在怎么办?
4.编码我们的Remix应用程序
Remix是一个服务器端渲染的React框架。到目前为止,我们只是让它为我们编译东西。让我们实际运行一个服务器并在屏幕上显示一些东西。
让我们先在root.jsx ,填上一些东西。这是Remix要渲染的根元素。
import * as React from 'react'

export default function App() {
  const [count, setCount] = React.useState(0)
  return (
    <html>
      <head>
        <title>My First Remix App</title>
      </head>
      <body>
        <p>This is a remix app. Hooray!</p>
        <button onClick={() => setCount(c => c + 1)}>{count}</button>
      </body>
    </html>
  )
}
我们可以渲染<html> 元素,这很好吧?是的,这比你想象的要酷,我向你保证。
好了,接下来,让我们填入entry.client.jsx 。
import {RemixBrowser} from '@remix-run/react'
import {hydrateRoot} from 'react-dom/client'

hydrateRoot(document, <RemixBrowser />)
那是什么?我们在...为document ?这多好啊!
最后,让我们填写entry.server.jsx 。
import ReactDOMServer from 'react-dom/server'
import {RemixServer} from '@remix-run/react'

export default function handleRequest(
  request,
  responseStatusCode,
  responseHeaders,
  remixContext,
) {
  const markup = ReactDOMServer.renderToString(
    <RemixServer context={remixContext} url={request.url} />,
  )

  responseHeaders.set('Content-Type', 'text/html')

  return new Response(`<!DOCTYPE html>${markup}`, {
    status: responseStatusCode,
    headers: responseHeaders,
  })
}
这个也很不错。所以我们导出一个默认的函数,接受我们所需要的一切,我们可以返回响应。那个Response 对象是一个真正的 Response 对象(或者,至少是一个节点的等价物)。在该死的MDN上了解更多!(抱歉,我只是真的喜欢Remix的这一部分)。
我真的很喜欢我们在这里得到的控制权。我们负责调用renderToString 和hydrate 。这给了我们很大的权力,这也意味着我们不需要学习Remix为我们制作的特别的API,他们也不需要制作特别的选项来定制这些,因为控制权在我们手中。非常酷。
好了,让我们再试着运行一次构建吧!
npm run build

Building Remix app in production mode...
The path "@remix-run/react" is imported in app/entry.server.jsx but "@remix-run/react" was not found in your node_modules. Did you forget to install it?

✘ [ERROR] Could not resolve "@remix-run/react"

    app/entry.client.jsx:1:29:
      1 │ import { RemixBrowser } from "@remix-run/react";
        ╵                              ~~~~~~~~~~~~~~~~~~

  You can mark the path "@remix-run/react" as external to exclude it from the bundle, which will remove this error.


Build failed with 1 error:
app/entry.client.jsx:1:29: ERROR: Could not resolve "@remix-run/react"
哦,对了,我们正在使用@remix-run/react 包来安装RemixBrowser 和RemixServer 组件。让我们安装它。
npm install @remix-run/react
现在让我们再试着构建。
npm run build

Building Remix app in production mode...
Built in 121ms
太棒了!它成功了 🎉 现在我们有了真正的东西,可以运行和构建。进入下一个步骤。
5.运行我们的Remix服务器
有一些@remix-run/{adapter} 包,我们可以使用这些包进行服务器端平台的特定工作。目前,这里是我们目前可以使用的所有适配器。
在任何可以运送节点和/或docker容器的地方进行部署。
@remix-run/node@remix-run/express@remix-run/serve
部署到特定的平台(无服务器等)。
@remix-run/deno@remix-run/architect@remix-run/vercel@remix-run/netlify@remix-run/cloudflare-workers
而且你甚至可以建立你自己的适配器。大多数适配器只有几百行代码(有些甚至没有那么多)。
这些适配器主要做的事情是将Request/Response从特定平台的对象转换为Web标准的Request/Response(或其聚满版本)。
对于我们的简单应用,我们将使用@remix-run/serve ,它是建立在@remix-run/express 之上的,而 实际上是建立在@remix-run/node 之上的。所以这可以部署在任何你可以部署node 服务器的地方。最酷的是,如果你想在其他地方部署,你完全可以,你只需要换掉你在package.json 中使用的适配器,只要你自己的代码和其他依赖项被平台支持,你就应该可以了。
让我们安装@remix-run/serve 。
npm install @remix-run/serve
好了,所以我们要 "开发 "我们的应用程序,对吗?所以让我们把dev 脚本添加到我们的package.json 。
{
  "scripts": {
    "build": "remix build",
    "dev": "remix dev"
  },
  "dependencies": {
    "@remix-run/react": "^1.6.5",
    "@remix-run/serve": "^1.6.5",
    "react": "^18.2.0",
    "react-dom": "^18.2.0"
  },
  "devDependencies": {
    "@remix-run/dev": "^1.6.5"
  }
}
现在如果我们运行npm run dev ,我们会得到这样的输出。
Watching Remix app in development mode...
💿 Built in 156ms
Remix App Server started at http://localhost:3000 (http://192.168.115.103:3000)
该输出显示,remix dev 做了两件事。
Remix App Server started at http://localhost:3000:这来自于remix-serve,它正在根据build目录中的内容运行一个简单的Express服务器。💿 Built in 156ms:这来自于remix build,它正在观察模式和开发模式下运行。
每当我们做了一个改变,build 中的输出就会被更新,Express 服务器就会接收这些改变。
remix dev 还做了一件事,就是与浏览器一起启动一个 websocket 以支持实时重载。目前还不支持 "热模块替换"(HMR),我知道对很多人来说,这是一个阻碍,但我鼓励你坚持下去。最终HMR将被支持。就我个人而言,我实际上完全同意这一点。此外,由于你用remix写的很多代码都是服务器端的,你通常需要全页面刷新,以使所有服务器端的代码重新运行。同样,HMR将在未来出现。
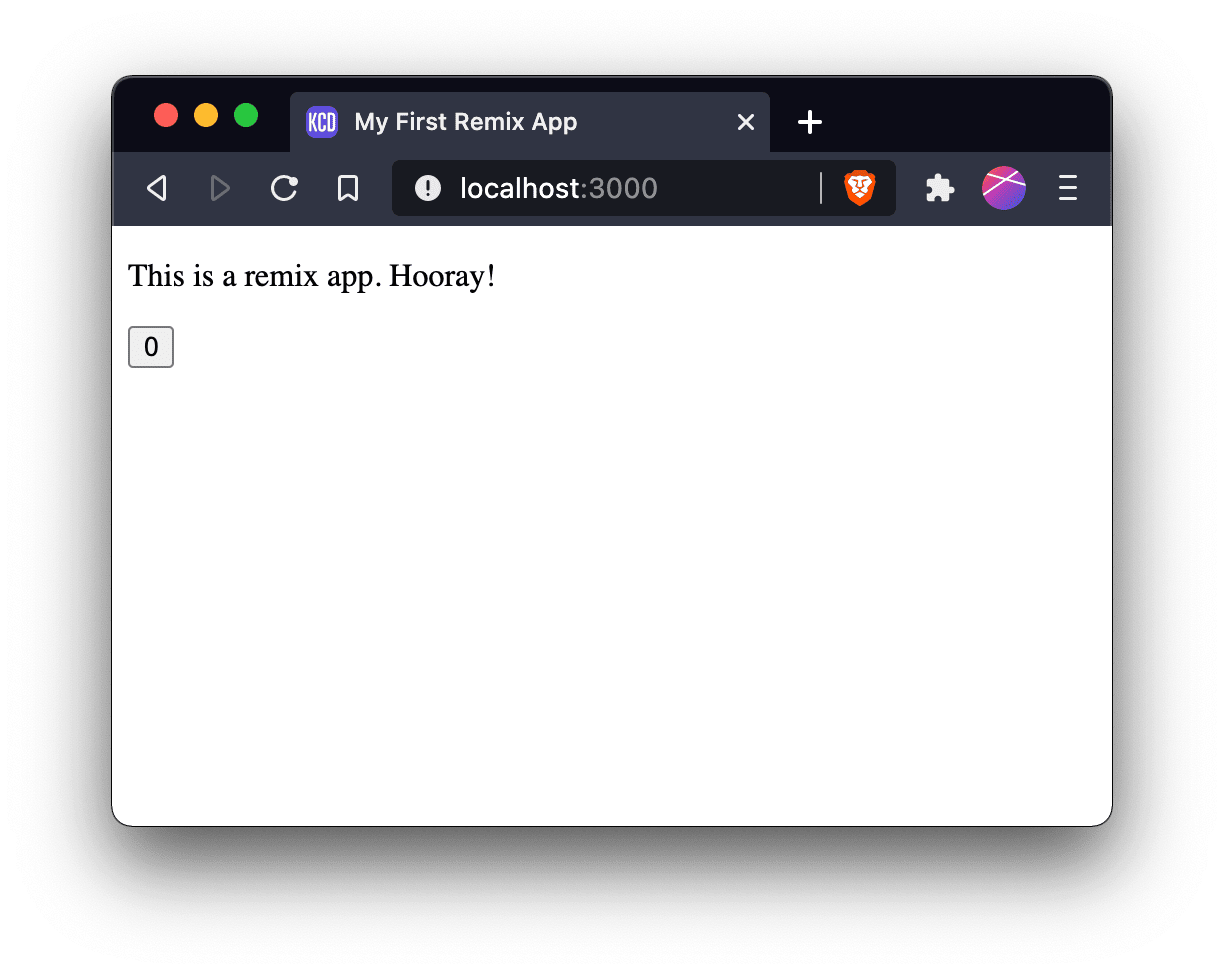
好的,很好,让我们把它打开吧!导航到localhost:3000,然后噗通一声。
6.为我们的Remix应用注入水分
但是,哦不!如果我们点击那个按钮,什么都不会发生。很奇怪......我以为这是一个反应式应用程序。我以为这是一个反应式应用程序。让我们看一下网络标签。

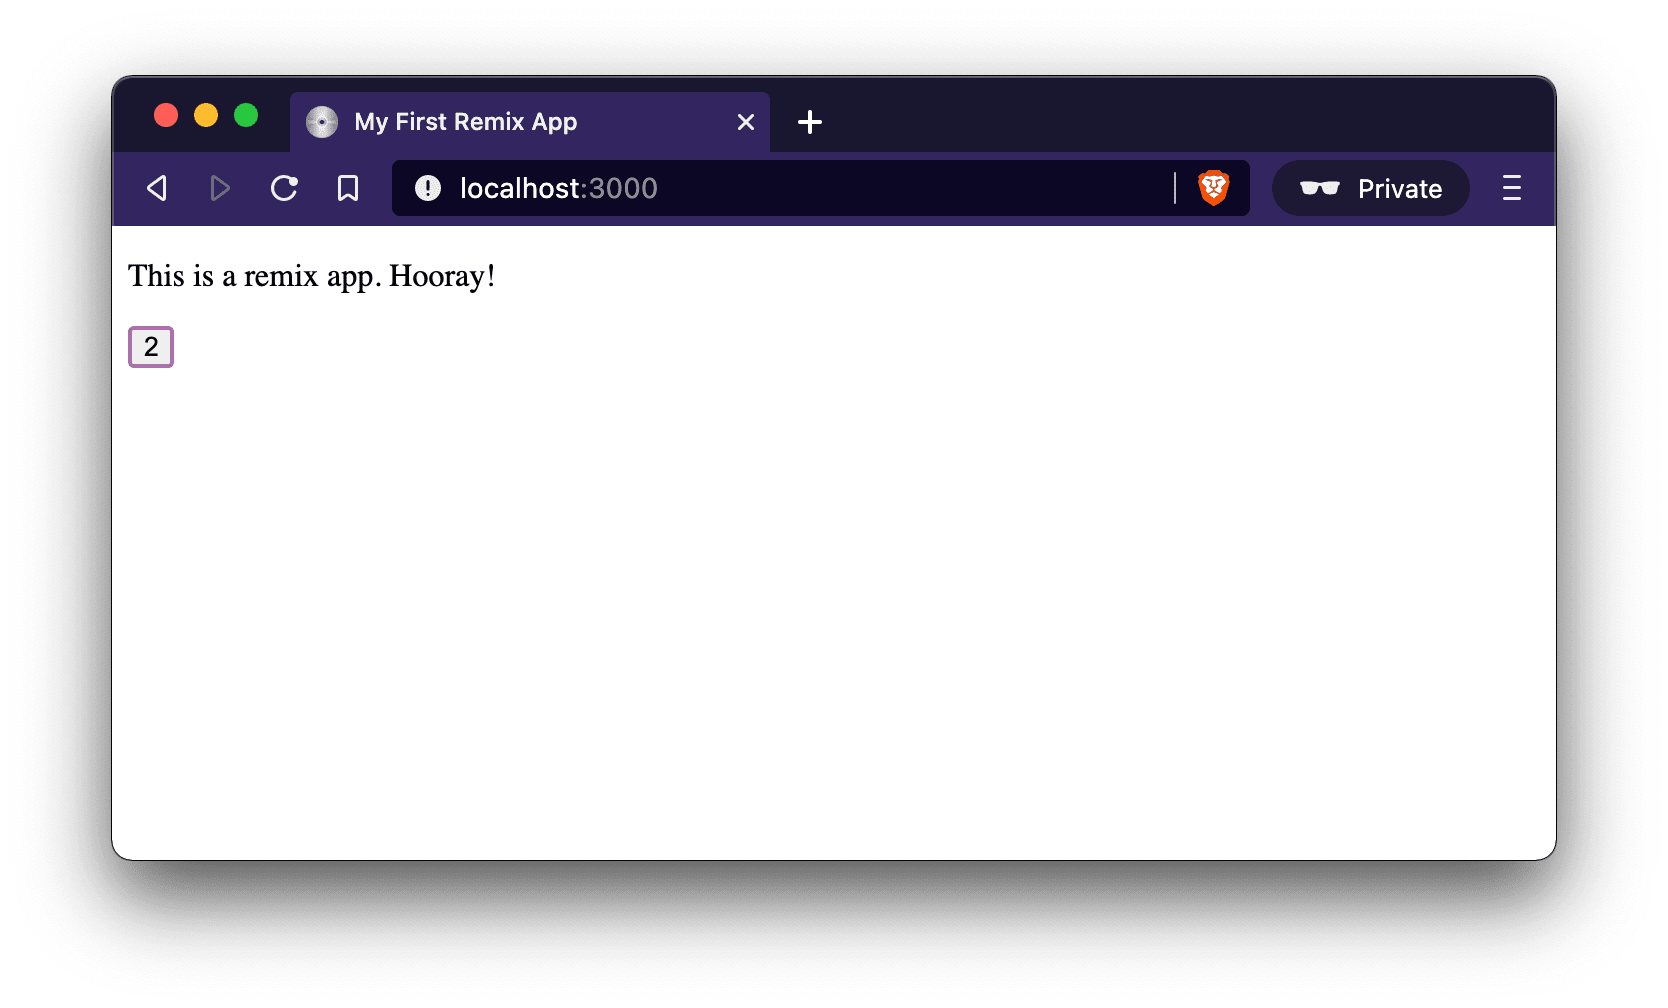
注意到有什么遗漏吗?哦,是的!没有JavaScript!是的,没错,使用Remix,你可以选择是否加载任何JavaScript。这并不是一个配置问题。还记得我们是如何从<html> 开始负责整个文档的吗?很酷吧?因此,让我们更新我们的app/root.jsx ,包括脚本标签。Remix给了我们一个组件,我们可以渲染这个脚本标签。
import * as React from 'react'
import {Scripts} from '@remix-run/react'

export default function App() {
  const [count, setCount] = React.useState(0)
  return (
    <html>
      <head>
        <title>My First Remix App</title>
      </head>
      <body>
        <p>This is a remix app. Hooray!</p>
        <button onClick={() => setCount(c => c + 1)}>{count}</button>
        <Scripts />
      </body>
    </html>
  )
}
另外,缺少favicon的事情也很烦人,所以我将添加这个很酷的CD作为favicon。

只要把那个.ico 文件放到public 目录中就可以了。@remix-run/serve 会自动为该目录中的文件提供服务,浏览器(默认情况下会寻找该文件)就可以通过这种方式获得。
很好,让我们现在试试。

如果我们在文件上 "查看源代码",我们得到的结果是这样的(有格式)。
<!DOCTYPE html>
<html>
  <head>
    <title>My First Remix App</title>
  </head>
  <body>
    <p>This is a remix app. Hooray!</p>
    <button>0</button>
    <link rel="modulepreload" href="/build/_shared/chunk-PYN2BJX3.js" />
    <link rel="modulepreload" href="/build/root-FYPD7R2X.js" />
    <script>
      window.__remixContext = {
        actionData: undefined,
        appState: {
          trackBoundaries: true,
          trackCatchBoundaries: true,
          catchBoundaryRouteId: null,
          renderBoundaryRouteId: null,
          loaderBoundaryRouteId: null,
          error: undefined,
          catch: undefined,
        },
        matches: [
          {
            params: {},
            pathname: '/',
            route: {
              id: 'root',
              parentId: undefined,
              path: '',
              index: undefined,
              caseSensitive: undefined,
              module: '/build/root-FYPD7R2X.js',
              imports: undefined,
              hasAction: false,
              hasLoader: false,
              hasCatchBoundary: false,
              hasErrorBoundary: false,
            },
          },
        ],
        routeData: {},
      }
    </script>
    <script src="/build/manifest-142295AD.js"></script>
    <script type="module">
      import * as route0 from '/build/root-FYPD7R2X.js'
      window.__remixRouteModules = {root: route0}
    </script>
    <script src="/build/entry.client-UK7WD5HF.js" type="module"></script>
  </body>
</html>
所以这很好。Remix不仅添加了脚本标签,而且还为我们预装了东西,所以我们没有瀑布流(你会注意到网络标签上的所有资源都是同时开始加载的)。当我们开始路由时,这将变得更加有趣,但我们将保持简单的事情。
7.本地运行生产模式
好了,让我们在本地建立并运行这个东西。因此,首先我们需要运行生产模式,以获得所有的迷你化,并让React为生产模式进行自我优化。
npm run build

Building Remix app in production mode...
Built in 281ms
现在,让我们添加一个start 脚本,为我们的build 目录运行remix-serve 。
{
  "scripts": {
    "build": "remix build",
    "dev": "remix dev",
    "start": "remix-serve ./build"
  },
  "dependencies": {
    "@remix-run/react": "^1.6.5",
    "@remix-run/serve": "^1.6.5",
    "react": "^18.2.0",
    "react-dom": "^18.2.0"
  },
  "devDependencies": {
    "@remix-run/dev": "^1.6.5"
  }
}
还有一件事我们要做的是把NODE_ENV 设置为production ,这样我们使用的任何依赖在生产模式下操作略有不同,就会像预期的那样工作,所以让我们添加cross-env ,并用它设置NODE_ENV 。
{
  "scripts": {
    "build": "remix build",
    "dev": "remix dev",
    "start": "cross-env NODE_ENV=production remix-serve ./build"
  },
  "dependencies": {
    "@remix-run/react": "^1.6.5",
    "@remix-run/serve": "^1.6.5",
    "cross-env": "^7.0.3",
    "react": "^18.2.0",
    "react-dom": "^18.2.0"
  },
  "devDependencies": {
    "@remix-run/dev": "^1.6.5"
  }
}
酷,所以让我们开始吧。
npm start

Remix App Server started at http://localhost:3000 (http://192.168.115.103:3000)
如果我们打开它,我们会看到它正在完美地工作。
万岁!
总结
你有很多选择来实际部署你的Remix应用到生产中,当你用简单的方法设置Remix时(通过npx create-remix@latest ),它会让你选择你想使用的支持服务,它会吐出你需要的所有配置和说明,所以我不打算在这里介绍。
Remix还有很多内容,但这是一个 "超级简单的开始",所以我想尽可能少地告诉你所有的活动部件在哪里,以便用Remix启动和运行。正如我所说,npx create-remix@latest,这一切都很容易,但希望这个演练能帮助你了解Remix的哪些部分是做什么的。
祝您愉快!
