一.普通部署
1. 准备工作
我准备了3台centos7虚拟机,IP分别是159.10,159.11,159.12
elasticsearch [下载](https:
elasticsearch-analysis-ik [中文分词器下载](https:
这里需要注意,上面2个版本号必须一致,另外elasticsearch需要jdk,我这里是直接下载了1.8jdk:
yum -y install java-1.8.0-openjdk
检查版本java -version
2. 安装及修改配置
2.1 上传2个压缩包并解压,elasticsearch mv 到 /usr/local/下,
其中中文分词器 mv 到 /usr/local/elasticsearch-7.17.6/plugins/ik
2.2 以下避免启动出现问题,需要在每台服务器root用户下进行以下设置
vim /etc/sysctl.conf
vm.max_map_count=655360
sysctl -p
vim /etc/security/limits.conf
* soft nofile 65536
* hard nofile 131072
* soft nproc 2048
* hard nproc 4096
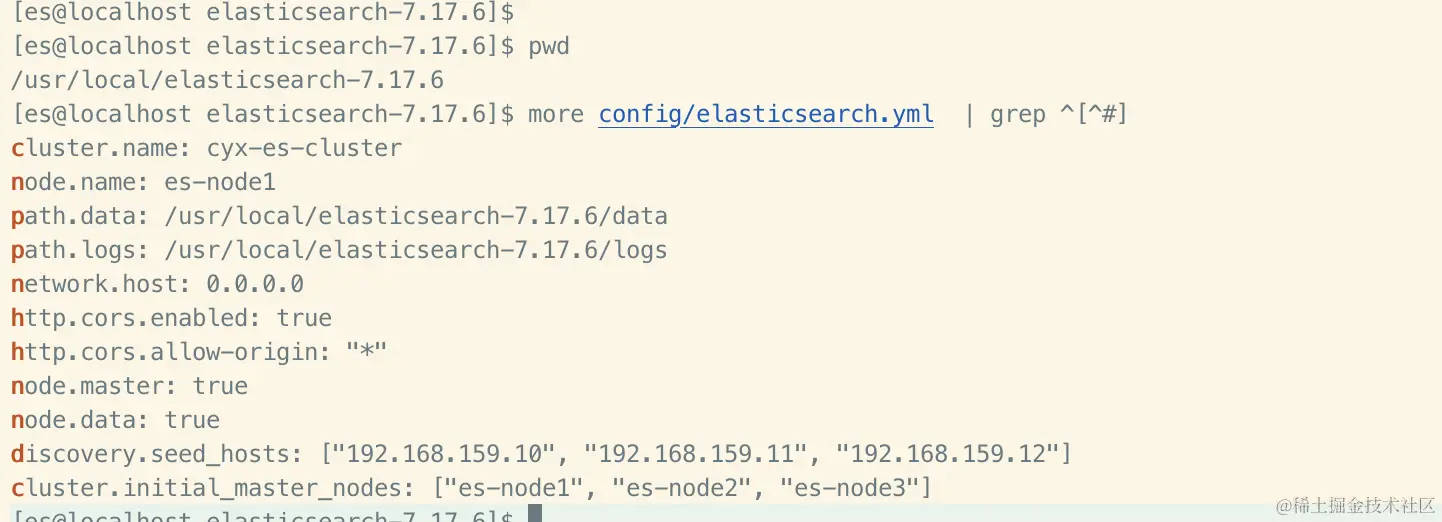
2.3 修改 config/elasticsearch.yml,如下图
159.11, 159.12只需要改 node.name 即可,其他保持一致
node.name: es-node2
node.name: es-node3
3.启动并检查
elasticsearch 根目录下 执行./bin/elasticsearch, 有下图就表示正常
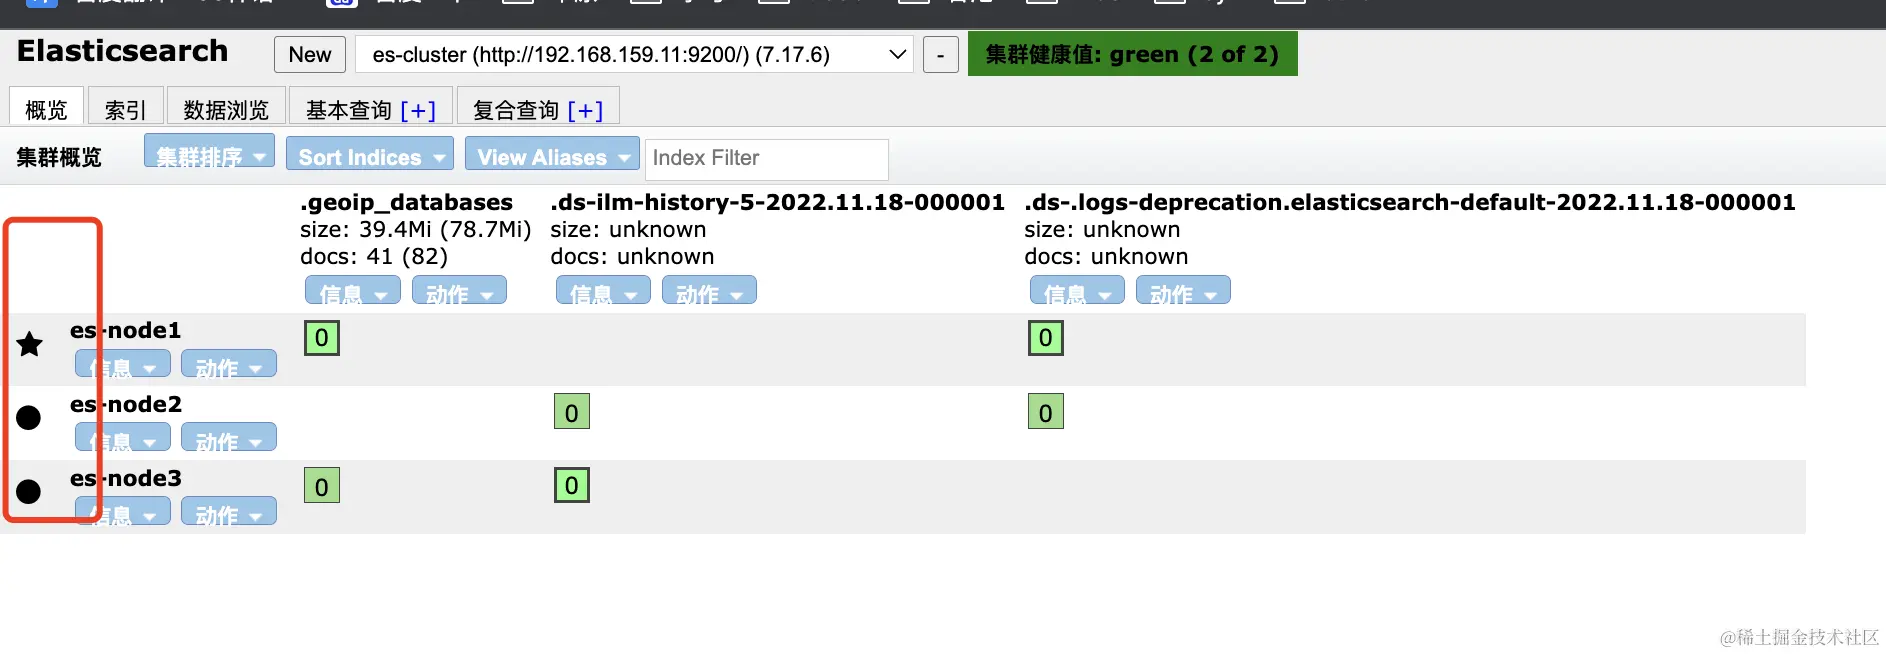
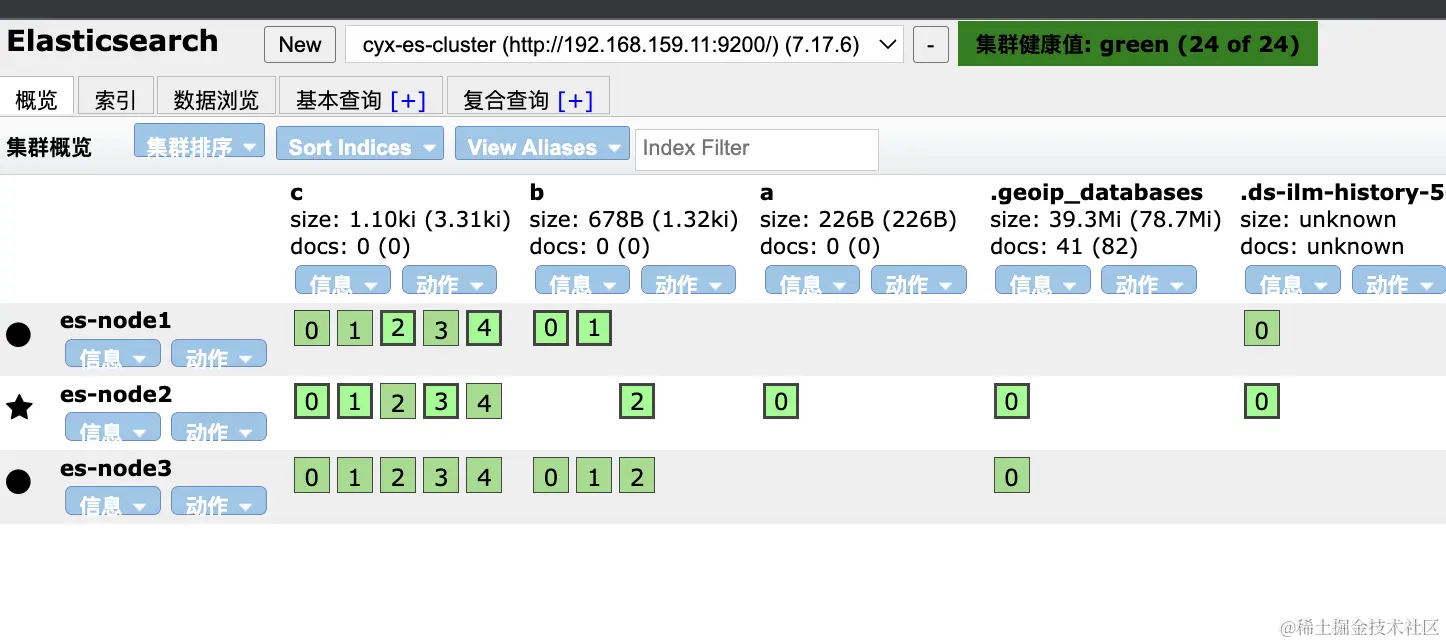
安装chrome应用商店的 elasticsearch-head 查看集群状况
下图是我测试后的索引分片情况,高亮的是shard, 低亮的是备份replica,大家可以down掉其中一台测试分片shard的情况

二.docker-compose部署
1.环境准备
还是刚3台虚拟机,前面的service都 kill 掉并检查
ps -ef | grep elastic

直接pull初始镜像
docker pull docker.elastic.co/elasticsearch/elasticsearch:7.17.6

新建挂载文件,结构如下
**重中之中:挂载的data和logs必须加权限,不然启动时会报错**
chmod 777 -R es-cluster

文件架结构:
es-cluster
    node01
        config
        data
        logs
    node02
        config
        data
        logs
    node03
        config
        data
        logs
2.docker-compose.yml
制作docker-compose文件,3个的区别就是容器名及挂载的路径,其他无差
docker-compose.yml
version: '3'

services:
  elasticsearch:
    image: docker.elastic.co/elasticsearch/elasticsearch:7.17.6
    container_name: es-node1
    restart: unless-stopped
    volumes:
      - "./es-cluster/node01/data:/usr/share/elasticsearch/data"
      - "./es-cluster/node01/logs:/usr/share/elasticsearch/logs"
      - "./es-cluster/node01/config/elasticsearch.yml:/usr/share/elasticsearch/config/elasticsearch.yml"
      - "./es-cluster/node01/config/jvm.options:/usr/share/elasticsearch/config/jvm.options"
    environment:
      TZ: Asia/Shanghai
      LANG: en_US.UTF-8
    ports:
      - "9200:9200"
      - "9300:9300
3.相关配置
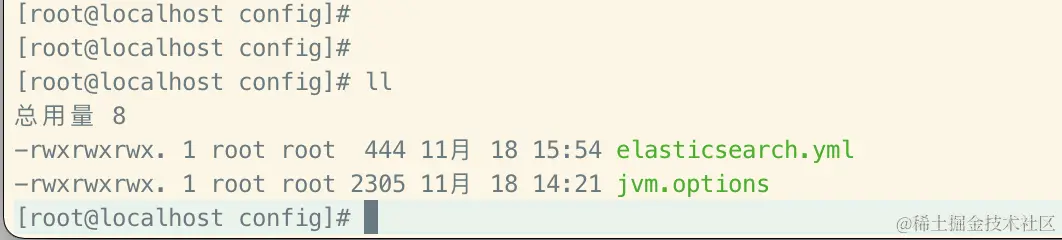
将之前的elasticsearch.yml及jvm.options 复制到 对应的 es-cluster/node0*/config/ 中
具体配置如下, 需要注意一个配置 network.publish_host
这个是通信地址,如果不写成hostname,会用错网卡导致9300通信失败,集群内就算同网络也无法通讯
cluster.name: "es-cluster"
node.name: "es-node1"
network.host: 0.0.0.0
network.publish_host: 192.168.159.10
http.port: 9200
transport.port: 9300
http.cors.enabled: true
http.cors.allow-origin: "*"
node.master: true
node.data: true
discovery.seed_hosts: ["192.168.159.10", "192.168.159.11", "192.168.159.12"]
cluster.initial_master_nodes: ["es-node1", "es-node2", "es-node3"]
4.启动服务并验证
可以看到集群部署ok,es-node1是master,另外2个是slave