

创建数据库
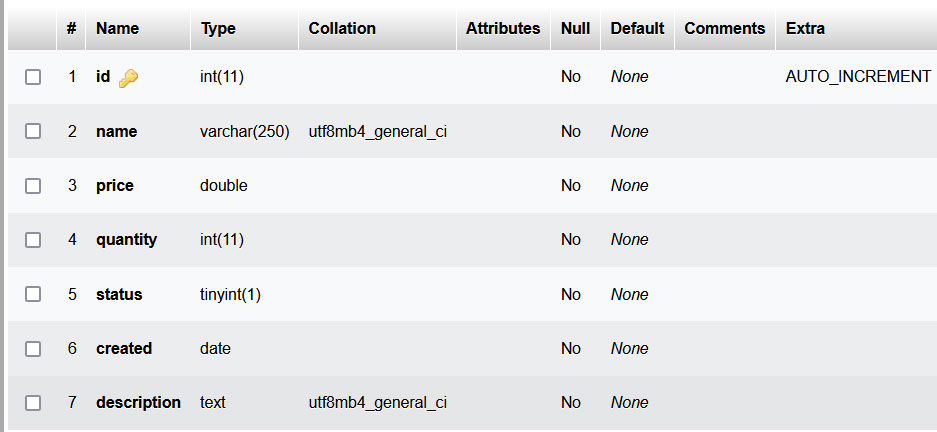
创建名为laravel_db的新数据库。在这个数据库中,创建新的表,命名为产品,如下所示。
产品表的结构
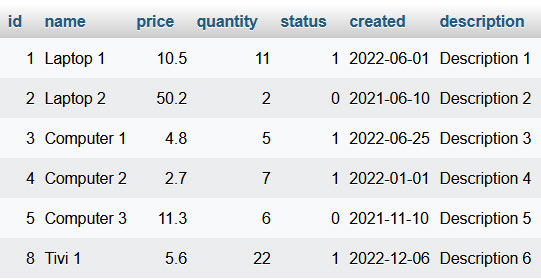
产品表的数据
安装Laravel
-
从getcomposer.org/download/下载并安装最新版本的Composer.
-
在Visual Studio Code中打开Windows终端,用下面的命令安装Laravel安装程序。
composer global require laravel/installer -
创建新的文件夹,命名为LearnLaravelWithRealApps.使用Visual Studio Code打开LearnLaravelWithRealApps文件夹.在这个文件夹中,创建新的项目,名为LearnLaravelWithRealApps,命令如下。
laravel new LearnLaravelWithRealApps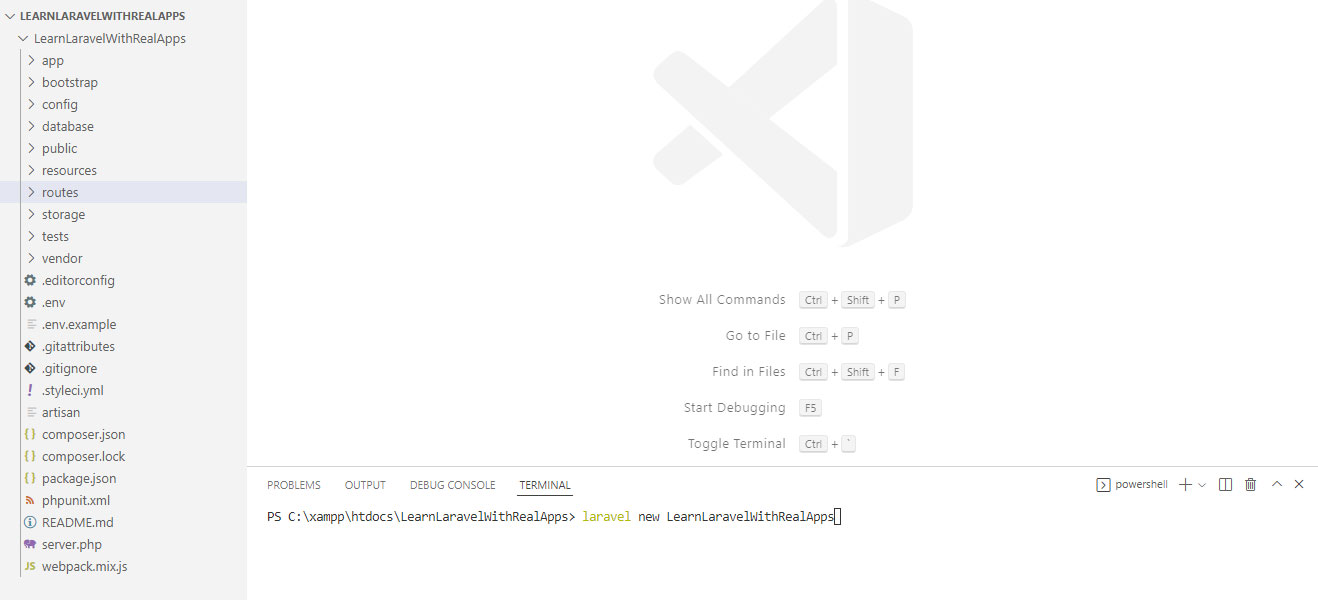
-
运行LearnLaravelWithRealApps项目,命令如下。
php artisan serve -
打开LearnLaravelWithRealApps项目,网址如下。
http://localhost:8000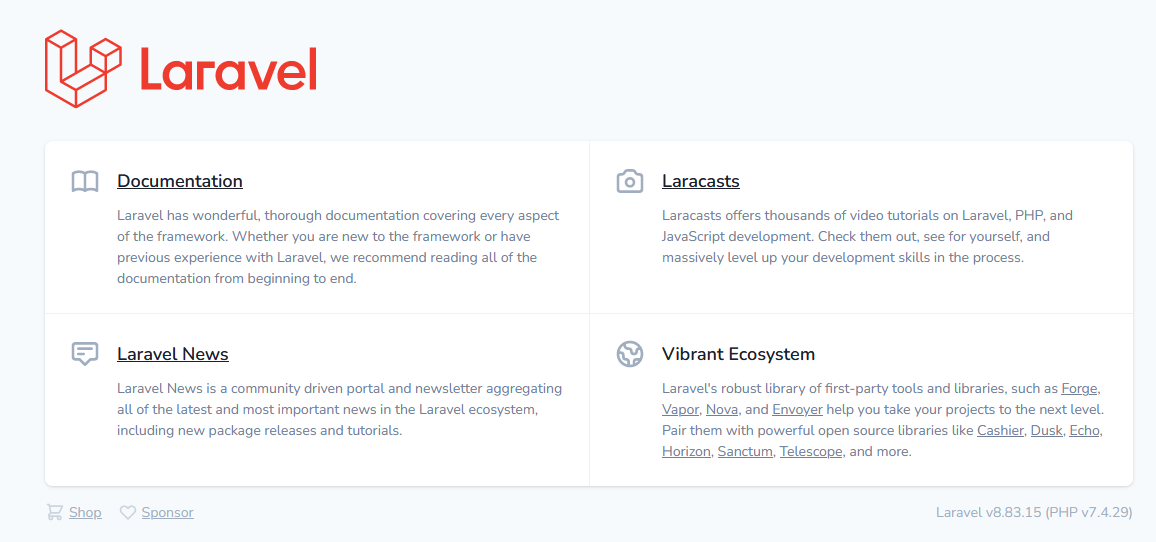
连接到数据库
打开根目录下的**.env**文件.添加如下值,连接到数据库。
DB_CONNECTION=mysql
DB_HOST=localhost
DB_PORT=3306
DB_DATABASE=laravel_db
DB_USERNAME=root
DB_PASSWORD=
清除配置缓存
在Visual Studio Code中打开Windows终端,用以下命令清除配置缓存。
php artisan config:clear
创建产品模型
在app/Models文件夹下创建名为Product.php的新PHP文件,如下所示。
<?php

namespace App\Models;

use Illuminate\Database\Eloquent\Model;

class Product extends Model
{
    protected $primarykey = 'id';
    protected $table = 'product';
    public $timestamps = false;
}
创建ProductRepository接口
创建名为Repositories的新文件夹。在Repositories文件夹中,创建名为Product的新文件夹。在app/Repositories/Product文件夹下创建名为ProductRepository.php的新PHP文件,如下所示。
<?php

namespace App\Repositories\Product;

interface ProductRepository
{
    public function search($keyword);
}
创建ProductRepositoryImpl类
在app/Repositories/Product文件夹下创建名为ProductRepositoryImpl.php的新PHP文件,如下所示。
<?php

namespace App\Repositories\Product;

use App\Models\Product;

class ProductRepositoryImpl implements ProductRepository
{
    public function search($keyword)
    {
        return Product::where('name', 'like', '%'.$keyword.'%')->select('id', 'name')->get();
    }
}
声明产品仓库
打开app/Providers文件夹下的AppServiceProvider.php文件,添加声明新的资源库到注册方法,如下所示。
<?php

namespace App\Providers;

use App\Repositories\Product\ProductRepository;
use App\Repositories\Product\ProductRepositoryImpl;
use Illuminate\Support\ServiceProvider;

class AppServiceProvider extends ServiceProvider
{
    public function register()
    {
        $this->app->bind(ProductRepository::class, ProductRepositoryImpl::class);
    }

    public function boot()
    {
    }
}
控制器
在app/Http/Controllers文件夹下创建名为DemoController.php的新PHP文件,如下所示。
<?php

namespace App\Http\Controllers;

use App\Repositories\Product\ProductRepository;
use Illuminate\Http\Request;

class DemoController extends Controller
{
    protected $productRepository;

    public function __construct(ProductRepository $productRepository)
    {
        $this->productRepository = $productRepository;
    }

    public function index()
    {
        return view('demo/index');
    }

    public function search(Request $request)
    {
        $keyword = $request->get('term');
        return response()->json($this->productRepository->search($keyword));
    }
}
观点
在resources/views文件夹下创建名为demo的新文件夹。在这个文件夹中,创建名为index.blade.php的新刀片文件,如下所示。
<html>

    <head>
        <title>Laravel</title>
        <style type="text/css">
            #autoCompletewithSelect2 {
                width: 600px;
            }
        </style>
        <link rel="stylesheet" href="//code.jquery.com/ui/1.13.0/themes/base/jquery-ui.css">
        <script src="https://code.jquery.com/jquery-3.6.0.js"></script>
        <link href="https://cdn.jsdelivr.net/npm/select2@4.1.0-rc.0/dist/css/select2.min.css" rel="stylesheet" />
        <script src="https://cdn.jsdelivr.net/npm/select2@4.1.0-rc.0/dist/js/select2.min.js"></script>
        <script>
            $(document).ready(function() {
                $('#autoCompletewithSelect2').select2({
                    placeholder: 'Keyword...',
                    multiple: true,
                    ajax: {
                        type: 'GET',
                        url: "{{url('/demo/search')}}",
                        dataType: 'json',
                        processResults: function(data) {
                            return {
                                results: $.map(data, function(item) {
                                    return {
                                        text: item.name,
                                        id: item.id
                                    }
                                })
                            };
                        }
                    }
                });
            });
        </script>
    </head>

    <body>

        <h3>AutoComplete with Multiple Selection in Select2</h3>
        <select id="autoCompletewithSelect2" name="autoCompletewithSelect2" multiple="multiple"></select>

    </body>

</html>
路由
打开routes文件夹中的web.php文件, 添加新的路由,如下所示:
<?php

use Illuminate\Support\Facades\Route;

use App\Http\Controllers\DemoController;

Route::get('/', [DemoController::class, 'index']);
Route::get('/demo', [DemoController::class, 'index']);
Route::get('/demo/index', [DemoController::class, 'index']);
Route::get('/demo/search', [DemoController::class, 'search']);
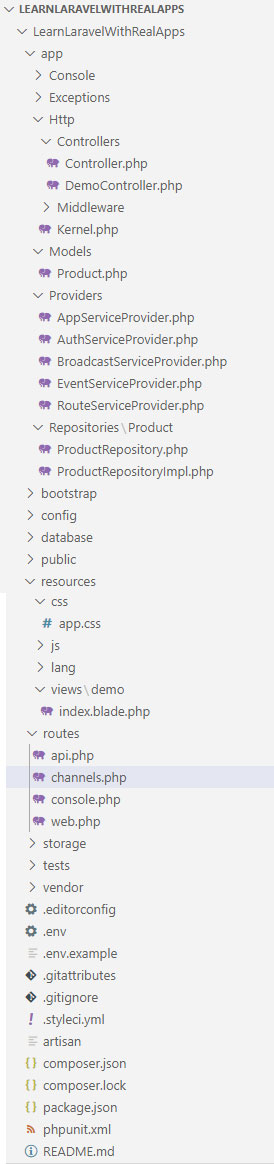
Laravel项目的结构
运行应用程序
在Demo控制器中访问index动作,其URL如下。
输出

