在下面的例子中,我们正在创建一个简单的联系我们页面。为此,我们在模板中创建了一个表单,新建了控制器,为控制器设置了路由,调用Get方法来加载页面,并使用Post方法发送表单数据。
第1步。
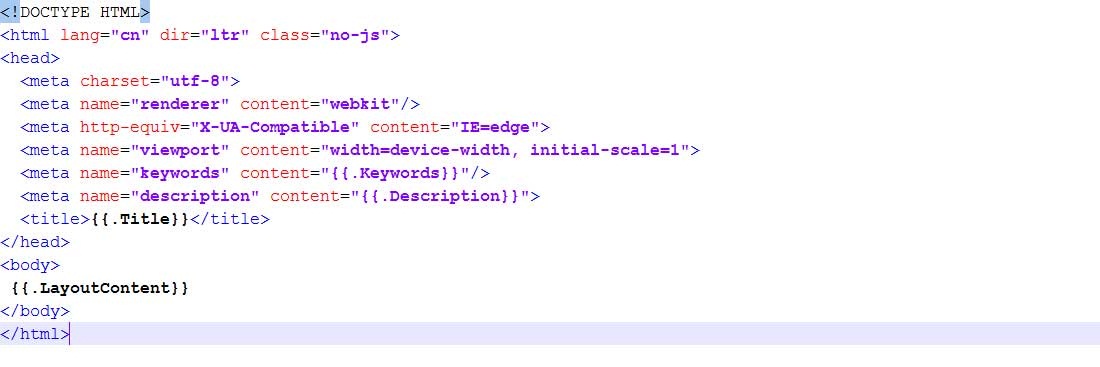
进入views文件夹[srcdemoProject/views],创建基本布局,我们可以在所有的CMS页面中使用。
<meta name="keywords" content="
- 在正文部分添加以下代码。
{{.LayoutContent}}
 - 现在创建另一个文件contactusTemplate.html,代码如下。
<div
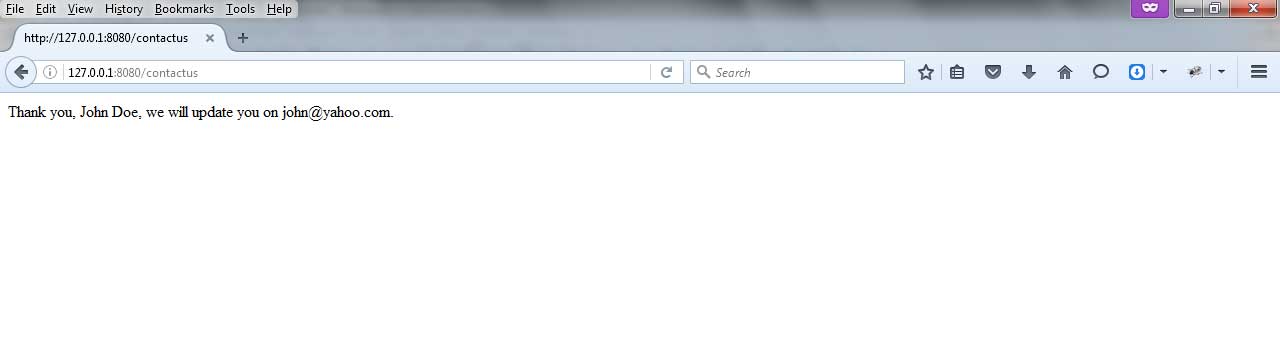
当用户点击提交按钮时,页面将重定向到同一页面"/contactus",但方法是Post。因此,它将显示另一个页面。 - 现在创建另一个文件thankyouTemplate.html,代码如下。
<div class="row">
  <div class="col-md-12" role="main">
    <div class="post-container">
       <!-- content -->
       <div class="post-content">
{{.name}}和{{.email}}变量将显示用户提交的值。
第2步。
进入控制器文件夹[srcdemoProject/controllers]- 现在创建ContactusController,我们可以用它来显示Contact Us页面。
package controllers

type ContactusController struct {
	Common
}

func (this *ContactusController) Get() {
	this.TplName = "contactusTemplate.html"
}

func (this *ContactusController) Post() {
	this.TplName = "thankyouTemplate.html"
	this.Data["name"] = this.GetString("name")
	this.Data["email"] = this.GetString("email")
}
在ContactusController中,我们有Get()方法来加载 contactusTemplate.html。Post方法将加载处理表单数据并传递给 thankyouTemplate.html。
第3步。
转到routers文件夹[srcdemoProject/routers],打开router.go文件。在router.go中添加下面一行来调用ContactusController的Get和Post方法。
package routers

import (
	"demoProject/controllers"
	"github.com/astaxie/beego"
)

func init() {
    beego.Router("/", &controllers.MainController{})
    beego.Router("/about", &controllers.AboutController{})
	beego.Router("/contactus", &controllers.ContactusController{})
}
第4步。
现在使用commond提示符进入[srcdemoProject]文件夹并运行commond "bee run watchall" - 在浏览器中点击URL http://127.0.0.1:8080/contactus