在封装axios时,默认为IP地址
import axios from 'axios'
const request = axios.create({
baseURL:`http://${location.hostname}:8080/***`,
timeout: 5000,
headers: {
"Content-Type": "application/x-www-form-urlencoded",
},
})
vue-cli3+示例,如何打包后可以获取端口信息
1.添加一个***.js文件
var IPConfig = window.IPConfig = {
    'IP': `http://${location.hostname}`,
    'HOST': '80'
  }
2.然后在封装的axios时把baseURL改写成 baseURL: IPConfig.IP + ':' + IPConfig.HOST + '***',
const request = axios.create({
baseURL:IPConfig.IP + ':' + IPConfig.HOST + '/***',
timeout: 5000,
headers: {
"Content-Type": "application/x-www-form-urlencoded",
},
})
3.再然后在public文件下的index.html引入
<script type="text/javascript" src="/***/assets/js/IPConfig.js" async></script>

4.在打包时,放入打包后的js文件夹,并改写文件路径
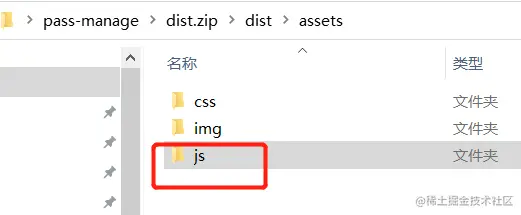
5.打包部署到服务器时,只需改js文件里的IP端口号即可。
'HOST': '80'


