

什么是日志监控
"日志监控 "意味着跟踪警告和bug。并把回溯历史放在一个团队可以访问的文件中。在本地,你不需要这样做,因为每个错误都会被打印在控制台中,并且会在你的浏览器的当前标签中炸开。这没关系,因为你是开发者,但你可能不希望最终的用户看到任何回溯记录--而且,在一个闪亮的、理想的世界里,不希望看到任何错误。
所以你必须以最舒适的方式为你的用户处理异常,而且你应该尽量监测发生了什么,以便事后纠正错误。
事后纠正bug不是什么目标,但是,从另一个角度来说,我们必须谦虚地承认bug会出现,即使我们做了一切来避免它们。
为了尽快抓到bug,开发者通常会在你的应用上线的第一天之前就放弃一个监控方案。
没有 "Rails方式 "可用
"Rails方式 "是某种哲学。简洁性、惯例高于配置、可读性。它可以被看作是编码员的 "禅 "哲学(或Hakuna matata,选择你的毒药)。
在Rails中使用ActiveRecord通常被认为是访问数据的 "Rails方式":直观、直接、可读,等等。
但对于监控来说,却没有这样的东西。
团队倾向于使用外部应用程序来实现此类功能,但在这里,我们将依靠Rails令人难以置信的能力来整合第三方工具,以节省一些费用。
进入logster
logster是一个Rails gem,可以跟踪bug和它们的堆栈轨迹。非常适用于内部监控。花点时间查看他们的GitHub仓库,主要的屏幕截图应该足够清楚了。
本教程的先决条件
检查你是否至少有以下版本。你需要安装并运行Redis。
$> ruby -v
ruby 3.1.2p20 // you need at least version 3 here
$> bundle -v
Bundler version 2.2.11
$> npm -v
8.3.0 // you need at least version 7.1 here
$> yarn -v
1.22.10
$> redis-cli -v
redis-cli 6.0.5
$> redis-cli PING
PONG
最后一条命令有多好玩?它只是说Redis正在运行。现在让我们回去工作吧;)
安装简约的Ruby-on-Rails应用程序(到目前为止没有监控)
在你的shell中输入:
mkdir logmonitor && cd logmonitor
echo "source 'https://rubygems.org'" > Gemfile
echo "gem 'rails', '~> 7.0.0'" >> Gemfile
bundle install
bundle exec rails new . --force -d=postgresql --minimal
如果你想知道更多关于最后一条命令的信息,你可以阅读这个关于 "rails new "选项的教程。
如果你安装了git,也许现在是时候做第一次提交了git add . && git commit -m 'firstcommit' ,这样你就可以跟踪进度。
继续在你的shell中键入--或者直接复制/粘贴.com。
  # Create a default controller
  echo "class HomeController < ApplicationController" > app/controllers/home_controller.rb
  echo "end" >> app/controllers/home_controller.rb

  # Create another controller
  echo "class OtherController < ApplicationController" > app/controllers/other_controller.rb
  echo "end" >> app/controllers/other_controller.rb

  # Create routes
  echo "Rails.application.routes.draw do" > config/routes.rb
  echo '  get "home/index"' >> config/routes.rb
  echo '  get "other/index"' >> config/routes.rb
  echo '  root to: "home#index"' >> config/routes.rb
  echo 'end' >> config/routes.rb

  # Create a default view
  mkdir app/views/home
  echo '<h1>This is home</h1>' > app/views/home/index.html.erb
  echo '<div><%= link_to "go to other page", other_index_path %></div>' >> app/views/home/index.html.erb

    # Create another view
  mkdir app/views/other
  echo '<h1>This is another page</h1>' > app/views/other/index.html.erb
  echo '<div><%= link_to "go to home page", root_path %></div>' >> app/views/other/index.html.erb


  # Create database and schema.rb
  bin/rails db:create
  bin/rails db:migrate
如果本地已经安装了git,你可以做一些git add . && git commit -m 'added default files' 。并添加gitk --all & 来查看自上次提交后的变化。
很好!运行
bin/rails s
并打开你的浏览器,在本地看到你的应用程序。你应该看到像这样的东西。
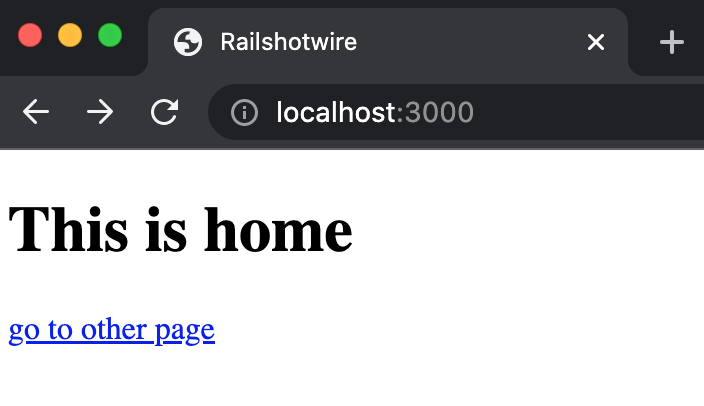
localhost
在Rails中添加redis
将此添加到你的gemfile中。
gem 'redis'
然后运行bundle install 。
很好!你的Rails应用程序现在能够与两个数据库对话:Postgres和Redis。
稍后监测的一个Rails错误
我们这里有两个页面:主页和另一个页面。我们不希望我们的应用程序立即崩溃,所以让我们说另一个会。
在另一个页面的控制器的动作中添加一个除以0(哦!)。
class OtherController < ApplicationController
  def index 42 / 0 # wow!
  end
end
添加logster,你的Rails应用现在可以监控自己了
将此添加到你的Gemfile中
gem 'logster'
然后运行
bundle install
在config/routes.rb 中添加一个路由,以便查看日志。
# inside config/routes.rb
mount Logster::Web => "/logs"
很好!现在是时候看看这一切的结果了。
停止你的本地Web服务器,再次启动它,用
bin/rails s
转到主页,点击到另一个页面。嘣!你有一个 "除以零 "的错误。
现在,如果你去http://localhost:3000/logs,会出现什么?
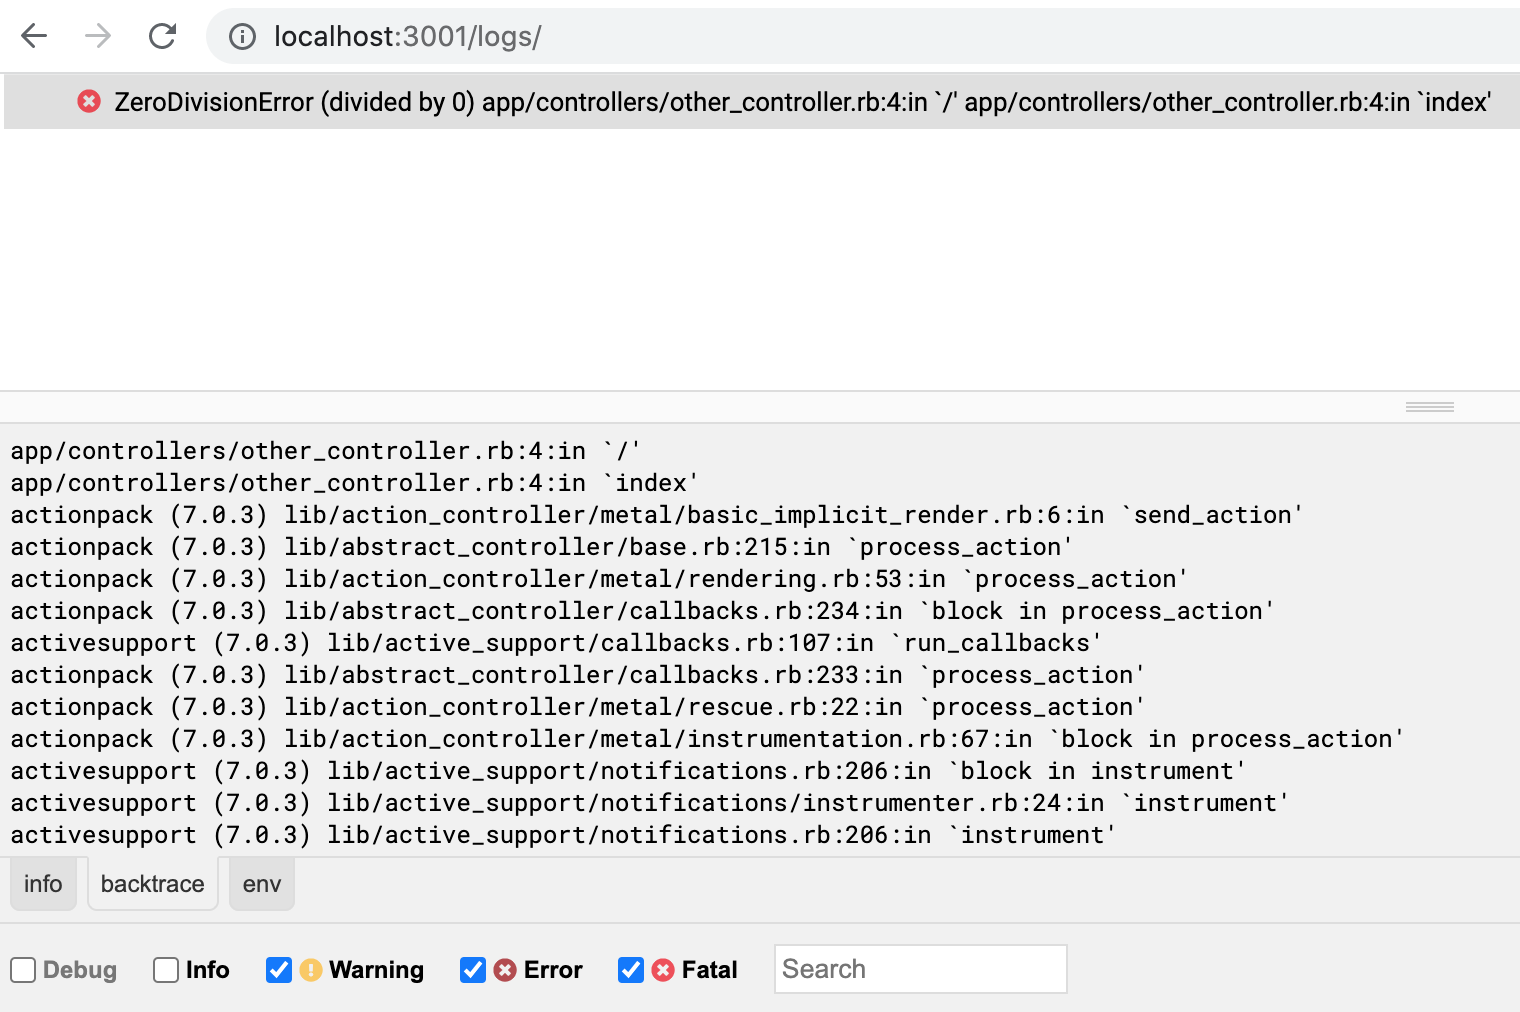
错误
你赢了!
