简述
- 在Java的世界里,并发非常常见,但是如何更好的处理并发并且能够让并发为我们带来更高的性能是我们需要考虑的。
- 那么并发包JUC的作者Doug Lea编写的,而且在JDK5之后,CAS就大显身手。大部分的并发实现都是基于CAS。所以我们说CAS是Java世界的并发基石。
CAS
- CAS:CompareAndSwap 比较并交换
- 定义: CAS包含三个参数,分别是内存位置(V)、期望值(A)、更新值(B),也即是说内存位置的值和期望值是一致的,就是将值更新为更新值。
- CAS本质上不属于锁的范畴,但是因为自旋(死循环)的存在。会在循环内部进行处理。但是因为死循环,会导致CPU上升。
CAS案例
- 以网站统计访问人数为例。现在有100个人,每人访问10次,那么最终的统计结果应该是1000次。
- 我们现在用有问题的方式来处理如下
public class RequestDemo {
private static final int peopleCount = 100;
private static final int requestTime = 10;
private static int totalCount = 0;
public static void main(String[] args) throws Exception {
CountDownLatch downLatch = new CountDownLatch(peopleCount);
for (int i = 0; i < 100; i++) {
new Thread(() -> {
try {
for (int j = 0; j < requestTime; j++) {
request();
}
} finally {
downLatch.countDown();
}
}).start();
}
downLatch.await();
System.out.println(totalCount);
}
private static void request() {
try {
Thread.sleep(5);
} catch (InterruptedException e) {
e.printStackTrace();
}
totalCount++;
}
}
- 实际上这样会丢失数据,导致最终统计的结果不一样。
- 那么我们将代码进行稍加处理一下,如下
public class RequestDemo2 {
private static final int peopleCount = 100;
private static final int requestTime = 10;
private static int totalCount = 0;
public static void main(String[] args) throws Exception {
CountDownLatch downLatch = new CountDownLatch(peopleCount);
for (int i = 0; i < 100; i++) {
new Thread(() -> {
try {
for (int j = 0; j < requestTime; j++) {
request();
}
} finally {
downLatch.countDown();
}
}).start();
}
downLatch.await();
System.out.println(totalCount);
}
private synchronized static void request() {
try {
Thread.sleep(5);
} catch (InterruptedException e) {
e.printStackTrace();
}
totalCount++;
}
}
- 上面的代码线程安全,使用
synchronized关键字对方法进行加锁,但是统计性能很慢。
- 再次进行优化如下
public class RequestDemo3 {
private static final int peopleCount = 100;
private static final int requestTime = 10;
private static int totalCount = 0;
public static void main(String[] args) throws Exception {
CountDownLatch downLatch = new CountDownLatch(peopleCount);
for (int i = 0; i < 100; i++) {
new Thread(() -> {
try {
for (int j = 0; j < requestTime; j++) {
request();
}
} finally {
downLatch.countDown();
}
}).start();
}
downLatch.await();
System.out.println(totalCount);
}
private static void request() {
try {
Thread.sleep(5);
} catch (InterruptedException e) {
e.printStackTrace();
}
synchronized (RequestDemo3.class) {
totalCount++;
}
}
}
- 使用加锁码块处理,即可大幅度提升性能。
- 再次优化如下
public class RequestDemo4 {
private static final int peopleCount = 100;
private static final int requestTime = 10;
private static int totalCount = 0;
public static void main(String[] args) throws Exception {
CountDownLatch downLatch = new CountDownLatch(peopleCount);
for (int i = 0; i < 100; i++) {
new Thread(() -> {
try {
for (int j = 0; j < requestTime; j++) {
request();
}
} finally {
downLatch.countDown();
}
}).start();
}
downLatch.await();
System.out.println(totalCount);
}
private static void request() {
try {
Thread.sleep(5);
} catch (InterruptedException e) {
e.printStackTrace();
}
int expectCount;
while (!compareAndSwap(expectCount = getCount(), expectCount + 1)) {
}
}
public static synchronized boolean compareAndSwap(int expectCount, int newCount) {
if (getCount() == expectCount) {
totalCount = newCount;
return true;
}
return false;
}
private static int getCount() {
return totalCount;
}
}
- 经过4次的优化,其实我们已经达到了目的,更快,且更准确。上面最后一个案例,你可能会有疑问为什么
totalCount不使用 volatile修饰,因为compareAndSwap已经加锁了,这只是一个Demo。我是想引出CAS这个内容。
JDK提供的CAS
- JDK自身的
UnSafe类就提供了CAS方法,如下
- 主要分为3个方法,操作Object、操作int、操作Long,能够操作Object,那么我们就能操作一切对象了。
public final class Unsafe {
public final native boolean compareAndSwapObject(Object o, long offset,
Object expected,
Object x);
public final native boolean compareAndSwapInt(Object o, long offset,
int expected,
int x);
public final native boolean compareAndSwapLong(Object o, long offset,
long expected,
long x);
}
JDK提供的原子类
- JDK提供的UnSafe类是不推荐我们研发是使用的,因为它是不安全的,用的不好反而会完蛋。
- 所以我们在使用的时候,直接使用JDK提供的原子类即可。
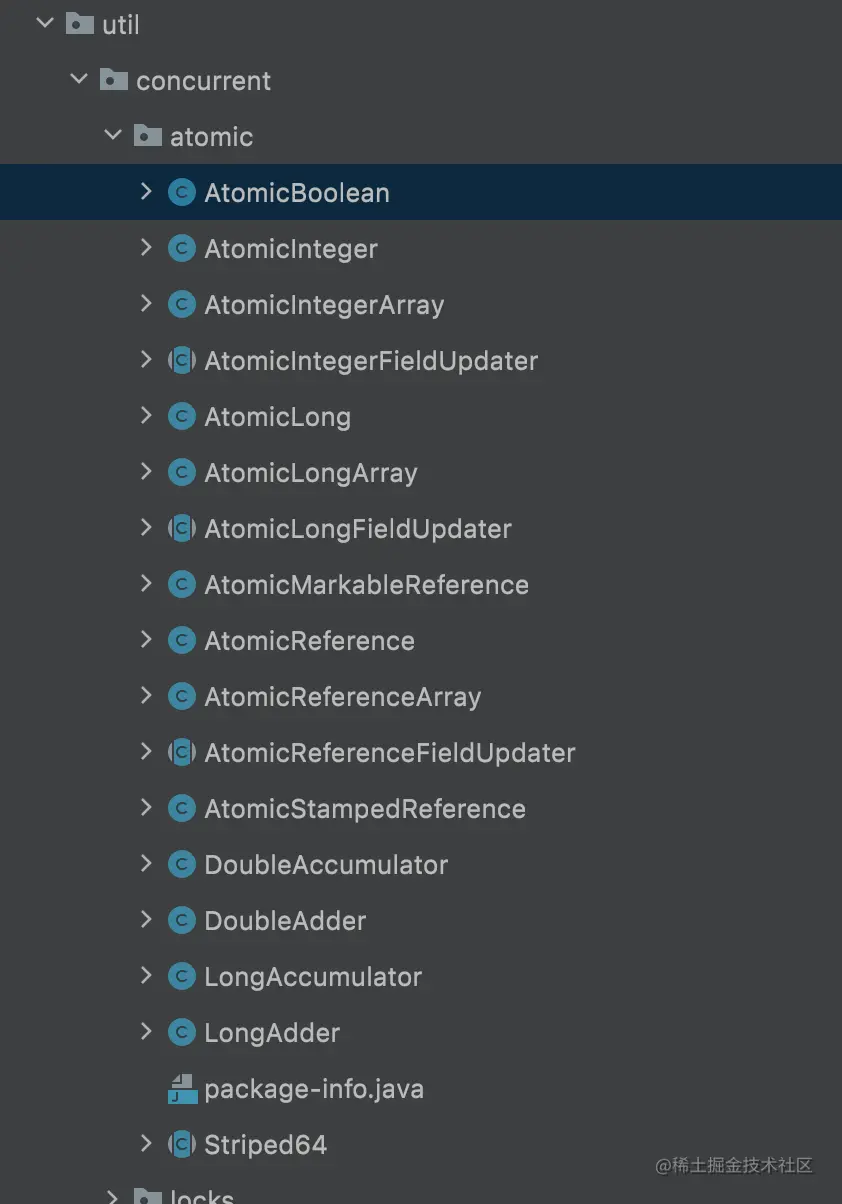
- 在java.util.concurrent.atomic包中,包中的实现都是通过CAS来实现的。
使用JDK CAS完成统计
- 现在我们使用JDK的AtomicInteger完成上述的案例
public class RequestDemo5 {
private static final int peopleCount = 100;
private static final int requestTime = 10;
private static AtomicInteger totalCount = new AtomicInteger(0);
public static void main(String[] args) throws Exception {
CountDownLatch downLatch = new CountDownLatch(peopleCount);
for (int i = 0; i < 100; i++) {
new Thread(() -> {
try {
for (int j = 0; j < requestTime; j++) {
request();
}
} finally {
downLatch.countDown();
}
}).start();
}
downLatch.await();
System.out.println(totalCount.get());
}
private static void request() {
try {
Thread.sleep(5);
} catch (InterruptedException e) {
e.printStackTrace();
}
totalCount.incrementAndGet();
}
}
CAS的实现原理
- CAS通过调用JNI实现,JNI:Java Native Interface 允许Java调用其他语言,而CompareAndSwapXxx系列的方法就是借助"C语言"来调用CPU底层指令实现的,以Intel x86来说,最终映射到CPU的指令就是"cmpxchg",这是一个原子指令,实现并比较替换的操作。
- cmpxchg 如何保证多核心下的线程安全:系统底层进行CAS操作的时候,会判断当前操作系统是否是多核心,如果是,就给"总线"加锁,只有一个线程会对总线加锁成功,加锁成功之后会执行CAS操作,也就说CAS是平台级别的。
CAS的问题
- CAS会存在ABA问题,也就是CAS在操作的时候会检查当前的值和期望的值是否是一样的,如果没有变化则更新,但是如果一个值原来是A,在CAS方法执行之前,被其他线程修改为了B,然后又修改成了A,那么这个时候看起来没有发生变化,CAS也是可以执行成功的,但是实际上这个值已经做了改变。
- 如何解决ABA问题,为每个值增加一个唯一的版本号。
- JDK提供了解决的方式
AtomicStampedReference和 AtomicMarkableReference 前者关注版本,后者关注是否发生改变
public class AtomicStampedReference<V> {
private static class Pair<T> {
final T reference;
final int stamp;
private Pair(T reference, int stamp) {
this.reference = reference;
this.stamp = stamp;
}
static <T> Pair<T> of(T reference, int stamp) {
return new Pair<T>(reference, stamp);
}
}
public boolean compareAndSet(V expectedReference,
V newReference,
int expectedStamp,
int newStamp) {
Pair<V> current = pair;
return
expectedReference == current.reference &&
expectedStamp == current.stamp &&
((newReference == current.reference &&
newStamp == current.stamp) ||
casPair(current, Pair.of(newReference, newStamp)));
}
private boolean casPair(Pair<V> cmp, Pair<V> val) {
return UNSAFE.compareAndSwapObject(this, pairOffset, cmp, val);
}
}
ABA问题演示和解决
- 现在使用
AtomicInteger来演示ABA问题
public class AbaDemo1 {
private static AtomicInteger atomicInteger = new AtomicInteger(1);
public static void main(String[] args) {
new Thread(() -> {
int expNum = atomicInteger.get();
int newNum = expNum + 1;
try {
Thread.sleep(1000);
} catch (InterruptedException e) {
e.printStackTrace();
}
boolean res = atomicInteger.compareAndSet(expNum, newNum);
System.out.println(Thread.currentThread().getName() + " " + res);
}, "t1").start();
new Thread(() -> {
try {
Thread.sleep(20);
} catch (InterruptedException e) {
e.printStackTrace();
}
int incre = atomicInteger.incrementAndGet();
int decre = atomicInteger.decrementAndGet();
System.out.println(Thread.currentThread().getName() + " incre: " + incre + ",decre: " + decre);
}, "t1").start();
}
}
- 实际上我们会发现,上述代码没有发现这个值被改变,现在使用版本号进行处理,如下
public class AbaDemo2 {
private static AtomicStampedReference<Integer> atomicStampedReference = new AtomicStampedReference(1, 1)
public static void main(String[] args) {
new Thread(() -> {
int oldReference = atomicStampedReference.getReference()
int newReference = oldReference + 1
int stamp = atomicStampedReference.getStamp()
int newStamp = stamp + 1
try {
Thread.sleep(1000)
} catch (InterruptedException e) {
e.printStackTrace()
}
boolean res = atomicStampedReference.compareAndSet(oldReference, newReference, stamp, newStamp)
System.out.println(Thread.currentThread().getName() + " " + res)
}, "t1").start()
new Thread(() -> {
try {
Thread.sleep(20)
} catch (InterruptedException e) {
e.printStackTrace()
}
Integer reference = atomicStampedReference.getReference()
boolean b = atomicStampedReference.compareAndSet(reference, reference + 1, atomicStampedReference.getStamp(), atomicStampedReference.getStamp() + 1)
boolean b1 = atomicStampedReference.compareAndSet(reference + 1, reference, atomicStampedReference.getStamp(), atomicStampedReference.getStamp() + 1)
System.out.println(Thread.currentThread().getName() + " incre: " + b + ",decre: " + b1)
}, "t1").start()
}
}
// t1 incre: true,decre: true
// t1 false
- 因为加了版本号,所以上述t1的处理是失败的。版本号发生了作用。
- 现在看一下另外一个版本号,
AtomicMarkableReference只有2个值,true或者false。只关注是否被修改,而不关注结果。
public class AbaDemo3 {
    static AtomicMarkableReference<Integer> atomicMarkableReference = new AtomicMarkableReference<>(1, Boolean.FALSE);

    public static void main(String[] args) throws Exception{
        CountDownLatch downLatch = new CountDownLatch(2);
        new Thread(() -> {
            Integer reference = atomicMarkableReference.getReference();
            atomicMarkableReference.compareAndSet(reference, reference + 1, atomicMarkableReference.isMarked(), !atomicMarkableReference.isMarked());
            downLatch.countDown();
        }, "t1").start();
        downLatch.await();

        System.out.println(atomicMarkableReference.isMarked() + " " + atomicMarkableReference.getReference());
    }
}
总结
- CAS是什么,怎么实现的
- CAS的ABA问题的演示和解决
- CAS的底层实现是UnSafe类


