

Vue Router是在Vue.js SPA中创建路由的事实上的标准。不过你知道吗,除了用它来映射路由到页面组件,你还可以用它来组成页面布局?这是个有趣的提议。让我们看看它是如何做到的。
假设我们正在建立一个博客,其中一些页面有可能在主要内容的两侧各有一个侧边栏。
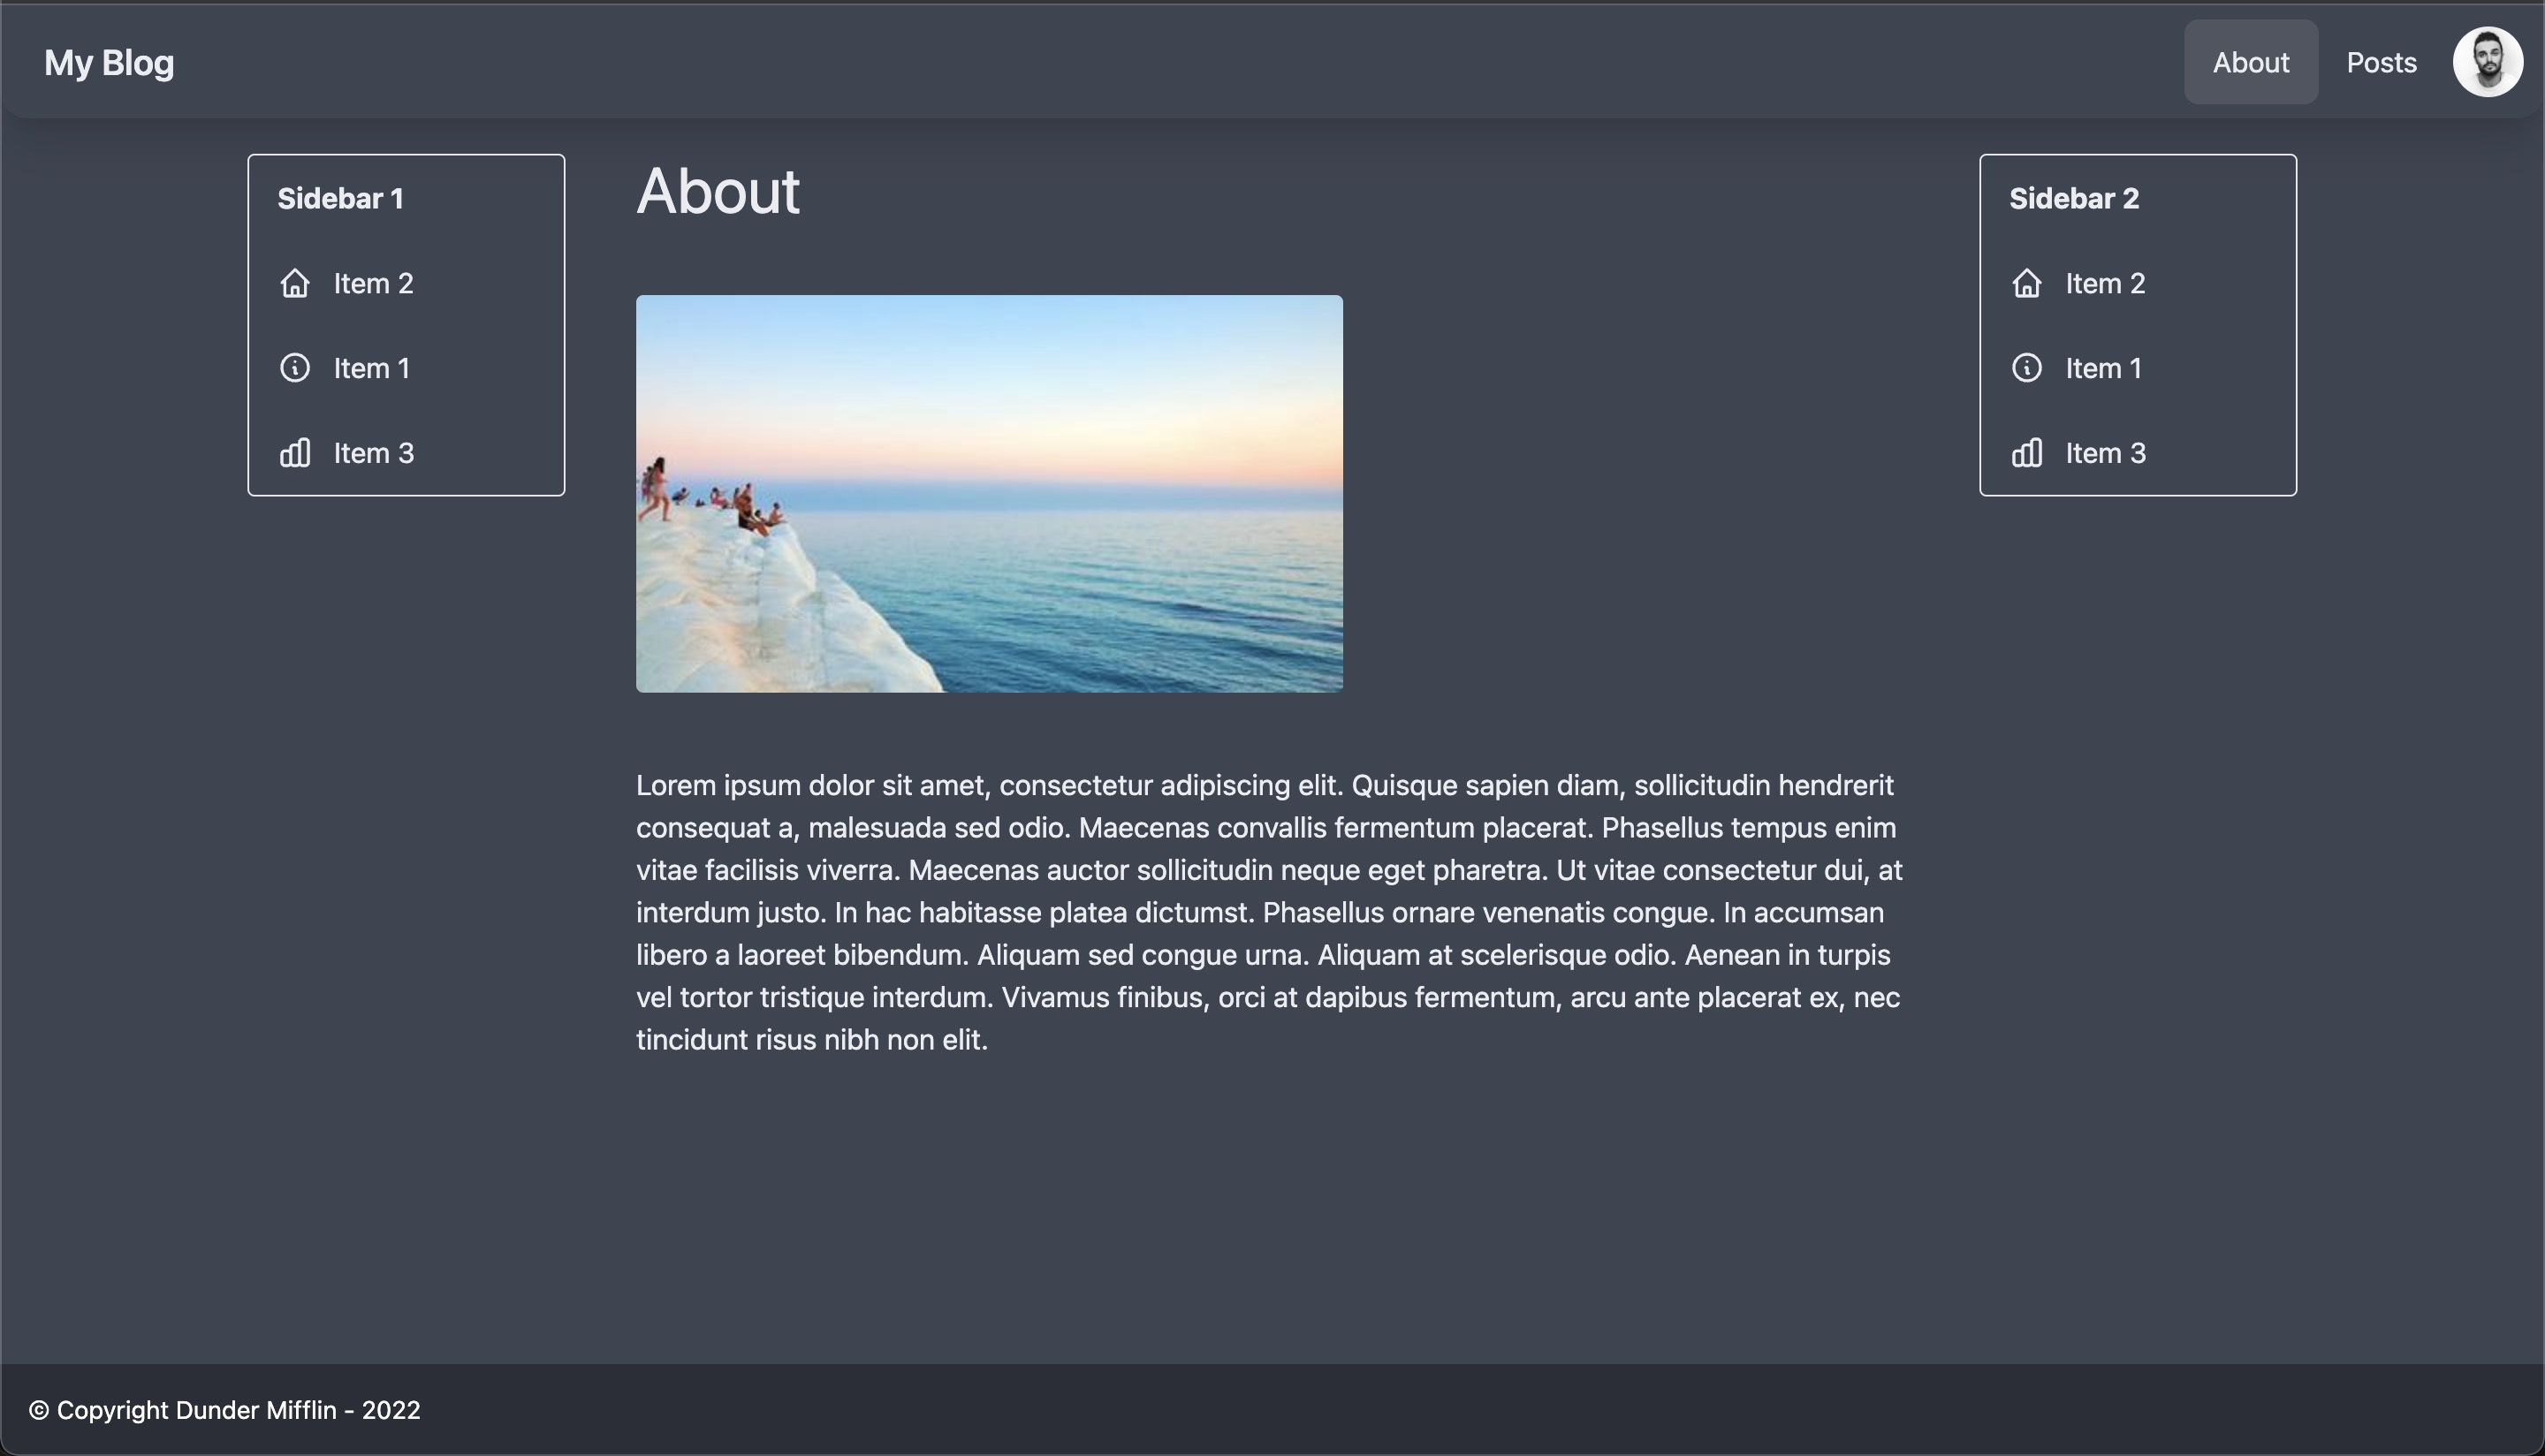 AboutShow.vue
其他页面只需要在内容旁边有一个侧边栏,而且在主要内容之前或之后的位置可以是可变的。
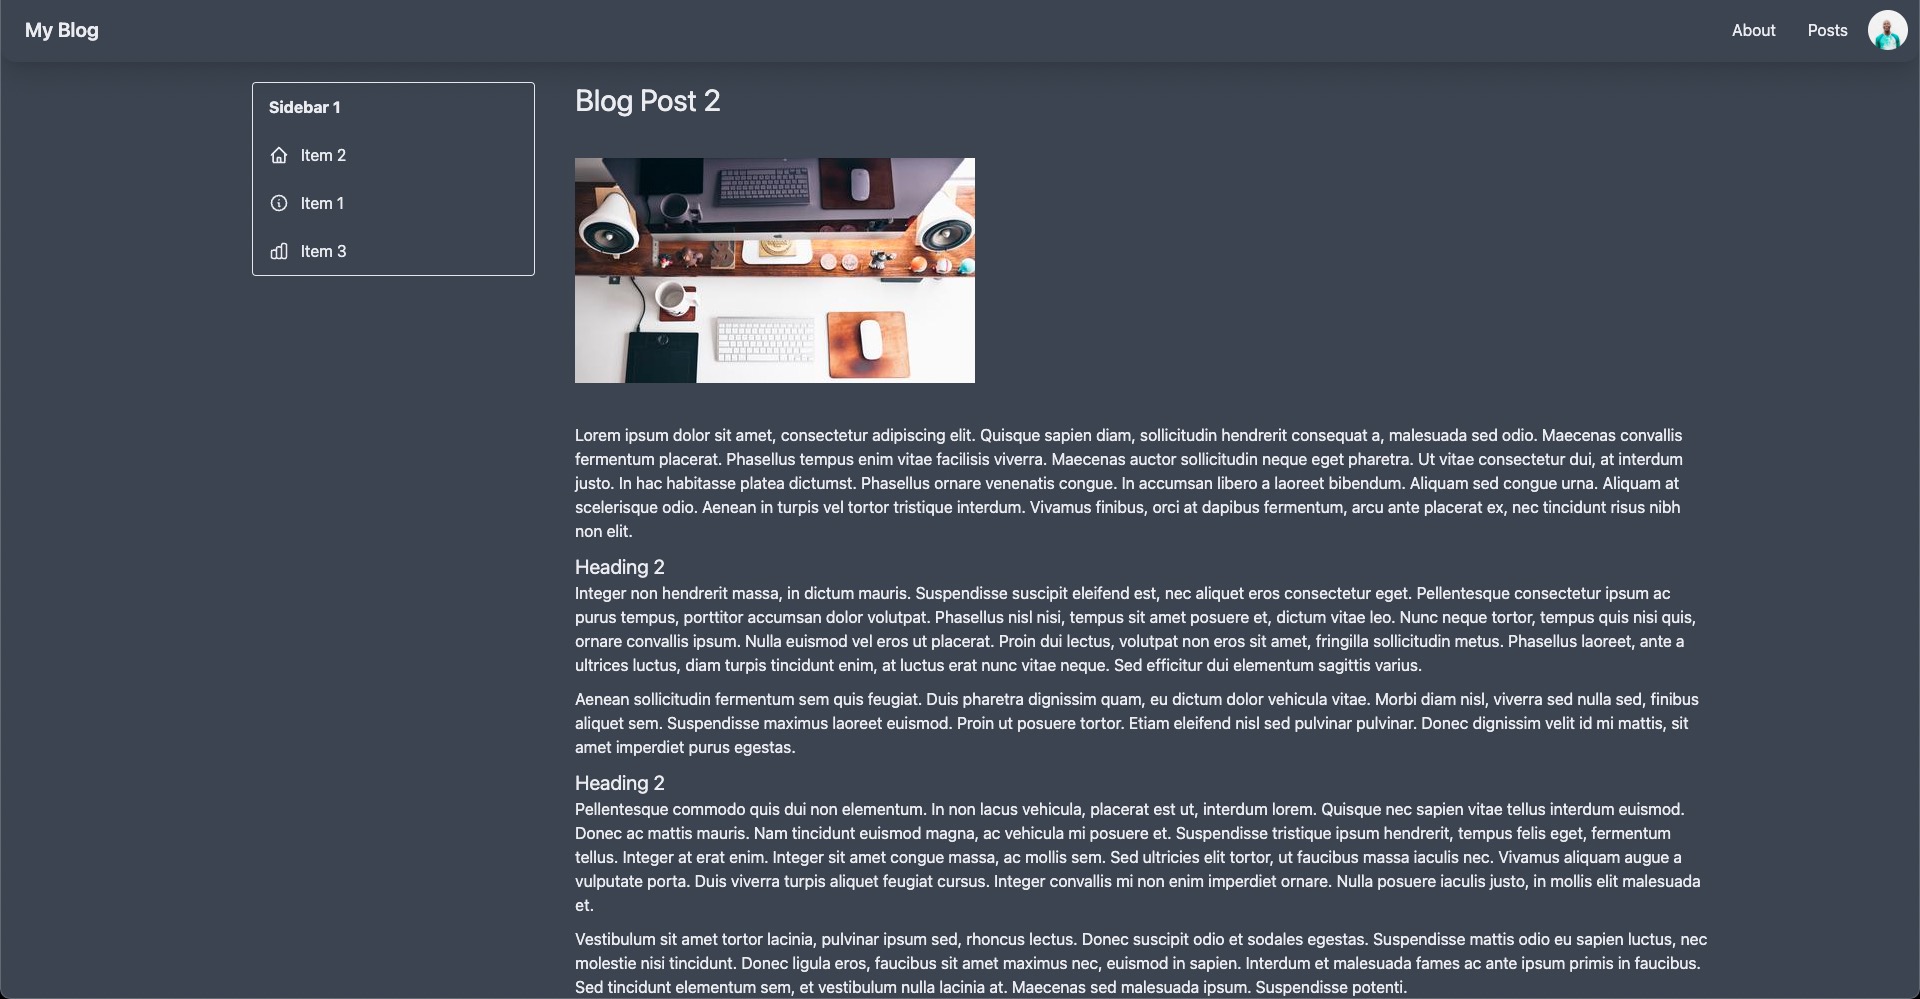
 PostShow.vue
而还有一些页面,根本不需要侧栏。
 Home.vue
我们怎样才能实现这一点呢?选项1是为侧边栏创建组件,并根据需要将它们包含在每个页面中。例如,AboutShow.vue 会得到一个像这样的路由记录。
// router/index.js
{
    path: '/about',
    component: () => import('../pages/AboutShow.vue')
},
和一个相应的页面组件,像这样。
// *AboutShow.vue
<template>
    <div class="flex ...">
        <SidebarOne />
        <main>....</main>
        <SidebarTwo />
    </div>
</template>

<script setup>
    import SidebarOne from "@/components/SidebarOne"
    import SidebarTwo from "@/components/SidebarTwo"
</script>*
然而,这意味着,关于页面将总是与侧边栏耦合在一起。在大多数情况下,这可能没有什么大不了的。然而,让我们来看看另一种方法,布局不是在页面层面而是在路由器层面组成。
Vue 路由器命名的视图
为了达到这个目的,我们将为路由记录提供一个components (复数)选项而不是component (单数)选项。
{
  path: '/about',
  components: {
    default: () => import('@/pages/AboutShow.vue'),
    LeftSidebar: () => import('@/components/SidebarOne.vue'),
    RightSidebar: () => import('@/components/SidebarTwo.vue'),
  },
},
在这里我们定义了关于路由应该包括一个默认的组件,那就是关于页面。这就是你习惯于看到的RouterView组件中显示的内容。然而,它还应该包括一个LeftSidebar 组件,它被映射到SidebarOne ,一个RightSidebar 组件,它被映射到SidebarTwo 。
现在,为了让LeftSidebar 和RightSidebar 组件知道在哪里显示,我们必须在默认的路由器视图旁边使用额外的路由器视图,称为命名视图。我们也可以用一些tailwind类将路由器视图包裹在一个div中,以便很好地布局。
<!-- App.vue -->
<template>
<!--...-->
<div class="sm:flex container p-5 mx-auto content justify-betweenflex-wrap">
    <RouterView class="view main-content w-full order-2"></RouterView>
    <RouterView name="LeftSidebar" class="view order-1 w-full"></RouterView>
    <RouterView name="RightSidebar" class="view order-3 w-full"></RouterView>
</div>
<!--...-->
</template>
注意新的路由器视图的名称属性与我们提供给路由记录的组件属性的键相匹配(LeftSidebar 和RightSidebar )。
最后,这次页面本身可以把侧边栏全部排除,结果也是一样的。
// *AboutShow.vue
<template>
    <div>
        <main>....</main>
    </div>
</template>*
这可能看起来有点绕,但现在最酷的是,有了这些额外的命名视图,我们可以在任何新的路由记录上灵活地添加一个或两个侧边栏。
添加到PostShow.vue的侧边栏2

{
  path: '/posts/:id',
  components: {
    default: () => import('@/pages/PostShow.vue'),
    RightSidebar: () => import('@/components/SidebarTwo.vue'),
  },
},
此外,我们可以按照我们想要的任何顺序来做。也就是SidebarOne ,可以在一个页面的左边,另一个页面的右边,等等。
边栏1在PostShow.vue的左手边
//router/index.js
{
    path: '/posts/:id',
    components: {
        default: () => import('@/pages/PostShow.vue'),
        LeftSidebar: () => import('@/components/SidebarOne.vue'),
},
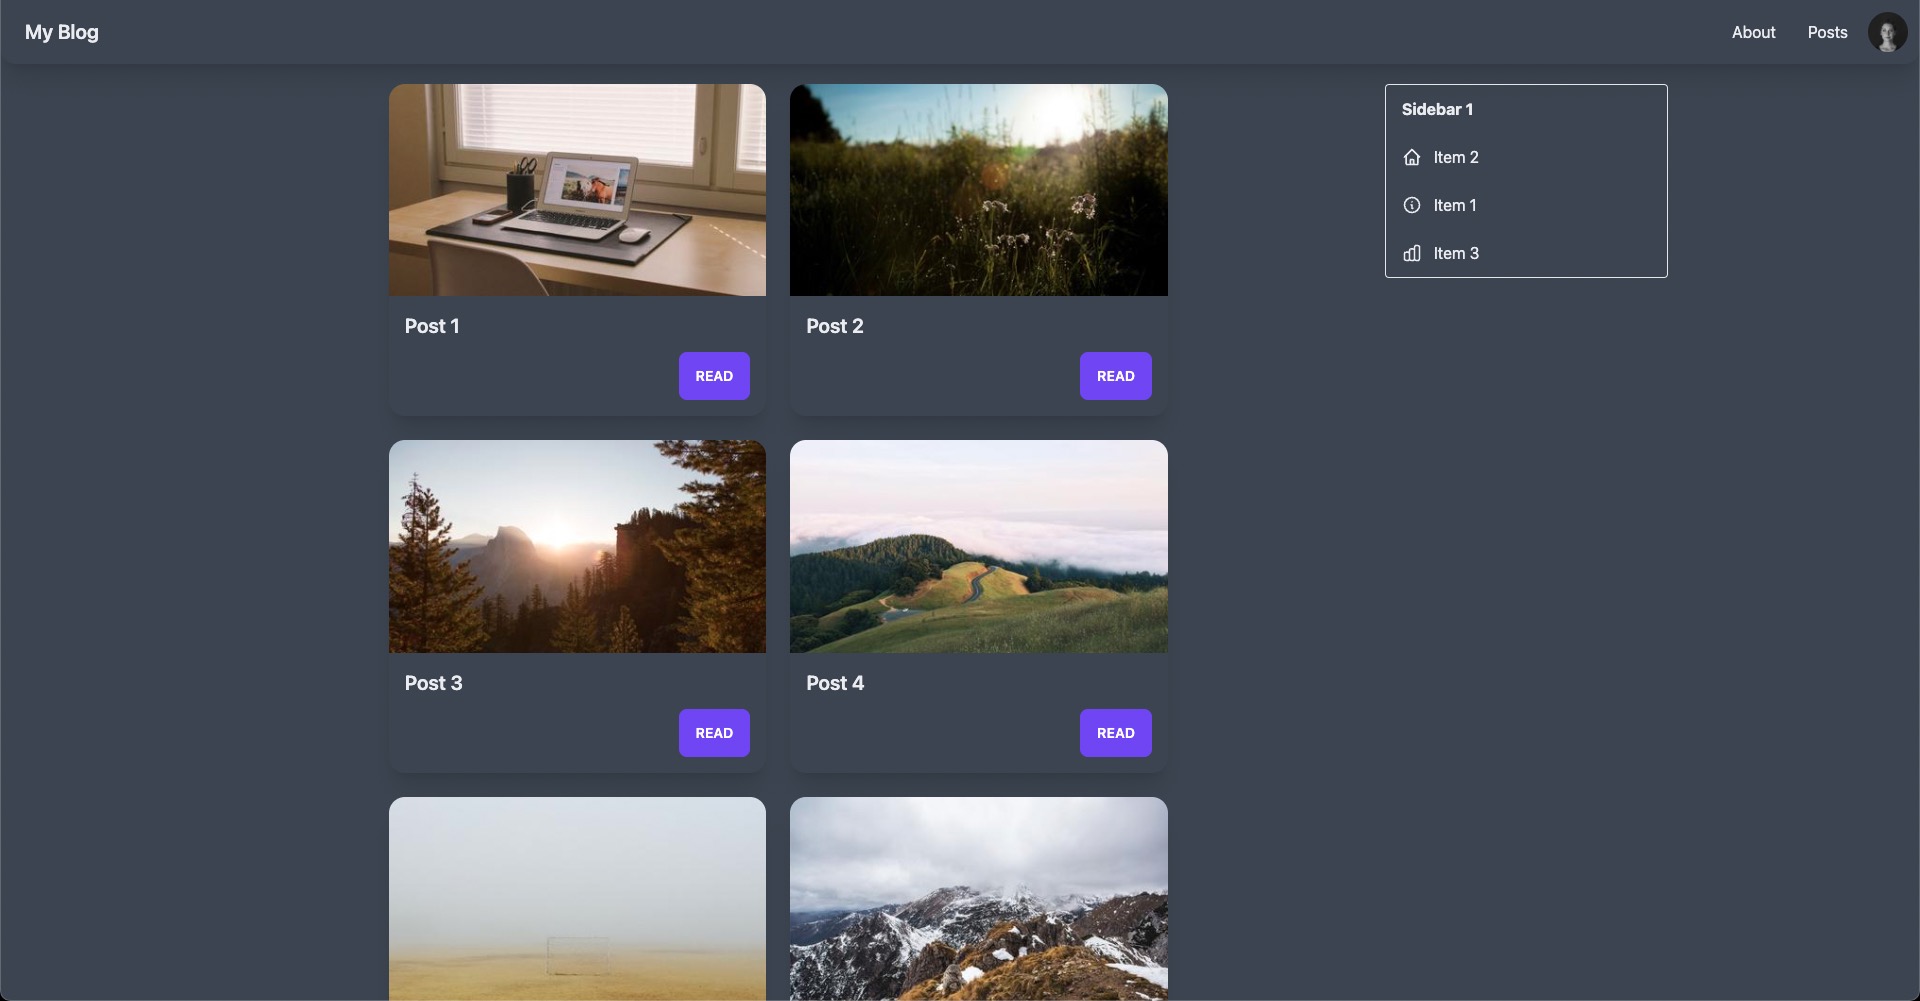
侧边栏1在PostIndex.vue的右侧
//router/index.js
{
    path: '/posts/',
    components: {
        default: () => import('@/pages/PostIndex.vue'),
        RightSidebar: () => import('@/components/SidebarOne.vue'),
},
或者我们可以把不同的组件完全映射到左边或右边的侧边栏,以获得无限的侧边栏可能性(嗯......甚至其他页面组件......🤔)。
AboutShow.vue在PostShow.vue的右手边
{
  path: '/posts/:id',
  components: {
    default: () => import('@/pages/PostShow.vue'),
    RightSidebar: () => import('@/pages/AboutShow.vue'),
  },
},
结论
在看到命名路由的作用后,你可能会想。"我怎样才能在我的下一个项目中利用命名路由?"当然,侧边栏的用例似乎很合理,但它并不限于此。
说实话,这不是我曾经采取过的方法,但这只是因为它对我来说是新的。这意味着,我无法真正分解利弊,只能向你展示它的存在,让你想出何时使用它的策略。
如果你想多玩一些命名的路线,请随时叉开这个Stackblitz沙盒(文章中的截图来源),看看你能想出什么办法。我希望在下面的评论中看到你的想法,如果你以前使用过这种方法,或者你像我一样刚刚了解它。
另外,如果你想自己检查一下命名路由的规范,你可以在文档中找到。
最后,如果你想更深入地了解在你的Vue.js应用程序中使用Vue Router,请查看我们的课程Vue Router 4 for Everyone。在该课程中,我们使用Vue Router建立一个简单的旅游应用实例,并深入了解Vue Router的基础知识以及它的高级功能。
