

一起养成写作习惯!这是我参与「掘金日新计划 · 4 月更文挑战」的第5天,点击查看活动详情。
1、界面交互
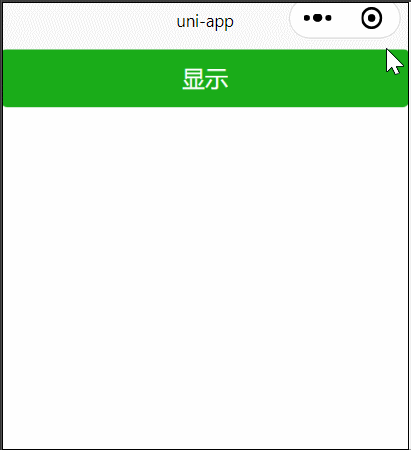
消息提示框显示与隐藏
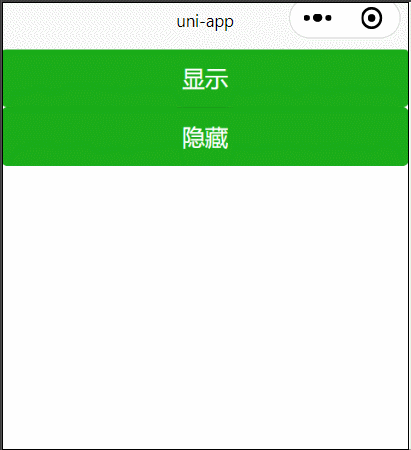
//显示
uni.showToast({
	title: '标题',
	duration: 10000
});
//隐藏
uni.hideToast()
2s后显示的 loading 提示框消失
uni.showLoading({
	title: '加载中'
});
setTimeout(() => {
	uni.hideLoading();
},2000)
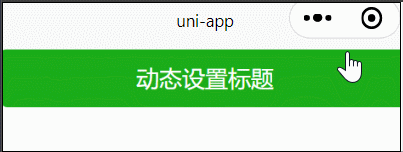
2、设置导航条
动态设置当前页面的标题
uni.setNavigationBarTitle({
    title: '新的标题'
});
3、设置tabbar
动态修改 tabbar 某一项
uni.setTabBarItem({
				  index: 0,
				  text: 'text',
				})
4、下拉刷新
<template>
	<view>
		<view class="" v-for="item of list">
			{{item.name}}
		</view>
	</view>
</template>

<script>
	export default {
		data() {
			return {
				list: []
			}
		},
		methods: {
			getInfo() {
				uni.request({
					url: "http://127.0.0.1:8080/downloads/hello.json",
					success: (res) => {
						this.list = res.data.list
						uni.stopPullDownRefresh();

					}
				})
			}
		},
		created() {
			this.getInfo()
		},
		onPullDownRefresh() {
			this.getInfo()
		}
	}
</script>

<style>
</style>
5、页面间传值
之前 pages.json 把 index.vue 和 info.vue 加入了 tabbar
index.vue 页面写一个button 按钮,点击进行传值
methods: {
	click(){
		uni.$emit('update',{msg:'页面更新'})
	}
}
info.vue 在 onLoad 方法中接收参数
onLoad: () => {
	uni.$on('update', function(data) {
		console.log('监听到事件来自 update ,携带参数 msg 为:' + data.msg);
	})
}
每次点击 index.vue 的传值按钮,都会打印:
如果只想监听一次,那么可以使用 uni.$once(eventName,callback)
6、跨端兼容
点击页面按钮展示不同文字内容。app 端显示 “app 兼容”,小程序的显示“小程序 兼容”
	methods: {
			// #ifdef APP-PLUS
			click() {
				this.text = "app 兼容"
			}
			// #endif
			// #ifdef MP-WEIXIN
			click() {
				this.text = "小程序 兼容"
			}
			// #endif
	}
7、分享
分享图片到微信朋友,app 可以执行这段代码
uni.share({
    provider: "weixin",
    scene: "WXSceneSession",
    type: 0,
    href: "http://uniapp.dcloud.io/",
    title: "uni-app分享",
    summary: "我正在使用HBuilderX开发uni-app,赶紧跟我一起来体验!",
    imageUrl: "https://bjetxgzv.cdn.bspapp.com/VKCEYUGU-uni-app-doc/d8590190-4f28-11eb-b680-7980c8a877b8.png",
    success: function (res) {
        console.log("success:" + JSON.stringify(res));
    },
    fail: function (err) {
        console.log("fail:" + JSON.stringify(err));
    }
});
小程序分享可以用 onShareAppMessage(OBJECT)
onShareAppMessage(res) {
			if (res.from === 'button') { // 来自页面内分享按钮
				console.log(res.target)
			}
			return {
				title: '分享标题',
				path: '/pages/info/info?id=123'
			}
		}
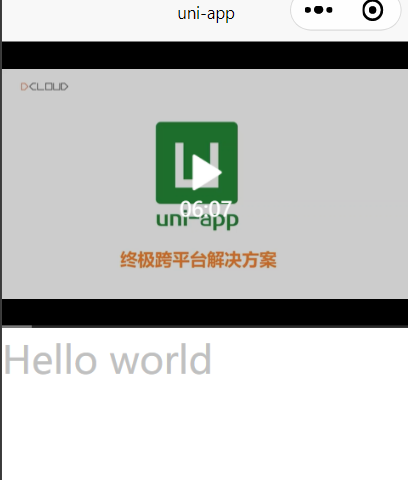
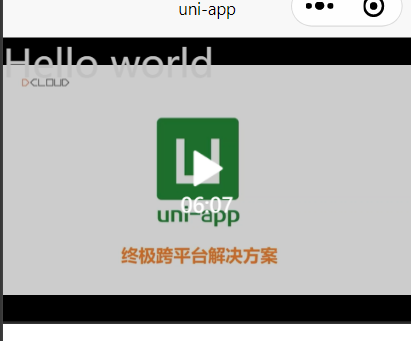
8、原生子窗体
正常情况下 Hello world 显示在 video 下面
child.vue
<template>
	<view>
		<view>
			<text class="class">Hello world</text>
		</view>
	</view>
</template>

<script>
	export default {
		data() {
			return {

			};
		},
		methods: {

		}
	}
</script>

<style>
	.class {
		font-size: 30px;
		color: #C0C0C0;
	}
</style>
index.vue
<template>
	<view>
		<video class="class" :src='videoSrc'></video>
		<view class="">
			<child></child>
		</view>
	</view>
</template>

<script>
	import child from '../../components/child.vue'
	export default {
		components: {
			child
		},
		data() {
			return {
				videoSrc: 'https://img.cdn.aliyun.dcloud.net.cn/guide/uniapp/%E7%AC%AC1%E8%AE%B2%EF%BC%88uni-app%E4%BA%A7%E5%93%81%E4%BB%8B%E7%BB%8D%EF%BC%89-%20DCloud%E5%AE%98%E6%96%B9%E8%A7%86%E9%A2%91%E6%95%99%E7%A8%8B@20181126-lite.m4v'
			}
		},
		methods: {

		}
	}
</script>

<style>
	.class {
		width: 100%
	}
</style>
现在希望把文字展示在视频上:
修改 index.vue
<template>
	<view class="index">
		<video class="class" :src='videoSrc'></video>
		<view class="box">
			<child></child>
		</view>
	</view>
</template>

<script>
	......
</script>

<style>
	.class {
		width: 100%
	}
	.index{
		position: relative;
	}
	.box{
		position: absolute;
		top: 0;
		left: 0;
	}
</style>
这样写在小小程序上是可以的,但是 app 端是不行的,因此我们需要用到原生子窗体,下面直接实践下:
由于我们代码写在 index.vue 中,所以我们在 index 目录下新建目录 subNVue,然后新建 nvue 文件 hello.nvue
hello.nvue
<template>
	<div>
		<text class="class">Hello world</text>
	</div>
</template>

<script>
	export default {

	}
</script>

<style>
.class{
	font-size: 30px;
	color: #007AFF;
}
</style>
还需进行配置:原生子窗体配置
因此我们在 pages.json 页面中 index 页面的 style 下增加配置:
"app-plus": {
	"titleNView": false, //禁用原生导航栏
	"subNVues": [{ //侧滑菜单
		"id": "hello", //subNVue 的 id,可通过 uni.getSubNVueById('hello') 获取
		"path": "pages/index/subNVue/hello.nvue", // nvue 路径
		"style": {
			"position": "popup", //除 popup 外,其他值域参考 5+ webview position 文档
			"width": "50%",
			"background":"transparent"
		}
	}]
}
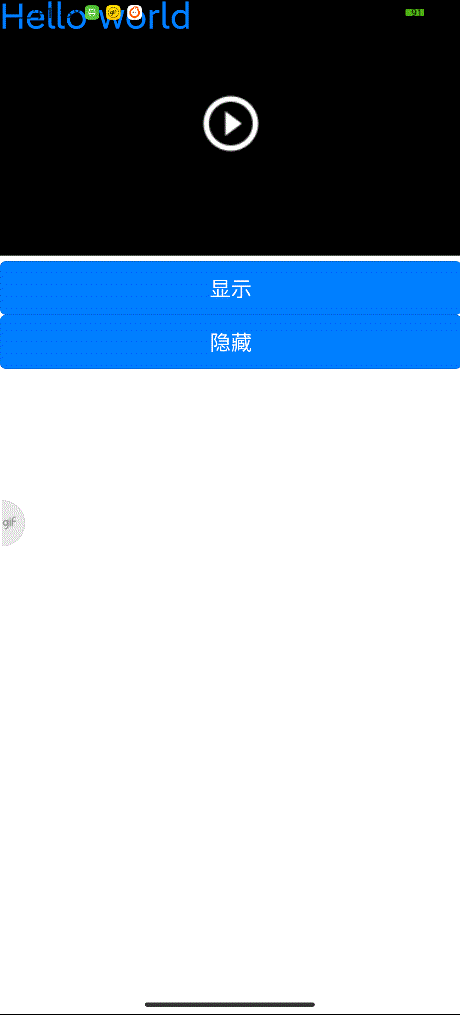
可以在 index.vue 中增加一个按钮来控制显示隐藏,例如隐藏:
click(){
	const subNVue = uni.getSubNVueById('hello')
	subNVue.hide()
},
tap() {
	const subNVue = uni.getSubNVueById('hello')
	subNVue.hide()
}
需要注意的是 pages.json 里的配置不能写错,否则会报错Unable to find SubNVue:
其中 index.vue 的 style 下必须有 app-plus节点,其下的 subNVues必须是 List,也就是必须有中括号[ ],它其下的 id 是唯一标识,path 可以是 "path": "pages/index/subNVue/hello.nvue",pages 前没有 斜杠/,最后的 hello.nvue可以写成 hello
pages.json 这部分的代码截图如下:
