1.安装
1.1 上传安装文件到服务器上并解压安装包
1.2 创建es用户(es不能以root用户启动)
adduser esuser
passwd esuser
1.3 授权
chown -R esuser:esuser elasticsearch-7.5.1

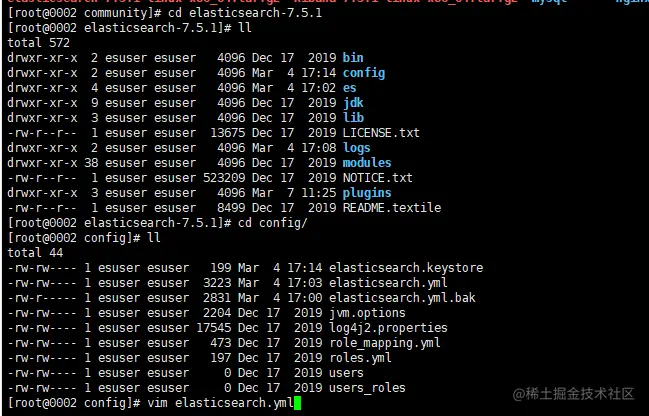
1.4 编辑conf文件
vim elasticsearch.yml
cluster.name: cluster
node.name: node-1
path.data: /home/soft/elasticsearch/data
path.logs: /home/soft/elasticsearch/logs
network.host: 0.0.0.0
http.port: 9200
cluster.initial_master_nodes: ["node-1"]
xpack.security.enabled: true
xpack.security.transport.ssl.enabled: true
xpack.license.self_generated.type: basic
http.cors.enabled: true
http.cors.allow-origin: "*"
1.5 # 修改/etc/security/limits.conf
vim /etc/security/limits.conf
* soft nofile 65536
* hard nofile 65536
1.6 修改/etc/sysctl.conf
vim /etc/sysctl.conf
vm.max_map_count=655360
sysctl -p
1.6 启动
su esuser
./bin/elasticsearch -d
1.7 开启xpack
./bin/elasticsearch-setup-passwords interactive
1.7 验证
curl --basic -u elastic:上一步输入的密码 localhost:9200


