

分页,也叫分页,将网页上的信息分成不同的页面,这些页面可以使用按钮或编号列表进行导航。分页可以改善你的网站的组织,有利于用户体验,并最终提高整体排名。你可以在网页、桌面或移动应用程序中添加分页功能,并在客户端或服务器端实施。
在本教程中,我们将使用React和Tailwind CSS,在客户端创建两种不同类型的分页组件。一个将使用按钮进行导航,一个将使用编号的列表。让我们开始吧!
在React项目中使用Tailwind CSS
首先,通过运行以下命令在你的本地机器上建立一个新的React项目。
npx create-react-app my-app
cd my-app
接下来,我们将在我们的目录中安装Tailwind CSS和其他一些依赖项。
npm install -D tailwindcss@npm:@tailwindcss/postcss7-compat postcss@^7 autoprefixer@^9
我们需要安装Create React App,但是,它不能原生覆盖PostCSS的配置。因此,我们将安装CRACO,一个CRA的配置层,此外还有其他一些脚本在我们的package.json 。
npm install @craco/craco
你的项目的scripts 部分应该看起来像下面的代码块。
  "scripts": {
    "start": "craco start",
    "build": "craco build",
    "test": "craco test",
    "eject": "react-scripts eject"
  },
现在,让我们创建一个名为craco.config.js 的新文件,并添加Tailwind CSS和autoprefixer 作为PostCSS插件。
module.exports = {
  style: {
    postcss: {
      plugins: [require("tailwindcss"), require("autoprefixer")],
    },
  },
};
接下来,我们将用以下命令创建一个名为tailwind.config.js 的文件。
npx tailwindcss-cli@latest init
为了完成对Tailwind CSS的配置,在你的default index.css 文件中添加以下代码。
@tailwind base;
@tailwind components;
@tailwind utilities;
现在,我们的项目已经完全设置好了,我们可以开始构建我们的分页组件了!
构建一个分页组件
我们的项目将遵循以下图片中的结构。让我们深入了解一下其中的一些文件和文件夹。
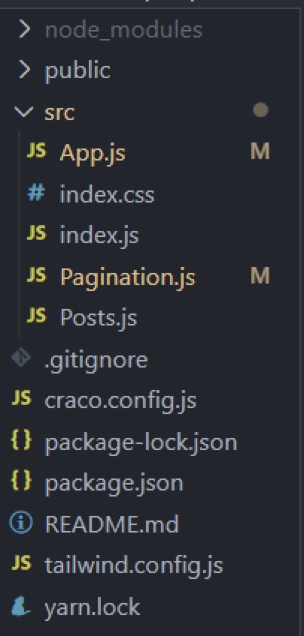
Pagination.js 将保存处理和显示分页组件的逻辑。这个文件夹中的代码对于两种类型的分页都会有所不同,所以我们稍后会再看一下。
Posts.js 是一个静态的POST 元素,它将从一个API中获取随机数据。Posts.js 的数据和结构,如下面的代码块所见,对于两种类型的分页都将是相同的。
import React from "react";

const Posts = ({ posts, loading }) => {
  if (loading) {
    return <h2>Loading...</h2>;
  }

  return (
    <div>
      <ul>
        {posts.map((post) => (
          <li
            key={post.id}
            className='text-gray-700 font-semibold text-xl mb-2 border p-2'
          >
            {post.title}
          </li>
        ))}
      </ul>
    </div>
  );
};

export default Posts;
使用导航按钮进行分页
我们将创建的第一种分页组件使用下一个和上一个按钮来浏览网页上的数据。我们的App.js 文件将看起来像下面的代码块。
import React, { useState, useEffect } from "react";
import Posts from "./Posts";
import Pagination from "./Pagination";
import axios from "axios";

const App = () => {
  const [posts, setPosts] = useState([]);
  const [loading, setLoading] = useState(false);
  const [currentPage, setCurrentPage] = useState(1);
  const [postsPerPage] = useState(10);

  useEffect(() => {
    const fetchPosts = async () => {
      setLoading(true);
      const res = await axios.get("https://jsonplaceholder.typicode.com/posts");
      setPosts(res.data);
      setLoading(false);
    };

    fetchPosts();
  }, []);

  // Get current posts
  const indexOfLastPost = currentPage * postsPerPage;
  const indexOfFirstPost = indexOfLastPost - postsPerPage;
  const currentPosts = posts.slice(indexOfFirstPost, indexOfLastPost);

  // Change page
  const paginateFront = () => setCurrentPage(currentPage + 1);
  const paginateBack = () => setCurrentPage(currentPage - 1);

  return (
    <div>
      <Posts posts={currentPosts} />
      <Pagination
        postsPerPage={postsPerPage}
        totalPosts={posts.length}
        paginateBack={paginateBack}
        paginateFront={paginateFront}
        currentPage={currentPage}
      />
    </div>
  );
};

export default App;
在我们的App.js 文件中,posts 的数据来自于后台。让我们回顾一下我们的分页组件中使用这些数据的一些功能。
currentPage:向用户表明他们目前在哪一页上postsPerPage:每页将呈现的帖子总数currentPosts:当前页面的帖子数组。
为了得到currentPosts ,我们需要把indexOfFirstPost 和indexOfLastPost传递给slice() 函数。
要在各页之间来回移动,我们将使用paginateFront 和paginateBack 。这些函数只是简单地递增或递减currentPage ,然后计算出currentPosts ,作为一个结果。
Pagination.js 文件
现在,让我们看一下我们的Pagination.js 文件。
import React from "react";

export default function Pagination({
  postsPerPage,
  totalPosts,
  paginateFront,
  paginateBack,
  currentPage,
}) {


  return (
    <div className='py-2'>
      <div>
        <p className='text-sm text-gray-700'>
          Showing
          <span className='font-medium'>{currentPage * postsPerPage - 10}</span>
          to
          <span className='font-medium'> {currentPage * postsPerPage} </span>
          of
          <span className='font-medium'> {totalPosts} </span>
          results
        </p>
      </div>
      <nav className='block'></nav>
      <div>
        <nav
          className='relative z-0 inline-flex rounded-md shadow-sm -space-x-px'
          aria-label='Pagination'
        >
          <a
            onClick={() => {
              paginateBack();
            }}
            href='#'
            className='relative inline-flex items-center px-2 py-2 rounded-l-md border border-gray-300 bg-white text-sm font-medium text-gray-500 hover:bg-gray-50'
          >
            <span>Previous</span>
          </a>

          <a
            onClick={() => {
              paginateFront();
            }}
            href='#'
            className='relative inline-flex items-center px-2 py-2 rounded-r-md border border-gray-300 bg-white text-sm font-medium text-gray-500 hover:bg-gray-50'
          >
            <span>Next</span>
          </a>
        </nav>
      </div>
    </div>
  );
}
分页组件采取道具,渲染我们页面的当前信息,而Tailwind的CSS实用类消除了对外部CSS的需求。
当我们运行上面的代码时,我们将收到以下结果。
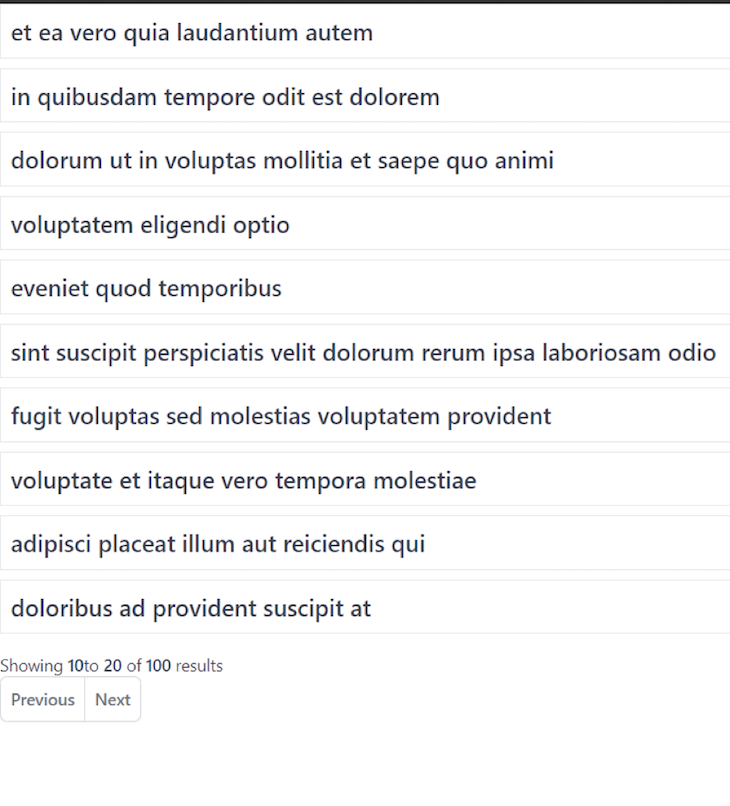
在上面的图片中,我们的分页组件显示了100个结果中的10到20个。让我们点击 "下一步 "按钮,看看会发生什么。
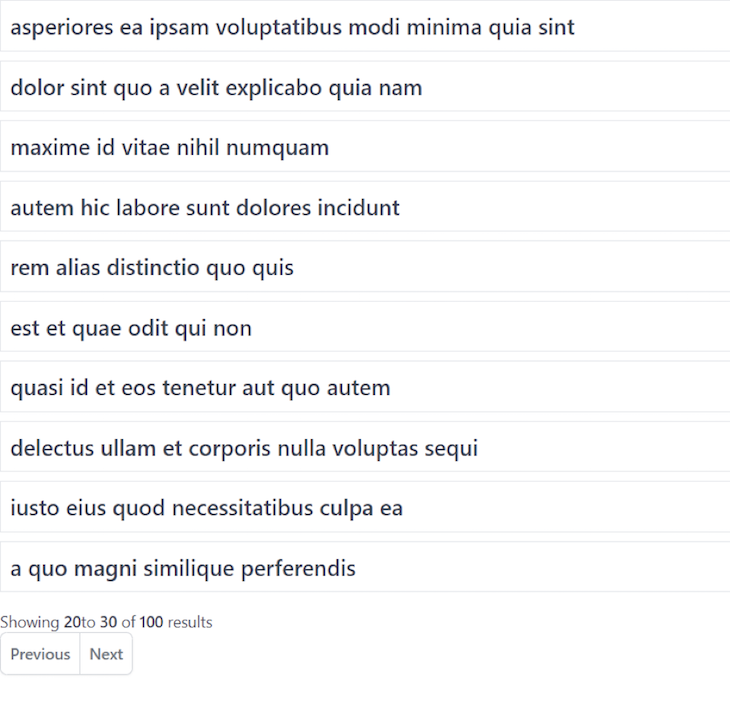
现在,我们可以看到结果20到30。当我们点击上一个按钮时,我们将返回到结果10到20。
使用编号列表进行分页
我们要建立的第二个分页组件使用一个编号的列表进行导航,而不是下一个和上一个按钮。我们必须对我们的App.js 文件和发送给分页组件的道具做一些修改。
更新你的App.js 文件,使其看起来像下面的代码块。
  import React, { useState, useEffect } from "react";
import Posts from "./Posts";
import Pagination from "./Pagination";
import axios from "axios";

const App = () => {
  const [posts, setPosts] = useState([]);
  const [loading, setLoading] = useState(false);
  const [currentPage, setCurrentPage] = useState(1);
  const [postsPerPage] = useState(10);

  useEffect(() => {
    const fetchPosts = async () => {
      setLoading(true);
      const res = await axios.get("https://jsonplaceholder.typicode.com/posts");
      setPosts(res.data);
      setLoading(false);
    };

    fetchPosts();
  }, []);

  // Get current posts
  const indexOfLastPost = currentPage * postsPerPage;
  const indexOfFirstPost = indexOfLastPost - postsPerPage;
  const currentPosts = posts.slice(indexOfFirstPost, indexOfLastPost);

  // Change page
  const paginate = (pageNumber) => setCurrentPage(pageNumber);
  return (
    <div>
      <Posts posts={currentPosts} />
      <Pagination
        postsPerPage={postsPerPage}
        totalPosts={posts.length}
        paginate={paginate}
        currentPage={currentPage}
      />
    </div>
  );
};

export default App;
现在,我们有一个单一的分页函数,只更新currentPage ,以设置currentPosts ,而不是像我们以前的分页组件那样传递indexOfFirstPost 和indexOfLastPost 。
让我们看看我们的分页组件的代码,它使用一个编号的列表。
import React from "react";

export default function Pagination({
  postsPerPage,
  totalPosts,
  paginate,
  currentPage,
}) {
  const pageNumbers = [];

  for (let i = 1; i <= Math.ceil(totalPosts / postsPerPage); i++) {
    pageNumbers.push(i);
  }

  return (
    <div className='py-2'>
      <div>
        <p className='text-sm text-gray-700'>
          Showing
          <span className='font-medium'>
            {" "}
            {currentPage * postsPerPage - 10}{" "}
          </span>
          to
          <span className='font-medium'> {currentPage * postsPerPage} </span>
          of
          <span className='font-medium'> {totalPosts} </span>
          results
        </p>
      </div>
      <nav className='block'>
        <ul className='flex pl-0 rounded list-none flex-wrap'>
          <li>
            {pageNumbers.map((number) => (
              <a
                onClick={() => {
                  paginate(number);
                }}
                href='#'
                className={
                  currentPage === number
                    ? "bg-blue border-red-300 text-red-500 hover:bg-blue-200 relative inline-flex items-center px-4 py-2 border text-sm font-medium"
                    : "bg-white border-gray-300 text-gray-500 hover:bg-blue-200 relative inline-flex items-center px-4 py-2 border text-sm font-medium"
                }
              >
                {number}
              </a>
            ))}
          </li>
        </ul>
      </nav>
    </div>
  );
}
我们已经创建了一个数组,动态地计算给定数据量所需的页面数量。然后,它将数据追加到pageNumbers 数组内的数据。
现在,我们将创建一个无序列表,通过循环浏览我们的pageNumbers 数组来渲染列表项。创建一个无序列表将为页面生成一个导航组件,其外观如下图所示。
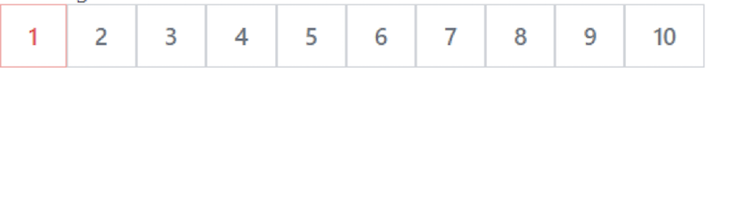
在map 函数内部,我们为每个页码附加了一个点击处理程序。当点击时,每个按钮将分页到其特定的页面。currentPage 将在我们的App.js 文件中设置,我们将得到一个更新的currentPosts 数组,在前端渲染所需的内容。
让我们在我们的页面导航组件里面突出活动页面。
  <a
    onClick={() => {
      paginate(number);
    }}
    href='#'
    className={
      currentPage === number
        ? "bg-blue border-red-300 text-red-500 hover:bg-blue-200 relative inline-flex items-center px-4 py-2 border text-sm font-medium"
        : "bg-white border-gray-300 text-gray-500 hover:bg-blue-200 relative inline-flex items-center px-4 py-2 border text-sm font-medium"
    }
  >
  {number}
</a>
对于<a> 标签,我们根据检查来设置不同的Tailwind CSS类。如果我们的<a> 标签的pageNumber 等于currentPage ,我们将通过给它一个红色的边框和字体颜色,将它与其他的<a> 标签区分开来。
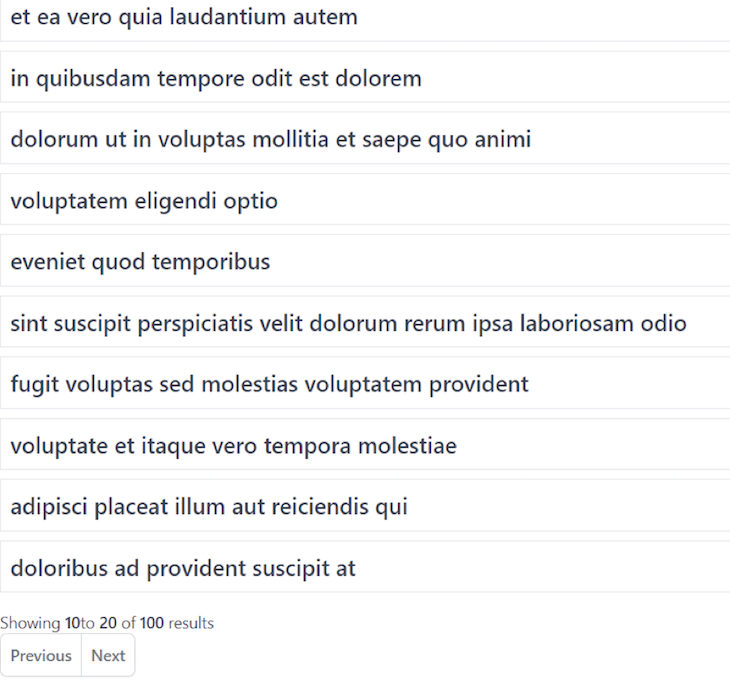
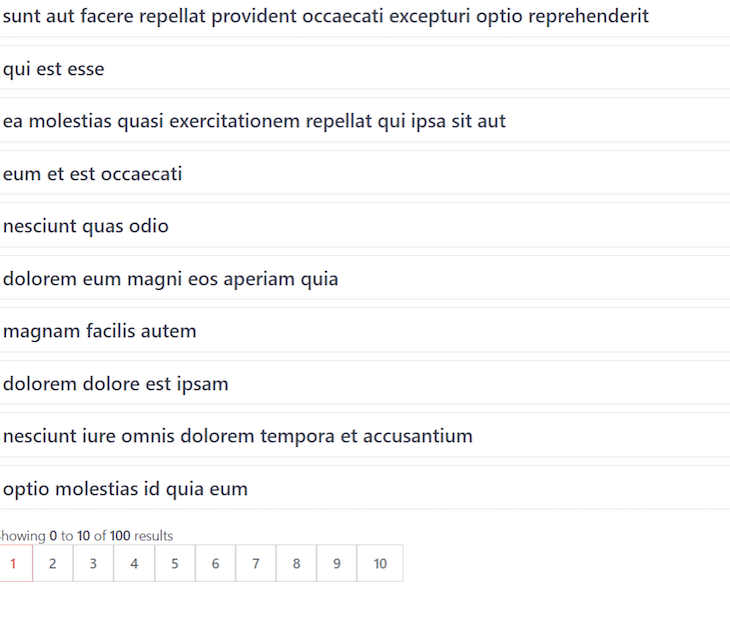
让我们再次运行该项目,看看输出结果。在第一页,我们会看到以下内容。
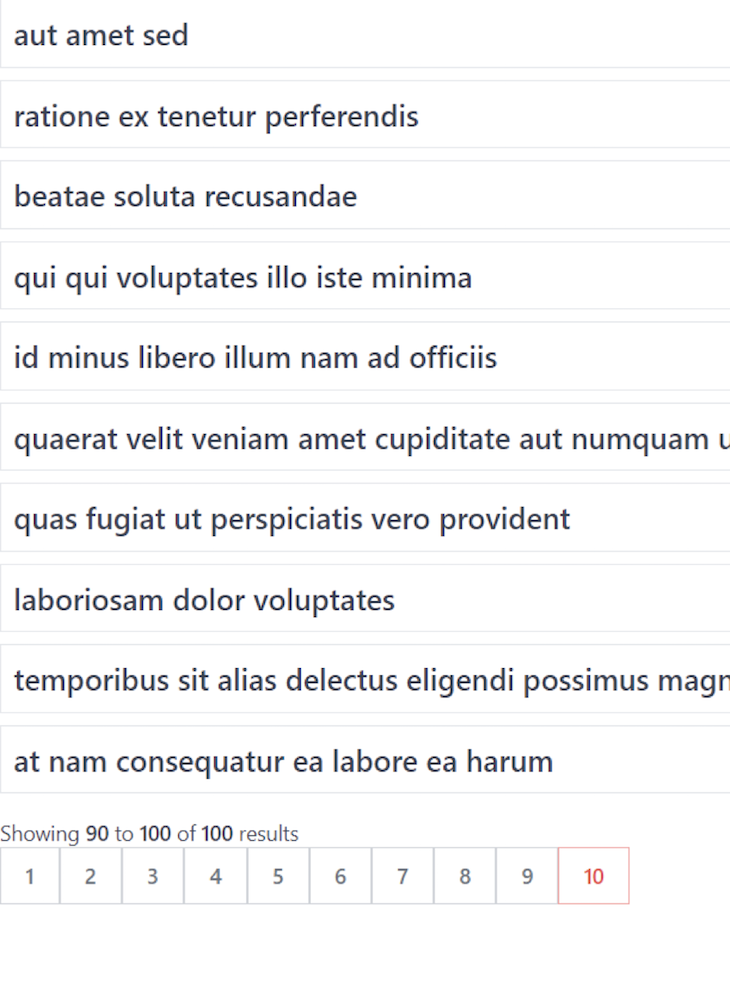
当我们导航到第十页时,我们会看到以下内容。
结论
现在,你应该对分页有了一个全面的了解分页是改善你的应用程序的用户体验的一个伟大功能。我们回顾了在你的React应用程序中使用Tailwind CSS、导航按钮和一个编号列表实现分页的两种方法。最好的选择将取决于你的应用程序的性质和你的数据。
The postPagination components with React and Tailwind CSSappeared first onLogRocket Blog.
