1.搭建基础vite模板
- npm(Vite 需要Node版本 >= 12.0.0):
npm init vite@latest 项目名
yarn create vite 项目名
- 我使用的:
yarn create vite vue2+vite
2.选择框架
- vite直接提供的vue模板使用的是vue3,所以要搭建vue2项目只能先选择原生框架然后自行安装vue
- 选择vanilla(原生js)
3.安装插件
- 由于vite只支持到vue3,所以要安装vue2需要插件来实现
- 进入项目文件夹,安装
vite-plugin-vue2插件
- 使用 yarn:
yarn add vite-plugin-vue2 -D
- 使用 npm:
npm install vite-plugin-vue2 -D
4. 修改配置
const { createVuePlugin } = require('vite-plugin-vue2')
module.exports = {
plugins: [createVuePlugin( )],
}
5.安装vue
- 使用yarn:
yarn add vue vue-template-compiler
- 使用npm:
npm i vue vue-template-compiler
6.修改文件
template>
	<h1>This Is Vue 2 + Vite</h1>
</template>
import Vue from "vue";
import App from "./App.vue"
new Vue({
el: "#app",
render: (h) => h(App)
}).$mount();
- 修改index.html中对main.js的引用路径
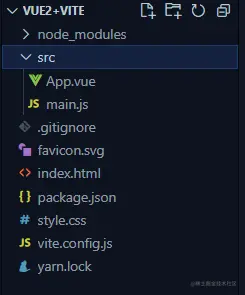
此时我们的项目目录为:
7.启动项目