

前言:为了便于后端开发时能更好的对maven包进行下载,故自己动手搭建了一套nexus,用于maven仓库包上传下载管理
1.运行环境搭建
nexus服务是基于java开发的,所以我们需要先下载一个jdk,提供nexus运行的环境。
1.1创建jdk安装目录
mkdir /home/jdk1.8/
1.2通过WinSCP上传jdk安装包,现在下载jdk比较麻烦,还需要登陆Oracle帐号才能下载
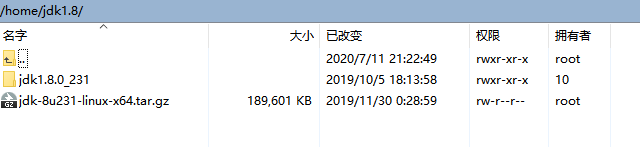
1.3解压jdk包
tar -zxvf jdk-8u231-linux-x64.tar.gz
1.4配置环境变量,使用全局配置/etc/profile,在文件最后加上jdk环境变量
export JAVA_HOME=/home/jdk1.8/jdk1.8.0_231
export JRE_HOME=$JAVA_HOME/jre
export CLASSPATH=.:$JAVA_HOME/lib:$JRE_HOME/lib:$CLASSPATH
export PATH=$PATH:$JAVA_HOME/bin:$JRE_HOME/bin
1.5 使配置的环境变量生效
source /etc/profile
2.安装nexus
2.1 nexus2.X安装
2.1.1创建安装目录
mkdir /home/nexus2.x/
2.1.2上传nexus2.X安装包
2.1.3解压安装包,解压之后会生成两个目录:nexus-2.14.15-01和sonatype-work
tar -zxvf nexus-2.14.15-01-bundle.tar.gz
2.1.4启动nexus
# 进入bin目录
cd /home/nexus2.x/nexus-2.14.15-01/bin/
# 使用脚本启动nexus服务
./nexus start
# 查看nexus运行情况
./nexus status
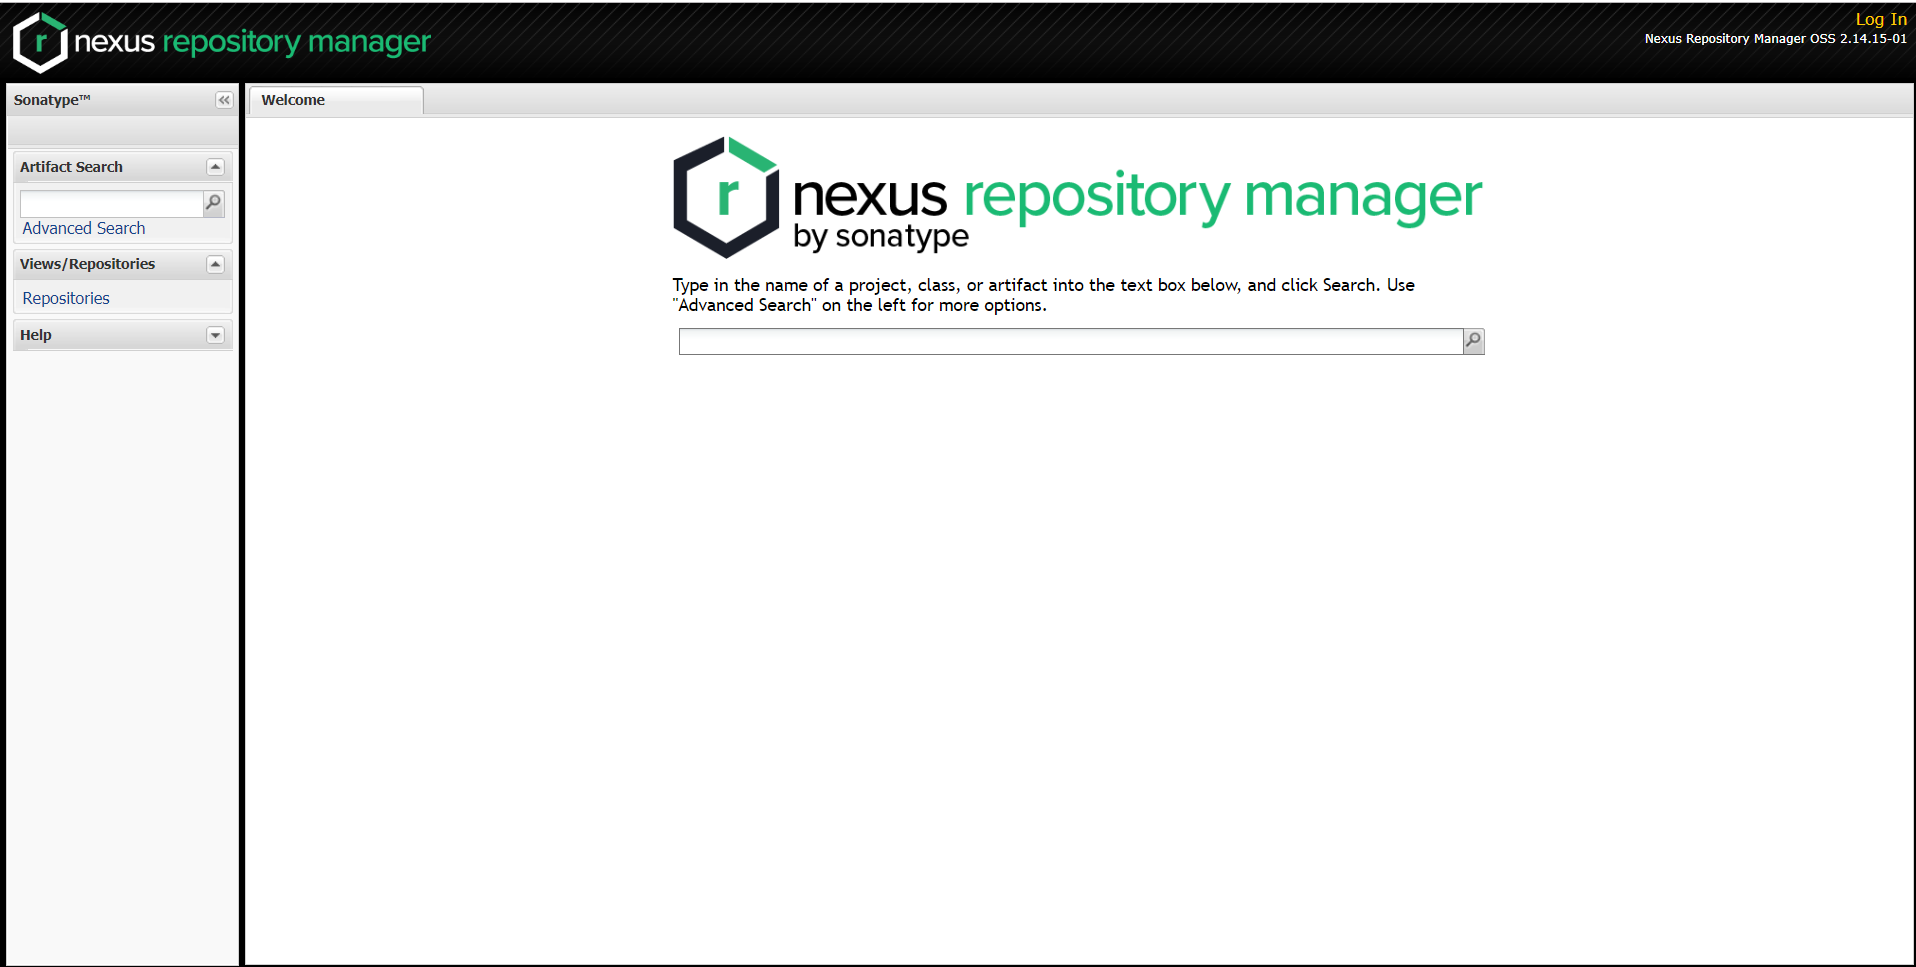
2.1.5到此,nexus服务已经安装好了,通过 ip:8081/nexus 地址进行访问,默认用户名密码为admin/admin123
2.1.6配置阿里云代理仓库,同时Download Remote Indexes设置为true,这样当仓库服务里面没有下载的包时,会从阿里云下载,同时也会对仓库索引进行自动更新
阿里云代理仓库地址:maven.aliyun.com/nexus/conte…
2.1.7用户setting.xml配置
<?xml version="1.0" encoding="UTF-8"?>

<settings xmlns="http://maven.apache.org/SETTINGS/1.0.0"
          xmlns:xsi="http://www.w3.org/2001/XMLSchema-instance"
          xsi:schemaLocation="http://maven.apache.org/SETTINGS/1.0.0 http://maven.apache.org/xsd/settings-1.0.0.xsd">

 <localRepository>e:/java/m2/repository</localRepository>

  <pluginGroups>

  </pluginGroups>


  <proxies>

  </proxies>

  <servers>

        <server>
            <id>nexus-releases</id>
            <username>deployment</username>
            <password>deployment123</password>
        </server>


        <server>
            <id>nexus-snapshots</id>
            <username>deployment</username>
            <password>deployment123</password>
        </server>


  </servers>


  <mirrors>
     <mirror>
       <id>nexus-central</id>
       <mirrorOf>central</mirrorOf>
       <url>http://192.168.11.10:8081/nexus/content/groups/public</url>
     </mirror>
  </mirrors>

  <profiles>

    <profile>
      <id>myprofile</id>
      <repositories>
        <repository>
          <id>nexus-central</id>
          <url>http://192.168.11.10:8081/nexus/content/groups/public/</url>
          <releases><enabled>true</enabled></releases>
          <snapshots><enabled>true</enabled></snapshots>
        </repository>
      </repositories>
      <pluginRepositories>

        <pluginRepository>
          <id>nexus-central</id>
          <url>http://192.168.11.10:8081/nexus/content/groups/public/</url>
          <releases><enabled>true</enabled></releases>
          <snapshots><enabled>true</enabled></snapshots>
        </pluginRepository>
      </pluginRepositories>
    </profile>
 </profiles>


 <activeProfiles>
    <activeProfile>myprofile</activeProfile>
 </activeProfiles>

</settings>
2.1.8 项目中的pom.xml配置,在parent项目中加入该配置,则继承了该父类的项目都可以上传包到maven仓库
<distributionManagement>
      <snapshotRepository>
        <id>nexus-snapshots</id>
        <url>http://192.168.11.10:8081/nexus/content/repositories/snapshots</url>
      </snapshotRepository>
       <repository>
        <id>nexus-releases</id>
        <url>http://192.168.11.10:8081/nexus/content/repositories/releases</url>
      </repository>
  </distributionManagement>
