

froala富文本编辑器
最近由于产品的要求,替换掉老系统的vue ueditor富文本编辑器,换成froala。 如果是vue的话
npm install vue-froala-wysiwyg --save
import VueFroala from 'vue-froala-wysiwyg';
接着去入口文件 main.js引入依赖。
//Import Froala Editor
import 'froala-editor/js/plugins.pkgd.min.js';
//Import third party plugins
import 'froala-editor/js/third_party/embedly.min';
import 'froala-editor/js/third_party/font_awesome.min';
import 'froala-editor/js/third_party/spell_checker.min';
import 'froala-editor/js/third_party/image_tui.min';
// Import Froala Editor css files.
import 'froala-editor/css/froala_editor.pkgd.min.css';
import 'froala-editor/js/languages/zh_cn';
// Import and use Vue Froala lib.
import VueFroala from 'vue-froala-wysiwyg';

Vue.use(VueFroala)
自定义功能列表
data() {
    var _this = this;
    return {
      config: {
        editor: null,
        language: 'zh_cn',//语言
        height: 325,
        quickInsertEnabled: false,//便捷插入标签
        charCounterCount: false, //富文本的输入长度
        toolbarButtons: [
          'align',
          'bold',
          'paragraphFormat',
          'outdent',
          'indent',
          'insertLink',
        ], //自定义toolbarButtons,功能菜单
        imageEditButtons: [
          'imageReplace',
          'imageAlign',
          'imageCaption',
          'imageRemove',
        ],//富文本对图片对操作
        imageUploadParam: 'upfile', //上传图片的字段
        imageUploadURL:'http://localhost:3005/excel',//请求地址
        imageUploadMethod: 'POST',
        // Allow to upload PNG and JPG.
        imageAllowedTypes: ['jpeg', 'jpg', 'png'],//接受图片的类型
        placeholderText: '请输入内容',
        // Set max file size to 20MB.
        fileMaxSize: 20 * 1024 * 1024, //限制图片大小
        toolbarSticky: false,
        // Allow to upload any file.
      },
    };
  },
上面这些是基本配置,但是我不建议大家用insertImage这个自带的图片上传功能,所以在上面的 toolbarButtons: [ 'align', 'bold', 'paragraphFormat', 'outdent', 'indent', 'insertLink' ],被我去掉了。
理由如下:
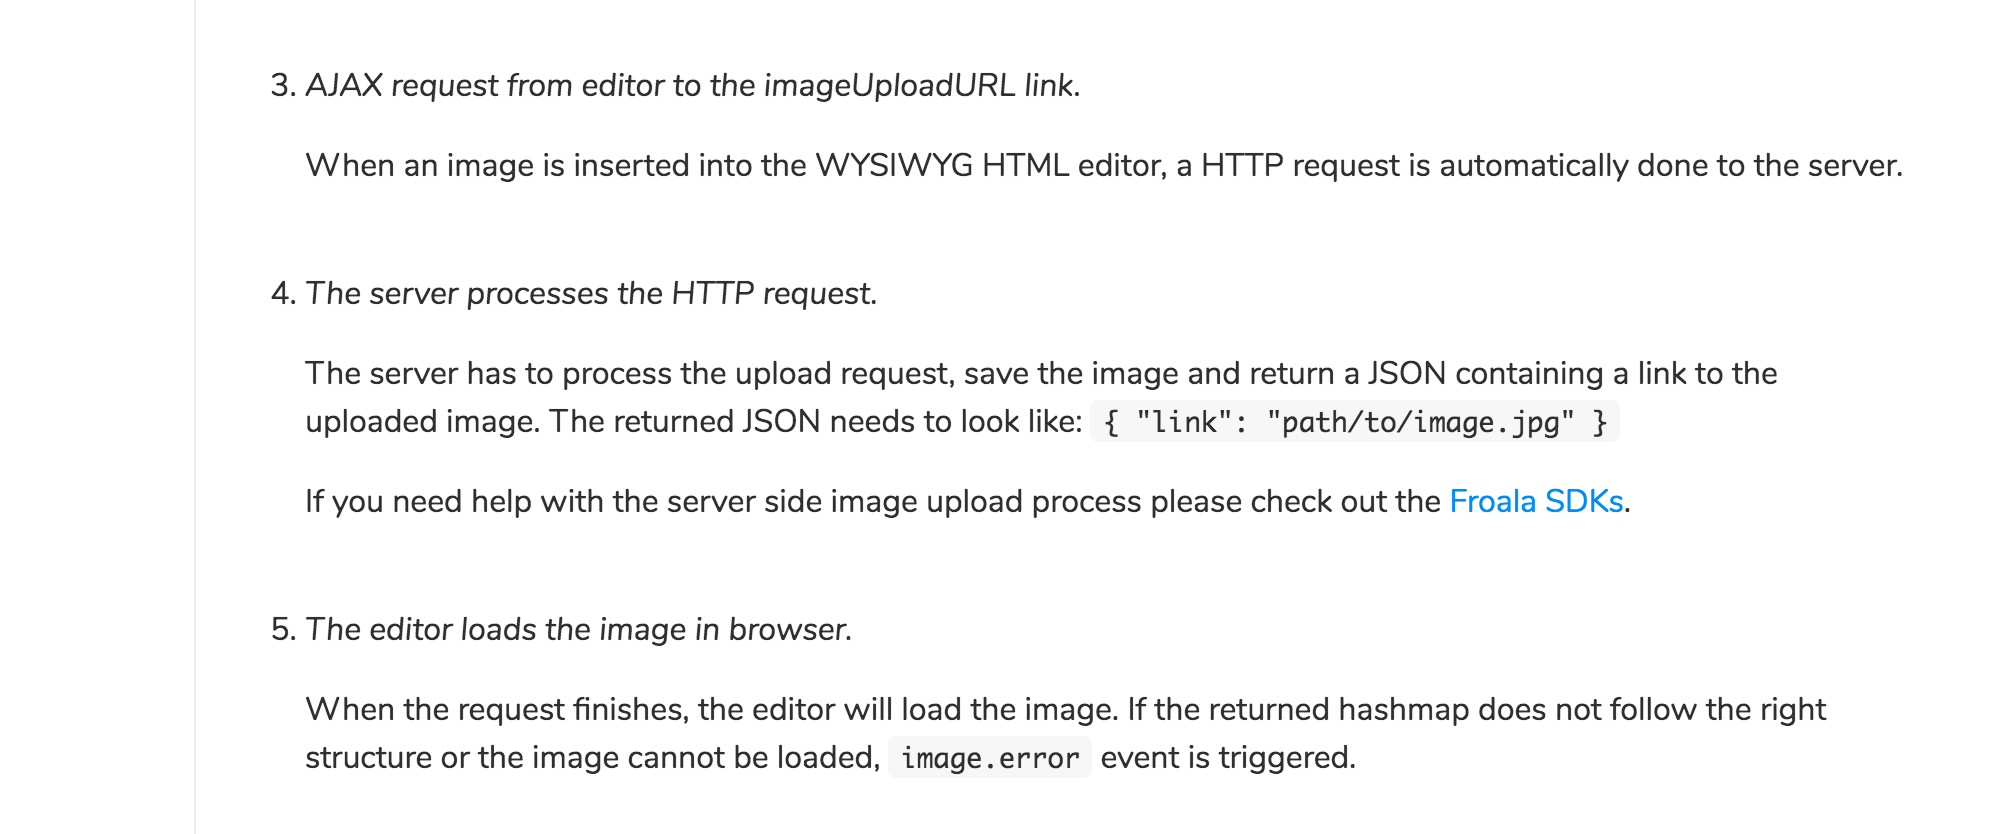
1.froala要求的图片传到后台后的返回格式:{"link": "path/to/image.jpg"}
2.自定义的上传,适用性更广。
用plupload替代默认上传
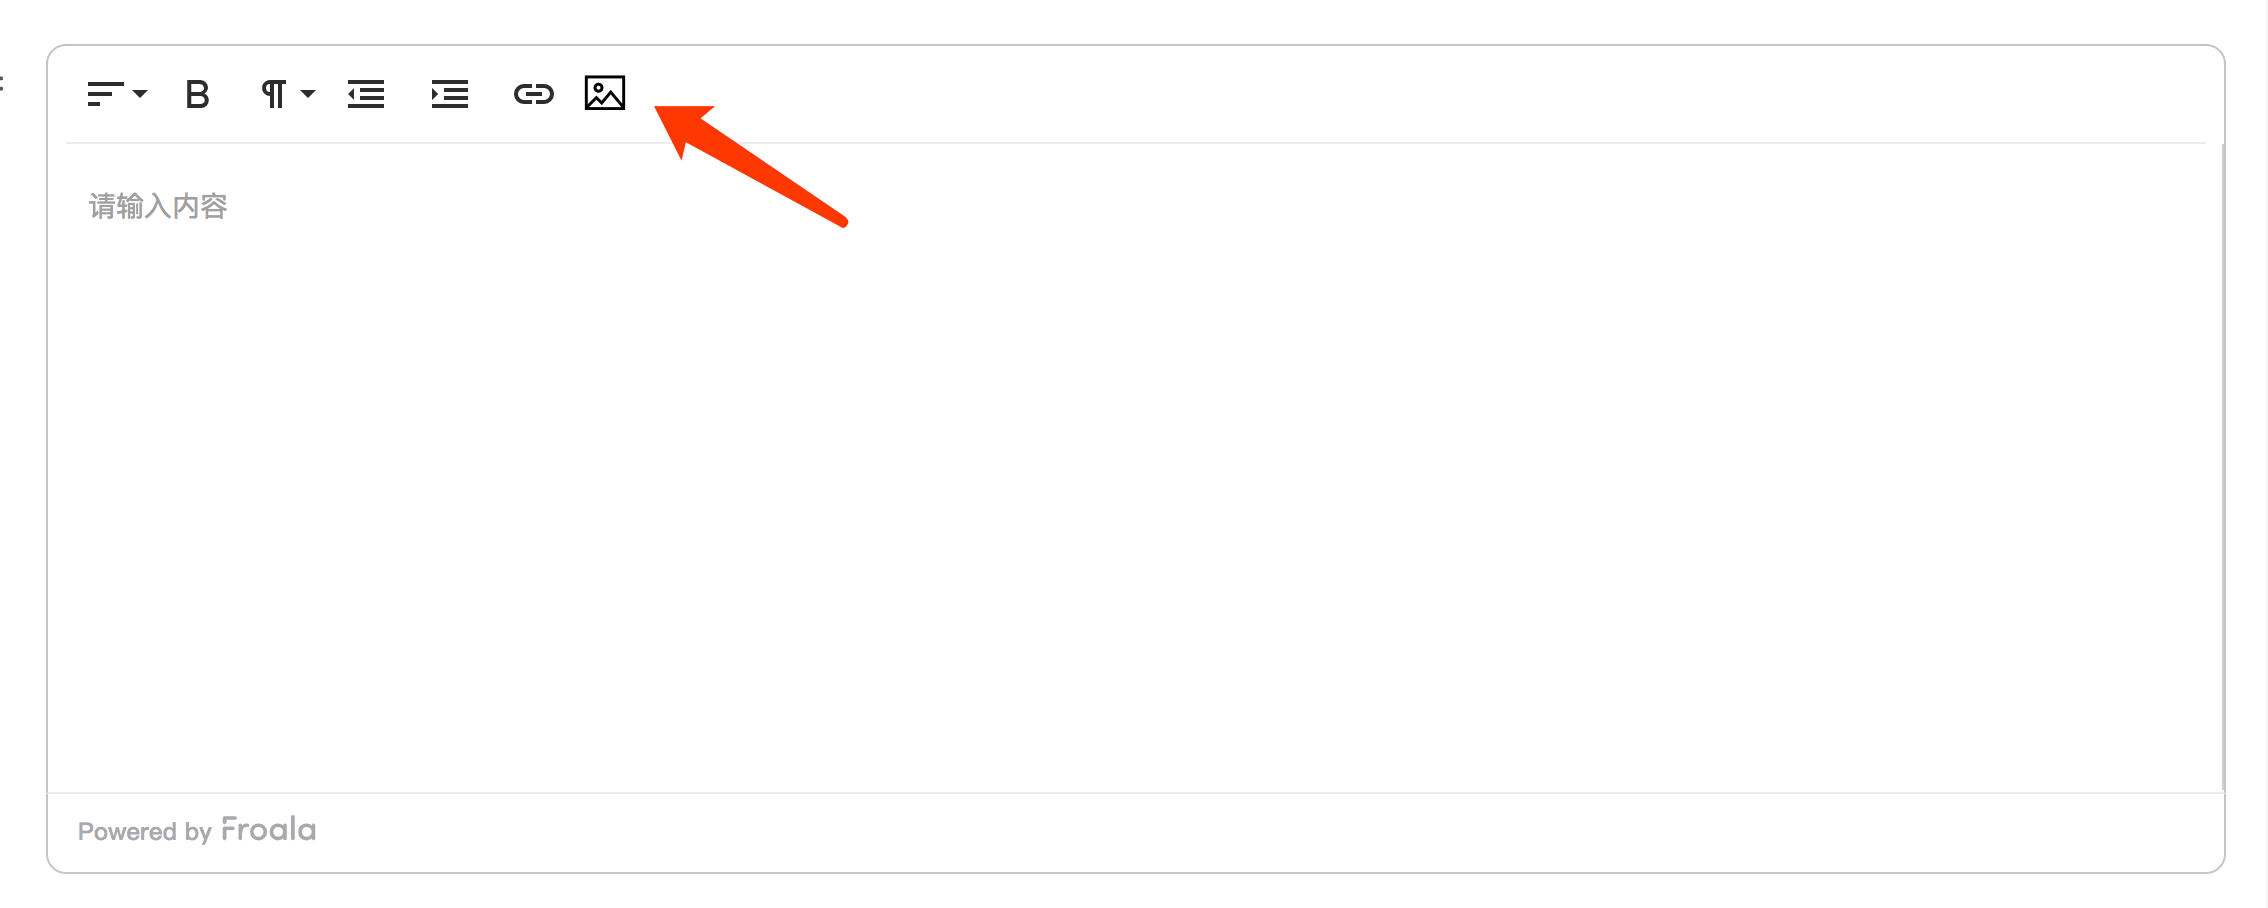
下载一个icon,把这个icon绝对定位到富文本编辑器中
<i class="el-icon-picture-outline" ref="uploadBtn"></i>
然后去去下载 plupload
npm install plupload --save
然后在组件中引入
import plupload from 'plupload';
然后开始初始化 plupload 的方法和触发的dom。
    //初始化上传
    initPlupload() {
      const uploader = new plupload.Uploader({
        browse_button: this.$refs.uploadBtn, // 触发按钮
        multi_selection: false,
        file_data_name: 'upfile',  //定义文件参数
        filters: this.setFilters(),
      });
      uploader.init();
      // 当文件添加到上传队列后触发
      uploader.bind('FilesAdded', (uploader, files) => {
        for (let index = 0; index < files.length; index++) {
          const file = files[index];
          if (!this.checkFileName(file)) {
            this.$message.error(file.name + '文件名不合法');
            uploader.removeFile(file);
          }
        }

        // 开始上传
        uploader.start();
      });
      // 当队列中的某一个文件正要开始上传前触发
      uploader.bind('BeforeUpload', async (uploader, file) => {
        uploader.setOption(this.setConfig(file));
      });
      // 当队列中的某一个文件上传完成后触发
      uploader.bind('FileUploaded', async (uploader, file, info) => {
        console.log(info, 'info==');
        const infoParse = info.response && JSON.parse(info.response);

        console.log(infoParse, 'infoParseinfoParse');
        // const doMain = process.env.REACT_APP_OSS_HOST;
        this.insertHtml('<img src=' + infoParse.url + ' />');
      });

      return uploader;
    },
    // 设置上传配置
    setConfig(file) {
      return {
        url:
          'http://xxxxxxxxxxxxxxxxxxx',//上传接口地址
        multipart_params: {
            //其余参数配置
        },
      };
    },
初始化了 plupload 上传方法之后,并继续对富文本图片的插入做操作。
    //插入方法
    insertHtml(content) {
      //设置编辑器获取焦点
      this.editor.events.focus();
      // 获取选定对象
      const selection = getSelection();
      // 判断是否有最后光标对象存在
      if (this.lastEditRange) {
        console.log('jinru=========进入');
        // 存在最后光标对象,选定对象清除所有光标并添加最后光标还原之前的状态
        selection.removeAllRanges();
        selection.addRange(this.lastEditRange);
      }
      //插入内容
      this.editor.html.insert(content);
      //记录最后光标停留位置
      this.lastEditRange = selection.getRangeAt(0);
    },

还有一步很重要的,对富文本对事件触发,进行操作,写在data里面的config
    events: {
          //初始化加载
          initialized: (e, editor) => {
            console.log(this.$refs.editS);
            this.editor = this.$refs.editS.getEditor();

            // this.editor = this.$refs.editS.getEditor();
          },
          //添加事件,在每次按键按下时,都记录一下最后停留位置
          keyup: (e, editor) => {
            const sel = window.getSelection && window.getSelection();
            if (sel && sel.rangeCount > 0) {
              _this.lastEditRange = sel.getRangeAt(0);
            }
          },

          //从别的地方复制进富文本时候的操作,包括图片等
          'paste.after': async function () {
            //这里面可以用正则,获取复制到的img里面的 src 去替换,然后再写方法,去替换掉里面的外链图片,
            上传到自己的服务器。并且插入到富文本里面中

          },
    }
完整的代码我贴出来了
<template>
  <div>
    <div class="uploadImage">
      <froala
        id="edit"
        :tag="'textarea'"
        :config="config"
        v-model="model"
        ref="editS"
      ></froala>
      <i class="el-icon-picture-outline" ref="uploadBtn"></i>
    </div>
  </div>
</template>

<script>
import plupload from 'plupload';
import VueFroala from 'vue-froala-wysiwyg';
const imgReg = /<img.*?(?:>|\/>)/gi;
//匹配src属性
const srcReg = /\ssrc=[\'\"]?([^\'\"]*)[\'\"]?/i;
const http = /(http|https):\/\/([\w.]+\/?)\S*/;
export default {
  components: {},

  props: {
    content: {},
  },

  data() {
    var _this = this;
    return {
      config: {
        editor: null,
        lastEditRange: null,
        body: null,
        language: 'zh_cn',
        height: 325,
        quickInsertEnabled: false,
        charCounterCount: false,

        //自定义toolbarButtons,功能菜单
        toolbarButtons: [
          'align',
          'bold',
          'paragraphFormat',
          'outdent',
          'indent',
          'insertLink',
        ],
        imageEditButtons: [
          'imageReplace',
          'imageAlign',
          'imageCaption',
          'imageRemove',
        ],


        imageUploadMethod: 'POST',
        // Allow to upload PNG and JPG.
        imageAllowedTypes: ['jpeg', 'jpg', 'png'],
        placeholderText: '请输入内容',
        quickInsertEnabled: false,
        // Set max file size to 20MB.
        fileMaxSize: 20 * 1024 * 1024,
        toolbarSticky: false,
        // Allow to upload any file.
        fileAllowedTypes: ['*'],
        events: {
          initialized: (e, editor) => {
            console.log(this.$refs.editS);
            this.editor = this.$refs.editS.getEditor();

            // this.editor = this.$refs.editS.getEditor();
          },
          //添加事件,在每次按键按下时,都记录一下最后停留位置
          keyup: (e, editor) => {
            const sel = window.getSelection && window.getSelection();
            if (sel && sel.rangeCount > 0) {
              _this.lastEditRange = sel.getRangeAt(0);
            }
          },
          //复制触发事件
          'paste.after': async function () {
            //newContent,把替换后的newContent 插入到富文本中
            this.insertHtml && this.insertHtml(newContent);
          },

        },
      },
    };
  },

  computed: {
    model: {
      get() {
        return this.content;
      },
      set(val) {
        //触发更新文本数据
        this.$emit('update:content', val);
      },
    },
  },

  watch: {},

  created() {},

  mounted() {
    this.initPlupload();
  },

  methods: {


    setFilters() {
      return {
        prevent_duplicates: false, // 允许选取重复文件 默认为false
        max_file_size: 1024 * 1024 * 8,
        mime_types: [
          // 只允许上传的类型
          { title: 'OSSUploadFiles', extensions: 'jpg,png,jpeg,gif' },
        ],
      };
    },
    // 设置上传配置
    setConfig(file) {
      // const name = setFileName(file.name);
      return {
        url:
          '/uploadimage',
        multipart_params: {

        },
      };
    },
    //初始化上传
    initPlupload() {

      const uploader = new plupload.Uploader({
        browse_button: this.$refs.uploadBtn, // 触发按钮
        multi_selection: false,
        file_data_name: 'upfile',
        filters: this.setFilters(),
      });
      uploader.init();
      // 当文件添加到上传队列后触发
      uploader.bind('FilesAdded', (uploader, files) => {
        for (let index = 0; index < files.length; index++) {
          const file = files[index];
          if (!this.checkFileName(file)) {
            this.$message.error(file.name + '文件名不合法');
            uploader.removeFile(file);
          }
        }

        // 开始上传
        uploader.start();
      });
      // 当队列中的某一个文件正要开始上传前触发
      uploader.bind('BeforeUpload', async (uploader, file) => {
        uploader.setOption(this.setConfig(file));
      });
      // 当队列中的某一个文件上传完成后触发
      uploader.bind('FileUploaded', async (uploader, file, info) => {

        const infoParse = info.response && JSON.parse(info.response);
        this.insertHtml('<img src=' + infoParse.url + ' />');
      });

      return uploader;
    },
    // 验证文件名是否合法
    checkFileName(file) {
      if (/[%=+#&?\s]/g.test(file.name)) {
        return false;
      }
      return true;
    },
    initChange(val) {
      console.log(val, 55434343);
    },
    insertHtml(content) {
      //设置编辑器获取焦点
      this.editor.events.focus();
      // 获取选定对象
      const selection = getSelection();
      // 判断是否有最后光标对象存在
      if (this.lastEditRange) {
        console.log('jinru=========进入');
        // 存在最后光标对象,选定对象清除所有光标并添加最后光标还原之前的状态
        selection.removeAllRanges();
        selection.addRange(this.lastEditRange);
      }
      //插入内容
      this.editor.html.insert(content);
      //记录最后光标停留位置
      this.lastEditRange = selection.getRangeAt(0);
    },
  },
};
</script>
<style lang="less" scoped>
.fr-uploading {
  display: none;
}
.uploadImage {
  position: relative;
  /deep/ .el-icon-picture-outline {
    font-size: 23px;
    position: absolute;
    top: 13px;
    left: 268px;
    cursor: pointer;
  }
  /deep/ .el-icon-picture-outline:before {
    color: black;
  }
}
</style>
刚开始用的时候,这个自带的图片上传是真的坑爹,还要遵循他的规则返回数据。 所以遇到坑爹插件时,不想自己写的时候,可以想办法替代掉他原来掉的功能。
