安装mock.js cnpm i mockjs --save
安装一个webpack中间件 cnpm install webpack-api-mocker --save-dev
路径在build文件夹中的一个 webpack.dev.conf.js中,deServer对象中添加一个before 字段
before提供在服务器内部在所有其他中间件之前执行自定义中间件的功能。这可以用于定义自定义处理程序,例如:
``
 devServer: {
    clientLogLevel: 'warning',
    historyApiFallback: {
        rewrites: [
            { from: /.*/, to: path.posix.join(config.dev.assetsPublicPath, 'index.html') },
        ],
    },
    hot: true,
    contentBase: false, // since we use CopyWebpackPlugin.
    compress: true,
    host: HOST || config.dev.host,
    port: PORT || config.dev.port,
    open: config.dev.autoOpenBrowser,
    overlay: config.dev.errorOverlay ? { warnings: false, errors: true } : false,
    publicPath: config.dev.assetsPublicPath,
    proxy: config.dev.proxyTable,
    quiet: true, // necessary for FriendlyErrorsPlugin
    watchOptions: {
        poll: config.dev.poll,
    },
    before(app) {
        apiMocker(app, path.resolve('mock/index.js'))
    }

},
Src同级目录下创建一个mock文件夹
1、index.js
Mock.mock(json)这个Api是重点在于刷新mock数据
const fs = require('fs');
const Mock = require('mockjs'); //mockjs 导入依赖模块
function fromJSONFile(filename) {
    return (req, res) => {
        const data = fs.readFileSync(`mock/${filename}.json`, 'utf-8');
        const json = JSON.parse(data);
        return res.json(Mock.mock(json));
    };
}
const proxy = {
    'GET /app/user/profile': fromJSONFile('userInfo'),
};
module.exports = proxy;
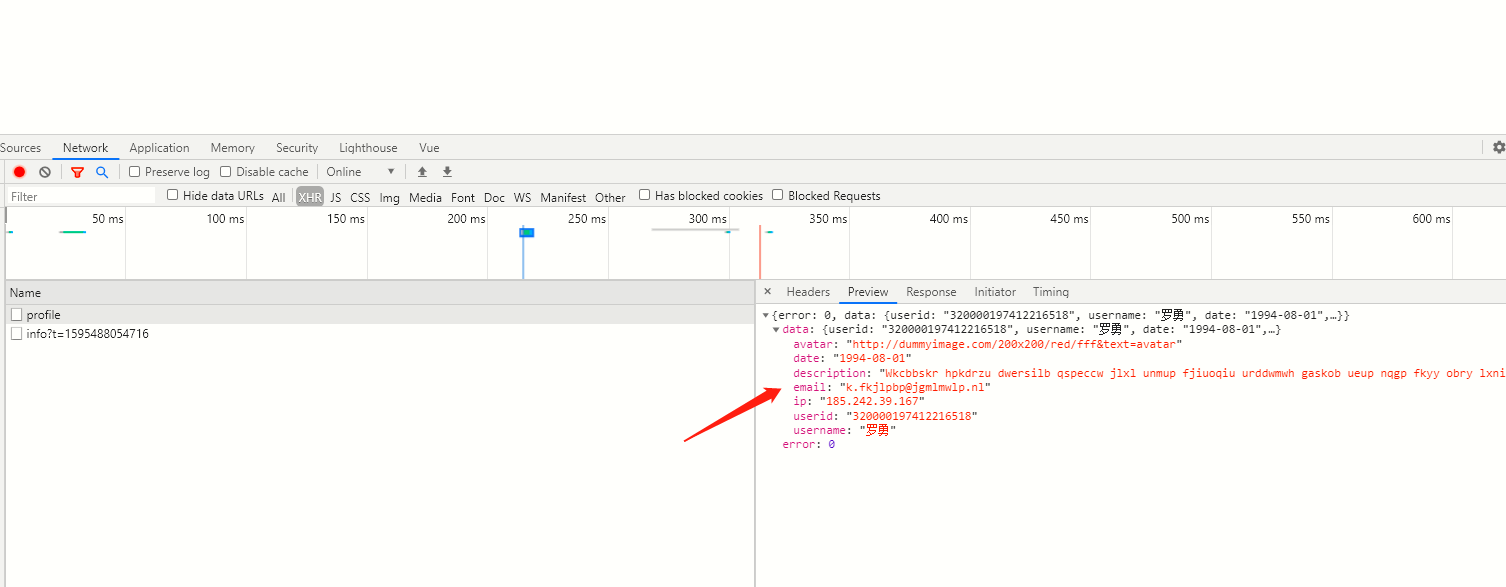
2、userInfo.json
    {
    "error": 0,
    "data": {
        "userid": "@id()",
        "username": "@cname()",
        "date": "@date()",
        "avatar": "@image('200x200','red','#fff','avatar')",
        "description": "@paragraph()",
        "ip": "@ip()",
        "email": "@email()"
    }
}