用了很久的富文本编辑器,看了一下打包出来的包,what?这么一个富文本框竟然占了20K?我为啥要用这么一个复杂的东西,不如自己写一个编辑器,也正好做一个markdown编辑器
showdown
无论是富文本框还是markdown编辑器,其核心的逻辑就是将 字符串 转换成 html,这有一个package: showdown,这是一个markdown核心逻辑的一个包
var showdown  = require('showdown'),
    converter = new showdown.Converter(),
    text      = '# hello, markdown!',
    html      = converter.makeHtml(text);
这是npm上这个包的一个简洁,其实还是蛮容易的;
界面
我也是照着大多数的编辑器来设计

但是这个毕竟是和textarea分离的,当我们改变文本的时候,左边的数字不会随着动:所以我们在textarea中做了一个scroll的事件,很多的编辑器还有一个跟滑动相关的就是左边的编辑框滑动就会带动右边的预览页面,但是预览页面会有图片啊 各种东西,所以很定会比左边的编辑框更长,所以我采用的是比例来搞,大概其应该没问题;
changeScroll(scrollEvent: any) {
        (this.$refs['GUl'] as any).scroll({top: scrollEvent.target.scrollTop});
        (this.$refs['GMarkdownContent'] as any).scroll({top: (this.$refs['GMarkdownContent'] as Element).scrollHeight * (scrollEvent.target.scrollTop / scrollEvent.target.scrollHeight)});
    }
我们对这个textarea绑定一个text参数,然后监听这个参数的变化,通过showdown来生成html,然后在右边预览这边就直接v-html放进去就好了 我用的是ts还有vue-property-decorator
    @Watch('text')
    change() {
        this.lineLength = Math.floor((this.$refs['g-textarea'] as Element).scrollHeight / 25);
        this.html = this.converter.makeHtml(this.localText);
        this.$forceUpdate();
    }
在我们更改了text 就会触发这个change, 这个lineLength是用来标志左边的li的,会每次计算li的数目; 这样基本就搞定了最基本版东西了
toolbar
作为一个编辑器,肯定要一些tools,按一般的来说会有一些工具,简单的就会有是否展示预览啊,undo,redo,我用了一个数组去存放tool,我是这么定义的,有name,icon,callback,disabled
预览
我用了一个preview的属性去标识是不是预览,然后定义了tool的callback,去改变这个proview,不过这好像有个问题,就是callback虽然this指的是,但是改变值不会成功,所以借助了外边的一个函数
            toolName: 'preView',
            icon: require('@i/images/split.png'),
            cb: (data: any) => {
                this.changeAttr('preView', !data.split);
                this.$forceUpdate();
            },
            disable: false
redo和undo
之前使用栈来管理,现在进行了优化,我采用滑动窗口的感觉,这样可以保证窗口内必定是5个,而且不会产生各种问题,方便来操作;当我们改变markdown文本,防抖添加到队伍中这个队伍只有五个,头出尾入,然后定义游标为尾部,通过游标位置的改变来进行字符的改变;
        <!--添加队列-->
        if (this.cursor === this.history.length - 1 || this.history.length === 0) {
                if (this.historyTimer) {
                    clearTimeout(this.historyTimer);
                }
                this.historyTimer = setTimeout(() => {
                    if (this.history.length > 5) {
                        this.history.shift();
                    }
                    this.history.push(this.localText);
                    this.cursor = this.history.length - 1;
                    clearTimeout(this.historyTimer);
                }, 1000);
        }
        // 具体操作
        undo() {
            if (this.cursor > 0) {
                this.cursor--;
                this.localText = this.history[this.cursor];
            }
        }

        redo() {
            if (this.cursor < 5) {
                this.cursor++;
                this.localText = this.history[this.cursor];
            }
        }
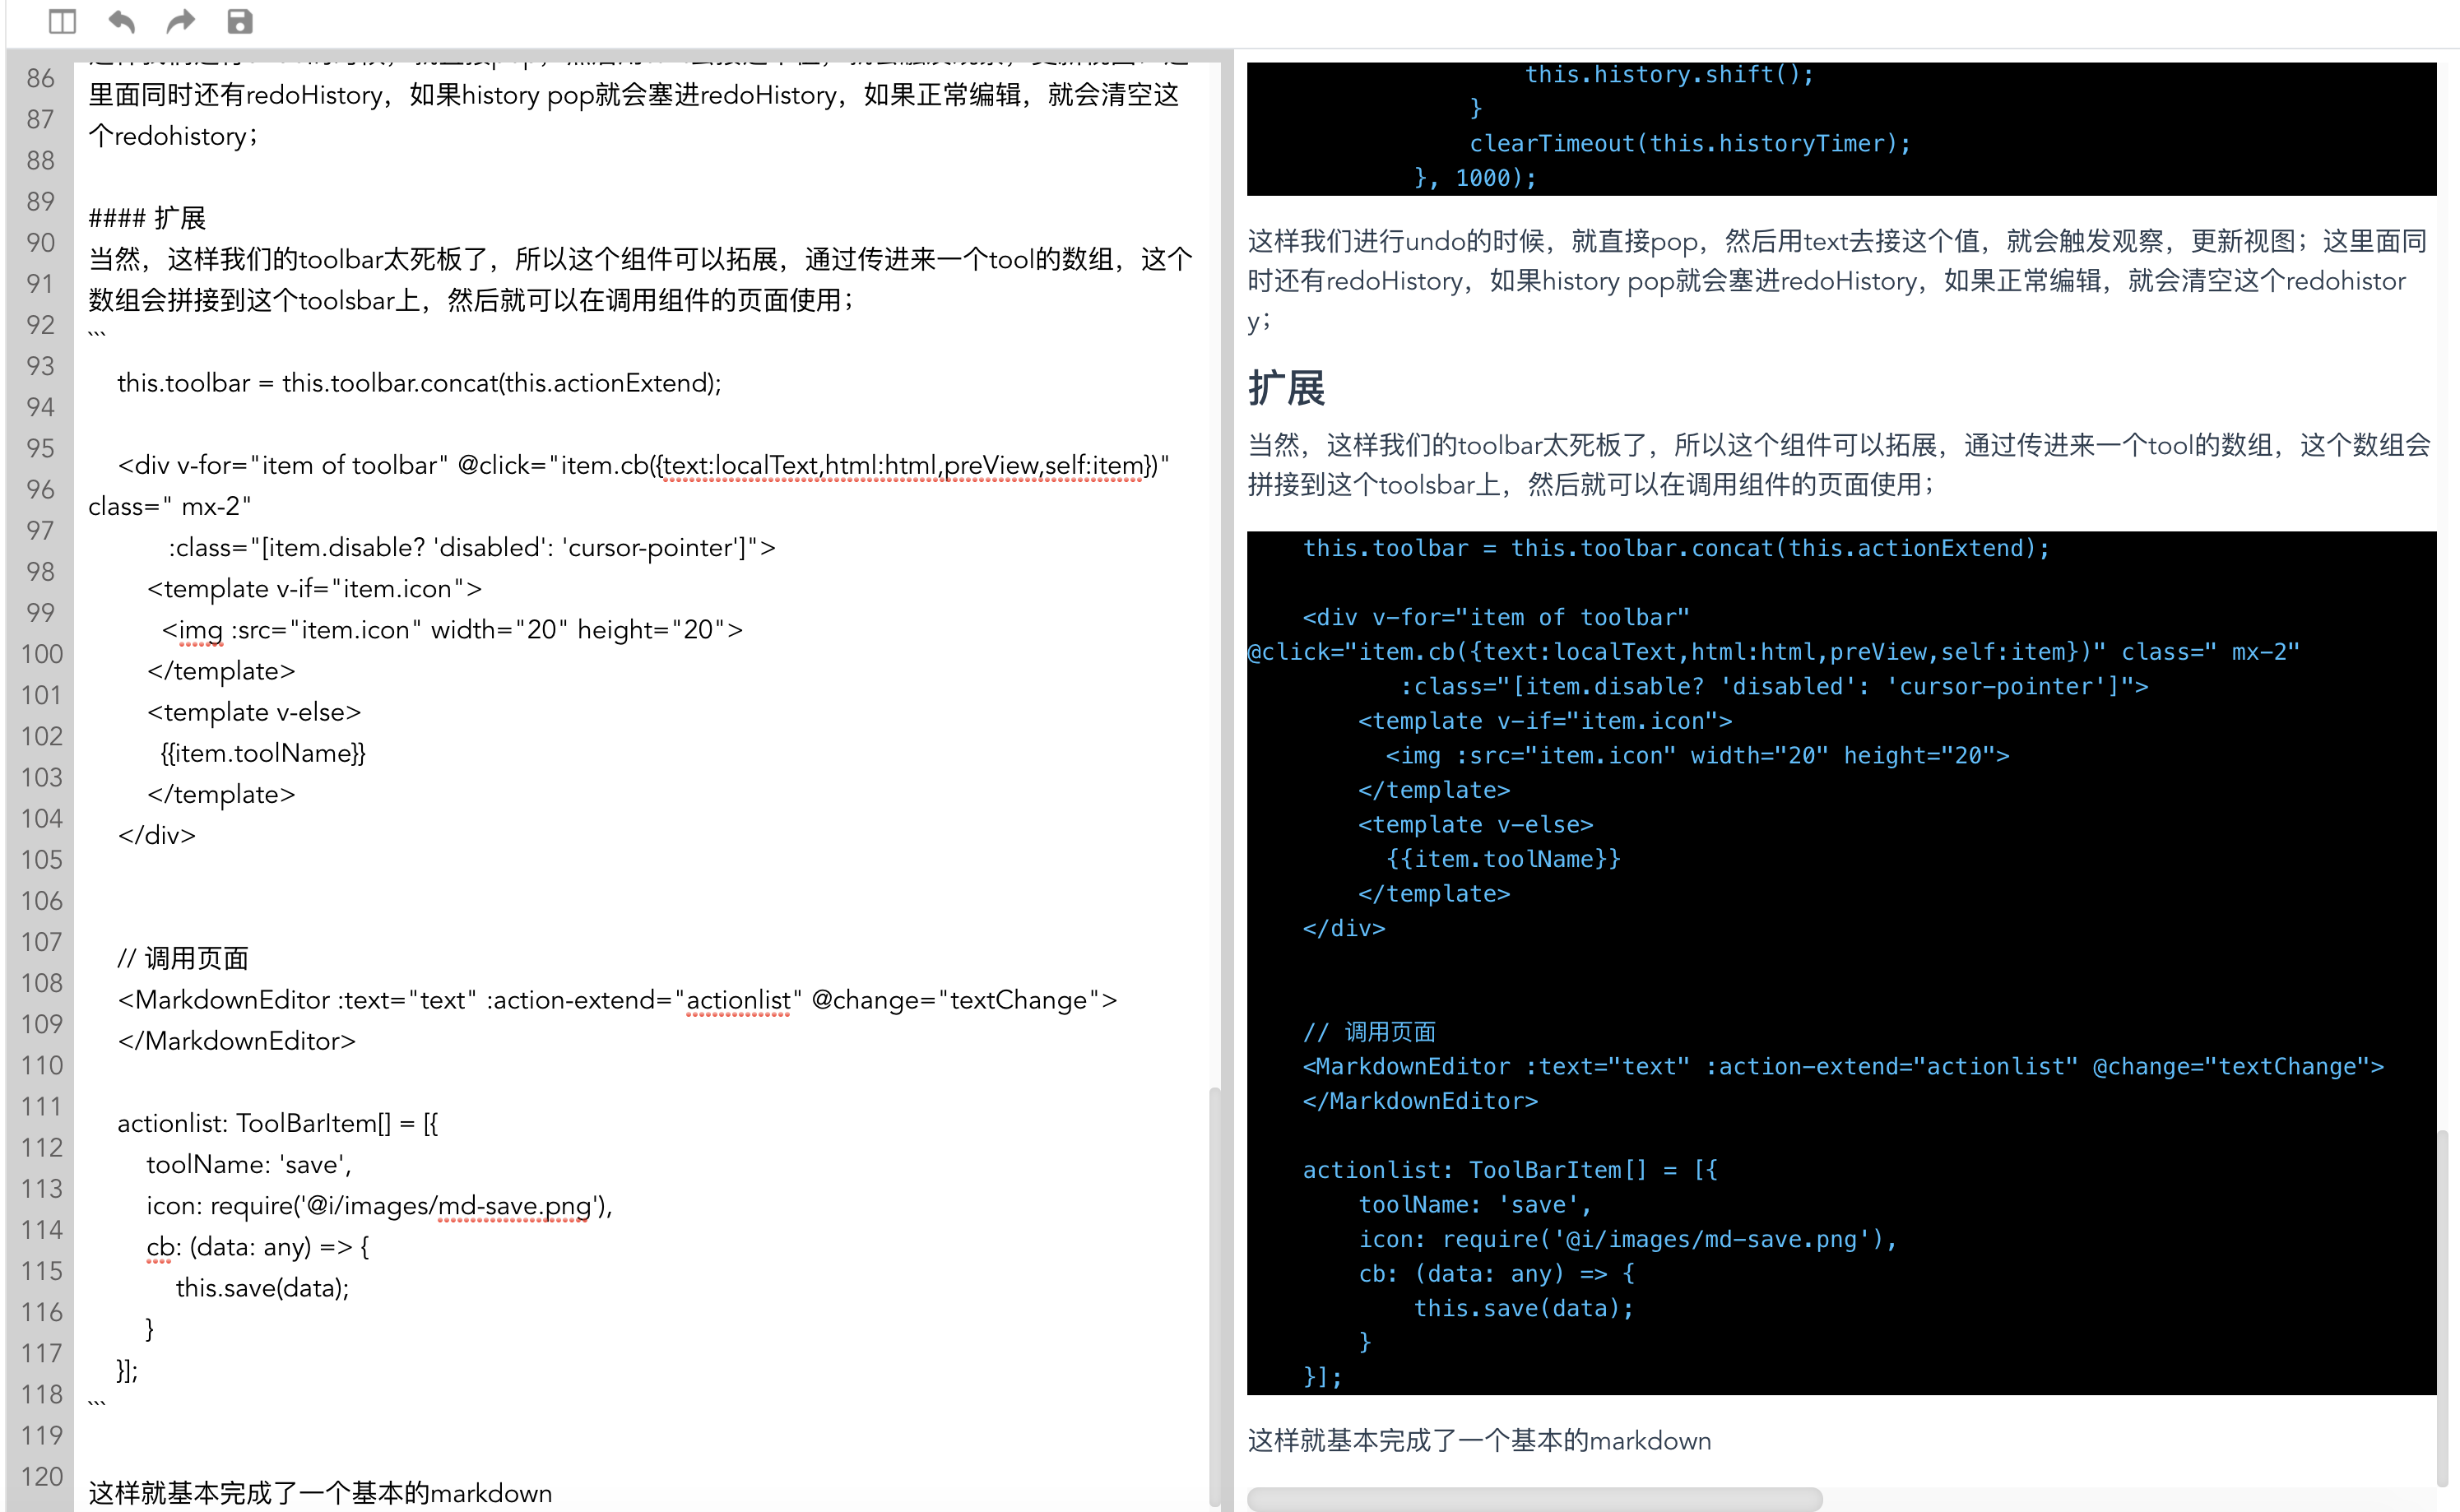
扩展
当然,这样我们的toolbar太死板了,所以这个组件可以拓展,通过传进来一个tool的数组,这个数组会拼接到这个toolsbar上,然后就可以在调用组件的页面使用;
    this.toolbar = this.toolbar.concat(this.actionExtend);

    <div v-for="item of toolbar" @click="item.cb({text:localText,html:html,preView,self:item})" class=" mx-2"
           :class="[item.disable? 'disabled': 'cursor-pointer']">
        <template v-if="item.icon">
          <img :src="item.icon" width="20" height="20">
        </template>
        <template v-else>
          {{item.toolName}}
        </template>
    </div>


    // 调用页面
    <MarkdownEditor :text="text" :action-extend="actionlist" @change="textChange">
    </MarkdownEditor>

    actionlist: ToolBarItem[] = [{
        toolName: 'save',
        icon: require('@i/images/md-save.png'),
        cb: (data: any) => {
            this.save(data);
        }
    }];
这样就基本完成了一个基本的markdown