本文介绍根据省份爬取大学列表和每个大学的百度百科详情。
创建大学实体类
大学的信息比较多,因为我们想展示比较详细的大学数据。
import { Entity, Column, PrimaryGeneratedColumn } from 'typeorm';

@Entity()
export class College {

  @PrimaryGeneratedColumn()
  id: number;

  @Column()
  name: string;

  @Column({
    nullable: true,
  })
  createdYear: string;

  @Column({
    nullable: true
  })
  type: string;


  @Column({
    nullable: true,
    type: 'simple-array'
  })
  tags: string[];

  @Column({
    nullable: true
  })
  category: string;


  @Column({
    nullable: true,
    type: 'simple-array'
  })
  schoolFellow: string;

  @Column({
    nullable: true
  })
  department: string;

  @Column({
    nullable: true
  })
  website: string;

  @Column({
    nullable: true,
  })
  code: string;

  @Column({
    nullable: true
  })
  motto: string;

  @Column({
    nullable: true
  })
  location: string;

  @Column({
    nullable: true
  })
  provinceAbbr: string;

  @Column({
    nullable: true
  })
  create_ts: string;

  @Column({
    nullable: true
  })
  update_ts: string;


  @Column({
    nullable: true,
    type: 'text'
  })
  des: string;

}
爬取大学列表
我们先从https://daxue.eol.cn/爬取每个省份的大学列表,然后获取到name,location,provinceAbbr,create_ts这几个简单字段,然后使用this.collegeRepository.save(collegeListInfo)将大学列表存入数据库。
注意解析DOM的each方法里使用了async类型匿名回调,因为回调函数里面我们保存到数据库的操作是await方法。
 async crawlerCollegeaNameByProvince(province) {
    const a = () => {
      return new Promise((reslove, reject) => {
        var c = new Crawler({
          maxConnections: 10,
          callback: (error, res, done) => {
            if (error) {
              console.log(error);
              reject(error)
            } else {
              var $ = res.$;
              let items = [];
               $('.table-x').find('tbody').find('tr').each(async (idx, element) => {
                if (idx === 0 || idx === 1) { return; }
                var $element = $(element);
                let collegeListInfo = {
                  name: $element.find('td').eq(1).text(),
                  location: $element.find('td').eq(4).text(),
                  provinceAbbr: province,
                  create_ts: moment().format('YYYY-MM-DD HH:mm:ss')
                }
                await this.collegeRepository.save(collegeListInfo);
                items.push(collegeListInfo);
              });
              reslove(items);
            }
            done();
          }
        });
        c.queue(`https://daxue.eol.cn/${province}.shtml`);
      })
    };
    return await a();
  }
我们可以在Controller里传参数:
 @Post('crawlerCollegeList')
  reptile(@Body('province') province: string) {
    return this.collegeService.crawlerCollegeaNameByProvince(province);
  }
爬取百度百科大学详情
一些网站为了防爬虫会设置一些检查机制,这时我们就需要添加请求头,伪装成浏览器正常访问。 header的内容在浏览器的开发者工具中便可看到,将这些信息添加到我们的爬虫代码中即可。 ‘Accept-Encoding’:是浏览器发给服务器,声明浏览器支持的编码类型。一般有gzip,deflate,br 等等。
而百度百科的爬虫,我们需要设置accept-encoding为br,否则会一直报错解析不了。
  async crawlerCollegeInfo() {
    const crawlerFun = (name,id) => {
      return new Promise((reslove, reject) => {
        var c = new Crawler({
          rateLimit: 4000,
          maxConnections: 1,
          callback: (error, res, done) => {
            if (error) {
              reject(error)
            } else {
              const $ = res.$;
              let collegeBasicInfo: College = new College();
              $('.lemma-summary').find('.para').each((index, element) => {
                const $element = $(element);
                if(collegeBasicInfo.des){
                  collegeBasicInfo.des = $element.text() + '\n';
                }else{
                  collegeBasicInfo.des = collegeBasicInfo.des + $element.text() + '\n';
                }
              });
              collegeBasicInfo.website = $('.baseBox').find('.dl-baseinfo').last().find('dl').last().find('dd').find('a').text();
              let allParamsElement = $('.basic-info').find('dt');
              allParamsElement.each((index, element) => {
                const $element = $(element);
                const labelTitle = $element.text().replace(/\s+/g, "");
                for (const key in ParamCrawler) {
                  if (labelTitle === ParamCrawler[key]) {
                    if (key === 'createdYear') {
                      collegeBasicInfo.createdYear = $element.next().text().substr(0,5);
                    }
                    else {
                      collegeBasicInfo[key] = $element.next().text().replace(/[\r\n]/g, "");
                    }
                  }
                }
              })
              reslove(collegeBasicInfo);
            }
            done();
          }
        });
        c.queue(
          {
            uri: `https://baike.baidu.com/item/${name}`,
            headers: {
              'accept-encoding': 'br'
            }
          }
        );
      })
    };

    let response=await this.collegeRepository.find();
    response.forEach(async (item)=>{
      let basicInfo= await crawlerFun(encodeURIComponent(item.name),item.id);
      await this.collegeRepository.update(item.id, basicInfo);
    })
  }
可以看到,我们先获取到大学列表,然后爬虫每个大学的百度百科全信息,这样的做法其实比较粗糙,但是这里因为我们只是学习爬虫的用法,所以先简单这样做。最后会返回一个处理完的数组。
我们加一个get列表的接口:
 controller:
 @Post('list')
  findAll(@Body() condition: Object): Promise<College[]> {
    return this.collegeService.findAll(condition);
  }

  service:
  findAll(condition: Object): Promise<College[]> {
    return this.collegeRepository.find({
      where: condition
    });
  }
这里我们只要在/college/list的post接口传入过滤对象就可以获得对应的返回结果,比如传入省份代码。
更新/删除/获取具体大学信息
有时候因为数据错误或不准确,我们需要手动更新数据。那么Nest如何进行Rest API的增删改查呢?
  controller:
  @Get('detail/:id')
  findOne(@Param('id') id: string): Promise<College> {
    return this.collegeService.findOne(id);
  }

  @Put(':id')
  update(
    @Param('id') id: string,
    @Body() updateCollege: College,
  ): Promise<void> {
    return this.collegeService.update(id, updateCollege);
  }

  @Delete(':id')
  remove(@Param('id') id: string): Promise<void> {
    return this.collegeService.remove(id);
  }

  service:
  async update(id, updateCollege: College): Promise<void> {
    delete updateCollege.id;
    updateCollege.update_ts = moment().format('YYYY-MM-DD HH:mm:ss');
    await this.collegeRepository.update(id, updateCollege);
  }

  async findOne(id: string): Promise<College> {
    await this.checkCollegeExist(id);
    return this.collegeRepository.findOne(id);
  }

  async remove(id: string): Promise<void> {
    await this.checkCollegeExist(id);
    await this.collegeRepository.delete(id);
  }
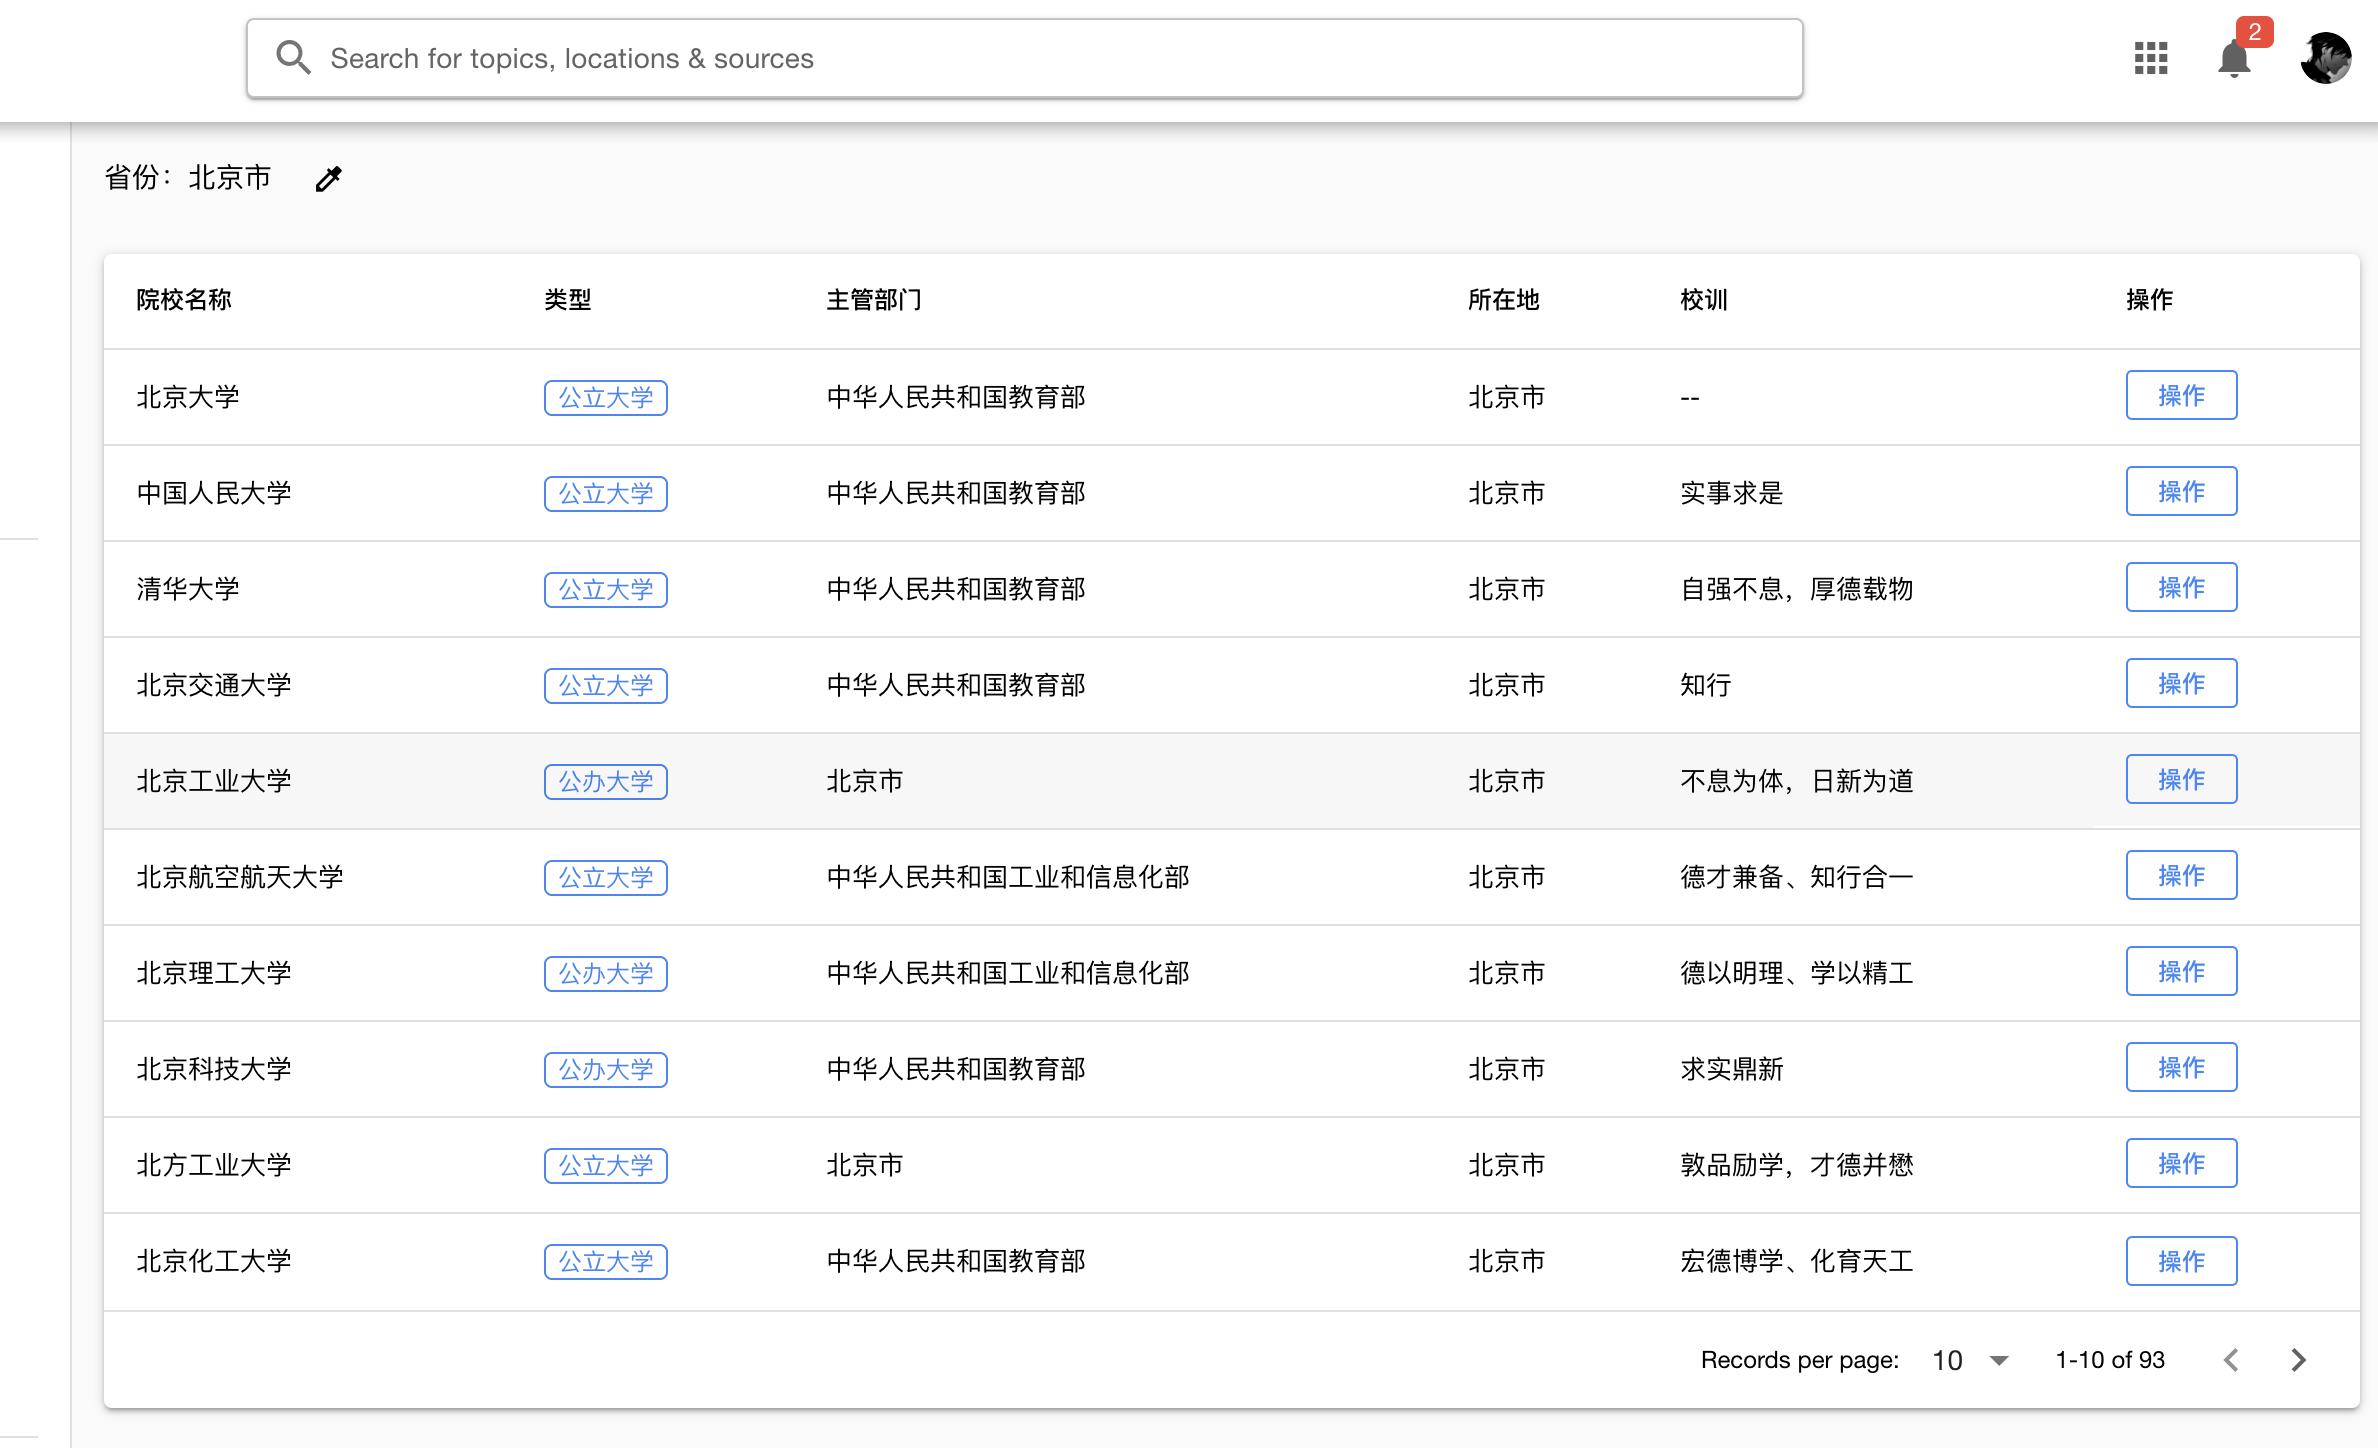
最后,我们看一下我们爬到的大学信息: