

Created by Ningyuan 2020/05/23
先扔个官方设计指南 Human Interface Guidelines:Photo Editing
iOS 8 之后,苹果提供了几个应用扩展功能,分别是Today Widget、Share、Action、Photo Editing、Storage Provider、Custom Keyboard,丰富了iPhone的操作体验。本次介绍的,是Photo Editing,中文译名为照片(图片)编辑。
1. 新建
看了下网上的教程,都是比较旧的版本,于是摸索了一下,步骤如下
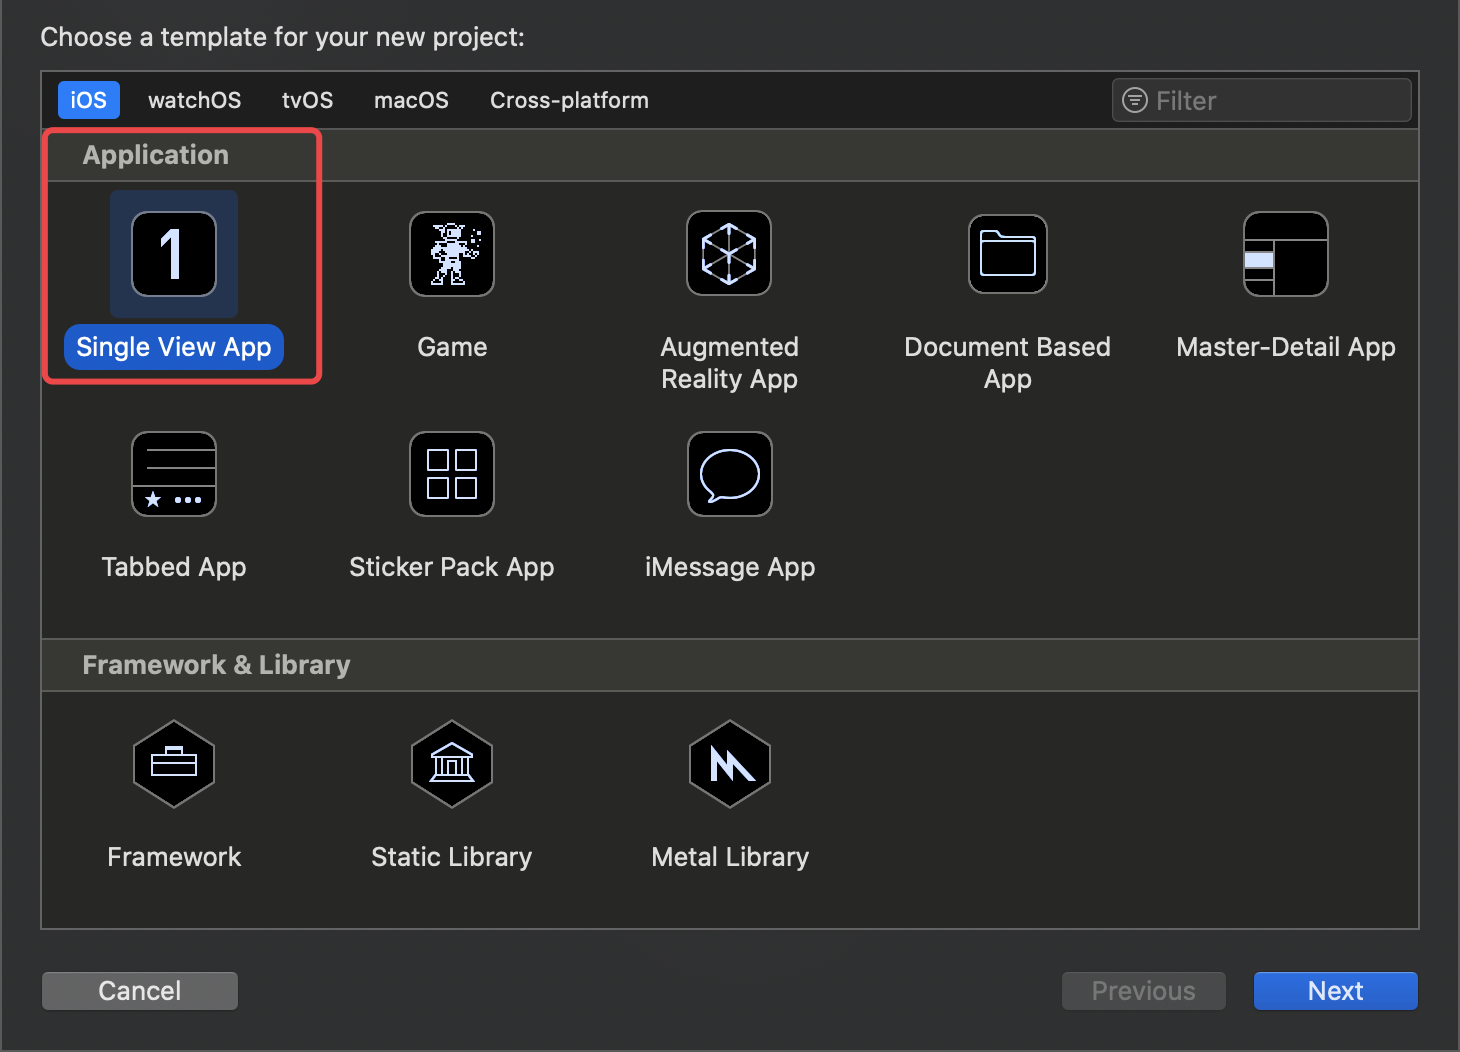
新建一个
Single View App项目
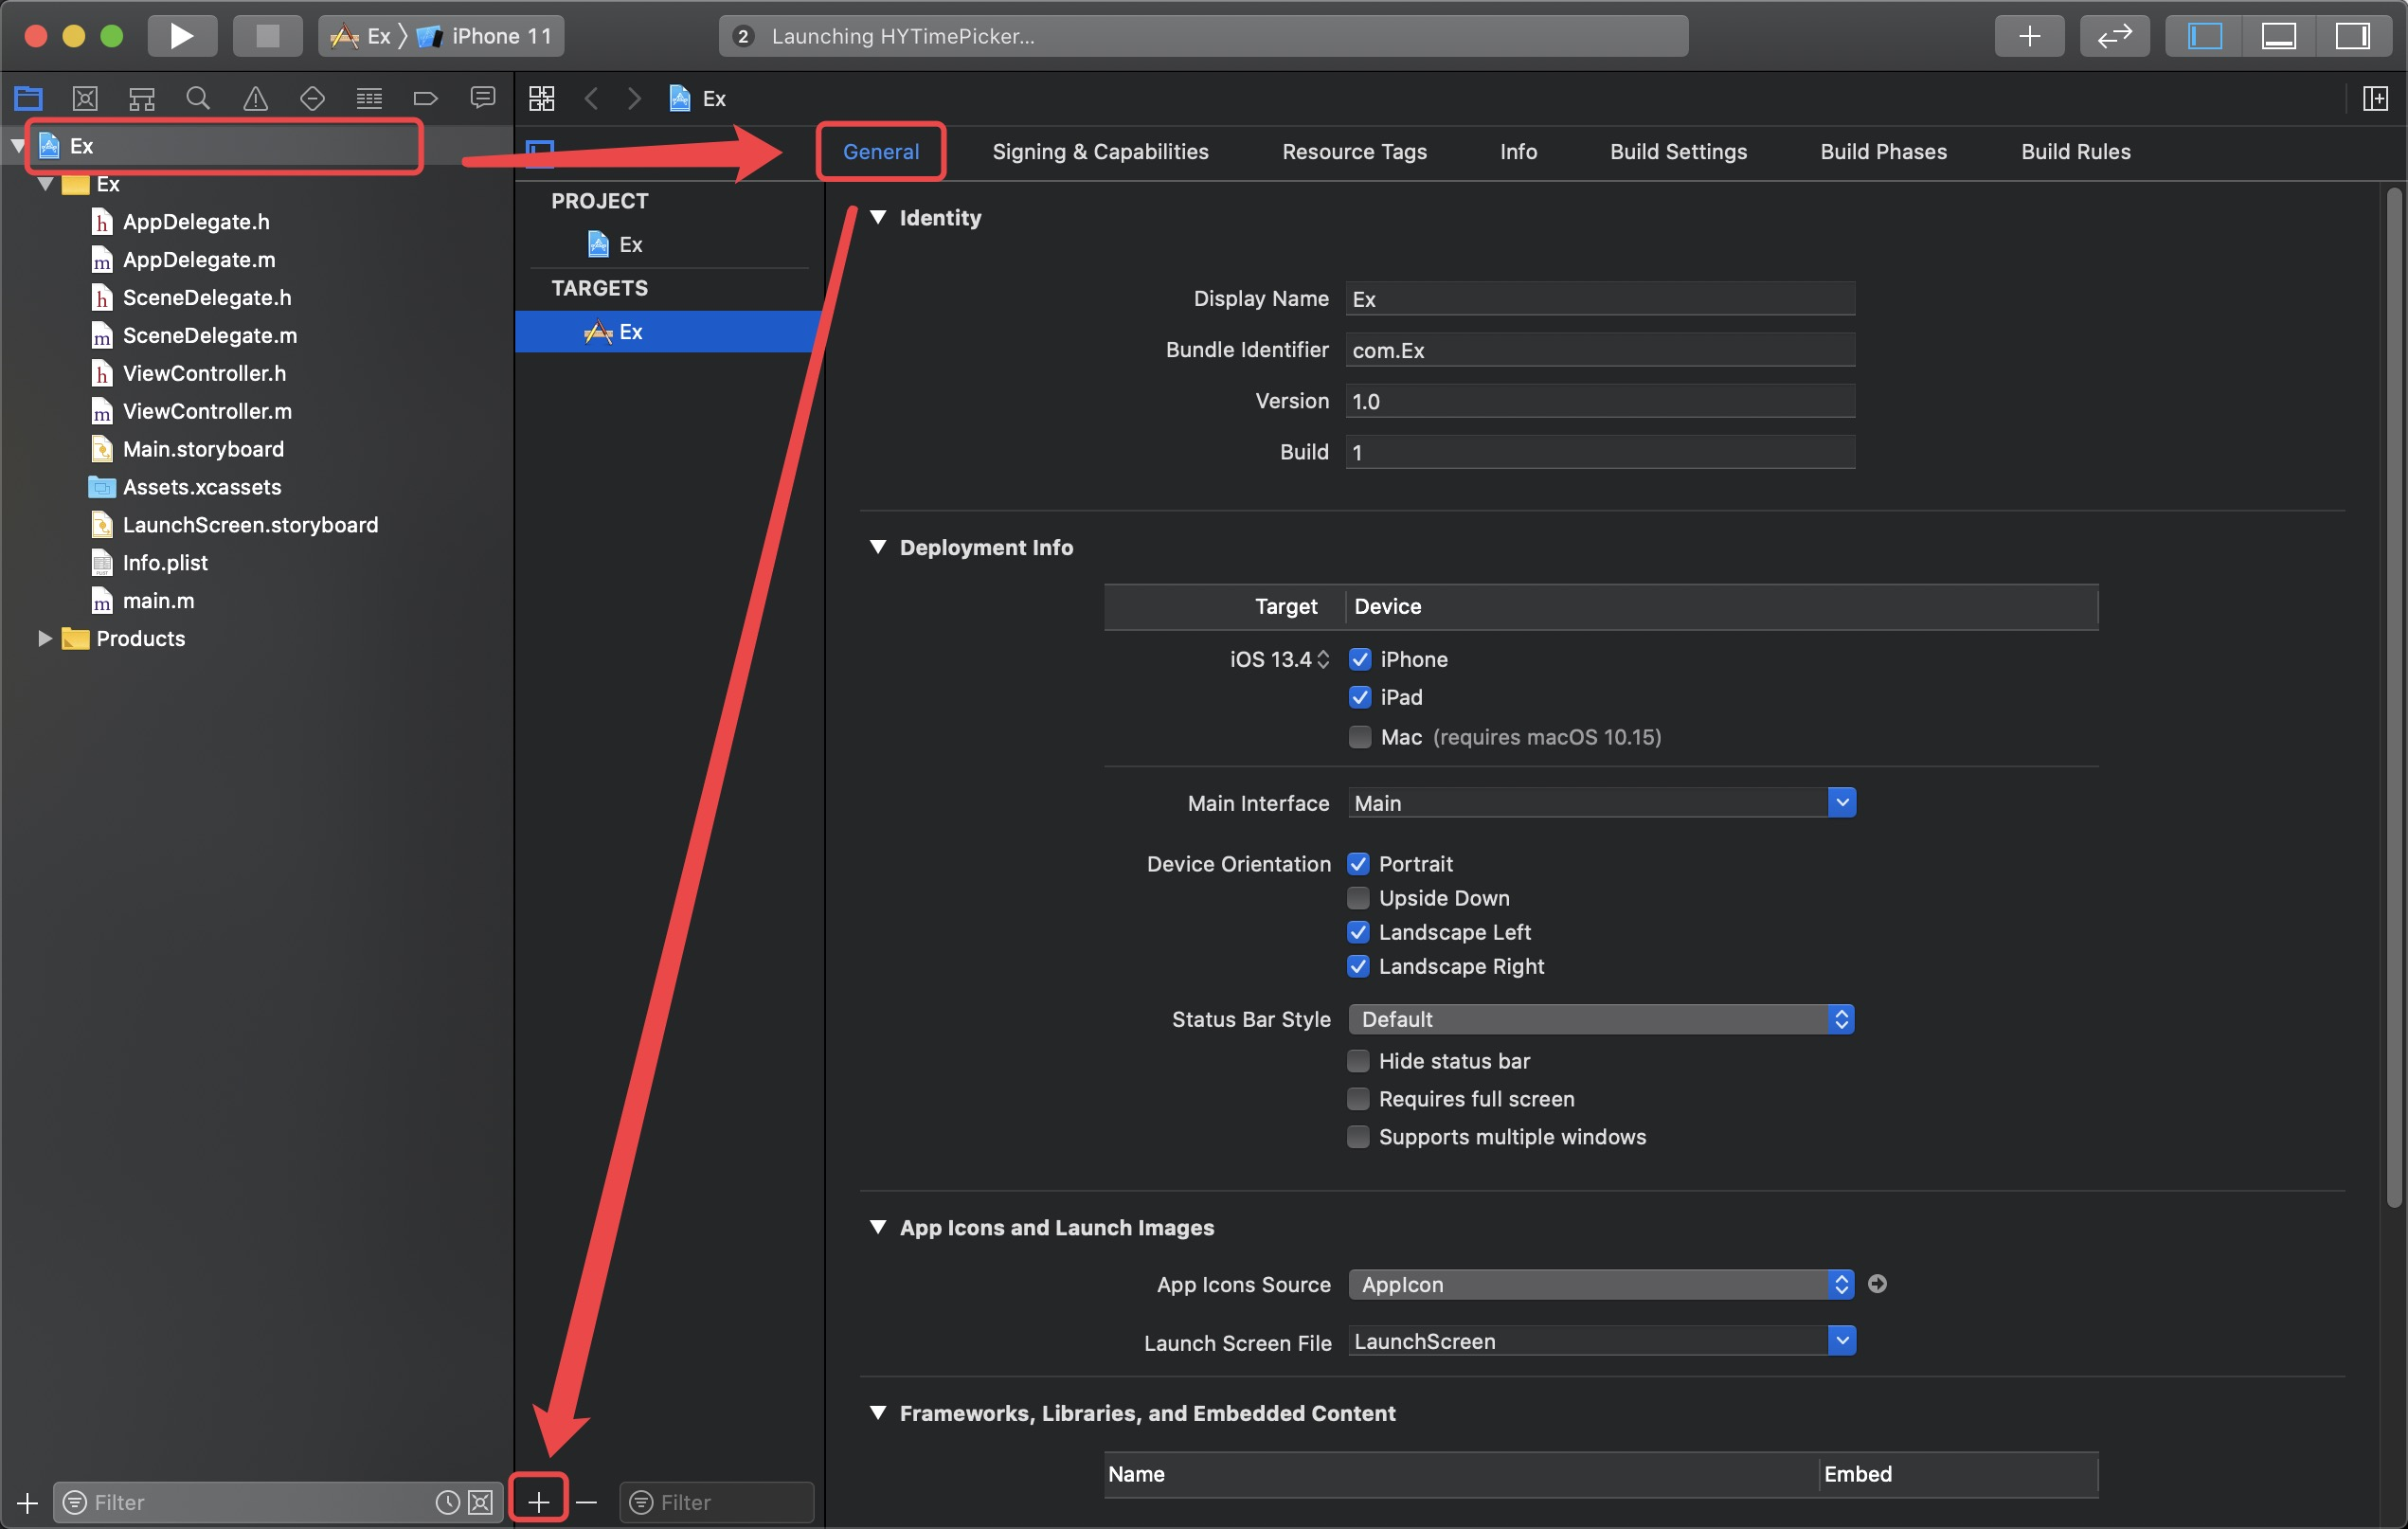
新建完毕,选中项目 - TARGETS - General - 点击 侧栏下方的 "+",添加Extension项目
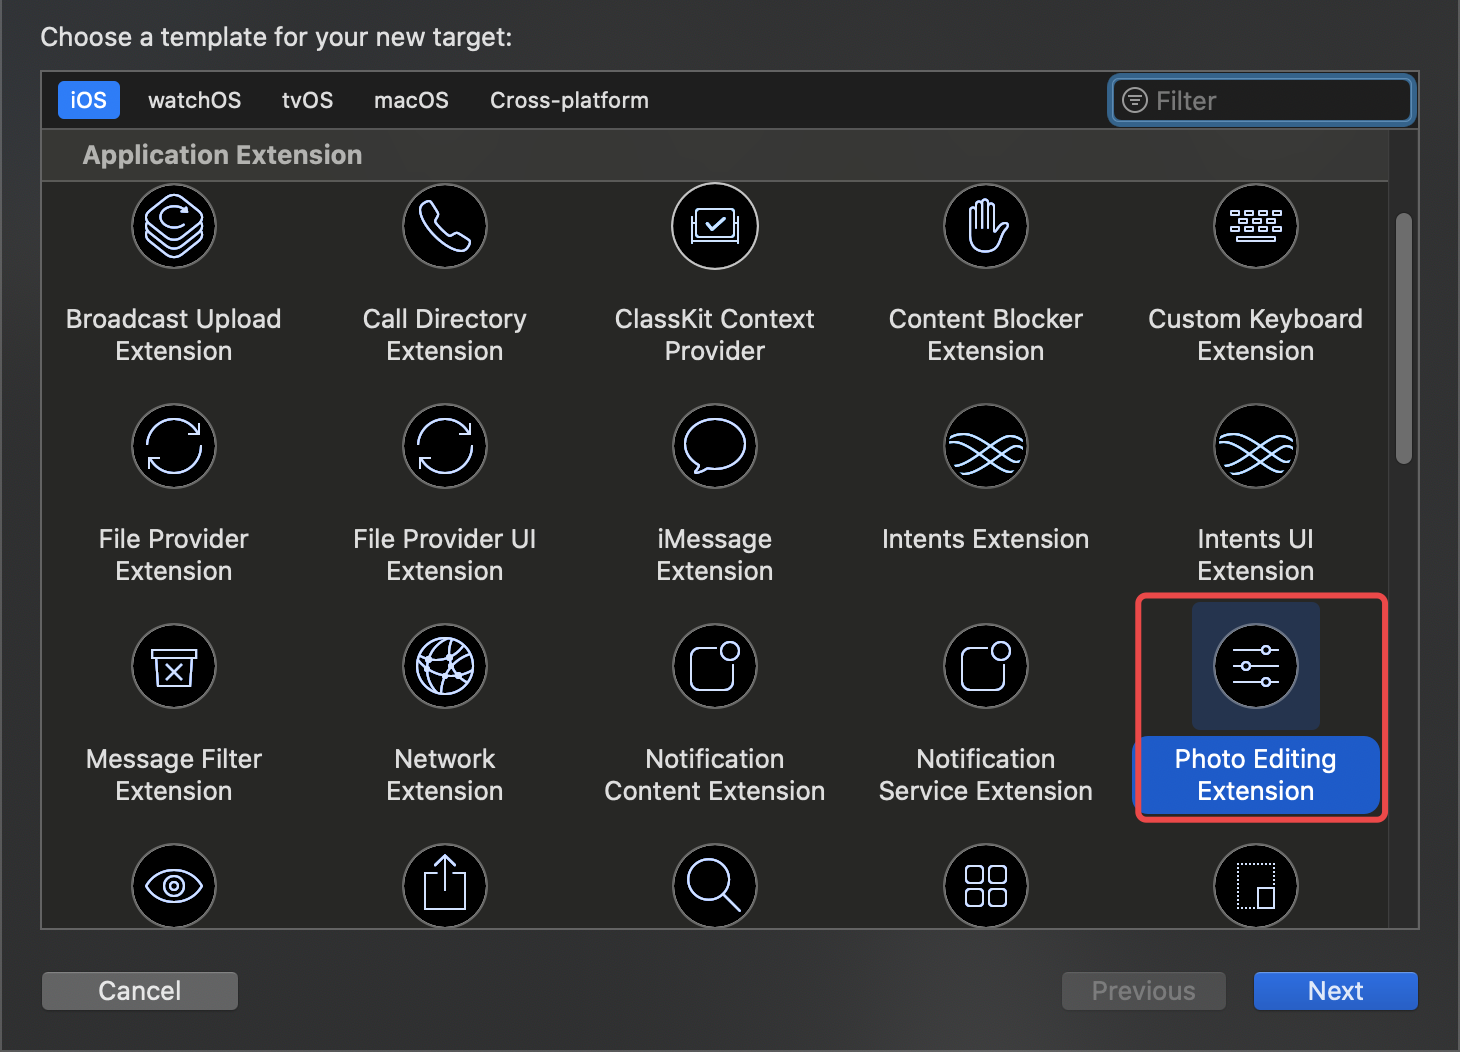
向下翻,找到 Photo Editing Extension 并选中,Next
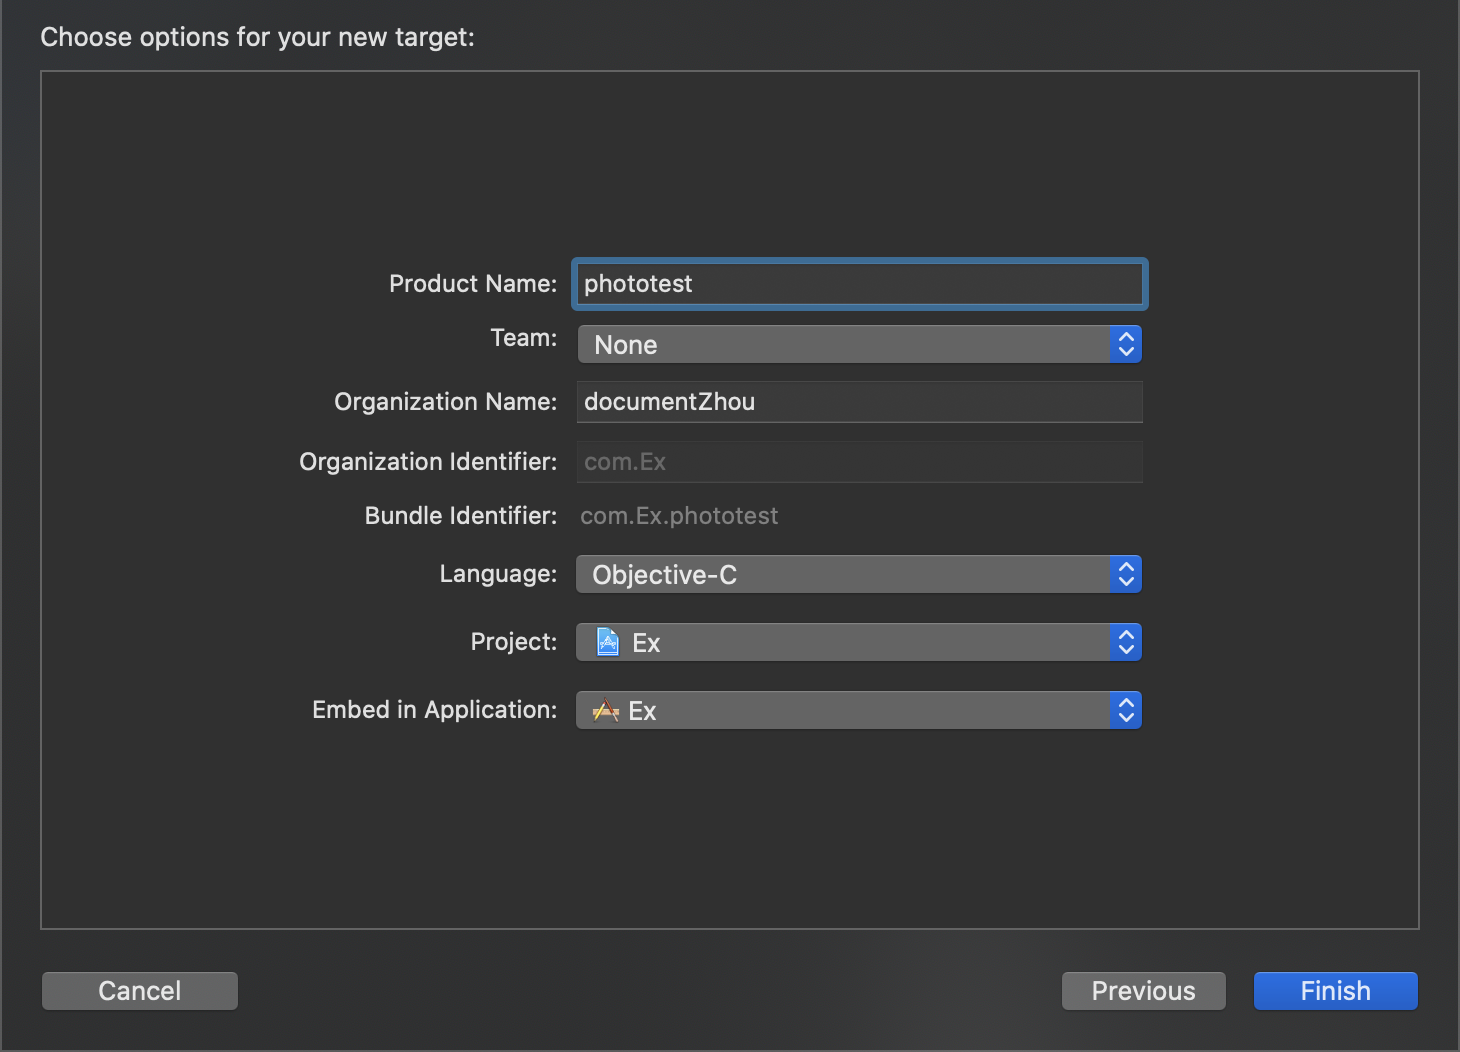
在这边填上ProductName -> Finish
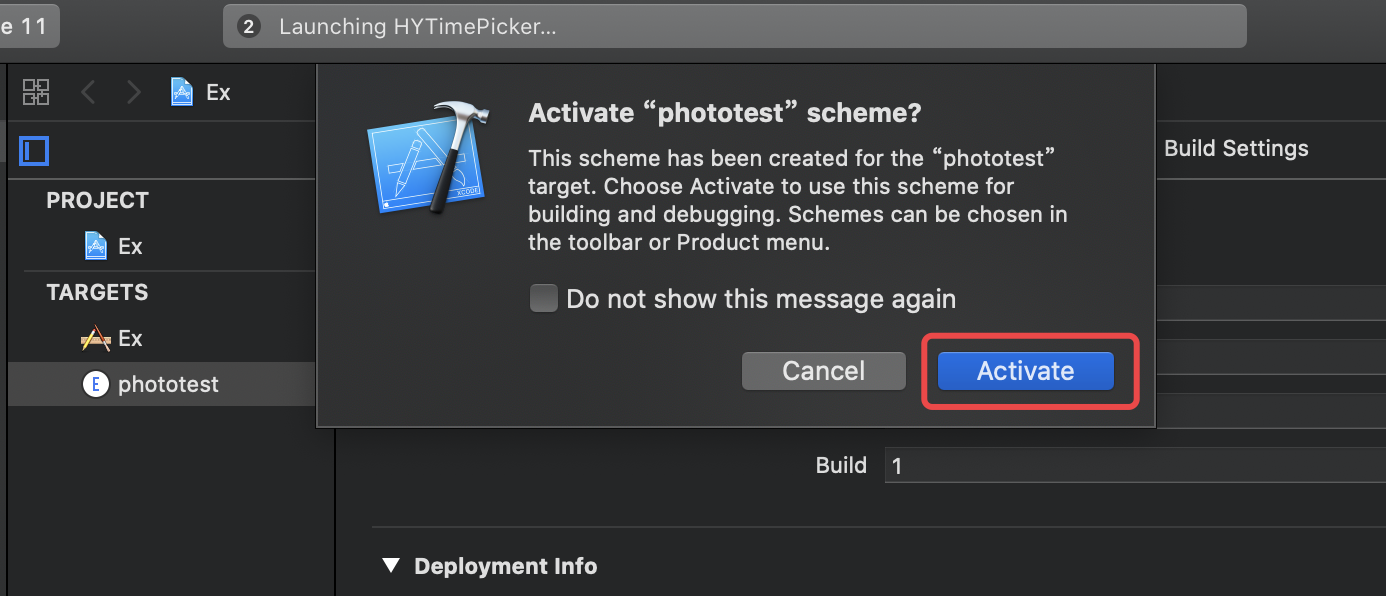
这时Xcode弹窗,是否启用新解决方案,选择 Activate
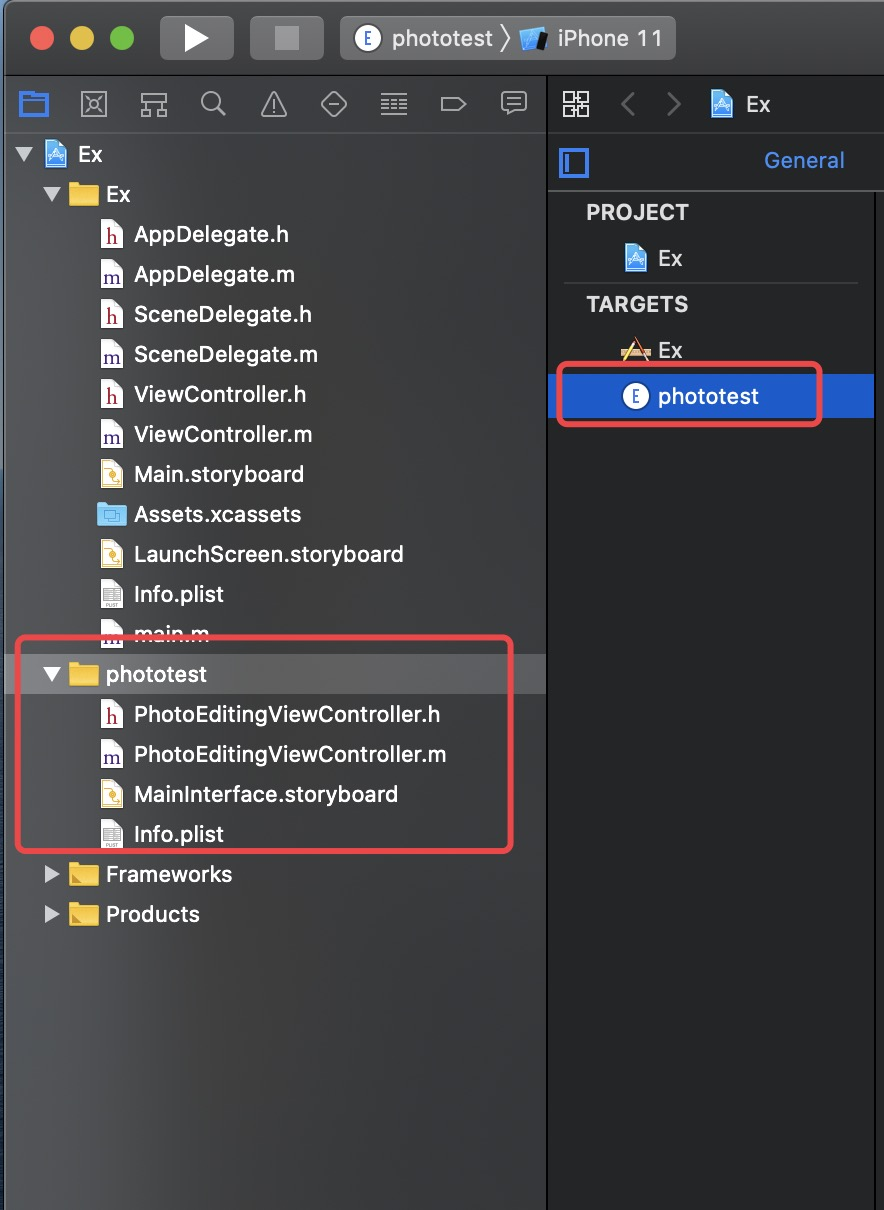
这样就完成了Photo Editing Extension 的新建,如图,Xcode会帮我们新建默认文件
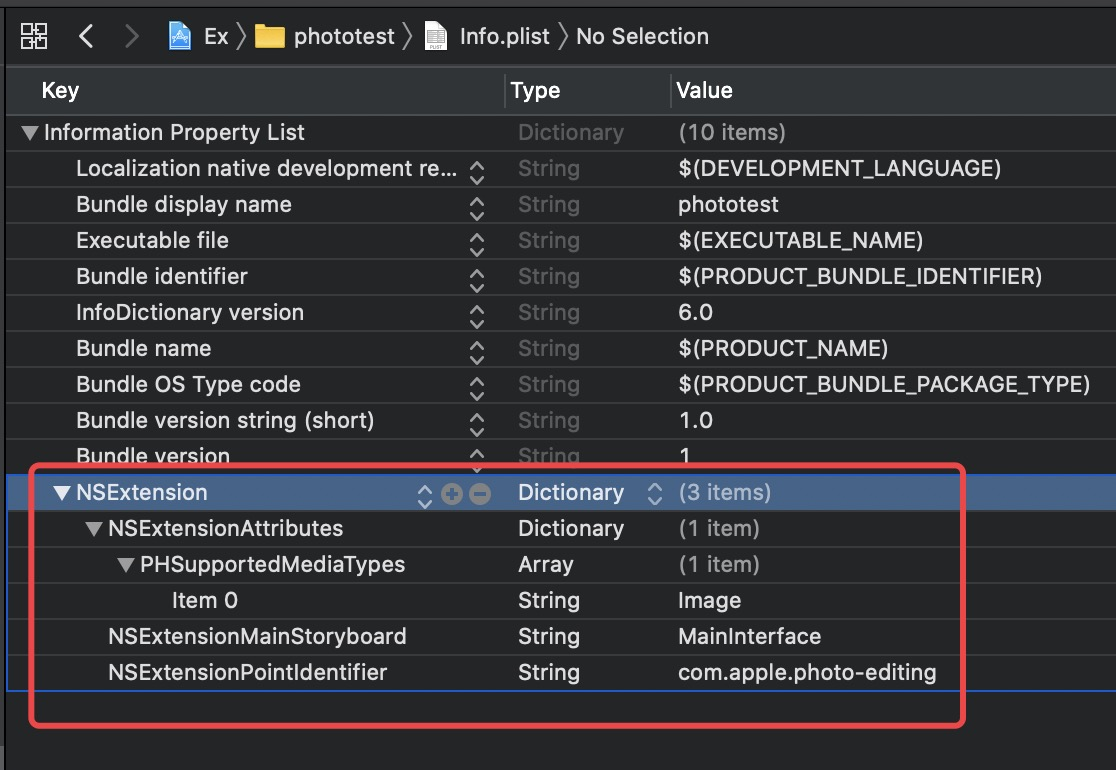
先看一下info.plist文件,可以看到新增了Key-Value:NSExtension,展开其所有子项
PHSupportedMediaTypes:支持编辑的类型,默认为Image类型,还可以添加
NSExtensionMainStroyboard:stroyboard名称
NSExtensionPointIdentifier:照片编辑扩展,标识,不需更改
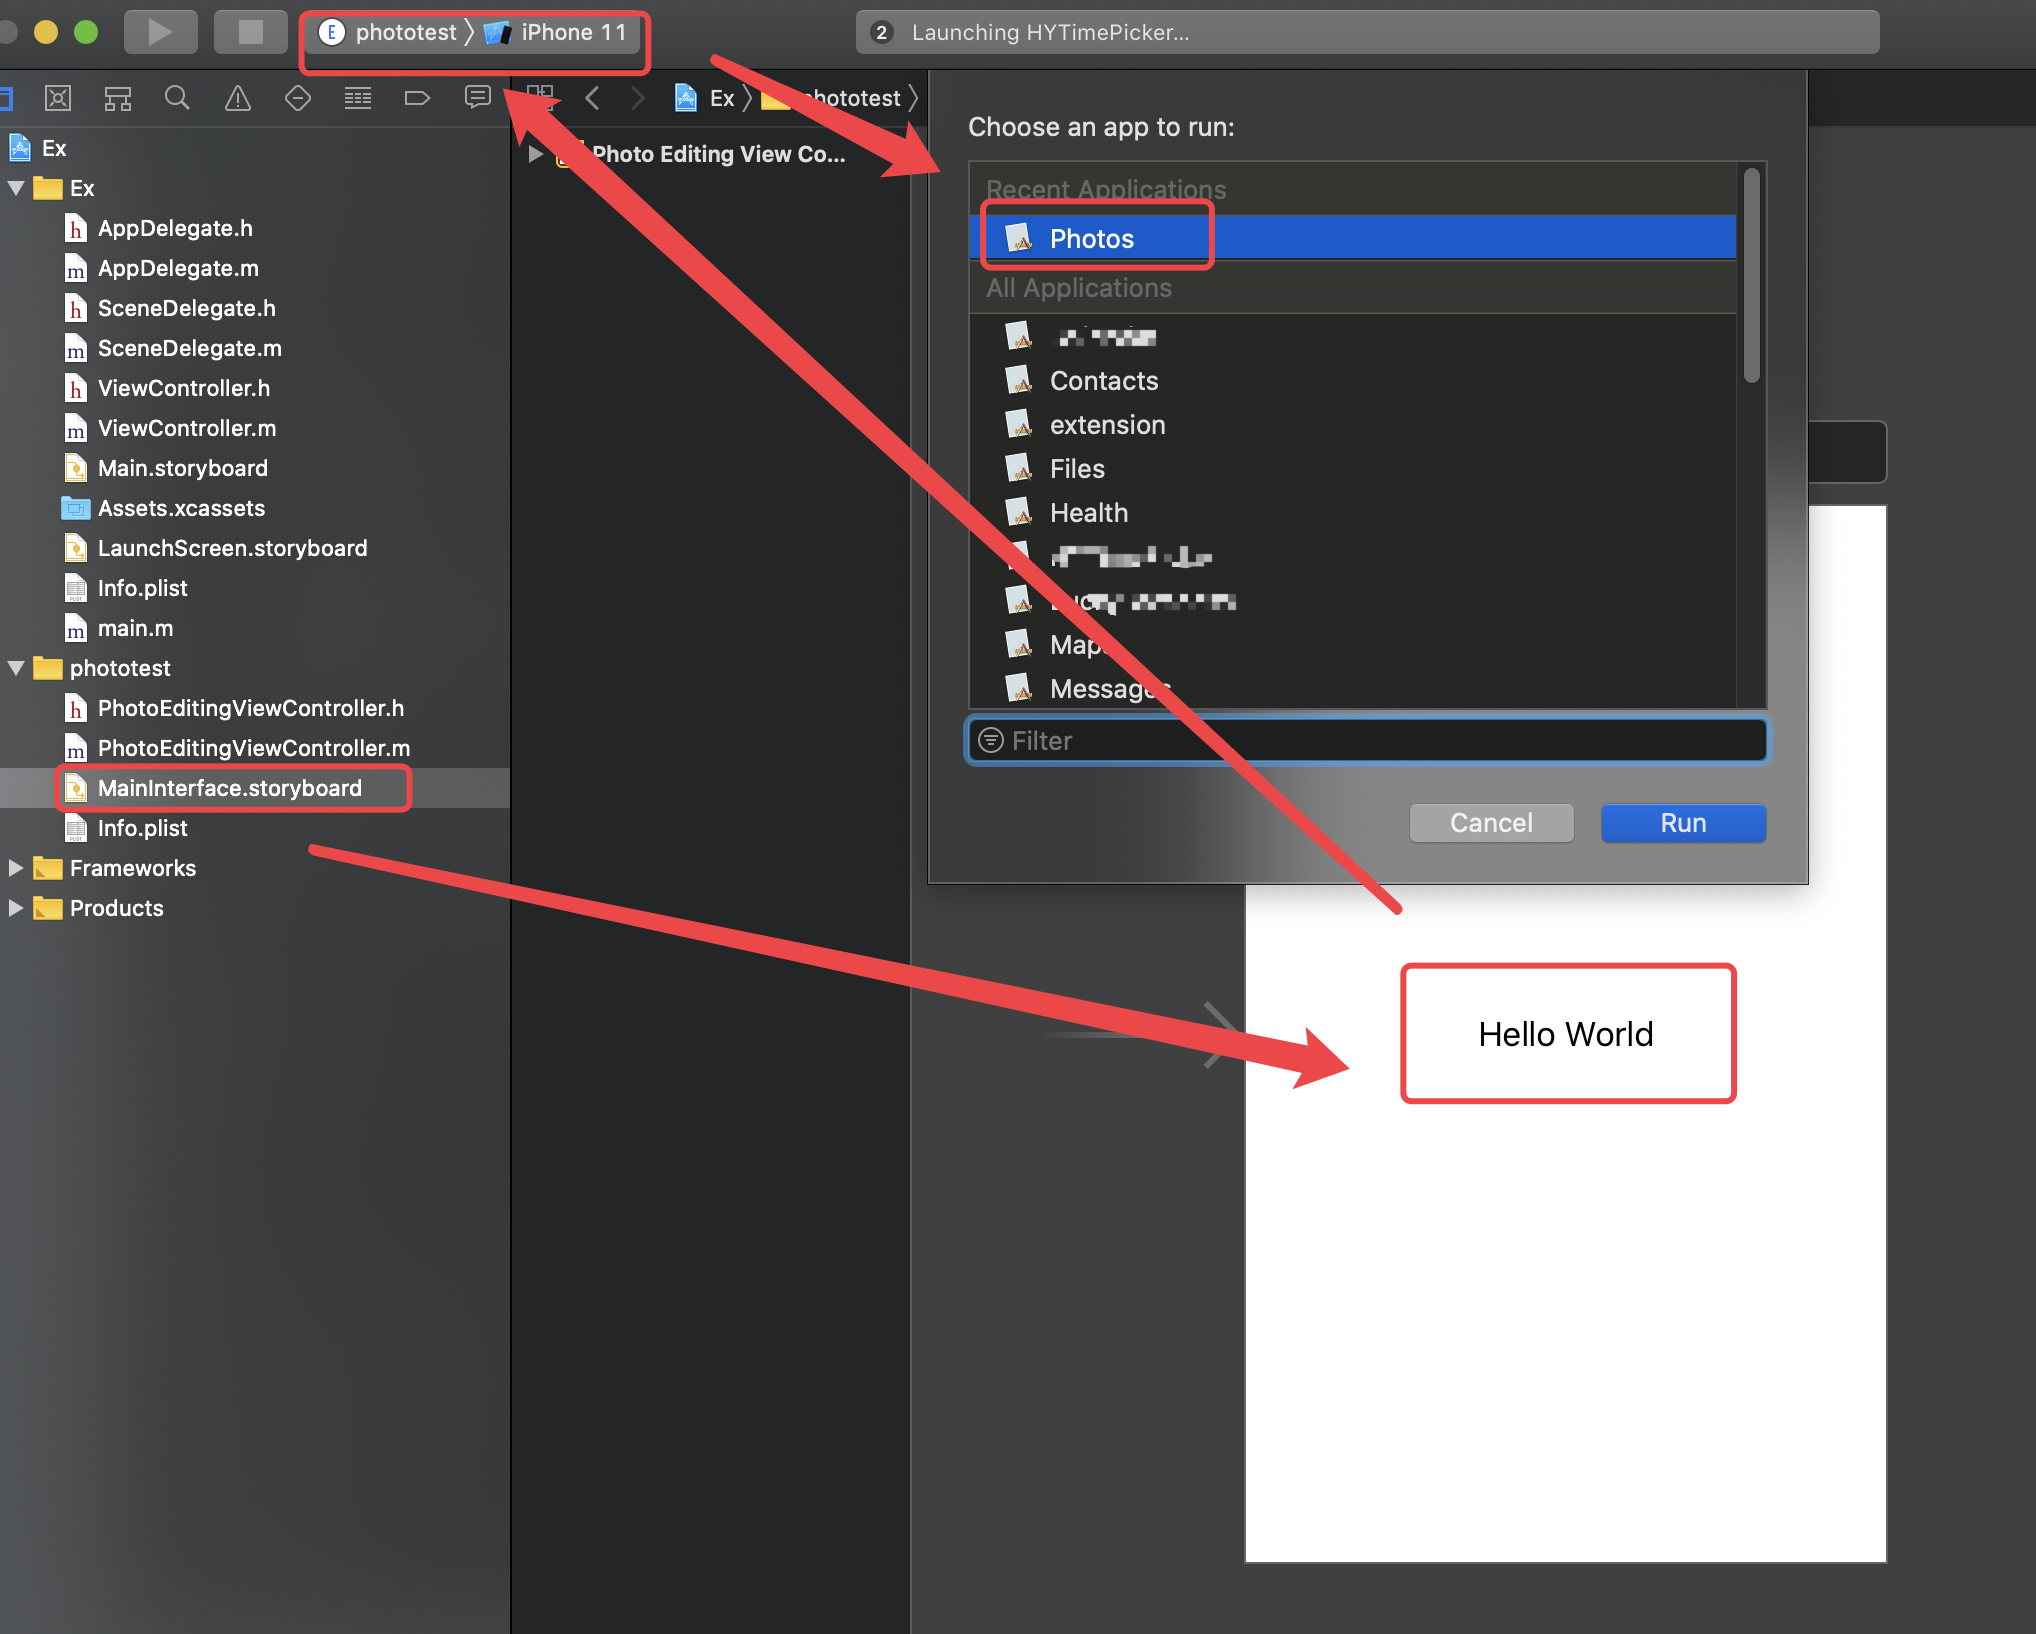
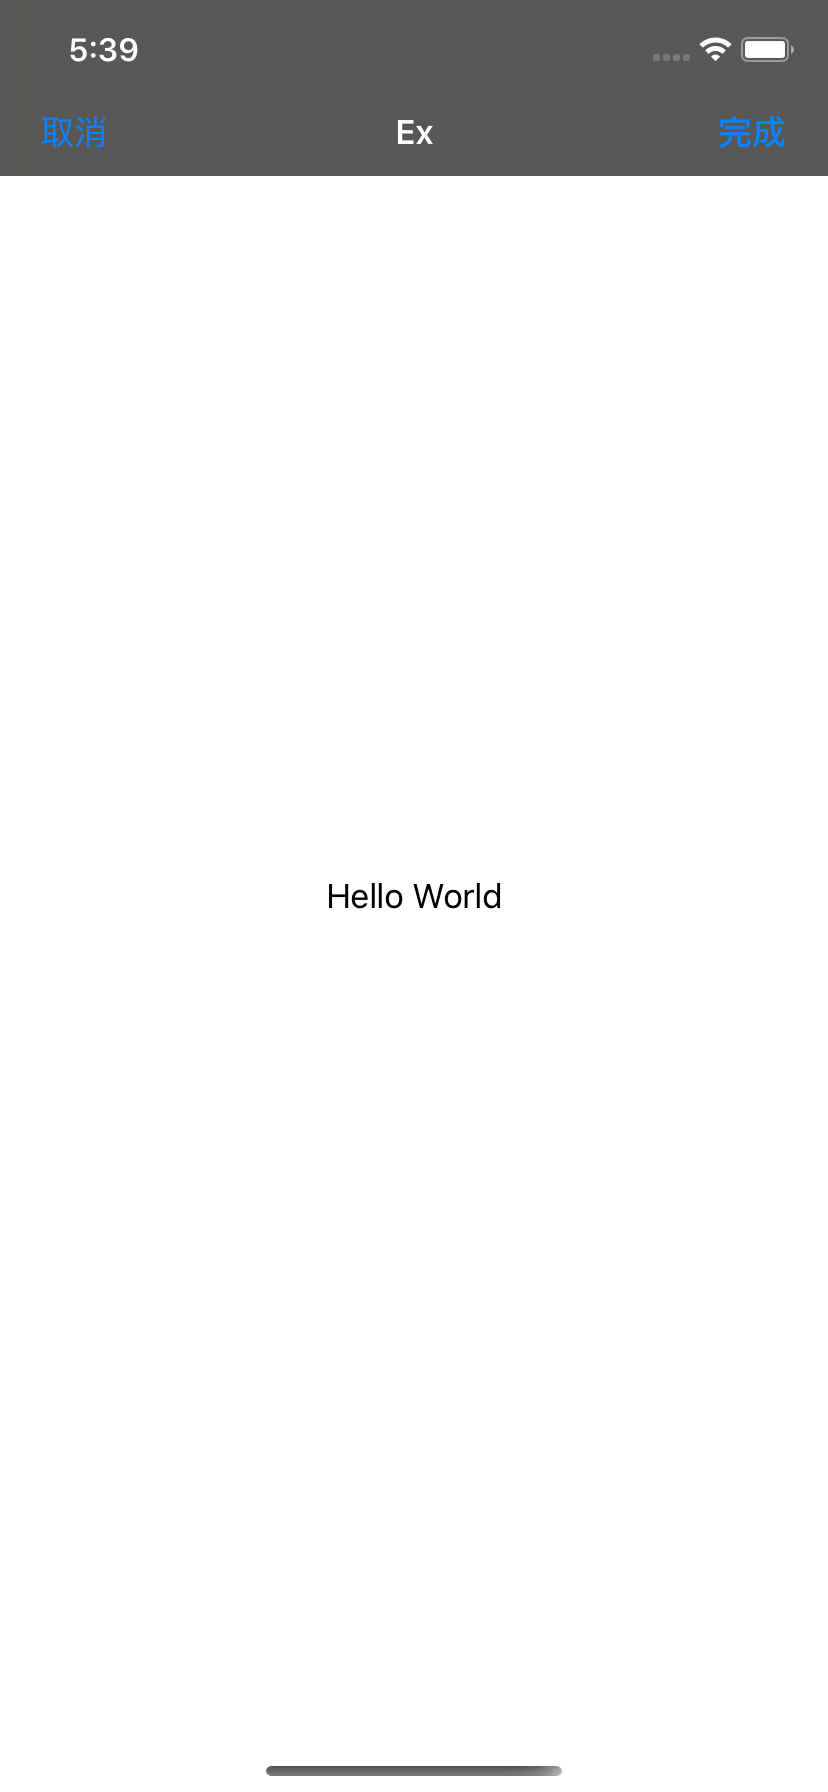
MainInterface.storyboard,这个是照片扩展的主界面,已经自动生成了"Hello World",Run Target中应该会自动选中我们当前的扩展应用,运行时选中要调起扩展的App,这里选择Photos。
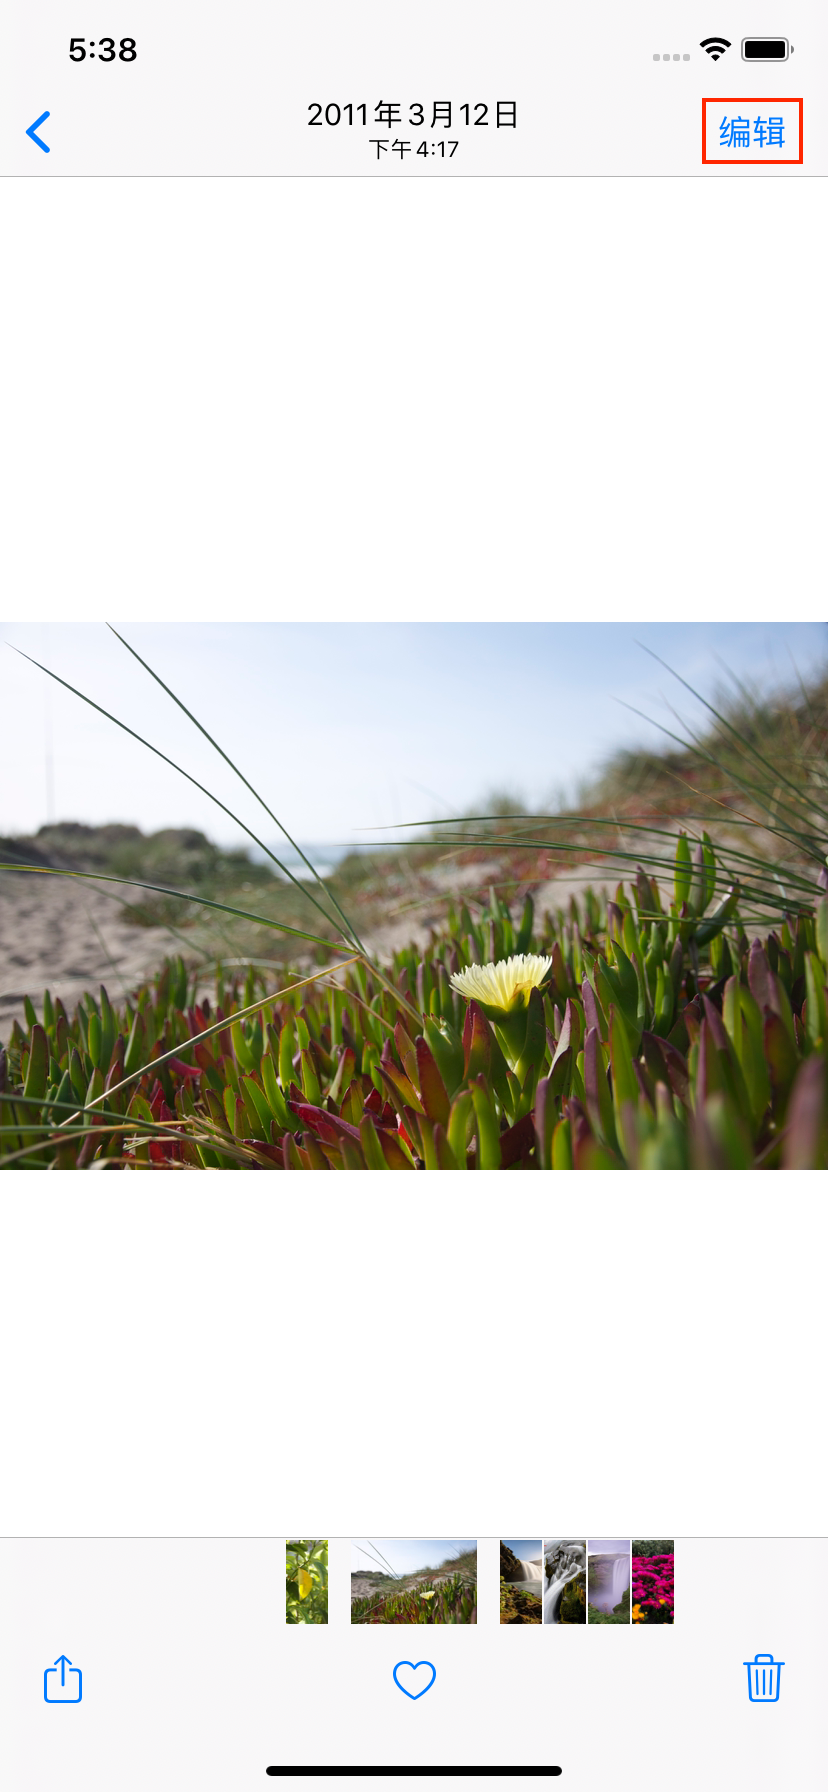
启动相册后,随便点开一张照片,然后点击右上角"编辑"。
后续在安装本体应用后,也可以直接在图库中选中编辑,进入我们的扩展应用。
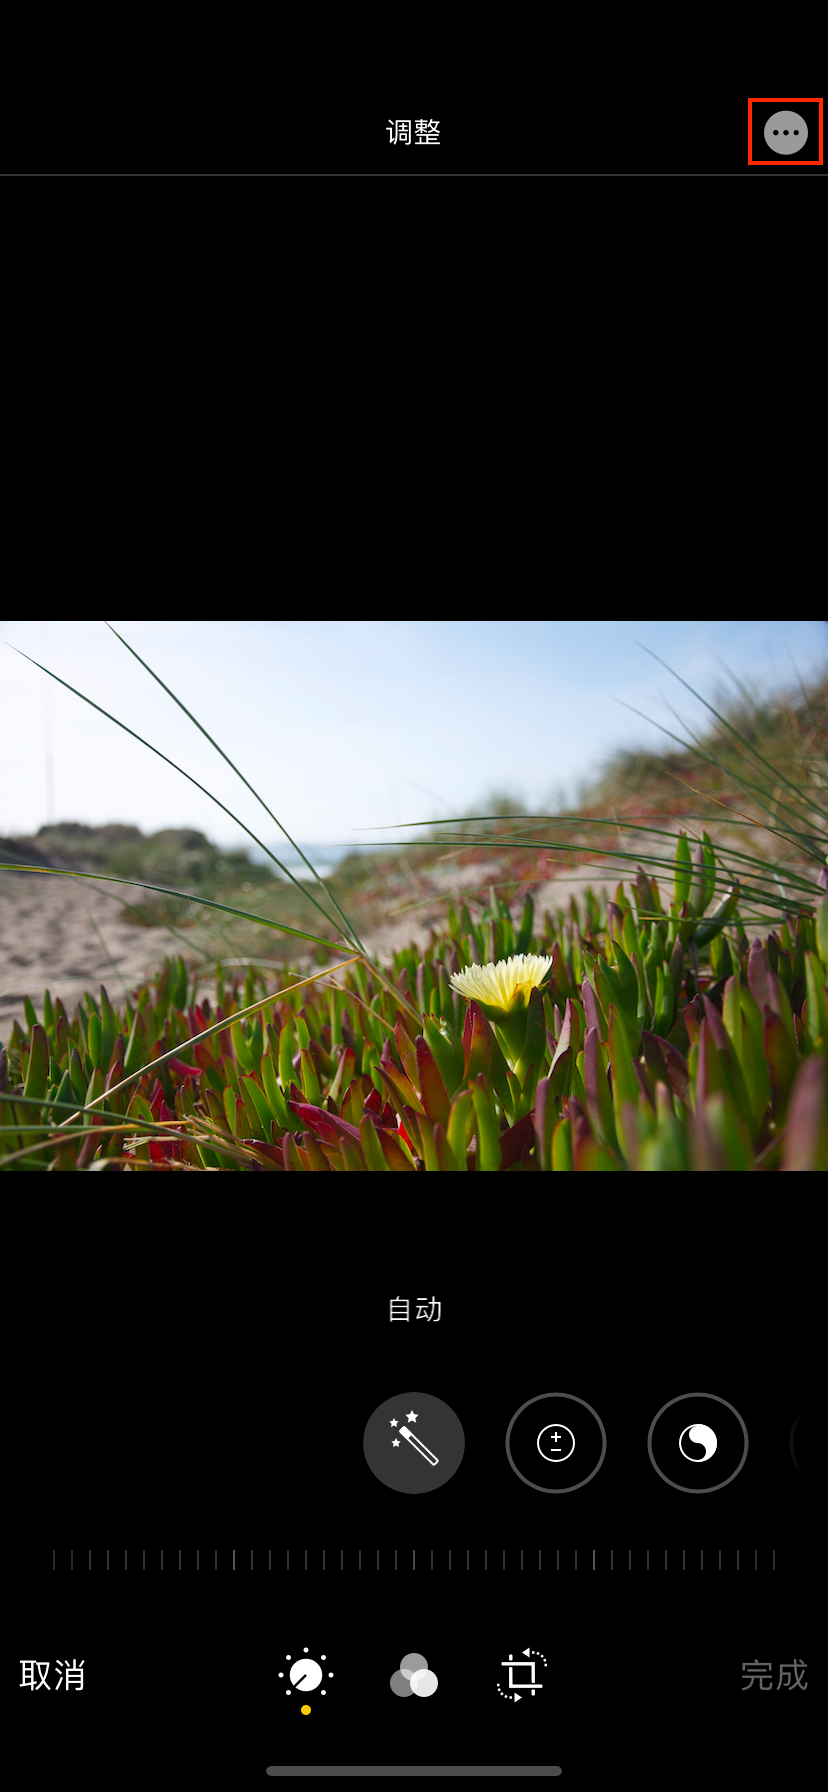
接下来会进入系统照片编辑界面,在右上角找到更多按钮"···"(系统不同,所在位置不同),点击
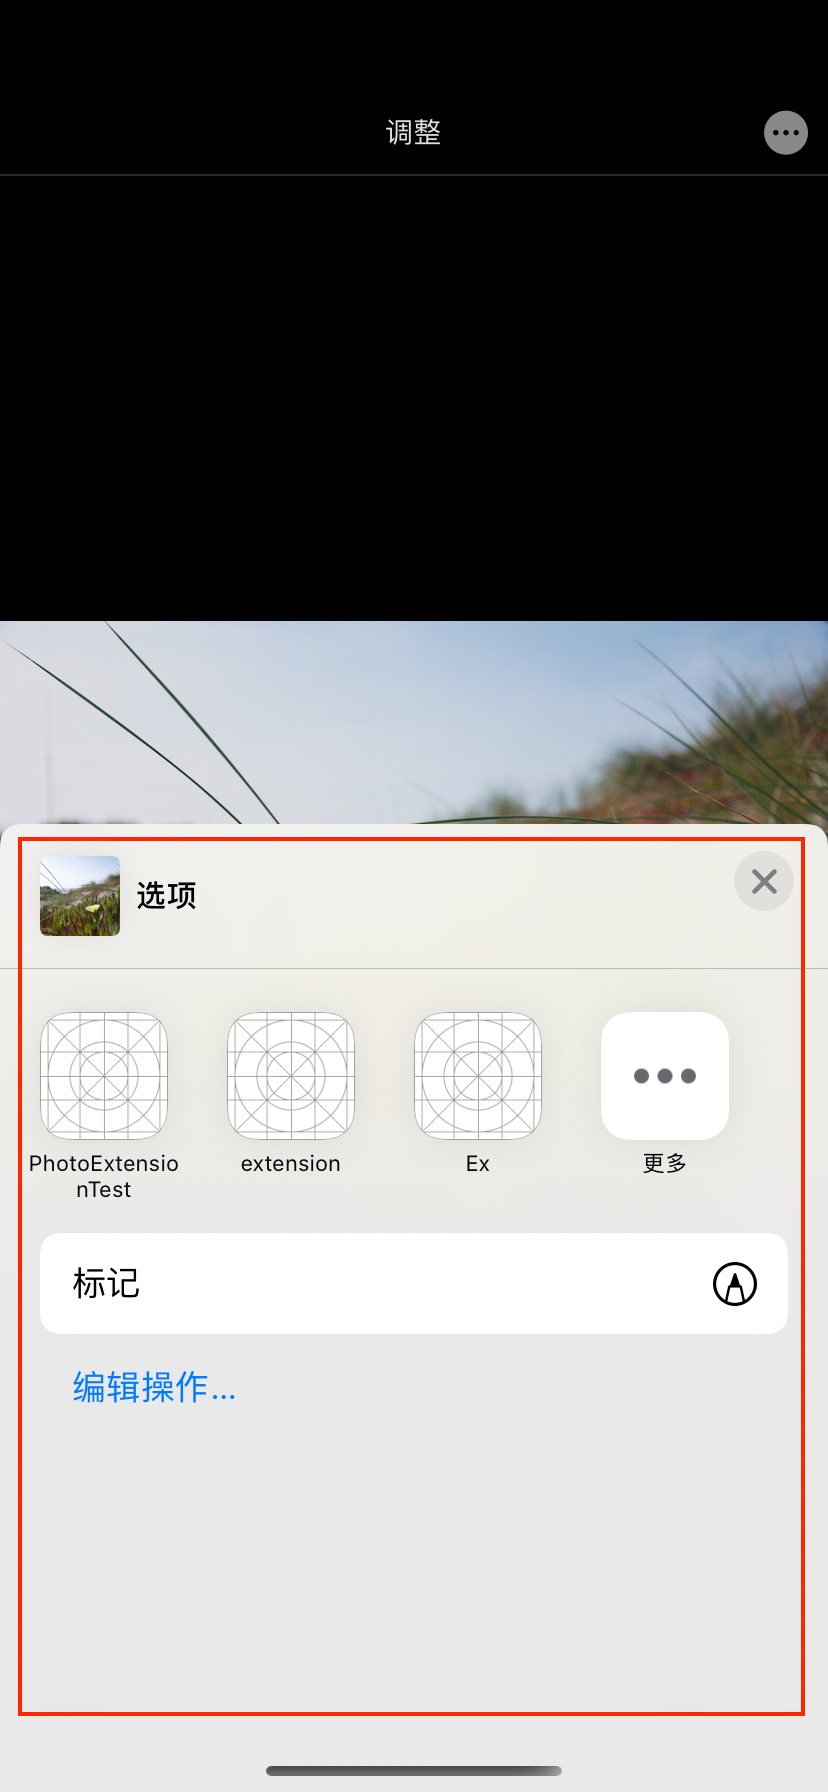
在展开的界面中,可以看到当前可用的扩展应用,PhotoExtensionTest、extension我是之前新建的照片编辑扩展应用,Ex则是刚刚新建的。
如果在这里没看到,可点击"更多"查看。
随后在弹出的界面中的建议这里选择即可。
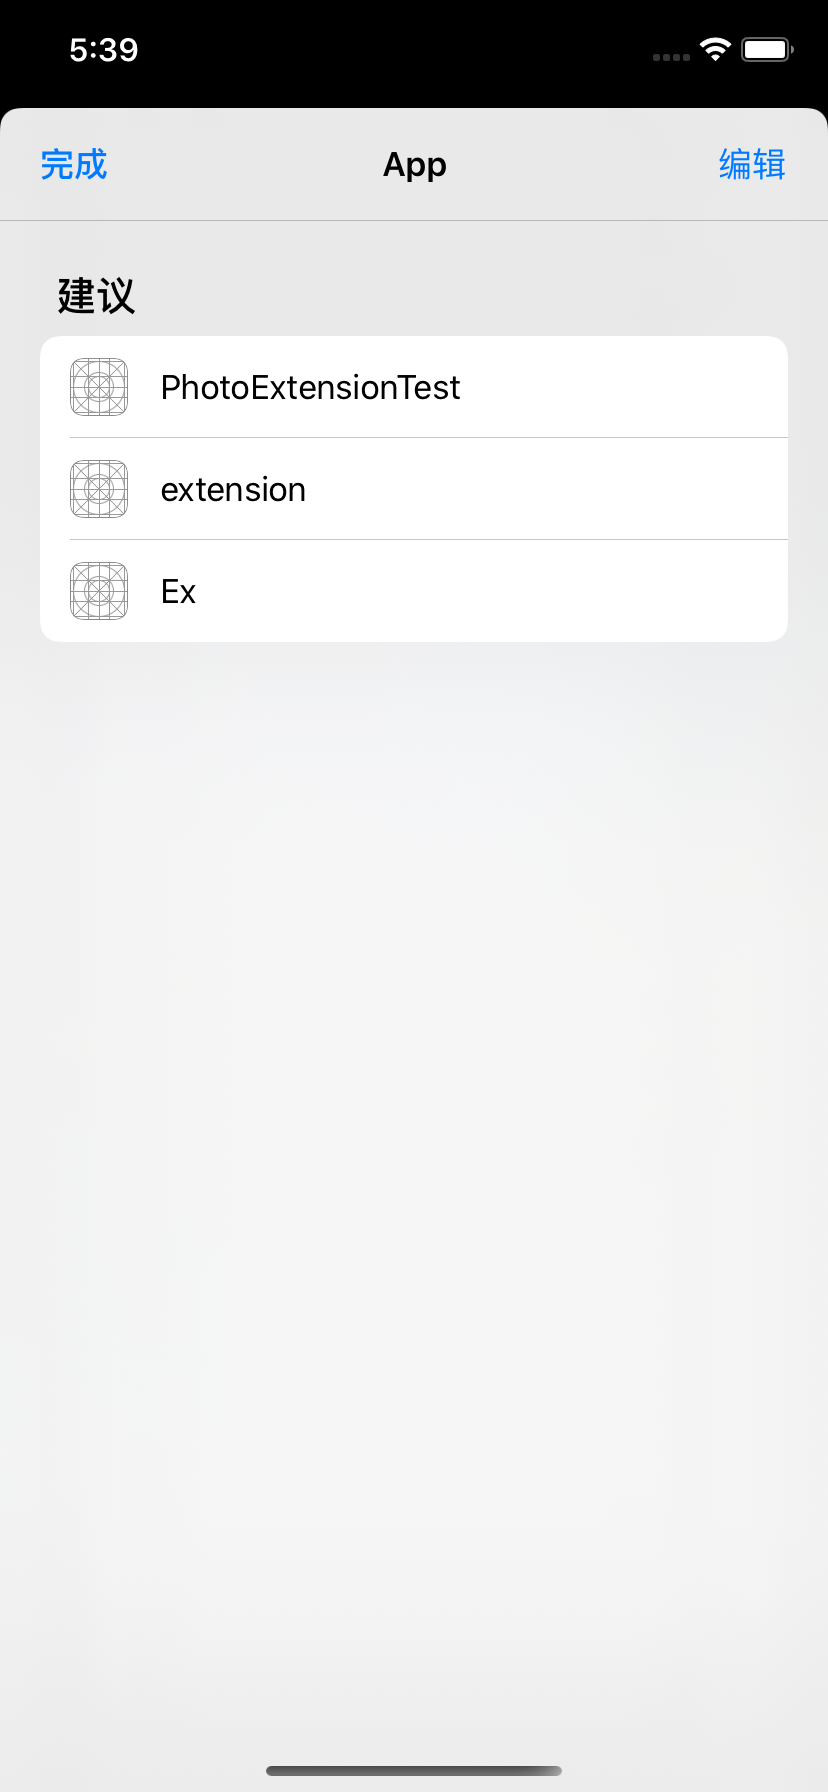
然后我们选中刚刚的Ex,就打开了扩展应用。
2. 代码了解
打开PhotoEditingViewController.m,可以看到系统自动生成如下代码,界面布局我们可以直接在MainInterface.storyboard中直接布局,也可以通过代码的形式布局。
#import "PhotoEditingViewController.h"
#import <Photos/Photos.h>
#import <PhotosUI/PhotosUI.h>

@interface PhotoEditingViewController () <PHContentEditingController>
@property (strong) PHContentEditingInput *input;
@end

@implementation PhotoEditingViewController

- (void)viewDidLoad {
    [super viewDidLoad];
    // Do any additional setup after loading the view.
}

#pragma mark - PHContentEditingController

- (BOOL)canHandleAdjustmentData:(PHAdjustmentData *)adjustmentData {
    // Inspect the adjustmentData to determine whether your extension can work with past edits.
    // (Typically, you use its formatIdentifier and formatVersion properties to do this.)
    return NO;
}

- (void)startContentEditingWithInput:(PHContentEditingInput *)contentEditingInput placeholderImage:(UIImage *)placeholderImage {
    // Present content for editing, and keep the contentEditingInput for use when closing the edit session.
    // If you returned YES from canHandleAdjustmentData:, contentEditingInput has the original image and adjustment data.
    // If you returned NO, the contentEditingInput has past edits "baked in".
    self.input = contentEditingInput;
}

- (void)finishContentEditingWithCompletionHandler:(void (^)(PHContentEditingOutput *))completionHandler {
    // Update UI to reflect that editing has finished and output is being rendered.

    // Render and provide output on a background queue.
    dispatch_async(dispatch_get_global_queue(QOS_CLASS_DEFAULT, 0), ^{
        // Create editing output from the editing input.
        PHContentEditingOutput *output = [[PHContentEditingOutput alloc] initWithContentEditingInput:self.input];

        // Provide new adjustments and render output to given location.
        // output.adjustmentData = <#new adjustment data#>;
        // NSData *renderedJPEGData = <#output JPEG#>;
        // [renderedJPEGData writeToURL:output.renderedContentURL atomically:YES];

        // Call completion handler to commit edit to Photos.
        completionHandler(output);

        // Clean up temporary files, etc.
    });
}

- (BOOL)shouldShowCancelConfirmation {
    // Returns whether a confirmation to discard changes should be shown to the user on cancel.
    // (Typically, you should return YES if there are any unsaved changes.)
    return NO;
}

- (void)cancelContentEditing {
    // Clean up temporary files, etc.
    // May be called after finishContentEditingWithCompletionHandler: while you prepare output.
}
写代码之前,先简单讲一下几个重要方法。
2.1 startContentEditingWithInput: placeholderImage
viewDidLoad之后,会先走这个函数,拿到系统传进来的contentEditingInput,包含了外面传进来的图片原数据,一般可以在这边进行图片显示操作。
- (void)startContentEditingWithInput:(PHContentEditingInput *)contentEditingInput placeholderImage:(UIImage *)placeholderImage {
    // Present content for editing, and keep the contentEditingInput for use when closing the edit session.
    // If you returned YES from canHandleAdjustmentData:, contentEditingInput has the original image and adjustment data.
    // If you returned NO, the contentEditingInput has past edits "baked in".
    self.input = contentEditingInput;
}
2.2 finishContentEditingWithCompletionHandler:
下面这个函数,在点击界面右上角完成按钮时触发,将对图片修改好的数据,通过block的形式回调。
- (void)finishContentEditingWithCompletionHandler:(void (^)(PHContentEditingOutput *))completionHandler {
    // Update UI to reflect that editing has finished and output is being rendered.

    // Render and provide output on a background queue.
    dispatch_async(dispatch_get_global_queue(QOS_CLASS_DEFAULT, 0), ^{
        // 根据输入元数据input,创建输出数据output
        PHContentEditingOutput *output = [[PHContentEditingOutput alloc] initWithContentEditingInput:self.input];

        // Provide new adjustments and render output to given location.
        // output.adjustmentData = <#new adjustment data#>;
        // NSData *renderedJPEGData = <#output JPEG#>;
        // [renderedJPEGData writeToURL:output.renderedContentURL atomically:YES];

        // Call completion handler to commit edit to Photos.
        completionHandler(output);

        // Clean up temporary files, etc.
    });
}
2.3 shouldShowCancelConfirmation
点击取消按钮的时候,会调用此方法。
- (BOOL)shouldShowCancelConfirmation {
    // Returns whether a confirmation to discard changes should be shown to the user on cancel.
    // (Typically, you should return YES if there are any unsaved changes.)
    return NO;
}
2.4 canHandleAdjustmentData:
是否使用已修改过的数据。
- (BOOL)canHandleAdjustmentData:(PHAdjustmentData *)adjustmentData {
    // Inspect the adjustmentData to determine whether your extension can work with past edits.
    // (Typically, you use its formatIdentifier and formatVersion properties to do this.)
    return NO;
}
2.5 cancelContentEditing
会在 finishContentEditingWithCompletionHandler: 之后进行调用,一般做一些清理临时文件等工作。
- (void)cancelContentEditing {
    // Clean up temporary files, etc.
    // May be called after finishContentEditingWithCompletionHandler: while you prepare output.
}
3. 代码实现
其他一些自定义布局代码就不放出来了,这里还是讲一下主要功能代码,其他的网络上也有不少,可自行学习查看。
进入获取input、placeholderImage图片
- (void)startContentEditingWithInput:(PHContentEditingInput *)contentEditingInput placeholderImage:(UIImage *)placeholderImage {
    // Input输入
    self.input = contentEditingInput;
    // 获取选择图片
    self.originalImage = placeholderImage;
    // 自己处理图片布局之类的
    [self updateImageViewWithImage:placeholderImage];
}
取消编辑的提示。
- (BOOL)shouldShowCancelConfirmation {
    // iconImageView是我定义的一个添加到原始图片上的imageView
	// 这里的条件自己设置,我这边只是简单地判断iconImagView.image是否为空
    // 不为空则说明已经对图片进行了修改,return YES,则告诉系统需要弹窗提示
    if (self.iconImageView.image != nil) {
        return YES;
    }
    return NO;
}
编辑图片完成,将图片数据传出去。
- (void)finishContentEditingWithCompletionHandler:(void (^)(PHContentEditingOutput *))completionHandler {

    dispatch_async(dispatch_get_global_queue(QOS_CLASS_DEFAULT, 0), ^{

        PHContentEditingOutput *output = [[PHContentEditingOutput alloc] initWithContentEditingInput:self.input];

        // 输出图片数据
        NSData *imageData = UIImageJPEGRepresentation([self snapShotWithView:self.imageView], 1.0);

        // 为图片添加标识符跟版本号,下次进来的时候,会触发canHandleAdjustmentData:方法,可以拿到本次写入的数据,来判断是否使用该图片作为基础进行二次编辑
        PHAdjustmentData *adjustmentData = [[PHAdjustmentData alloc] initWithFormatIdentifier:@"com.PhotoExtensionTest" formatVersion:@"1.0" data:imageData];
        output.adjustmentData = adjustmentData;

        NSData *renderedJPEGData = imageData;
        [renderedJPEGData writeToURL:output.renderedContentURL atomically:YES];

		// 回调,确认当前修改
        completionHandler(output);
    });
}

/// 截图
- (UIImage *)snapShotWithView:(UIView *)view {

    UIGraphicsBeginImageContextWithOptions(view.bounds.size, YES, 0.0);
    CGContextRef context = UIGraphicsGetCurrentContext();
    [view.layer renderInContext:context];
    UIImage *image = UIGraphicsGetImageFromCurrentImageContext();
    UIGraphicsEndImageContext();
    return image;
}
canHandleAdjustmentData: 拿到标识符,使用已编辑的图片数据,继续二次编辑
- (BOOL)canHandleAdjustmentData:(PHAdjustmentData *)adjustmentData {

    NSString *formatIdentifier = adjustmentData.formatIdentifier;
    NSString *formatVersion = adjustmentData.formatVersion;

    NSData *storageData = adjustmentData.data;
    UIImage *image = [UIImage imageWithData:storageData];

    UIImageView *imageView = [[UIImageView alloc] initWithImage:image];
    imageView.frame = CGRectMake(0, 0, 100, 100 * (image.size.height / image.size.width));

    // 拿到存储的标识符与版本号,则return YES
    NSLog(@"formatIdentifier:%@ - formatVersion:%@", formatIdentifier, formatVersion);
    if (formatIdentifier && formatVersion) {
        return YES;
    }

    // return NO表示不取adjustmentData里的已编辑数据,始终取原数据
    return NO;
}
4. 效果
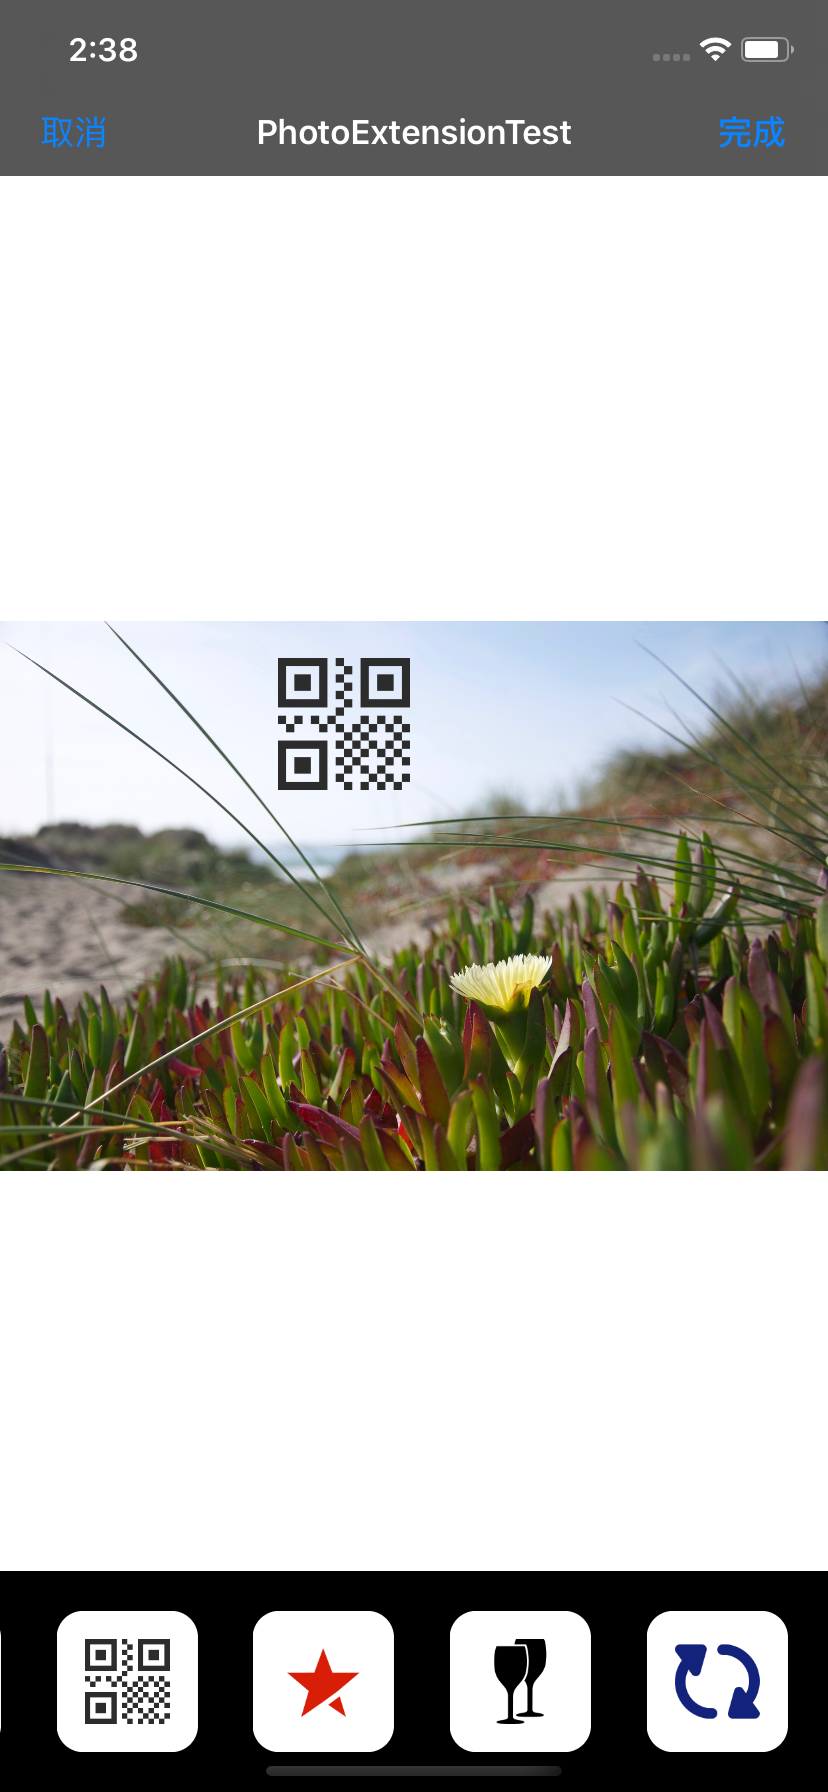
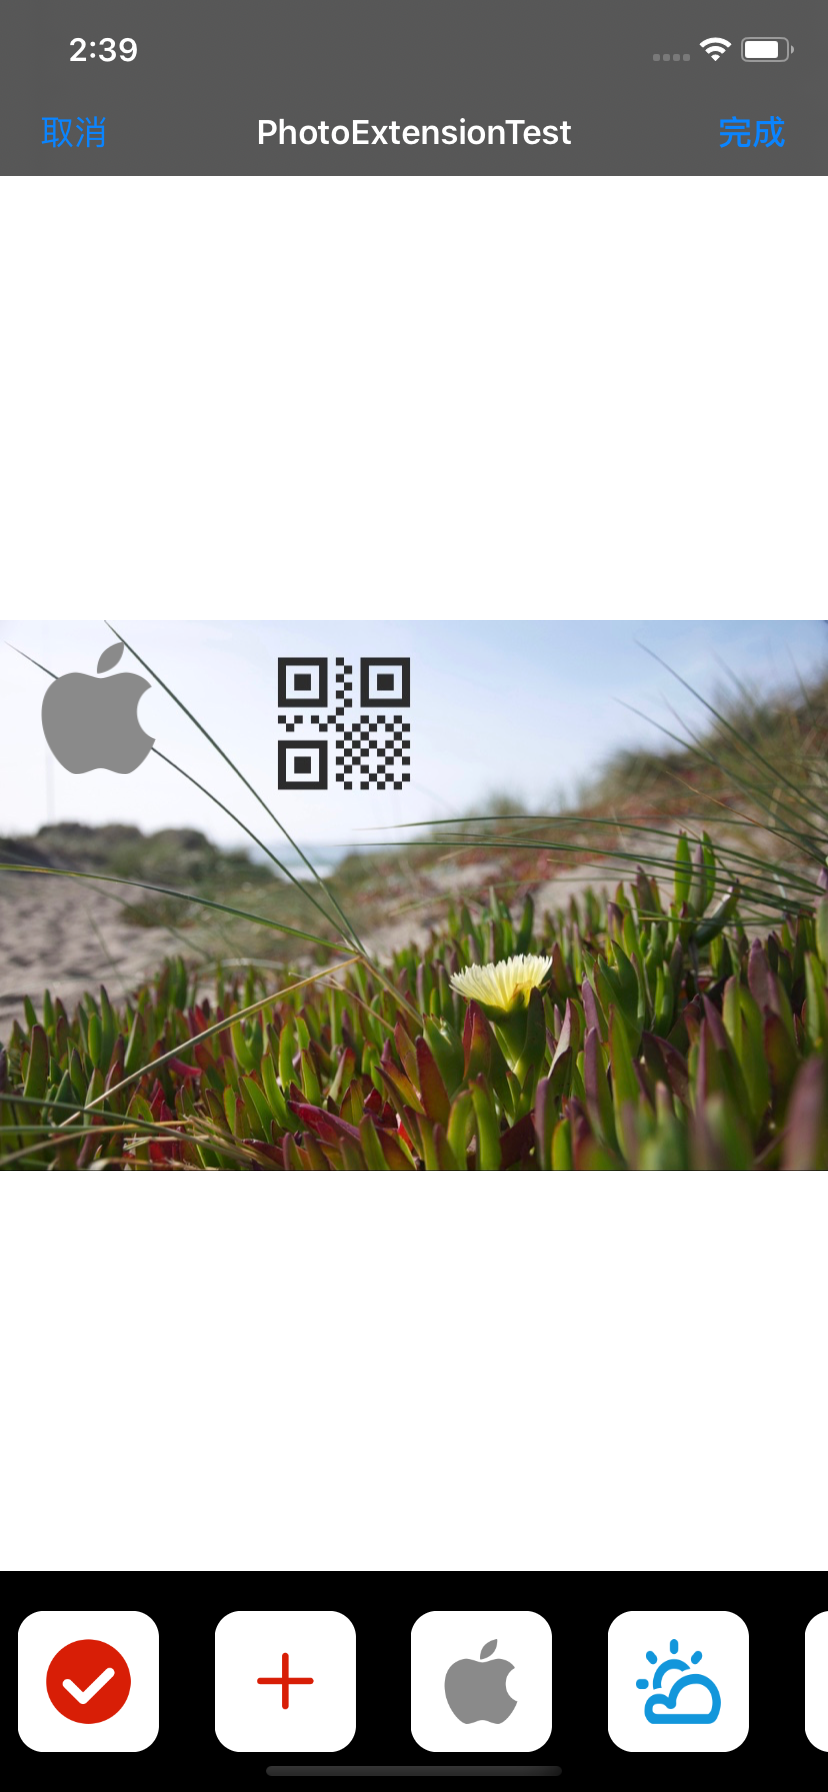
编辑界面如下,在底部选择一个小icon,添加至修改图片。
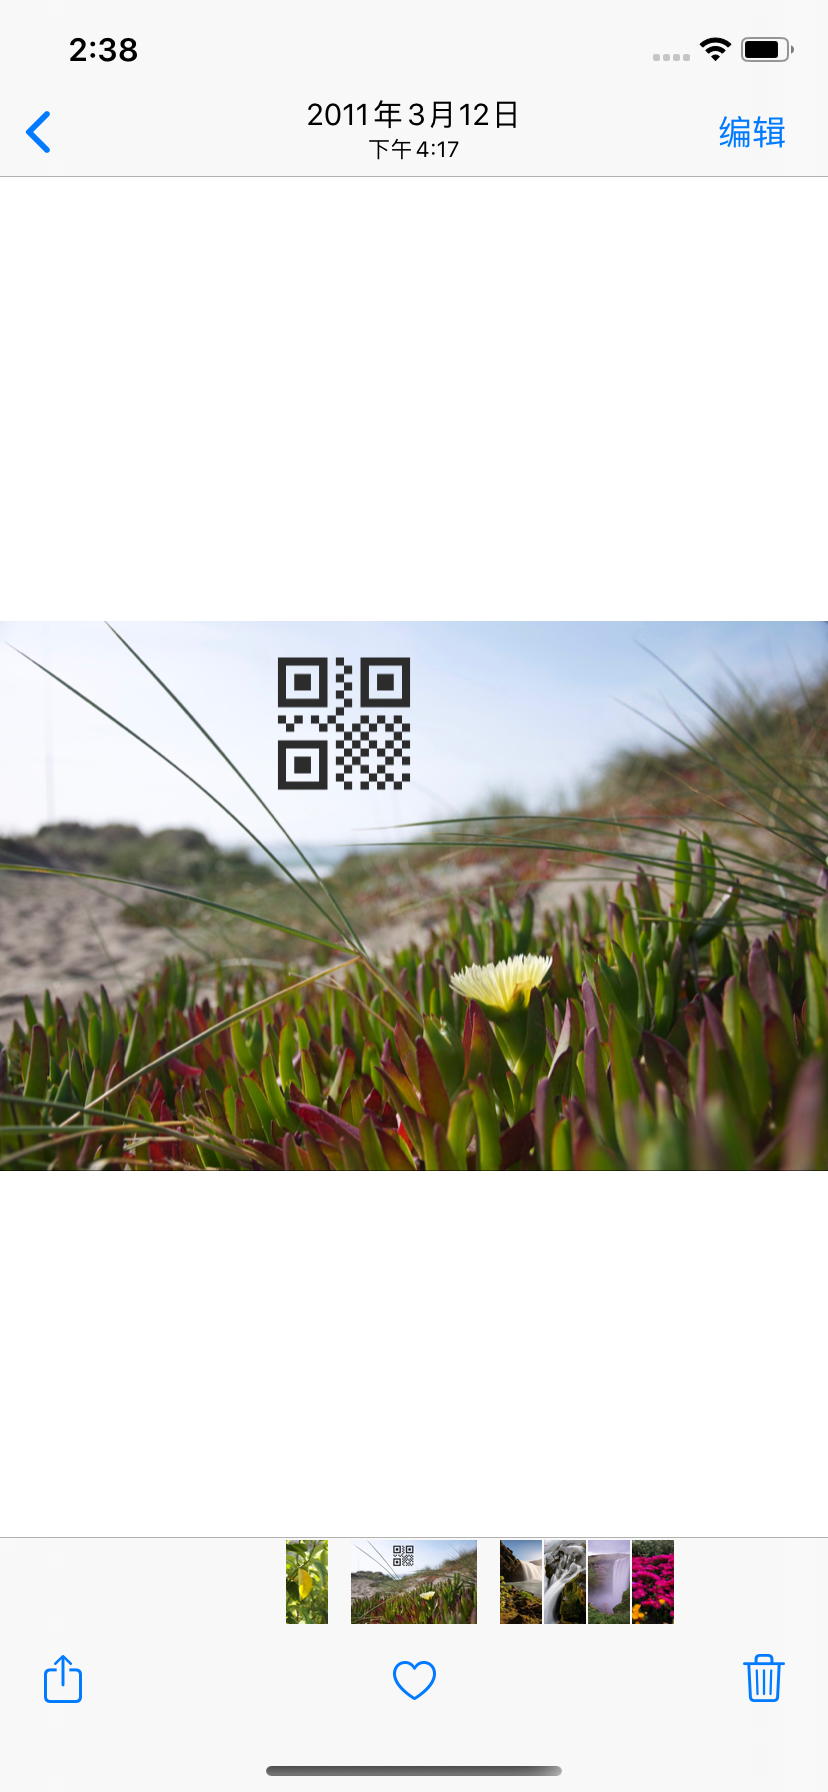
点击完成后,会将数据传到系统图片编辑界面,再次点击完成,则会自动返回相册,可以看到修改成功。
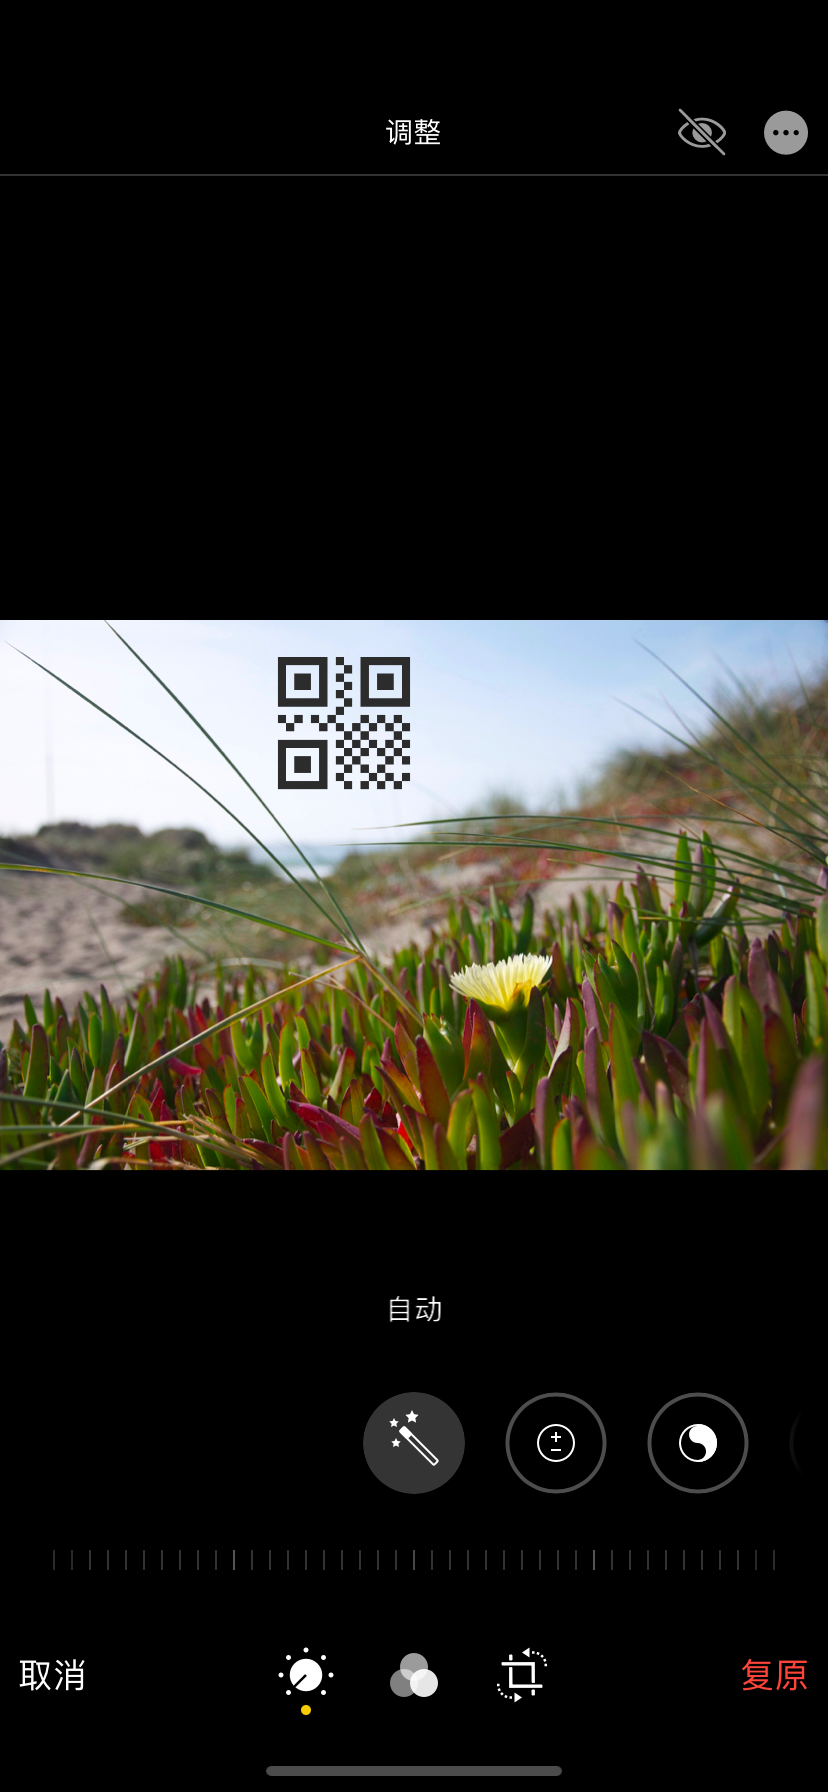
此时再对已修改的图片点击编辑,可以看到系统编辑界面右下角显示"复原",点击则会恢复成原本的图片。
我们在这里再次右上角的更多按钮,打开我们的扩展应用。
此时可以看到,启动扩展应用后,点击底部的icon就又添加了一个icon在图片上,这是因为代码中设置的canHandleAdjustmentData: 生效的结果。
5. 小结
- Photo Editing Extension 只能由系统App,Photos启动
- 该拓展可以实现对照片的修改,并且系统可将其复原,不用担心原数据被影响
- 照片修改后可设置标识符与版本,使得在后续对照片的编辑上更灵活
