首先你得选一个容器:“app”用来存放内容,
其次设立bootstrap框架用来放置内容
<div id="app">
<!-- <div v-if="isshow">1111111111111</div> -->
<div class="container">
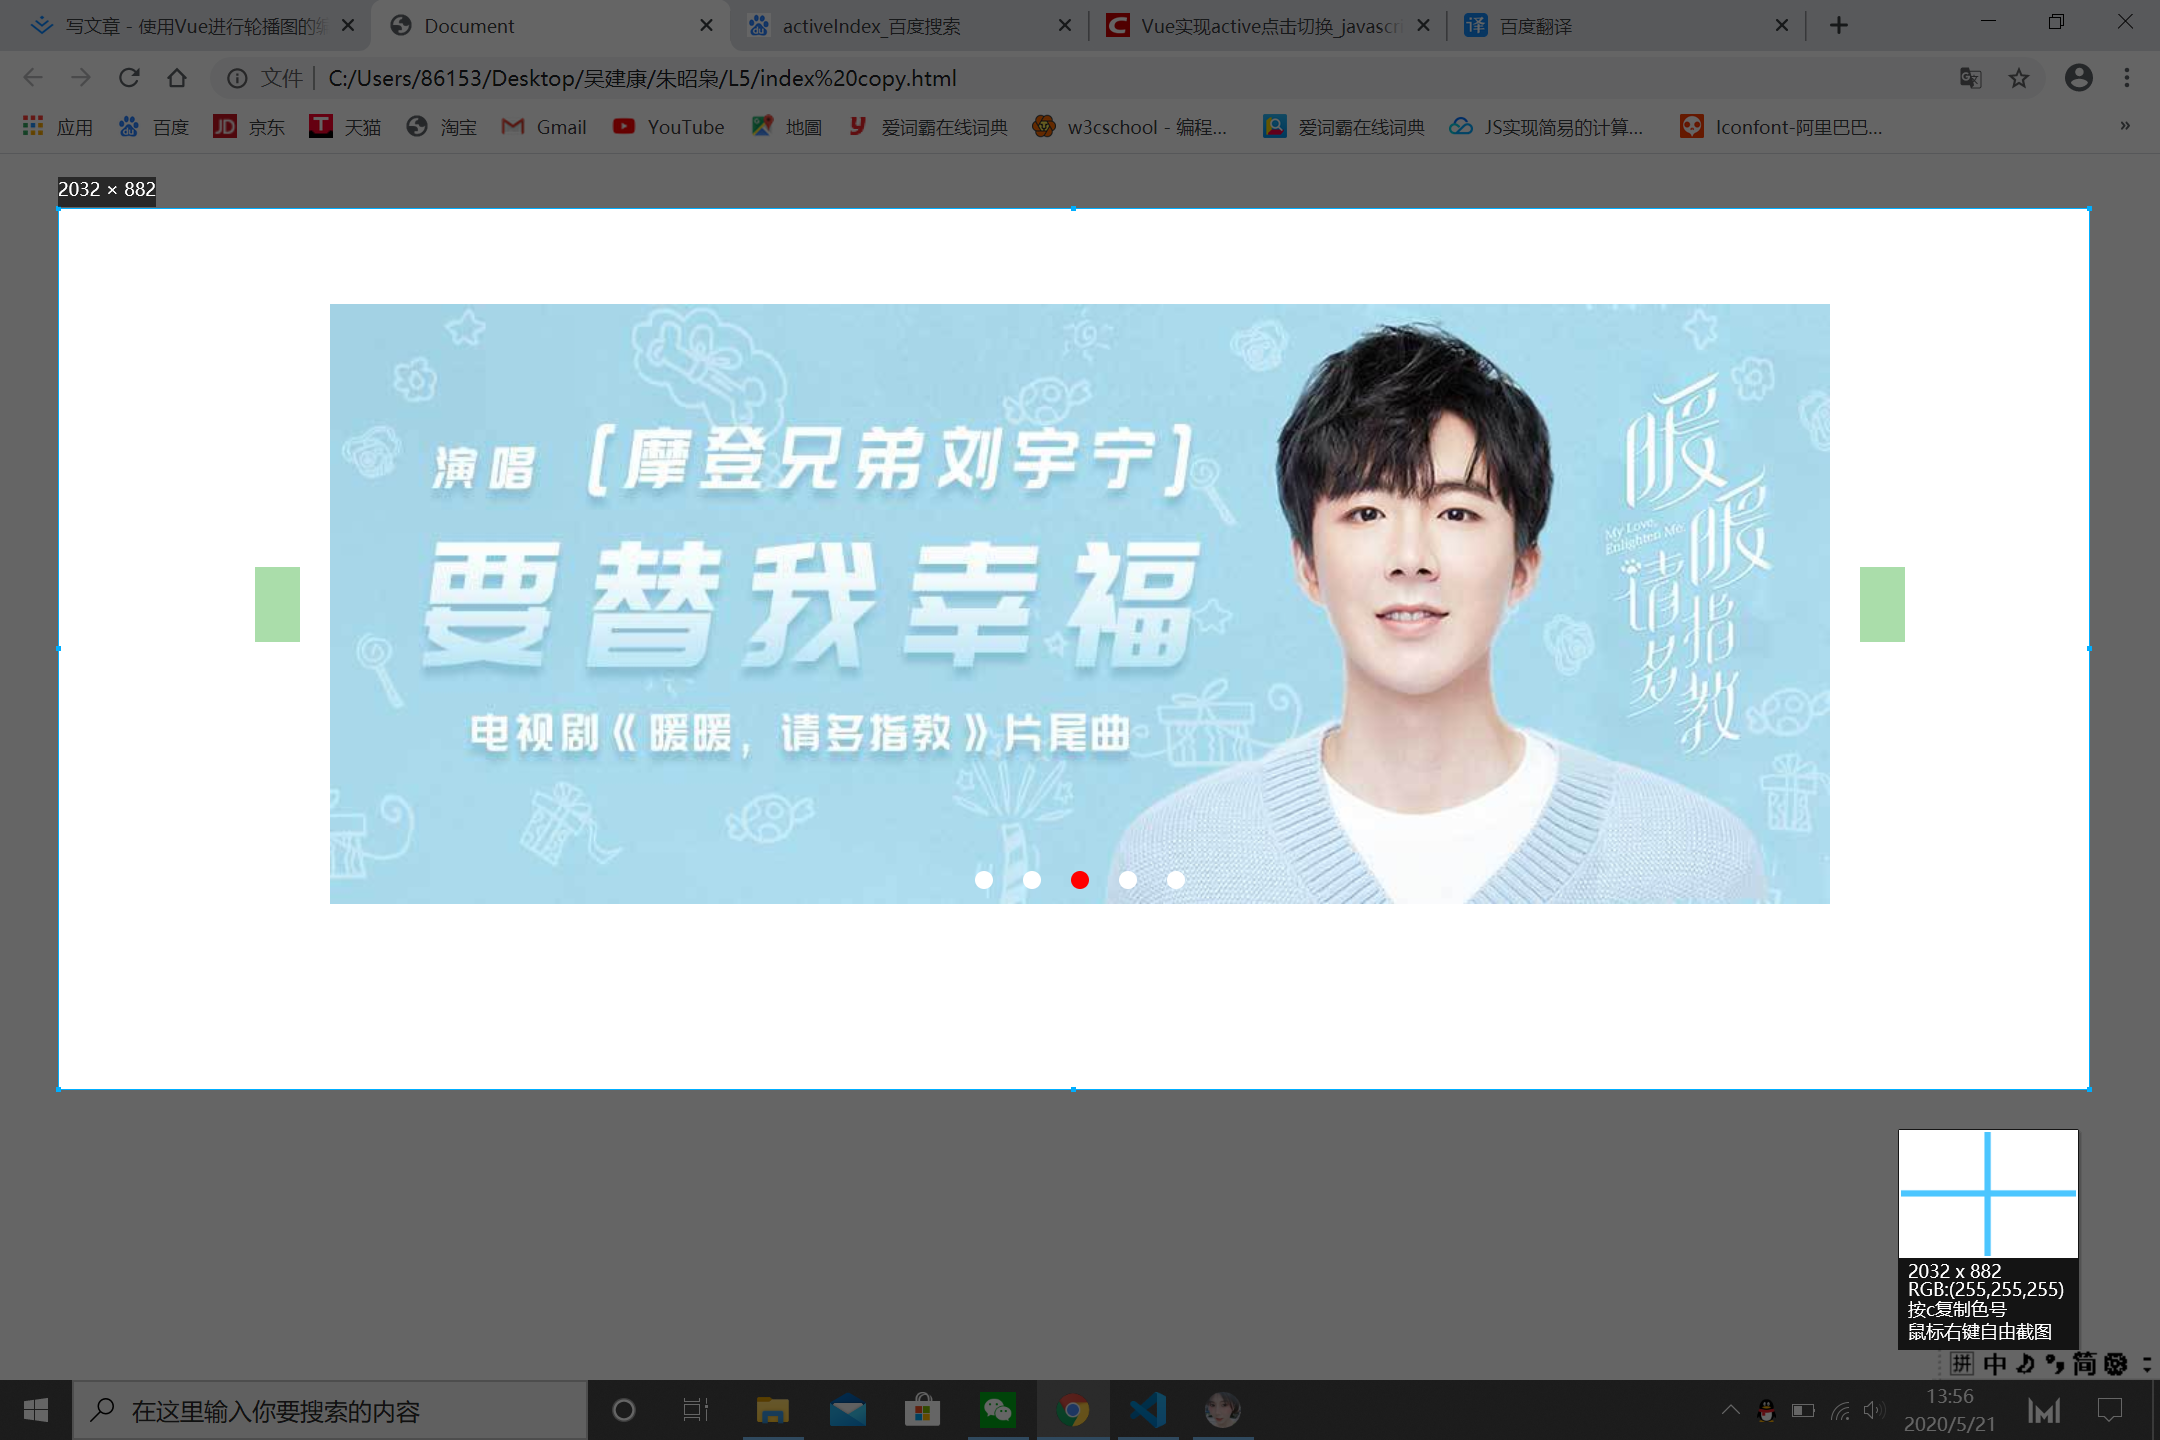
<div class="arrow left" @click='prev'></div> 这是左边的箭头
<div class="arrow right" @click='next'></div> 这是右边的箭头
<img v-for="(img,i) in imgs" :src='img' v-show="i===activeIndex">
<ul class="indexes">
<li @click="go(i)" v-for="(img,i) in imgs" :class="{active:i===activeIndex}"> 这和是要注意的地方:active:i===activeIndex</li>
</ul>
</div>
</div>
<script src="https://cdn.jsdelivr.net/npm/vue/dist/vue.js"></script>
<script src="https://cdn.bootcdn.net/ajax/libs/axios/0.19.2/axios.min.js"></script>
<script type="text/javascript">
Vue.config.devtools = false
Vue.config.productionTip = false
new Vue({
el: "#app", 容器可以根据你的需要进行更改
data() {
return {
activeIndex: 0,
显示第一张图
Vue实现active点击切换
1、点击时传入index索引(获取当前点击的是哪个) @click="active(index)"
2、将索引值传入class(索引等于几就第几个添加active类)
:class="{active:index==ins}"
3、在data里边添加ins:0(表示默认第一个添加active类)
data{ ins:0 }
4、最后在methods里边添加方法
timer: null,
imgs: [
图片网址放置
'http://p1.music.126.net/aALfaiCa-RBH3_2d_NbeMA==/109951164988976856.jpg?imageView&quality=89',
'http://p1.music.126.net/kGtQSB0qnWdqA5oTFvj3JA==/109951164991797795.jpg?imageView&quality=89',
'http://p1.music.126.net/H6X5PWq-8IENNv5N2s3C6A==/109951164991804763.jpg?imageView&quality=89',
'http://p1.music.126.net/hJzEcx5nxkCmJXKp3b5mZw==/109951164991811964.jpg?imageView&quality=89',
'http://p1.music.126.net/QmeVqUcwsitmNMNwXfjLEA==/109951164991874282.jpg?imageView&quality=89',
]
}
},
mounted() {
this.run()
},
methods: {
prev() {
是图片想左边形成轮播效果
clearInterval(this.timer)
if (--this.activeIndex < 0) this.activeIndex = this.imgs.length - 1
this.run()
},
next() {
clearInterval(this.timer)
if (++this.activeIndex === this.imgs.length) this.activeIndex = 0
this.run()
},
go(i) {
clearInterval(this.timer)
this.activeIndex = i
this.run()
},
run() {
this.timer = setInterval(() => {
if (++this.activeIndex === this.imgs.length) this.activeIndex = 0
}, 2000);
}
}
})
</script>
以下是这个代码的CSS部分,来观看者可以根据不同需要对其进行修改
* {
margin: 0;
padding: 0;
list-style: none;
}
.container {
height: 400px;
width: 1000px;
margin: 100px auto;
position: relative;
display: flex;
justify-content: center;
align-items: center;
}
.container img {
width: 100%;
height: 100%;
}
.indexes {
display: flex;
position: absolute;
bottom: 10px;
}
.indexes li {
width: 12px;
background: #fff;
height: 12px;
margin: 0 10px;
border-radius: 50%;
}
.indexes li.active {
background: red;
}
.arrow {
position: absolute;
height: 50px;
width: 30px;
background: #aaddaa;
}
.arrow.left {
left: -50px;
}
.arrow.right {
right: -50px;
}