react navigation是一个用于帮助我们创建 React Native App 的导航结构的库。
首先我们需要一个导航容器包裹我们的应用。
/* 安装这个包 */
npm i -S @react-navigation/native
在项目下建立 src 文件夹,src 文件夹下建立 AppPage.js。
import React from 'react';
import {NavigationContainer} from '@react-navigation/native';

export default function AppPage() {
  return <NavigationContainer />;
}
将项目根目录下的 App.js 内代码清空,将上面的代码导入进来。
import React from 'react';
import AppNavigator from './src/AppPage';

class App extends React.PureComponent {
  render() {
    return <AppNavigator />;
  }
}

export default App;
到这步,页面还是空白的,因为我们还没有加入导航。下面我们让它有点东西。
先安装接下来需要的包
npm i -S @react-navigation/stack @react-native-community/masked-view react-native-safe-area-context  react-native-gesture-handler react-native-screens

/* 装完了 iOS 需要进行以下操作 */
cd ios
pod install
自行搭建测试页面,马上用到。
都搞定后,修改 src/AppPage.js 代码,替换成下面的代码。
import React from 'react';
import {NavigationContainer} from '@react-navigation/native';
import {createStackNavigator} from '@react-navigation/stack';
import IndexPage from './pages/IndexPage';

const Stack = createStackNavigator();

export default function AppPage() {
  return (
    <NavigationContainer>
      <Stack.Navigator initialRouteName="首页">
        <Stack.Screen name="首页" component={IndexPage} />
      </Stack.Navigator>
    </NavigationContainer>
  );
}
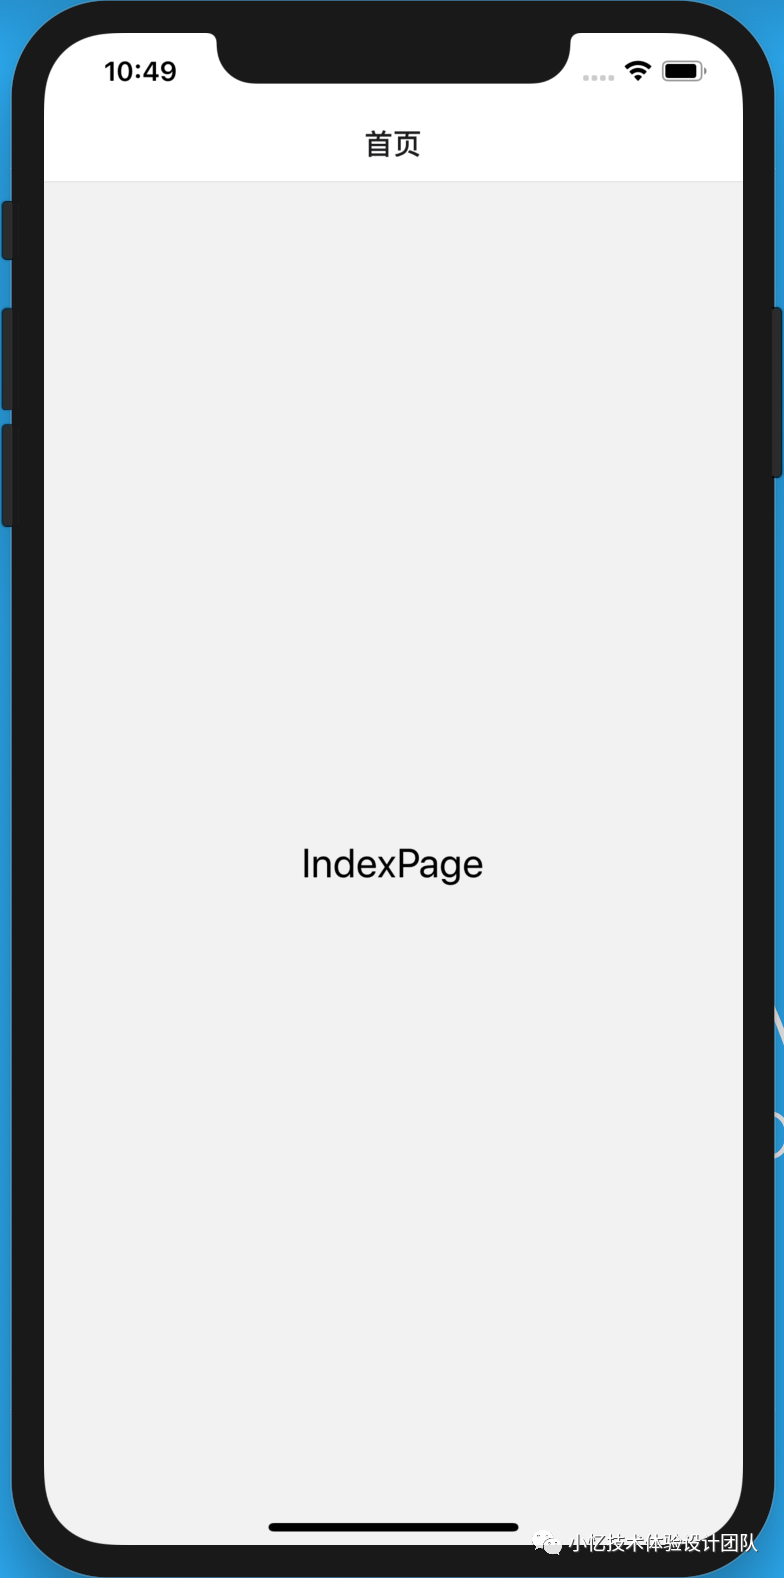
运行模拟器,如果可以看到这个样子,那么我们的 hello world 就完成了。
安装所需要的包
npm i -S @react-navigation/bottom-tabs
修改 src/AppPage.js
import React from 'react';
import {Image} from 'react-native';
import {NavigationContainer} from '@react-navigation/native';
// import {createStackNavigator} from '@react-navigation/stack';
import {createBottomTabNavigator} from '@react-navigation/bottom-tabs';
import IndexPage from './pages/IndexPage';
import MyPage from './pages/MyPage';
import IndexIcon from './res/tabs/tab_bar_icon_home_n.png';
import IndexSelectedIcon from './res/tabs/tab_bar_icon_home_s.png';
import MyIcon from './res/tabs/tab_bar_icon_my_n.png';
import MySelectedIcon from './res/tabs/tab_bar_icon_my_s.png';

const tabbarConfig = [
  {
    icon: IndexIcon,
    selectedIcon: IndexSelectedIcon,
    title: '首页',
  },
  {
    icon: MyIcon,
    selectedIcon: MySelectedIcon,
    title: '我的',
  },
];
const Tab = createBottomTabNavigator();

export default function AppPage() {
  return (
    <NavigationContainer>
      <Tab.Navigator
        initialRouteName="首页"
        screenOptions={({route}) => ({
          tabBarIcon: ({focused, color, size}) => {
            let icon = '';
            tabbarConfig &&
              tabbarConfig.forEach(tabbar => {
                if (route.name === tabbar.title) {
                  icon = focused ? tabbar.selectedIcon : tabbar.icon;
                }
              });
            return (
              <Image
                source={icon}
                resizeMode="cover"
                style={{width: 20, height: 20}}
              />
            );
          },
        })}
        tabBarOptions={{
          inactiveTintColor: '#666',
        }}>
        <Tab.Screen name="首页" component={IndexPage} />
        <Tab.Screen name="我的" component={MyPage} />
      </Tab.Navigator>
    </NavigationContainer>
  );
}
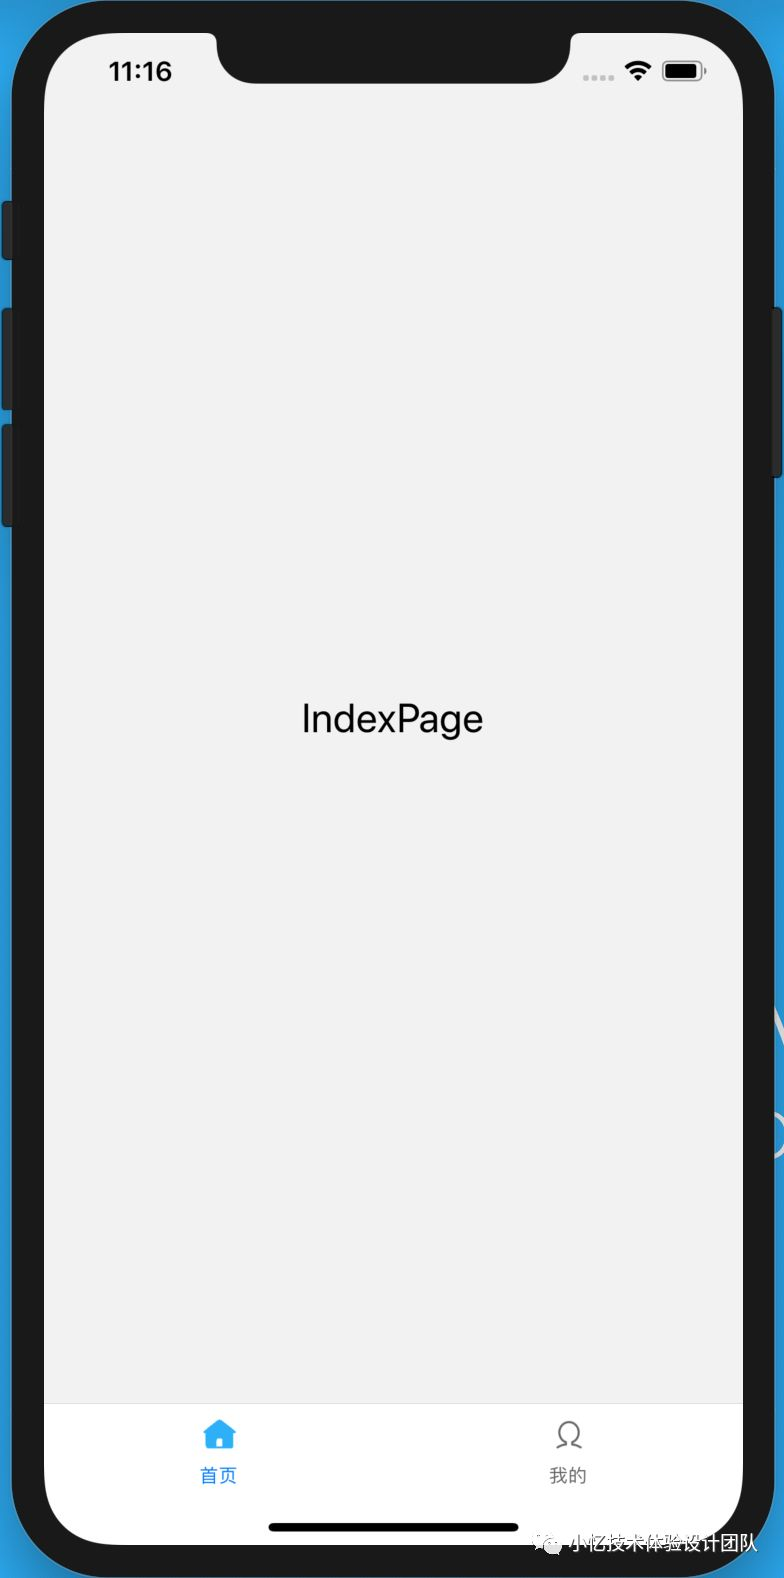
完成后,页面如下图所示。(tabbar 图标需要自己找资源加入)
<Button
  title="go to Detail"
  onPress={() => this.props.navigation.push('详情')}
 />
修改 src/AppPage.js ,把首页和详情页合并成一个 stack。
/* 加入之前的 stack */
import {createStackNavigator} from '@react-navigation/stack';
const Stack = createStackNavigator();

function StackScreen() {
 return (
   <Stack.Navigator>
     <Stack.Screen name="首页" component={IndexPage} />
     <Stack.Screen name="详情" component={DetailPage} />
   </Stack.Navigator>
 );
}

/* 修改第一个 Tab */
<Tab.Screen name="首页" component={StackScreen} />
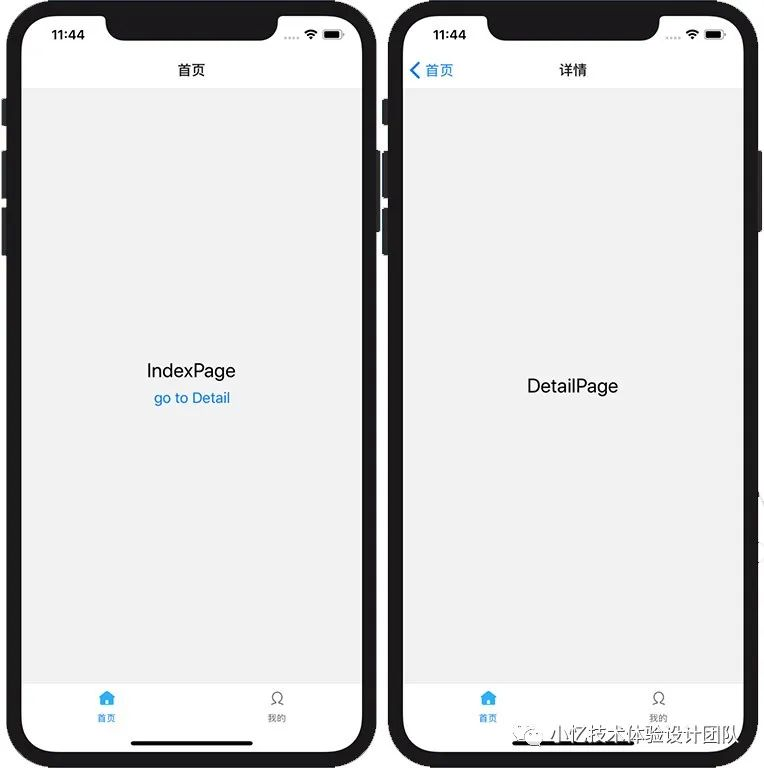
修改后结果,点击按钮,进入了 详情页。
还是修改 src/AppPage.js
/* 把 tab 变成函数式组件 */
function HomeScreen() {
  return (
    <Tab.Navigator
      initialRouteName="首页"
      screenOptions={({route}) => ({
        tabBarIcon: ({focused, color, size}) => {
          let icon = '';
          tabbarConfig &&
            tabbarConfig.forEach(tabbar => {
              if (route.name === tabbar.title) {
                icon = focused ? tabbar.selectedIcon : tabbar.icon;
              }
            });
          return (
            <Image
              source={icon}
              resizeMode="cover"
              style={{width: 20, height: 20}}
            />
          );
        },
      })}
      tabBarOptions={{
        inactiveTintColor: '#666',
      }}>
      <Tab.Screen name="首页" component={IndexPage} />
      <Tab.Screen name="我的" component={MyPage} />
    </Tab.Navigator>
  );
}

/* 换回之前的 stack */
export default function AppPage() {
  return (
    <NavigationContainer>
      <Stack.Navigator>
        <Stack.Screen name="首页" component={HomeScreen} />
        <Stack.Screen name="详情" component={DetailPage} />
      </Stack.Navigator>
    </NavigationContainer>
  );
}
修改后,进入详情页,就不会有底部的 tabbar 了。

<Stack.Navigator headerMode="none">
但这么做所有的页面都没有顶部标题栏了。
 <Stack.Screen name="首页"
               options={{headerShown:false}}
               component={IndexPage}
 />
这样就能实现首页不要标题导航栏的需求了。