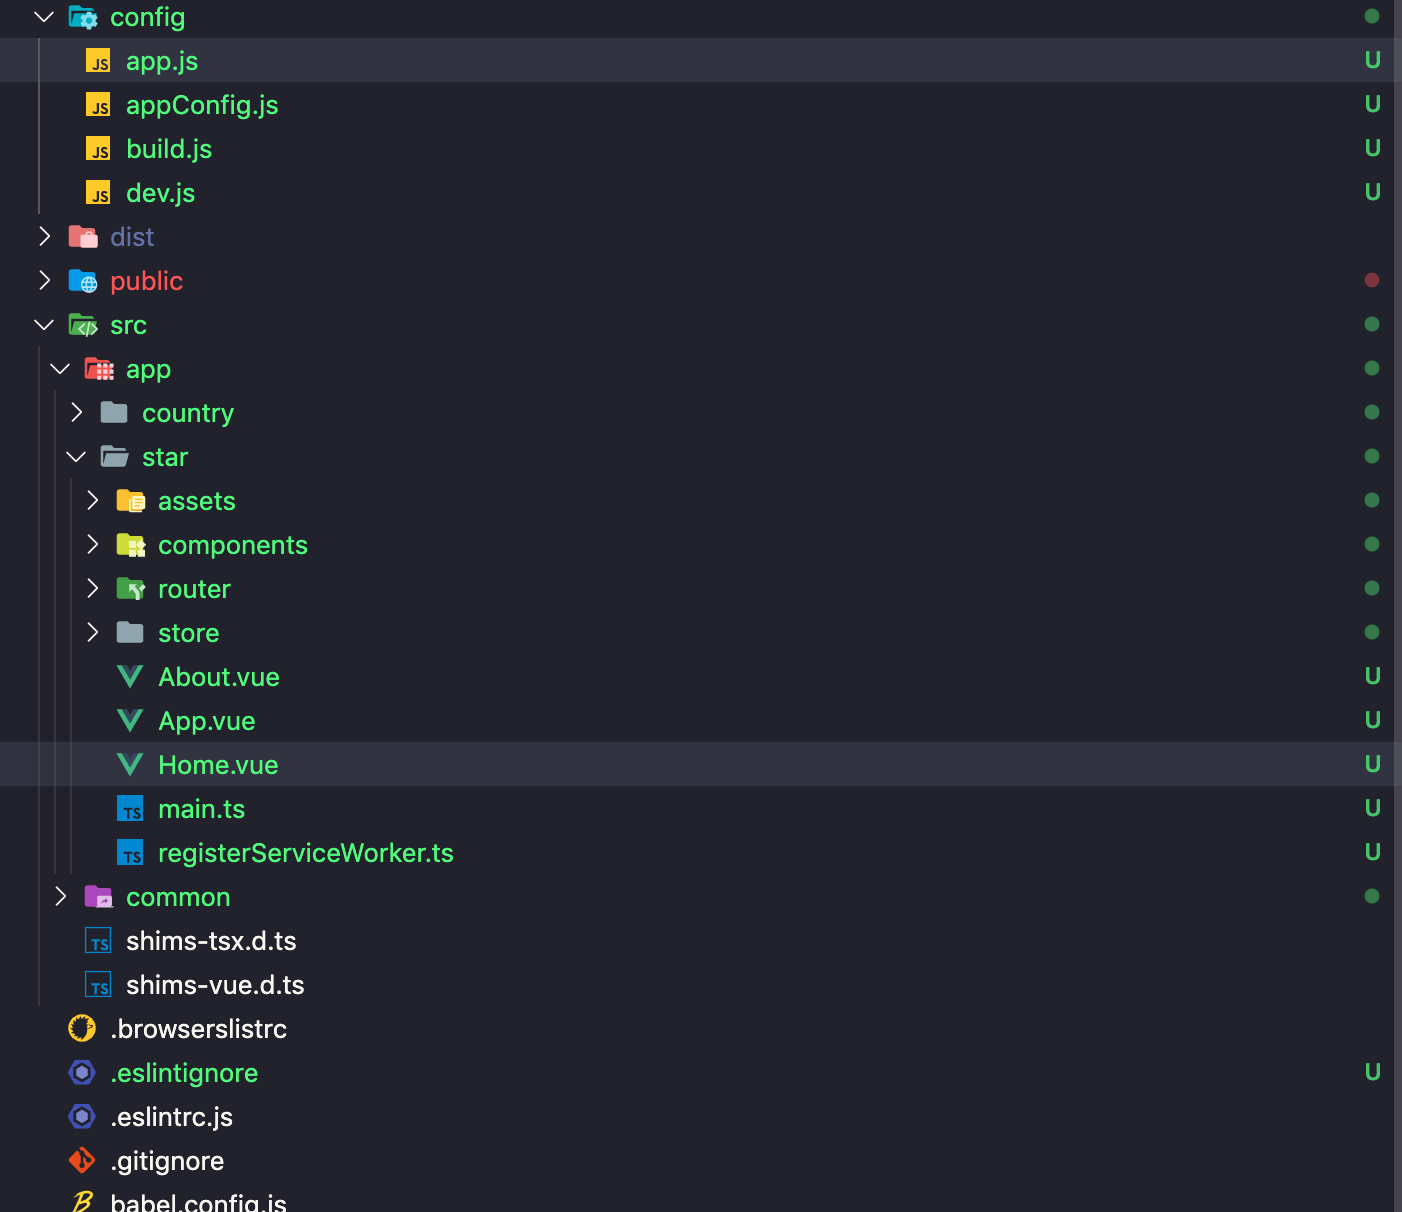
我们先来看一个项目目录,如果是你的需求,或许你该认真看完
需求场景
当一个产品被更多的客户认可,就有私人订制的需求。对于开发者来说最简单的肯定是复制粘贴,假如有新的更新或者一个bug,我们需要提交多次公共的代码;当然项目少还好,假如项目多一些,我们真就成了“拧螺丝”的螺丝工。当然这种场景很常见,在各大框架或者各大语言都有解决方案,我们今天就聊聊vue项目的使用场景。
调研
vue的开发者都了解vuecli从3.0开始就去掉了webpack的“显式”定义,就是说默认我们会有一个默认配置。如果想要更改其默认配置,需要我们新建一个叫vue.config.js的文件,也就是说当我们编译之前,系统会先从vue.config.js文件中查找,如果有找到将会覆盖其编译配置(顺序)
// vue.config.js
module.exports = {
  // 选项...
}
其实当我们发现这个文件的时候,我们已经有了解决方案,让我们直接看项目配置,其实也就是config文件夹下的四个文件
步骤 我们来看看这四个文件的作用
const appName = process.argv[2] // node config/dev.js star 拿到命令行 node命令行的第二个参数也就是star

const fs = require("fs") // 引入文件模块

fs.writeFileSync("./config/app.js", `exports.name = "${appName}"`) // 将模块名称写入文件app.js

const exec = require("child_process").execSync; // 开启一个子进程
exec("npm run serve", { stdio: "inherit" }); // 执行vuecli3.0+ 的启动脚本
// build.js 打包文件 和dev文件几乎一致,不做过多解释
const appName = process.argv[2]

const fs = require("fs")

fs.writeFileSync("./config/app.js", `exports.name = "${appName}"`)

const exec = require("child_process").execSync;
exec("npm run build", { stdio: "inherit" });
// app.js 很简单,抛出模块的名称
exports.name = "country"
const appName = require("./app.js")
const path = require("path")

function resolve(dir) {
  return path.join(__dirname, dir)
}
const config = {
  star: {
    pages: {
      index: {
        entry: "src/app/star/main.ts",
        template: "public/indexStar.html",
        filename: "index.html"
      }
    },
    outputDir: "dist/star/",
    devServer: {},
    chainWebpack: (config) => {
      config.entry.app = ["babel-polyfill", "../src/app/star/main.ts"]
      config.resolve.alias.set("@", resolve("../src/app/star/")).set("~", resolve("../src/common"))
    }
  },
  country: {
    pages: {
      index: {
        entry: "src/app/country/main.ts",
        template: "public/indexCountry.html",
        filename: "index.html",
      }
    },
    outputDir: "dist/country/",
    devServer: {},
    chainWebpack: (config) => {
      config.entry.app = ["babel-polyfill", "../src/app/country/main.ts"]
      config.resolve.alias.set("@", resolve("../src/app/country/")).set("%", resolve("../src/common"))
    }
  }
}

const configObj = config[appName.name]

module.exports = configObj
// vue.config.js 通过读取appConfig来配置项目
const conf = require('./config/appConfig');

module.exports = {
  pages: conf.pages,
  publicPath: './',
  outputDir: conf.outputDir,
  assetsDir: 'static',
  devServer: conf.devServer,
  productionSourceMap: false,
  chainWebpack: conf.chainWebpack,
  configureWebpack: conf.configureWebpack
};
// 我们现在就可以执行文件了
// 启动
node config/dev.js country
node config/dev.js star

// 打包
node config/build.js country
node config/build.js star

这么写很不优雅呀,我们来配置下npm吧
之后我们就可以这样执行

npm run dev:star
npm run build:star
// package.json
"scripts": {
    "serve": "vue-cli-service serve",
    "build": "vue-cli-service build",
    "lint": "vue-cli-service lint"
    "dev:star": "node config/dev.js star",
    "dev:country": "node config/dev.js country",
    "build:star": "node config/build.js star",
    "build:country": "node config/build.js country"
  }
现在简单梳理一下流程
1. npm run dev:star
2. 读取dev文件
3. 将star写入app.js
4. 执行 npm run serve
5. 读取vue.config.js文件
6. 在vue.config.js中读取appConfig文件拿到相应项目配置
7. 执行项目编译操作,并且启动项目