

1、Windows Ternimal 安装
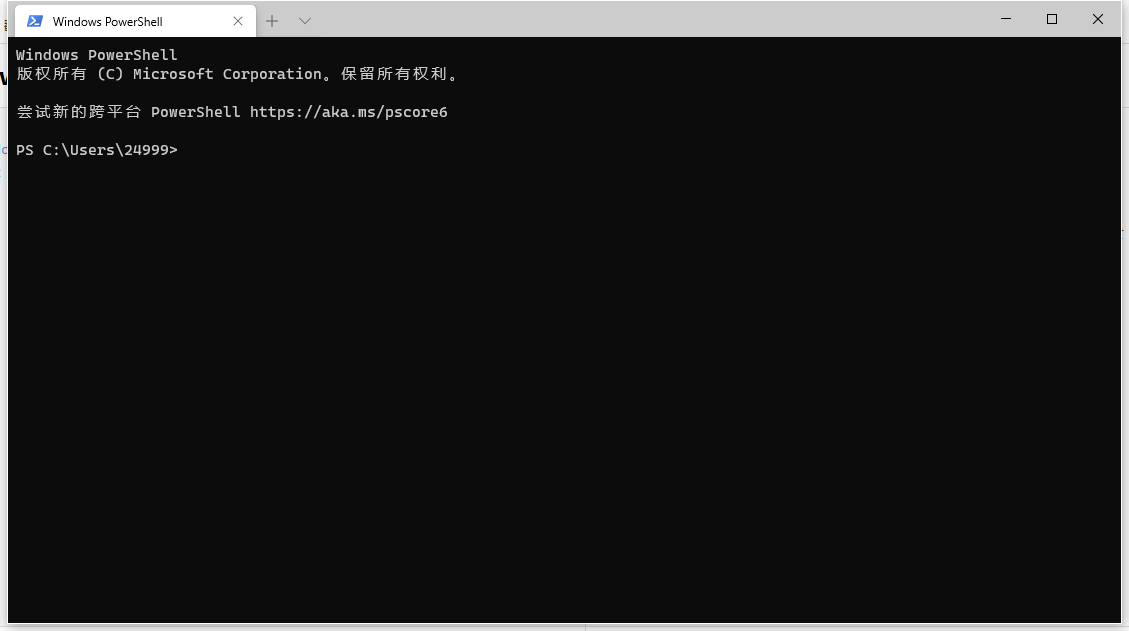
Microsoft Store - Windows Terminal 安装即可,安装后初始样式如下(截图留念,后续我们美化后就不再是这个经典的样子了):
2、安装 posh-git 和 oh-my-posh
Install-Module posh-git -Scope CurrentUser
Install-Module oh-my-posh -Scope CurrentUser
3、新增(或修改)你的 PowerShell 配置文件
# 如果之前没有配置文件,就新建一个 PowerShell 配置文件
if (!(Test-Path -Path $PROFILE )) { New-Item -Type File -Path $PROFILE -Force }
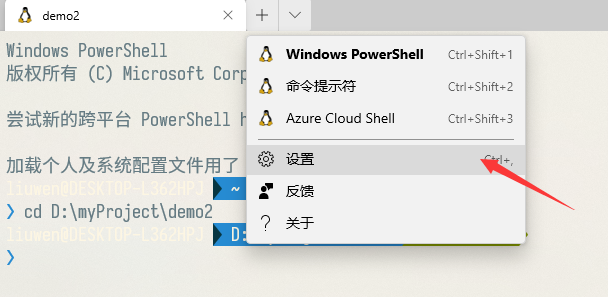
# 用记事本打开配置文件
notepad $PROFILE
用记事本打开配置文件之后,输入下列内容:
Import-Module posh-git
Import-Module oh-my-posh
Set-Theme Paradox
其中最后一句 Set-Theme Paradox 就是配置主题的命令。
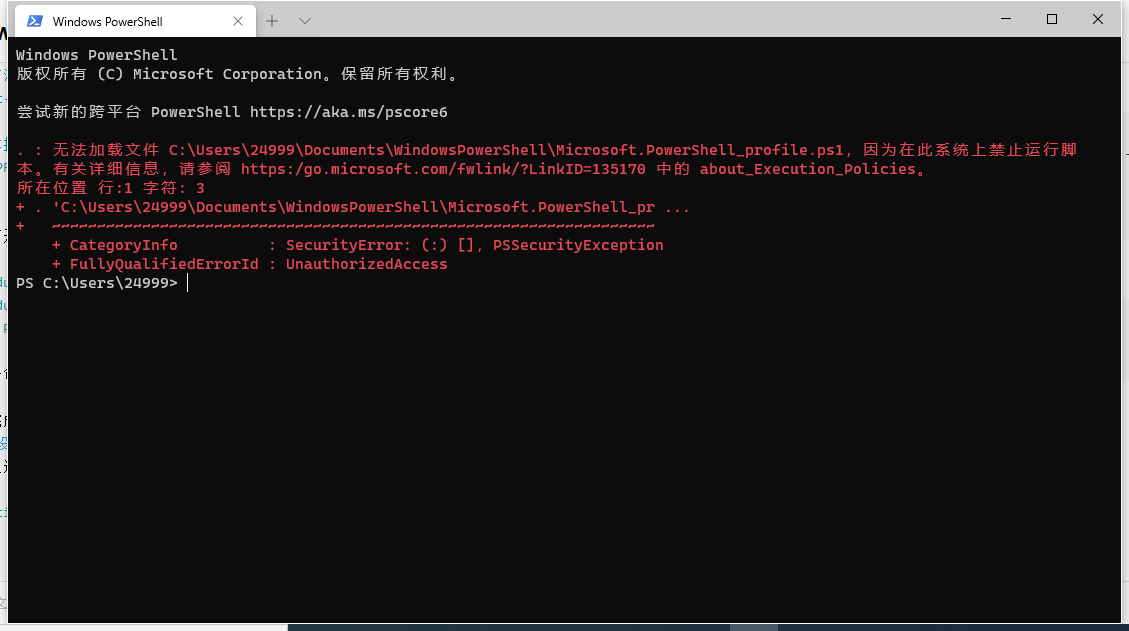
上述操作完成后,会出现下图提示:
因为在此系统上禁止运行脚本。有关详细信息,请参阅... 下面我们来通过权限设置来解决这个问题
4、权限设置
以管理员权运行Windows Terminal,然后输入下列代码,就解决了上述问题。
set-executionpolicy remotesigned
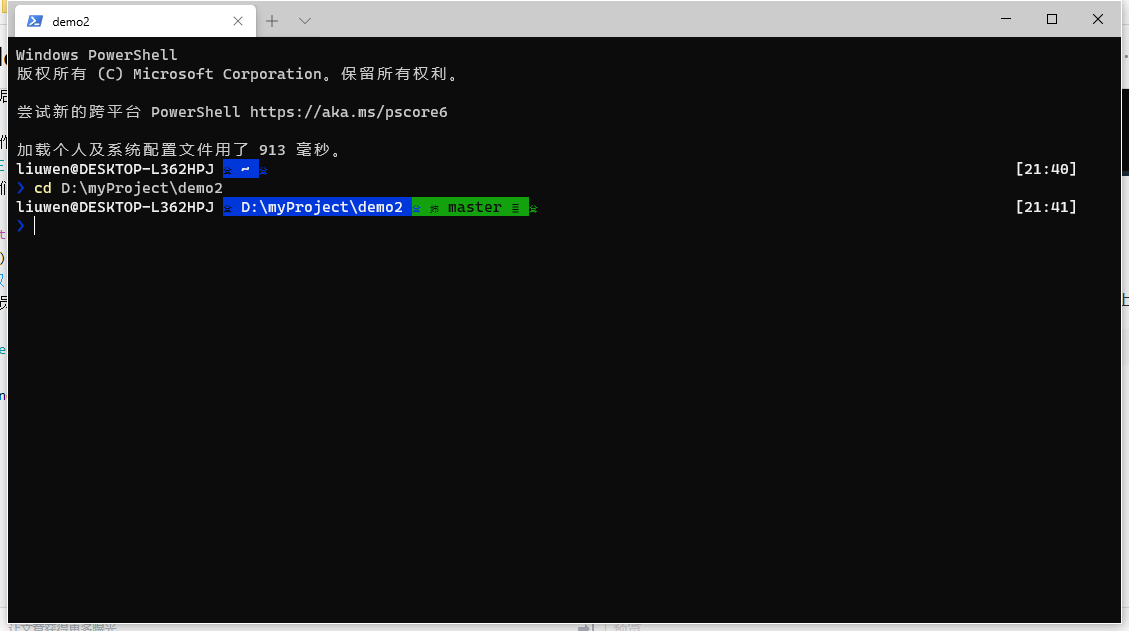
重启Windows Terminal,会发现oh-my-posh主题已经生效了,如下图:
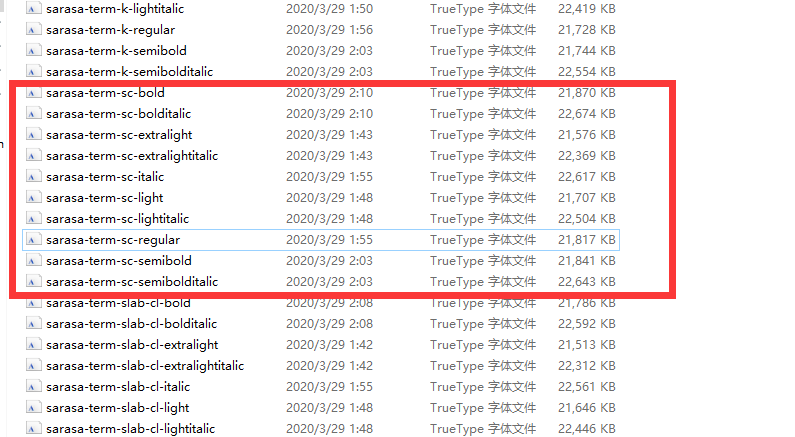
5、下载Sarasa字体(更沙黑体)
上面的截图中,我们可以发现,虽然已经体现oh-my-posh的主题,但还有瑕疵,我们下载Sara字体并安装sarasa-term-sc系列字体,并将字体设置为Sarasa Term SC即可(见下一步)。
链接: pan.baidu.com/s/1eR_w71Tm… 提取码: ev37
6、Windows Terminal JSON设置
"profiles": {
    "defaults": {
      // Put settings here that you want to apply to all profiles
      "acrylicOpacity": 0.8, //背景透明度
      "useAcrylic": true, // 启用毛玻璃
      "backgroundImage": "D:\\OneDrive\\图片\\stack.jpg", //背景图片
      "backgroundImageOpacity": 0.5, //图片透明度
      "backgroundImageStretchMode": "fill", //填充模式
      "icon": "ms-appx:///ProfileIcons/{9acb9455-ca41-5af7-950f-6bca1bc9722f}.png", //图标
      "fontFace": "Sarasa Term SC", //字体
      "fontSize": 14, //文字大小
      "colorScheme": "Solarized Light", //主题
      "cursorColor": "#FFFFFF", //光标颜色
      "cursorShape": "bar", //光标形状
      "startingDirectory":"D://Projects//" //起始目录
    }
 }
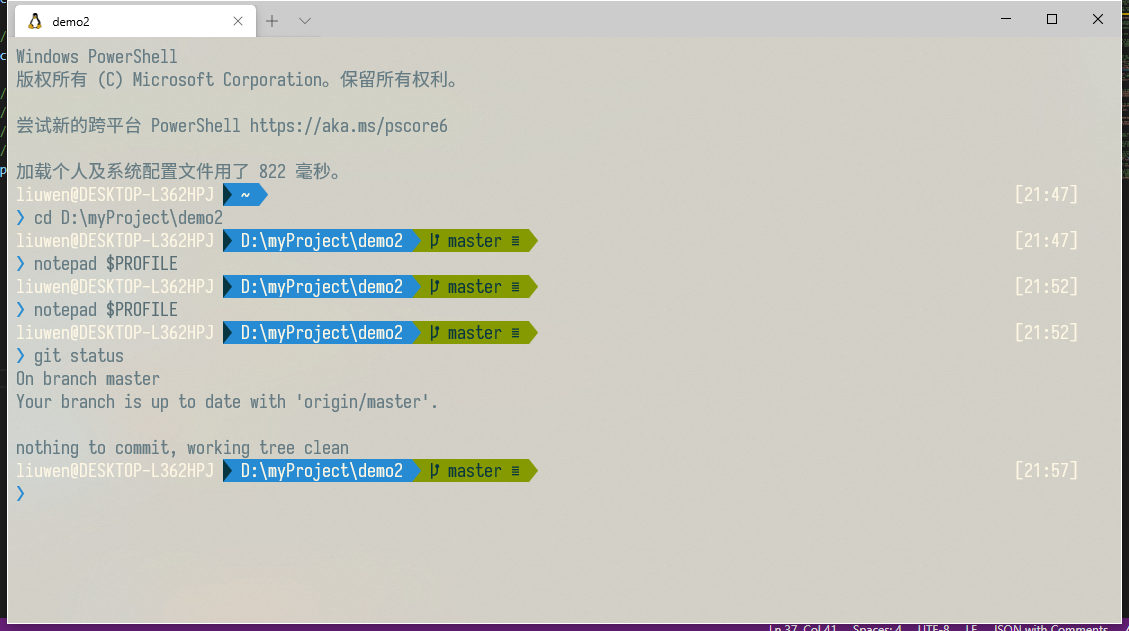
到此为止,Windows Terminal已经实现了初步的美化,如下图: oh-my-posh(Paradox) + colorScheme(Solarized Light)
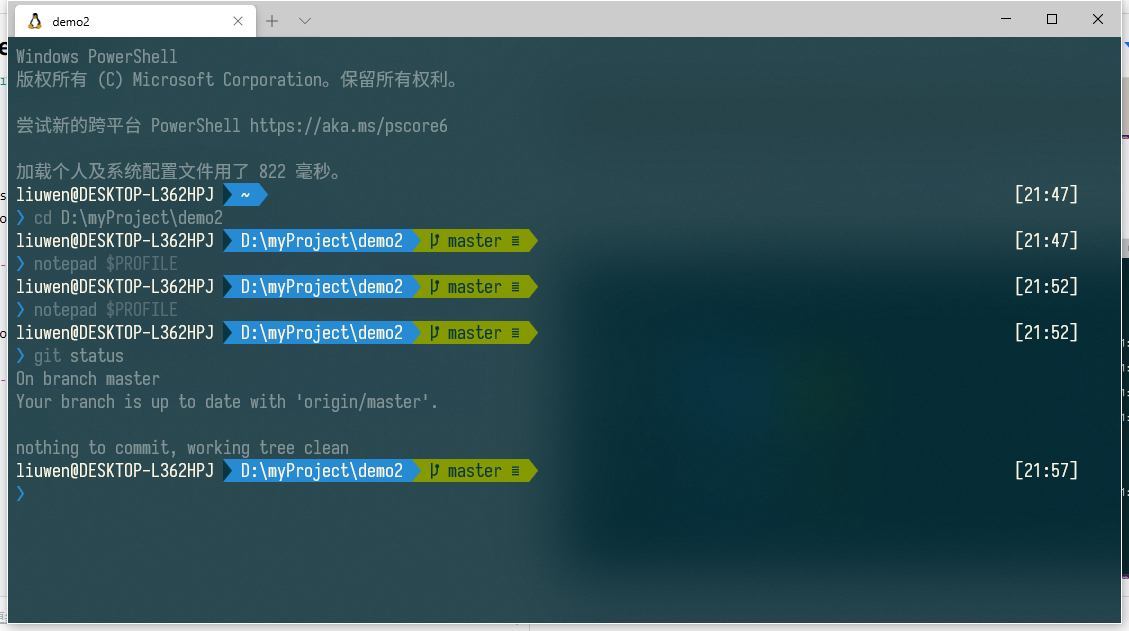
oh-my-posh(Paradox) + colorScheme(Solarized Dark)
7、colorScheme 设置
iTerm2-Color-Schemes 这里面有各种colorScheme的JSON,找到配色的.json文件,把里面的配色复制到schemes下面,然后再修改colorScheme的值。
"profiles": {
"defaults": {
// Put settings here that you want to apply to all profiles
"acrylicOpacity": 0.8, //背景透明度
"useAcrylic": true, // 启用毛玻璃
"backgroundImage": "D:\\OneDrive\\图片\\stack.jpg", //背景图片
"backgroundImageOpacity": 0.5, //图片透明度
"backgroundImageStretchMode": "fill", //填充模式
"icon": "ms-appx:///ProfileIcons/{9acb9455-ca41-5af7-950f-6bca1bc9722f}.png", //图标
"fontFace": "Sarasa Term SC", //字体
"fontSize": 14, //文字大小
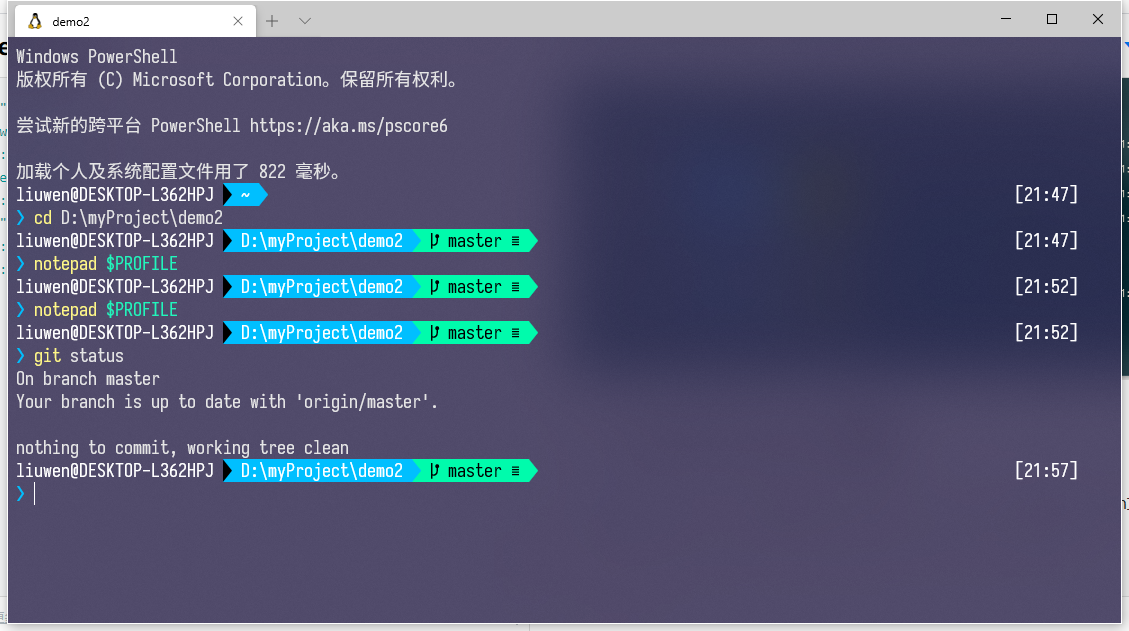
"colorScheme": "cyberpunk", //主题
"cursorColor": "#FFFFFF", //光标颜色
"cursorShape": "bar", //光标形状
"startingDirectory":"D://Projects//" //起始目录
"schemes":[
 {
    "name": "cyberpunk",
    "black": "#000000",
    "red": "#ff7092",
    "green": "#00fbac",
    "yellow": "#fffa6a",
    "blue": "#00bfff",
    "purple": "#df95ff",
    "cyan": "#86cbfe",
    "white": "#ffffff",
    "brightBlack": "#000000",
    "brightRed": "#ff8aa4",
    "brightGreen": "#21f6bc",
    "brightYellow": "#fff787",
    "brightBlue": "#1bccfd",
    "brightPurple": "#e6aefe",
    "brightCyan": "#99d6fc",
    "brightWhite": "#ffffff",
    "background": "#332a57",
    "foreground": "#e5e5e5"
  },
  {
    "name": "Solarized Darcula",
    "black": "#25292a",
    "red": "#f24840",
    "green": "#629655",
    "yellow": "#b68800",
    "blue": "#2075c7",
    "purple": "#797fd4",
    "cyan": "#15968d",
    "white": "#d2d8d9",
    "brightBlack": "#25292a",
    "brightRed": "#f24840",
    "brightGreen": "#629655",
    "brightYellow": "#b68800",
    "brightBlue": "#2075c7",
    "brightPurple": "#797fd4",
    "brightCyan": "#15968d",
    "brightWhite": "#d2d8d9",
    "background": "#3d3f41",
    "foreground": "#d2d8d9"
  }
]
8、右键 Windows Terminal here
配置前
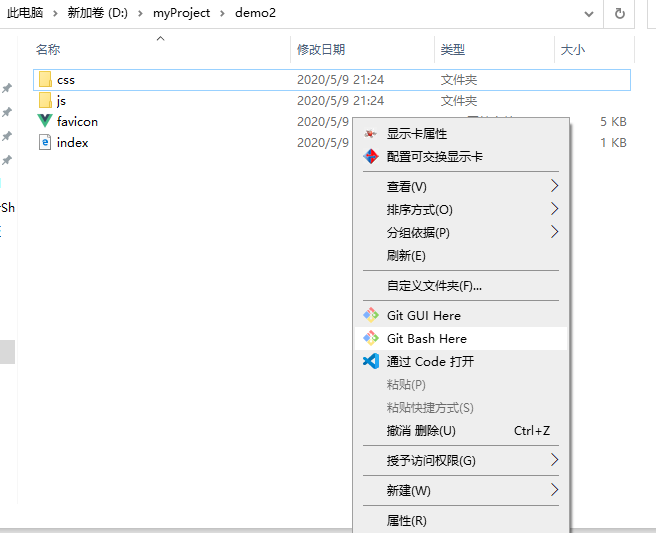
图标下载 下载之后随便放一个路径下,后续reg注册文件要用到
新建一个txt,扩展名改为reg,输入如下代码:
Windows Registry Editor Version 5.00

[HKEY_CLASSES_ROOT\Directory\Background\shell\wt]
@="Windows terminal here"
"Icon"="这里是你的图标放的完整路径"

[HKEY_CLASSES_ROOT\Directory\Background\shell\wt\command]
@="C:\Users\[user_name]\AppData\Local\Microsoft\WindowsApps\wt.exe"
我的配置是
Windows Registry Editor Version 5.00

[HKEY_CLASSES_ROOT\Directory\Background\shell\wt]
@="Windows terminal here"
"Icon"="C:\Users\24999\AppData\Local\terminal\wt_32.ico"

[HKEY_CLASSES_ROOT\Directory\Background\shell\wt\command]
@="C:\Users\24999\AppData\Local\Microsoft\WindowsApps\wt.exe"
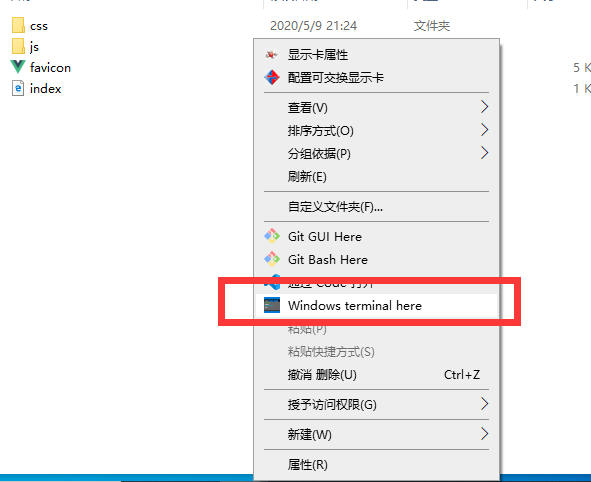
保存后运行这个reg文件
然后在windows Terminal JSON配置文件中找到startingDirectory 设置为null
"defaults":
        {
            // Put settings here that you want to apply to all profiles.
            "acrylicOpacity": 0.6, //背景透明度
            "useAcrylic": true, // 启用毛玻璃
            "backgroundImage": "D:\\OneDrive\\图片\\stack.jpg", //背景图片
             "backgroundImageOpacity": 0.5, //图片透明度
             "backgroundImageStretchMode": "fill", //填充模式
             "icon": "ms-appx:///ProfileIcons/{9acb9455-ca41-5af7-950f-6bca1bc9722f}.png", //图标
             "fontFace": "Sarasa Term SC", //字体
             "fontSize": 14, //文字大小
             "colorScheme": "cyberpunk", //主题
             "cursorColor": "#FFFFFF", //光标颜色
             "cursorShape": "bar", //光标形状
             "startingDirectory": null //起始目录
        },
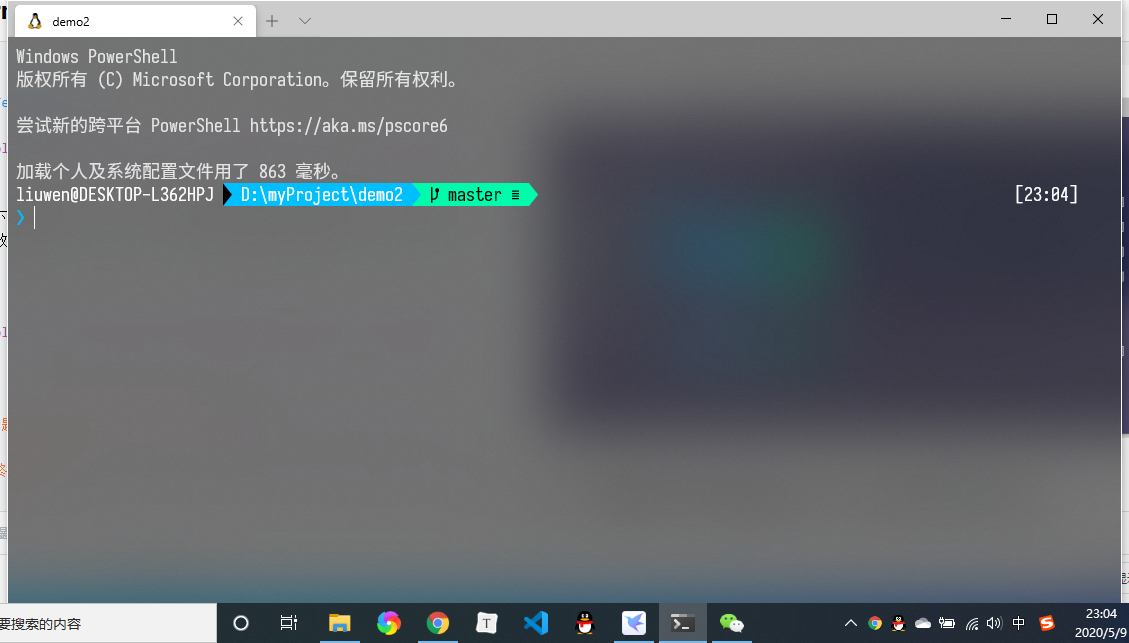
配置成功后
参考链接:
5 个 PowerShell 主题,让你的 Windows 终端更好看
Windows Terminal 终极美化
添加Windows Terminal到鼠标右键菜单
