

Install zabbix server from package
wget https://repo.zabbix.com/zabbix/4.4/ubuntu/pool/main/z/zabbix-release/zabbix-release_4.4-1%2Bfocal_all.deb
sudo dpkg -i zabbix-release_4.4-1+focal_all.deb
sudo apt update
sudo apt install zabbix-server-mysql
Install mysql
The default mysql password is in /etc/mysql/debian.cnf
sudo cat /etc/mysql/debian.cnf
You'll get the password
user     = debian-sys-maint
password = password_for_the_user
Then:
$ mysql -u debian-sys-maint -p
Enter password:
Create database and user
mysql> create database zabbix character set utf8 collate utf8_bin;
mysql> create user 'zabbix'@'localhost' identified by '<password>';
mysql> grant all privileges on zabbix.* to 'zabbix'@'localhost';
mysql> quit;
Import data
zcat /usr/share/doc/zabbix-server-mysql/create.sql.gz | mysql -uzabbix -p zabbix
Starting the zabbix
service zabbix-server start
service apache2 start
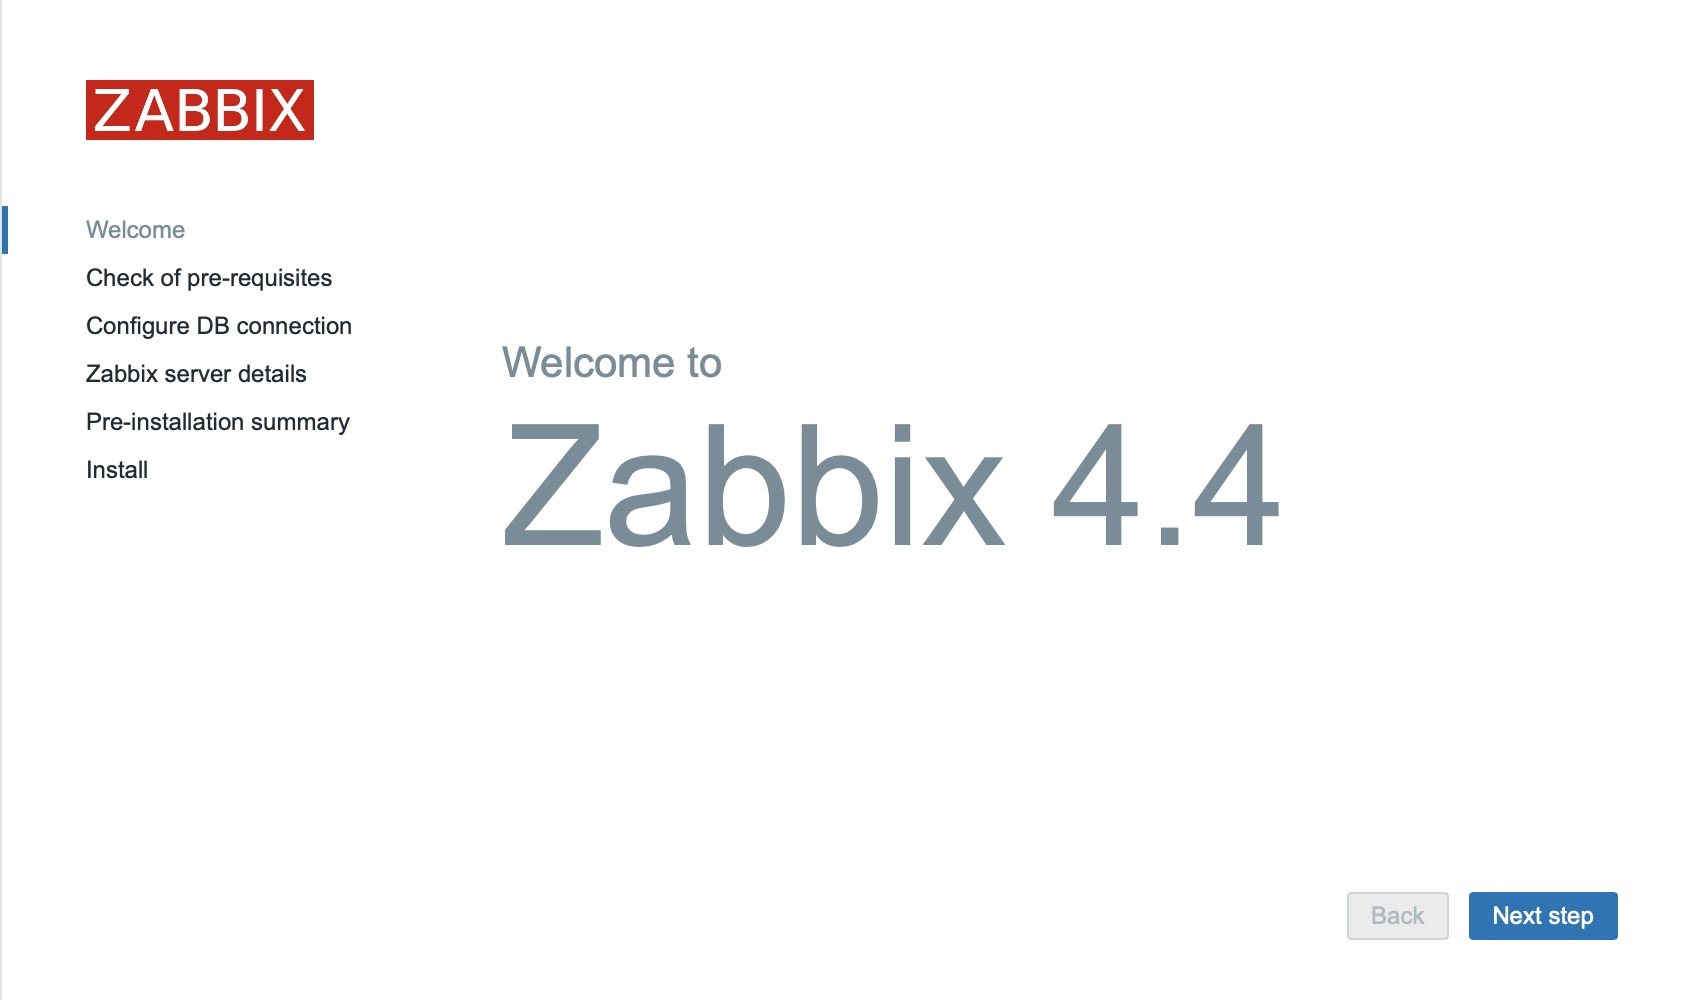
Visit the url in your browser
Your_IP_Address/zabbix
Now you can see zabbix
Do Not Forget to set the timezone for your zabbix
sudo vi /etc/apache2/conf-available/zabbix.conf
Notice
If the 80 port is used, run the command
sudo netstat -tulpn| grep :80to check the portIf reports Zabbix agent is not available use
service zabbix-agent startto start the Zabbix agent
