Introduction to HTML Forms表单功能简介
Forms are a part of everyday life. When we use a physical form in real life, we write down information and give it to someone to process. Think of the times you’ve had to fill out information for various applications like a job, or a bank account, or dropped off a completed suggestion card — each instance is a form!
Just like a physical form, an HTML
element is responsible for collecting information to send somewhere else. Every time we browse the internet we come into contact with many forms and we might not even realize it. There’s a good chance that if you’re typing into a text field or providing an input, the field that you’re typing into is part of a !In this lesson, we’ll go over the structure and syntax of a and the many elements that populate it.
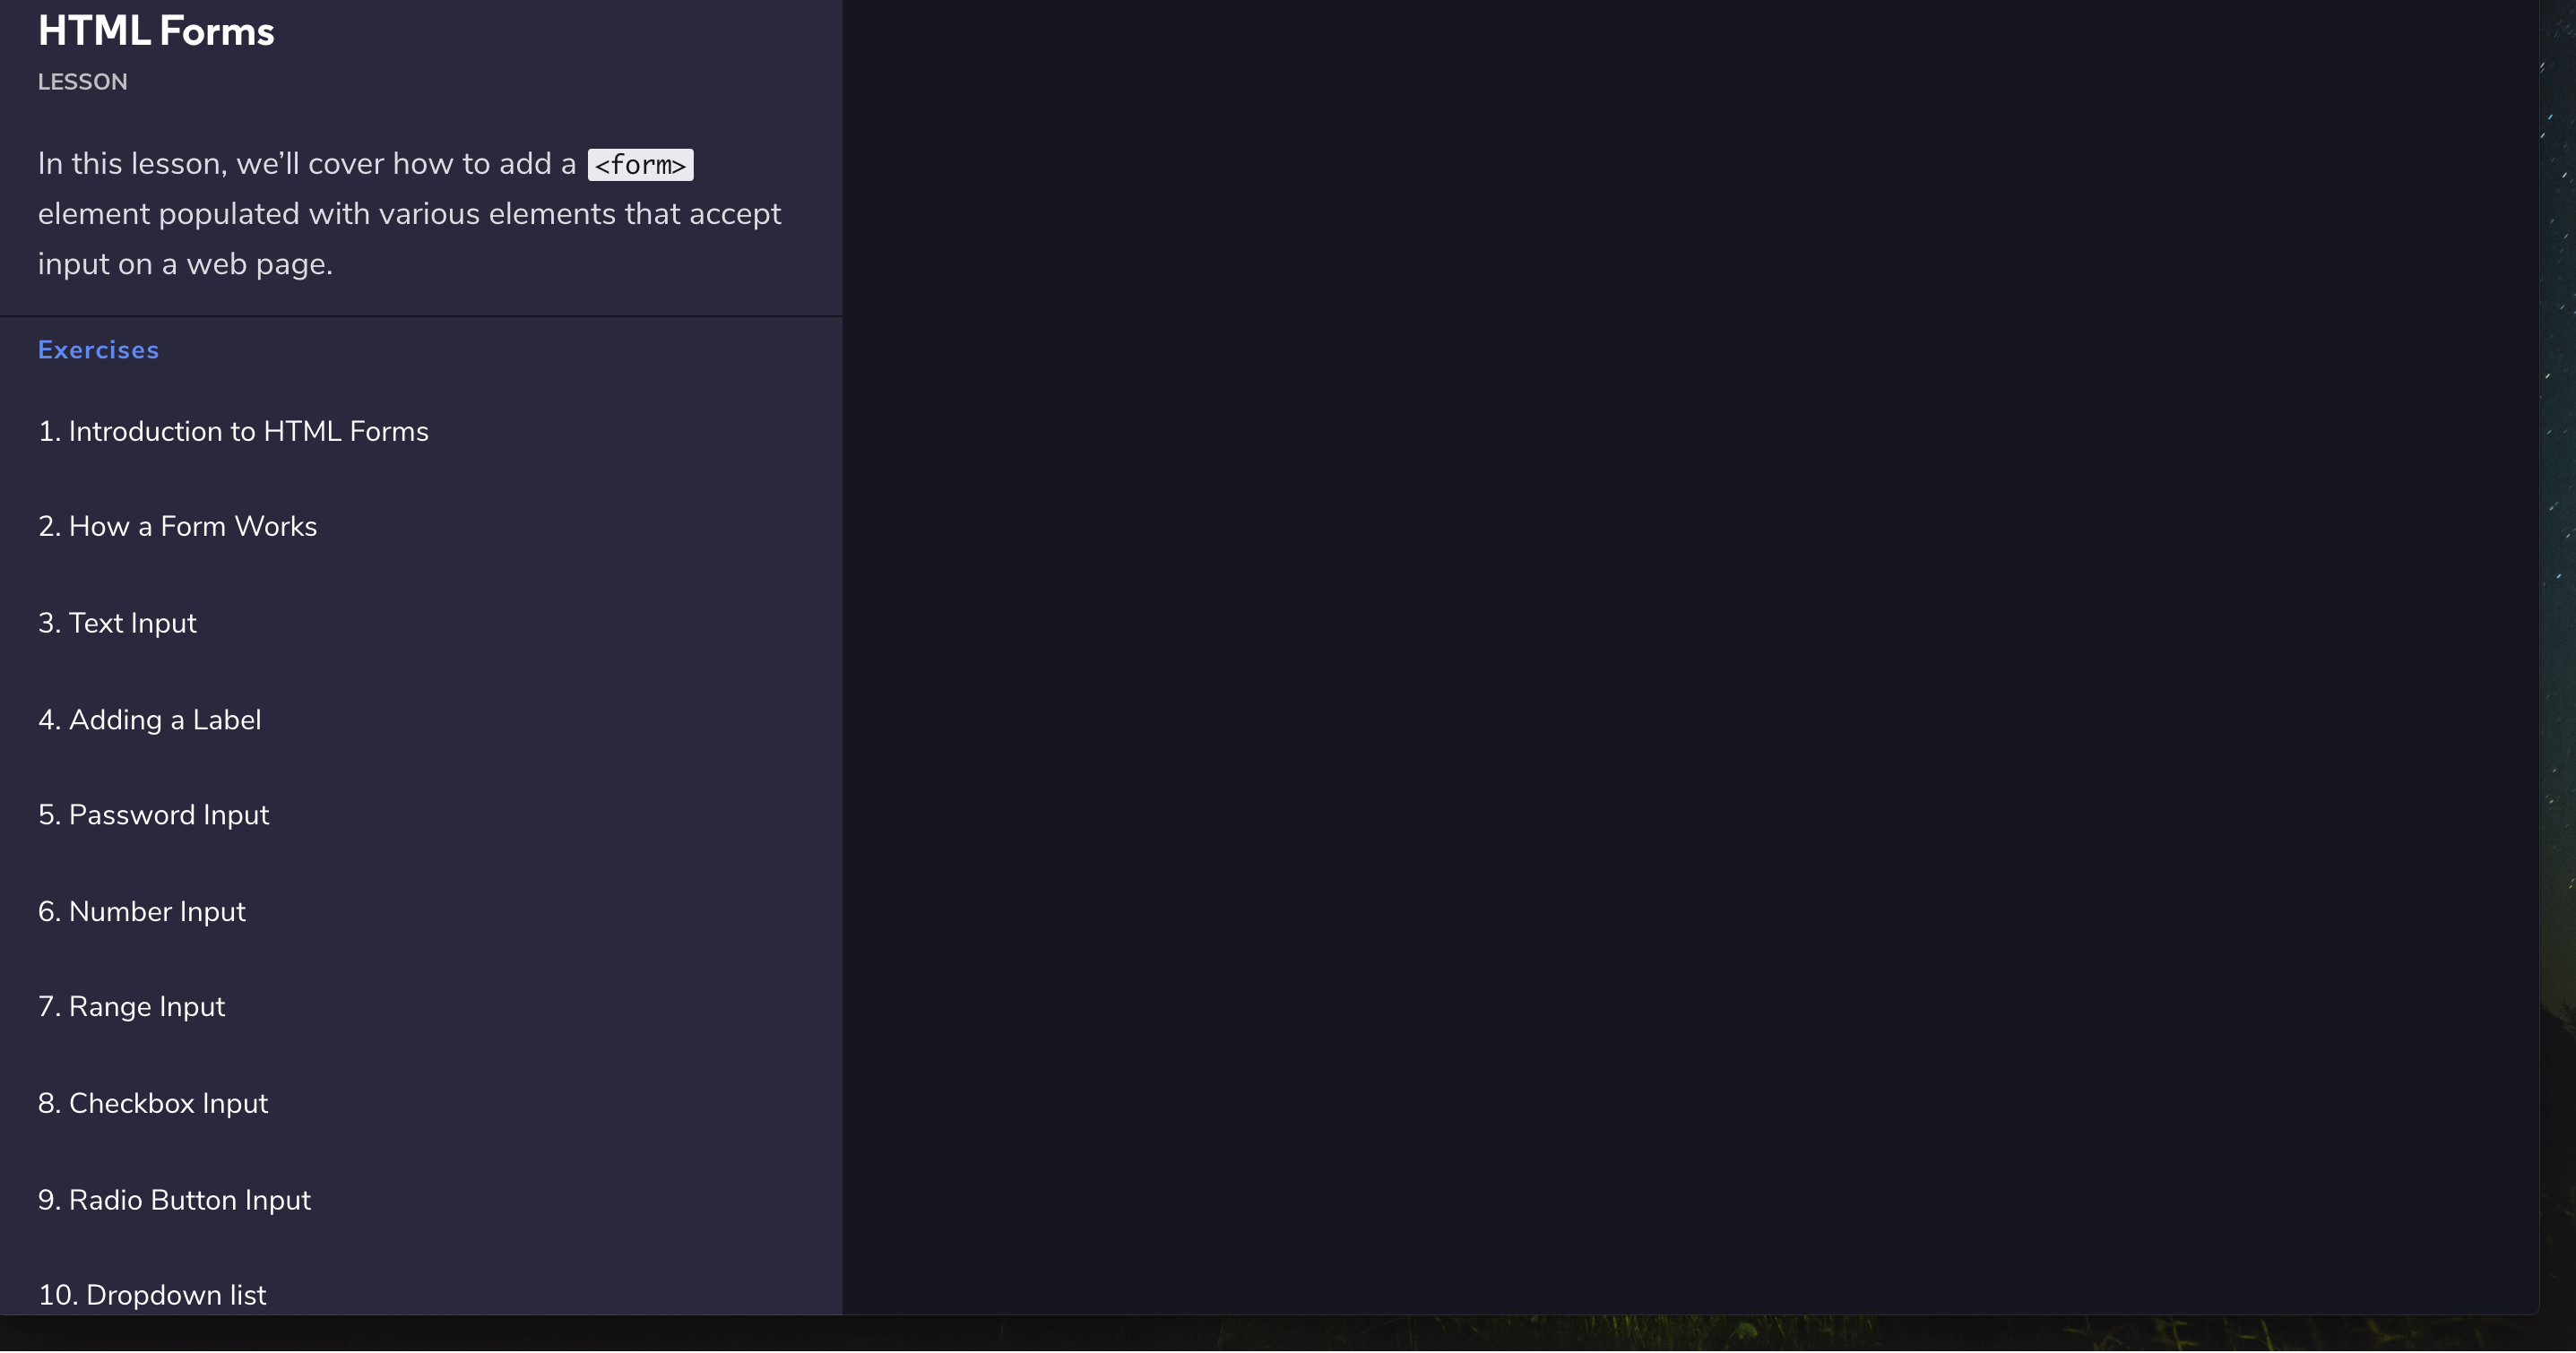
分步学习知识点和实践
共有14个环节,从基础概念,到每一种常用语法,搭配右侧的代码实操。让自己学以致用,检查是否能运用正确。
特别喜欢这一项内容,难度设定很适中,每一项基本是1-3项分步练习,每完成一个挑战后,点击“Run”检查代码和效果是否符合。一步步看着自己从简单的内容,完成了一个复杂的表单,很有成就感!
对比FreeCodeCamp的课程,这个难度划分的比较好,语法的介绍比较简介到位。而且一旦自己有任务做不出,还可以点击对应的hint获得相应的文字提示。(FreeCodeCamp是有视频答案)
Review复习内容
Nice work interacting with the extremely common and useful element!
In this lesson we went over:
The purpose of a <form> is to allow users to input information and send it.
The <form> ‘s action attribute determines where the form’s information goes.
The <form> ‘s method attribute determines how the information is sent and processed.
To add fields for users to input information we use the <input> element and set the type attribute to a field of our choosing:
Setting type to "text" creates a single row field for text input.
Setting type to "password" creates a single row field that censors text input.
Setting type to "number" creates a single row field for number input.
Setting type to "range" creates a slider to select from a range of numbers.
Setting type to "checkbox" creates a single checkbox which can be paired with other checkboxes.
Setting type to "radio" creates a radio button that can be paired with other radio buttons.
Setting type to "list" will pair the <input> with a <datalist> element if the id of both are the same.
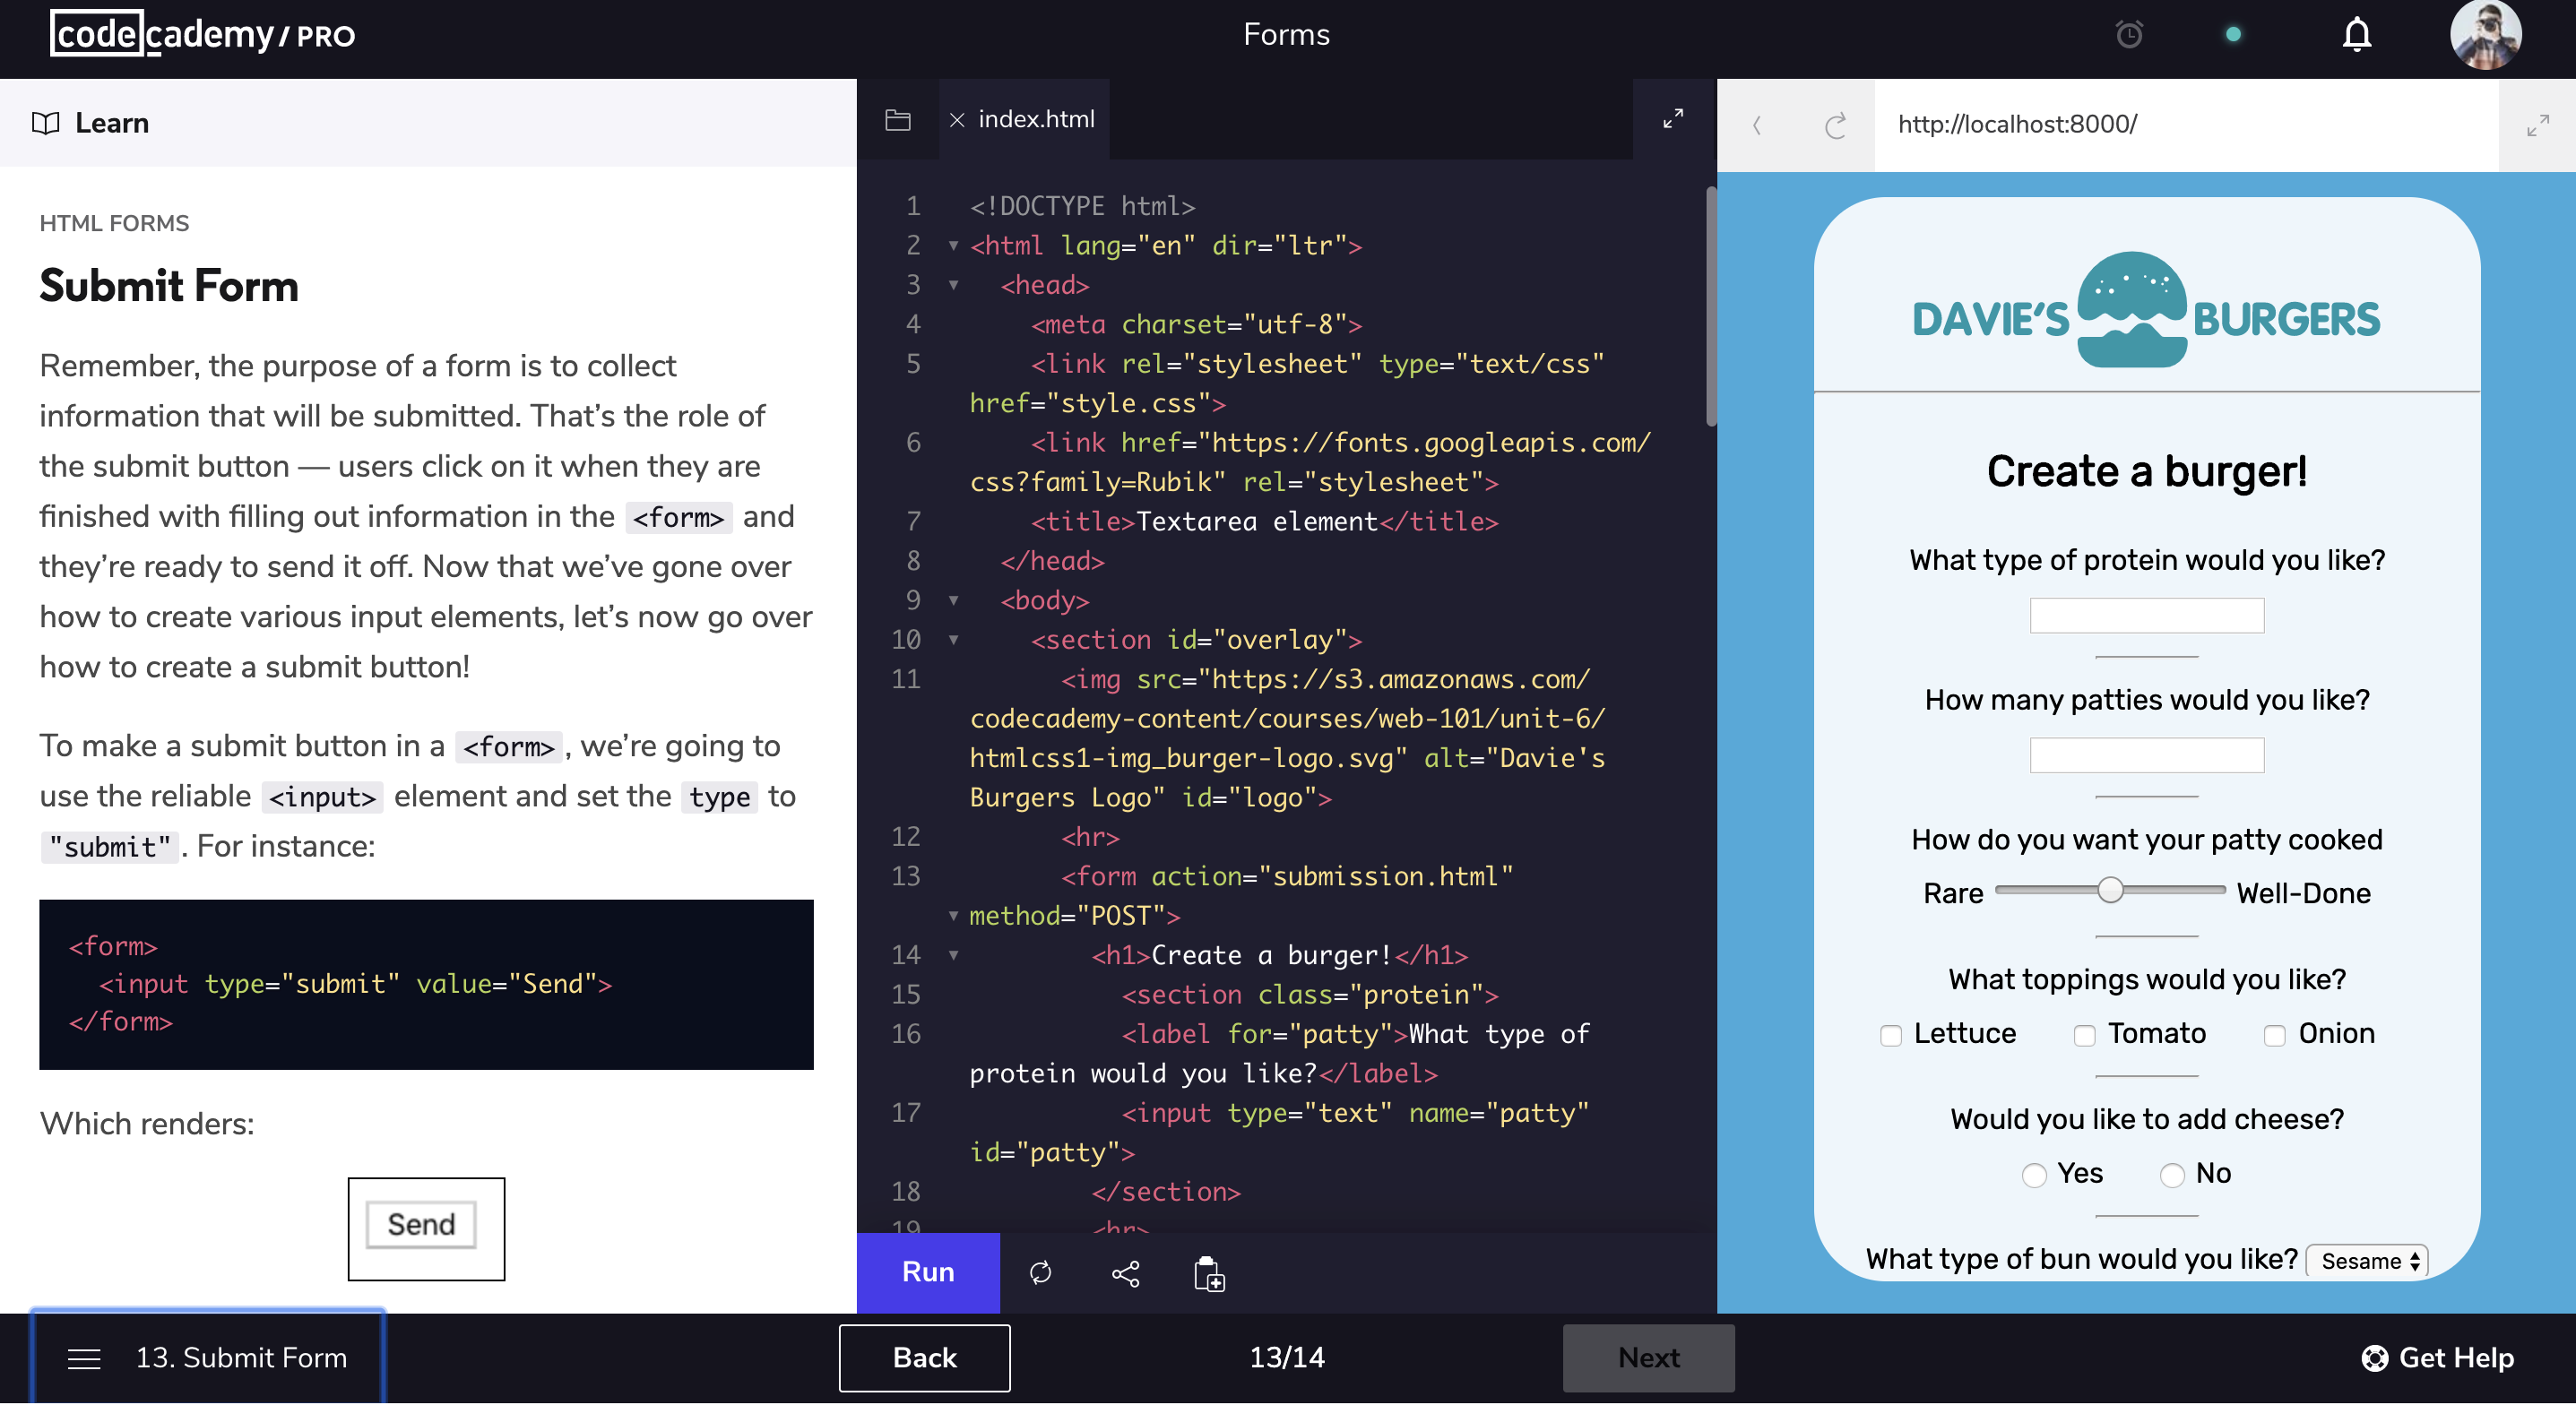
Setting type to "submit" creates a submit button.
A <select> element is populated with <option> elements and renders a dropdown list selection.
A <datalist> element is populated with <option> elements and works with an <input> to search through choices.
A <textarea> element is a text input field that has a customizable area.
When a <form> is submitted, the name of the fields that accept input and the value of those fields are sent as name=value pairs.
Using the <form> element in conjunction with the other elements listed above allows us to create sites that take into consideration the wants and needs of our users. Take the opportunity to take what you’ve learned, and apply it!
Form Validation表单验证
Introduction to HTML Form Validation表单验证简介
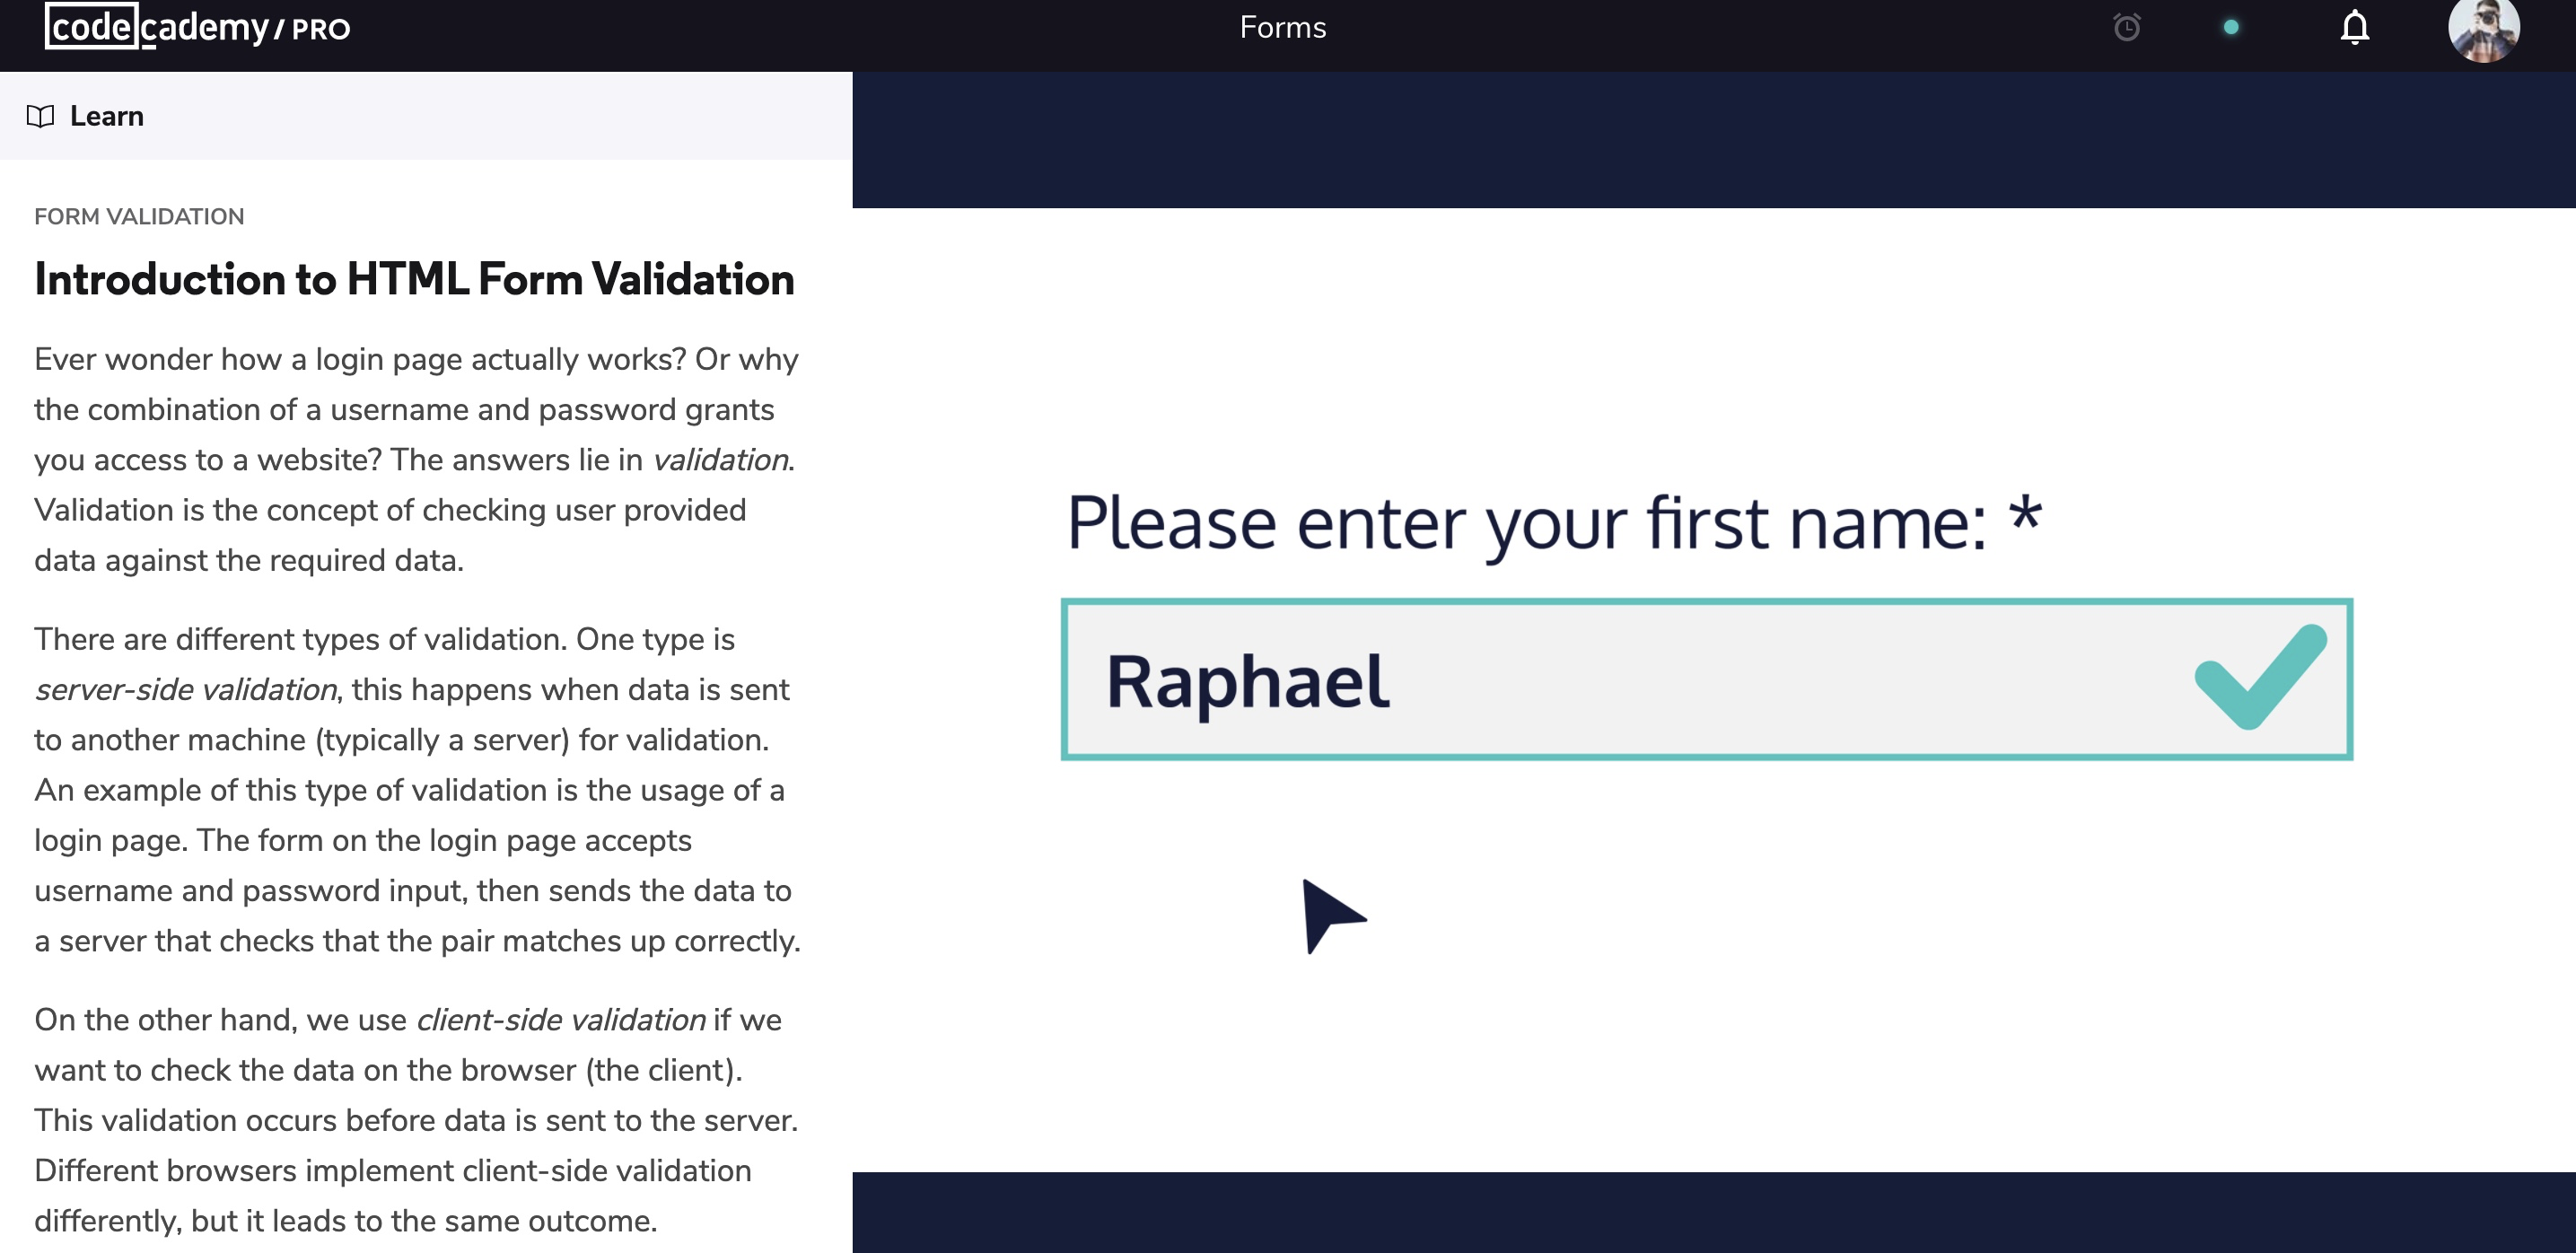
Ever wonder how a login page actually works? Or why the combination of a username and password grants you access to a website? The answers lie in validation. Validation is the concept of checking user provided data against the required data.
Review内容复习
Awesome job adding client-side validation to s!
Let’s quickly recap:
Client-side validations happen in the browser before information is sent to a server.
Adding the required attribute to an input related element will validate that the input field has information in it.
Assigning a value to the min attribute of a number input element will validate an acceptable minimum value.
Assigning a value to the max attribute of a number input element will validate an acceptable maximum value.
Assigning a value to the minlength attribute of a text input element will validate an acceptable minimum number of characters.
Assigning a value to the maxlength attribute of a text input element will validate an acceptable maximum number of characters.
Assigning a regex to pattern matches the input to the provided regex.
If validations on a <form> do not pass, the user gets a message explaining why and the <form> cannot be submitted.
These quick checks help ensure that input data is correct and safe for our servers. It also helps give users immediate feedback on what they need to fix instead of having to wait for a server to send back that information.
Quiz测试
Project完成项目
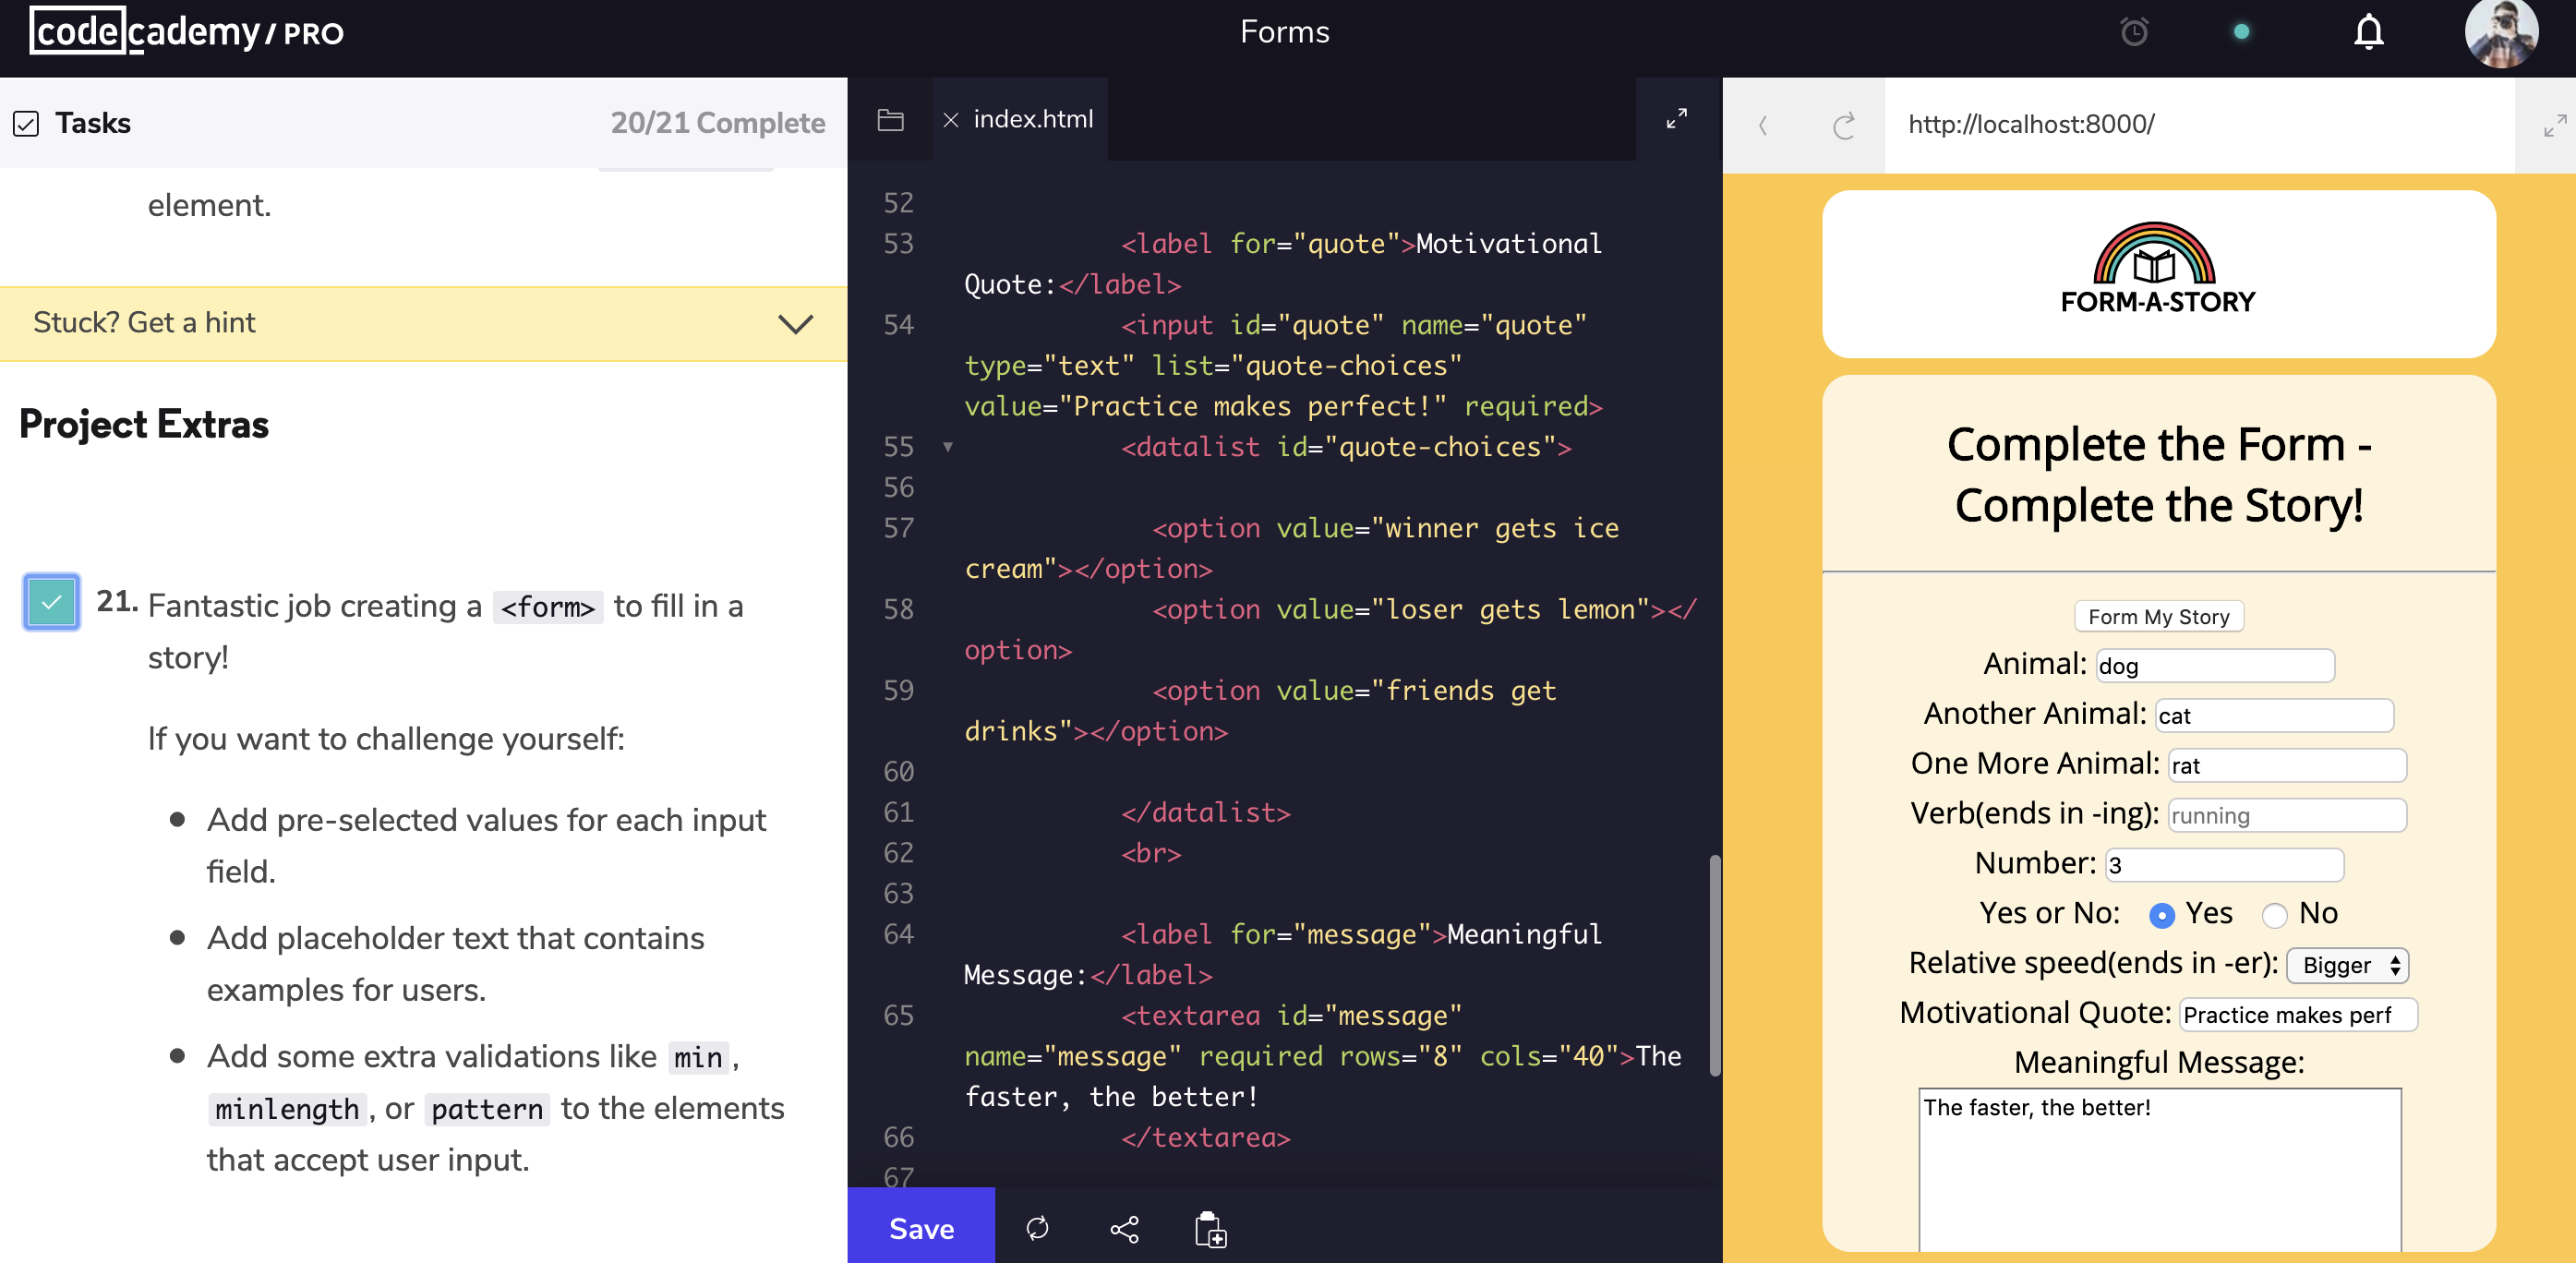
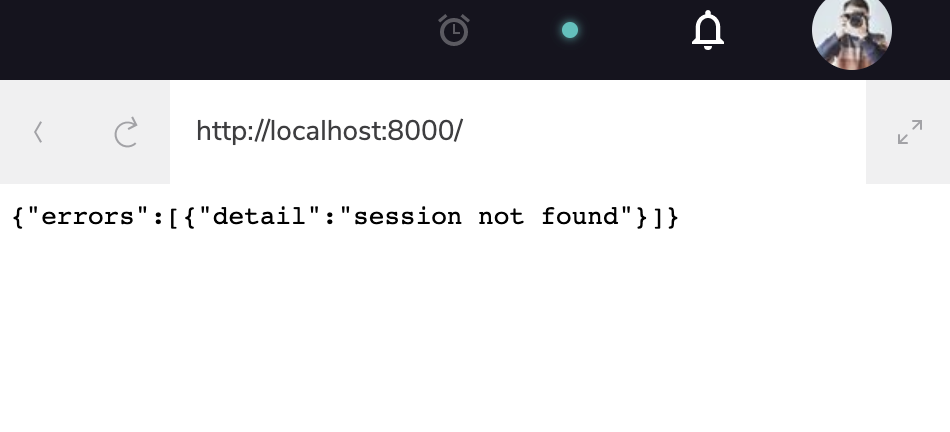
按照左侧栏21个步骤,完成表单。不过今天连续出了以下的错误,还是我做到了第18项时,简直崩溃呀!哎,只好明早继续。
按20个步骤完成,收集数据自动编故事的表格。并且在做第21个挑战步骤,遇到以下三个知识点不熟练,去搜索Google。
- Add pre-selected values for each input field. 普通的情况只要加value就可以了,不过还有以下特殊情况(输入框,选项,下拉选择框)
<textarea>Replace this line with your bio</textarea>

<input type="radio" checked />

<option selected="selected"> 3 </option>
参考来源: discuss.codecademy.com/t/adding-pr… stackoverflow.com/questions/3…
-
Add placeholder text that contains examples for users.这个简单点,跟pre-selected values区别是,前者是显示灰色的内容,提醒读者填写。后者预填了,改写的话,要去手动删除。
-
Add placeholder text that contains examples for users. 这个我不太熟,所以又复习了语法规则。
<label for="payment"> Credit Card Number (no spaces): </label>


<input id="payment" name="payment" type="text" required pattern="[0-9]{14,16}">
参考来源: www.w3schools.com/tags/att_in…
完整项目代码
<!DOCTYPE html>
<html lang="en" dir="ltr">
  <head>
    <meta charset="utf-8">
    <link rel="stylesheet" href="style.css">
    <link href="https://fonts.googleapis.com/css?family=Open+Sans" rel="stylesheet">
    <title>Form a Story</title>
  </head>
  <body>
    <section id="top">
      <img src="https://p1-jj.byteimg.com/tos-cn-i-t2oaga2asx/gold-user-assets/2020/5/7/171ed06149857070~tplv-t2oaga2asx-image.image" alt="Form A Story Logo">
    </section>


<section id="main">
  <h1>Complete the Form -<br> Complete the Story!</h1>
  <hr>
  <!--Add your form below:-->
  <form action="story.html" method="GET">
    <input type="submit" value="Form My Story">
    <br>
    <label for="animal-1">Animal:</label>
    <input id="animal-1" name="naimal-1" type="text" value="dog" required>
    <br>
    <label for="animal-2">Another Animal:</label>
    <input id="animal-2" name="naimal-2" type="text" value="cat" required>
    <br>
    <label for="animal-3">One More Animal:</label>
    <input id="animal-3" name="naimal-3" type="text" value="rat" required>
    <br>
    <label for="verb-1">Verb(ends in -ing):</label>
    <input id="verb-1" name="verb-1" type="text" placeholder="running" min="3" length="9" required>
    <br>
    <label for="num-1">Number:</label>
    <input id="num-1" name="num-1" type="number" value="3" required>
    <br>
    <span>Yes or No:</span>
    <input id="yes" name="answer" type="radio" value="yes" checked required>
    <label for="yes">Yes</label>
    <input id="no" name="answer" type="radio" value="no" required>
    <label for="no">No</label>
    <br>

    <label for="speed">Relative speed(ends in -er):</label>
    <select id="speed" name="speed" required>

      <option value="faster">Faster</option>
      <option value="slower">Slower</option>
      <option selected="selected" value="bigger">Bigger</option>
      <option value="smaller">Smaller</option>
      </select>
      <br>

      <label for="quote">Motivational Quote:</label>
      <input id="quote" name="quote" type="text" list="quote-choices" value="Practice makes perfect!" required>
      <datalist id="quote-choices">

        <option value="winner gets ice cream"></option>
        <option value="loser gets lemon"></option>
        <option value="friends get drinks"></option>

      </datalist>
      <br>

      <label for="message">Meaningful Message:</label>
      <textarea id="message" name="message" required rows="8" cols="40">The faster, the better!
      </textarea>


  </form>

</section>


  </body>
</html>