前言
上一篇文章请看:一步一步实现Vue(一)
在上一篇文章中,遗留了以下一些问题:
-
还没有整合成构造函数
-
无法替换形如 name.firstName 的层级属性
-
没有使用虚拟DOM
今天,主要解决一件事,实现构造函数
MyVue,并在其原型上添加render,compiler,update这三个方法。
01、实现构造函数MyVue
(首先声明,实际的Vue会有所不同)
-
构造函数只能用 new 调用
-
获取到元素和数据
-
调用 render 函数
    function MyVue(options) {

      if (!this instanceof MyVue) {
        console.error('Vue is a constructor and should be called with the `new` keyword')
      }

      // 内部数据用 _ 开头,只读数据用 $ 开头
      this._data = options.data;
      this._el = options.el;

      // 准备模板与父节点
      this.$el = this._template = document.querySelector(this._el);
      this._parent = this._template.parentNode;
      // 开始渲染
      this.render();
    }
02、render 函数
在 MyVue 的原型上添加 render 函数,目前还没有杂七杂八的生命周期函数,所以只需编译即可~
    MyVue.prototype.render = function () {
      this.compiler();
    }
03、render 函数
在 MyVue 的原型上添加 compiler 函数,内部调用之前写好的编译函数。
    /** 编译,得到真正的DOM */
    MyVue.prototype.compiler = function () {
      let newDOM = this._template.cloneNode(true);
      compiler(newDOM, this._data);
      this.update(newDOM);
    }
04、render 函数
在 MyVue 的原型上添加 update函数,将DOM放入页面中。
    /** 将DOM放入页面中 */
    MyVue.prototype.update = function (newDOM) {
      this._parent.replaceChild(newDOM, this._template);
    }
最后调用构造函数,并传入参数:
  <div id="root">
    <p>{{name}}</p>
    <p>{{message}}</p>
    <p>{{name}} -- {{message}}</p>
  </div>
    let app = new MyVue({
      el: '#root',
      data: {
        name: 'romeo',
        message: 'handsome but bad guy',
      }
    })
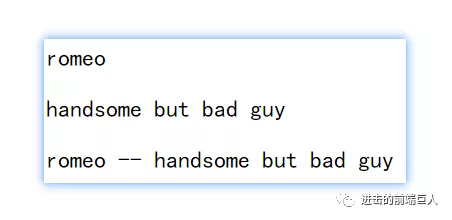
效果图:
下一节预告:处理"形如 name.firstName "的层级属性~
源代码在github上
欢迎关注我的公众号~