

1 spring配置的可选方案
spring主要提供了三种装配机制:
- 在xml中进行显示配置
- 在Java中进行显示配置
- 隐式的bean发现机制和自动装配(从以下两个角度实现自动化装配)
- 组件扫描:Spring会自动发现应用上下文中创建的bean
- 自动装配:Spring会自动满足bean之间的依赖
虽然几种方案可以随意使用,但还是建议使用自动配置的机制,显示配置越少越好,当必须显示配置时,建议使用类型安全并且比xml更加强大的javaConfig,最后,只有当你想要使用便利的xml命名空间,并且在javaConfig中没有同样的实现时,才应使用xml
2 自动化装配bean实例
2.1 通过扫描包自动化装配bean实例
1 首先创建一个接口
public interface CDService {
    void play();
}
2 实现这个接口,并加上@Component注解,这个注解表明该类是一个组件,并告知spring要为这个类创建bean
@Component
// @Component("CDServiceImpl")  通过设置Component的value可以改变此组件的名字
public class CDServiceImpl implements CDService {
    public void play() {
        System.out.println("cd is playing...");
    }
}
3 组件扫描不是默认启用的,我们要需要显示的配置它,告诉Spring去寻找带有@Compontent注解的类,并为其创建bean。如果没有其他配置,@Compontent会扫描与配置类相同的包
@Configuration
@ComponentScan
public class CDConfig {
}
@ComponentScan 支持扫描不同的包
- @ComponentScan 扫描与配置类相同的包
- @ComponentScan("com.demo.learn.service.impl") 通过设置ComponentScan的value可以实现扫描不同的包
- @ComponentScan(basePackages = "com.demo.learn.service.impl") 如果想明确语义的告诉Spring要扫描的包可以使用basePackages
- @ComponentScan(basePackages = {"com.demo.learn.service.impl", "com.demo.learn.service.impl2"}) basePackages支持复数形式扫描
- @ComponentScan(basePackageClasses = CDService.class) ComponentScan还支持class形式指定
4 或者可以使用XML来进行装配
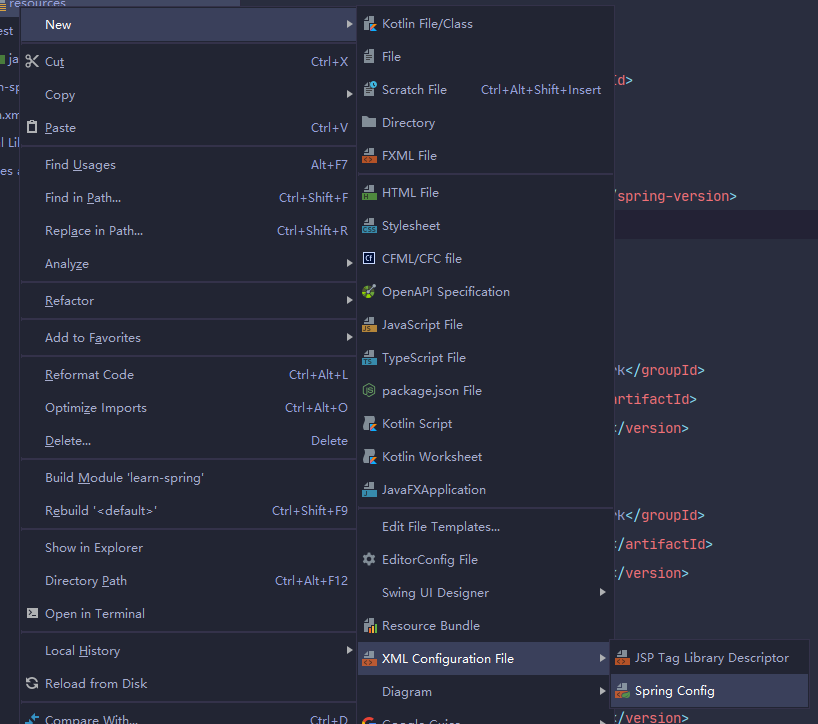
使用idea(旗舰版,亲测社区版没有) 引入spring-context包后右键可以直接创建beans.xml头部声明
<?xml version="1.0" encoding="UTF-8"?>
<beans xmlns="http://www.springframework.org/schema/beans"
       xmlns:xsi="http://www.w3.org/2001/XMLSchema-instance"
       xmlns:context="http://www.springframework.org/schema/context"
       xsi:schemaLocation="http://www.springframework.org/schema/beans
       http://www.springframework.org/schema/beans/spring-beans.xsd
       http://www.springframework.org/schema/context
       http://www.springframework.org/schema/context/spring-context.xsd">

    <context:component-scan base-package="com.demo.learn.service"/>
</beans>
5 这样,在Spring启动的时候CDService就加入到Spring上下文中,我们只需引入就可以使用
@Autowired
private CDService cdService;
2.2 通过为bean添加@Autowired注解自动化装配bean实例
1 在类的构造器加@Autowired注解
public class TestCDService {
    private CDService cdService;

    @Autowired
    TestCDService(CDService cdService) {
        this.cdService = cdService;
    }
}
2 @Autowired还可以用在setter上(或者其他普通的设值方法)
public class TestCDService {
    private CDService cdService;

    @Autowired
    public void setCdService(CDService cdService) {
        this.cdService = cdService;
    }
}
2.3 通过java代码装配bean
上一章中我们有一个简单的javaConfig的例子,它通过自动扫描指定包中的组件装配bean,现在我们来显示的指定。首先删除@ComponentScan注解。 然后通过方法创建bean
@Configuration
public class CDConfig {
    @Bean
    // @Bean("cdService")  可以通过name属性设置这个bean的名字
    public CDService getCDService() {
        return new CDServiceImpl();
    }
}
2.4 最古老的创建bean方式,XML
<?xml version="1.0" encoding="UTF-8"?>
<beans xmlns="http://www.springframework.org/schema/beans"
       xmlns:xsi="http://www.w3.org/2001/XMLSchema-instance"
       xsi:schemaLocation="http://www.springframework.org/schema/beans http://www.springframework.org/schema/beans/spring-beans.xsd">

    <bean id="cdService" class="com.demo.learn.service.impl.CDServiceImpl"/>
</beans>
3 环境与profile
1 通过profile来设置不同环境配置
2 激活profile
如果spring.profiles.active和spring.profiles.default均没有设置的话,那就没有激活的profile,因此指挥创建那些没有定义在profile中的bean
3 获取环境配置
@Configuration
@PropertySource("classpath:resources/application.properties") // 引入属性源
public class CDConfig {
    @Autowired
    Environment environment;

    @Bean
    public CDService getCDService() {
        return new CDServiceImpl(
                environment.getProperty("spring.name") // 获取配置
        );
    }
}
4 bean的作用域
Spring支持多种作用域,可以基于这些作用域创建bean:
- 单例(Singleton):只创建一个bean实例(默认)
- 原型(Prototype):每次注入或通过Spring应用上下文获取的时候,都会创建一个新的bean
- 会话(Session):在Web应用中,为每一个会话创建一个bean实例
- 请求(Request):在Web应用中,为每一个请求创建一个bean实例
可以使用@Scope来指定作用域
@Scope(ConfigurableBeanFactory.SCOPE_PROTOTYPE)
public class TestCDService {
    private CDService cdService;

    @Autowired
    public void setCdService(CDService cdService) {
        this.cdService = cdService;
    }
}
xml中设置scope
<?xml version="1.0" encoding="UTF-8"?>
<beans xmlns="http://www.springframework.org/schema/beans"
       xmlns:xsi="http://www.w3.org/2001/XMLSchema-instance"
       xsi:schemaLocation="http://www.springframework.org/schema/beans http://www.springframework.org/schema/beans/spring-beans.xsd">

    <bean id="cdService" scope="prototype" class="com.demo.learn.service.impl.CDServiceImpl"/>
</beans>
参考 《Spring 实战 第四版》
