

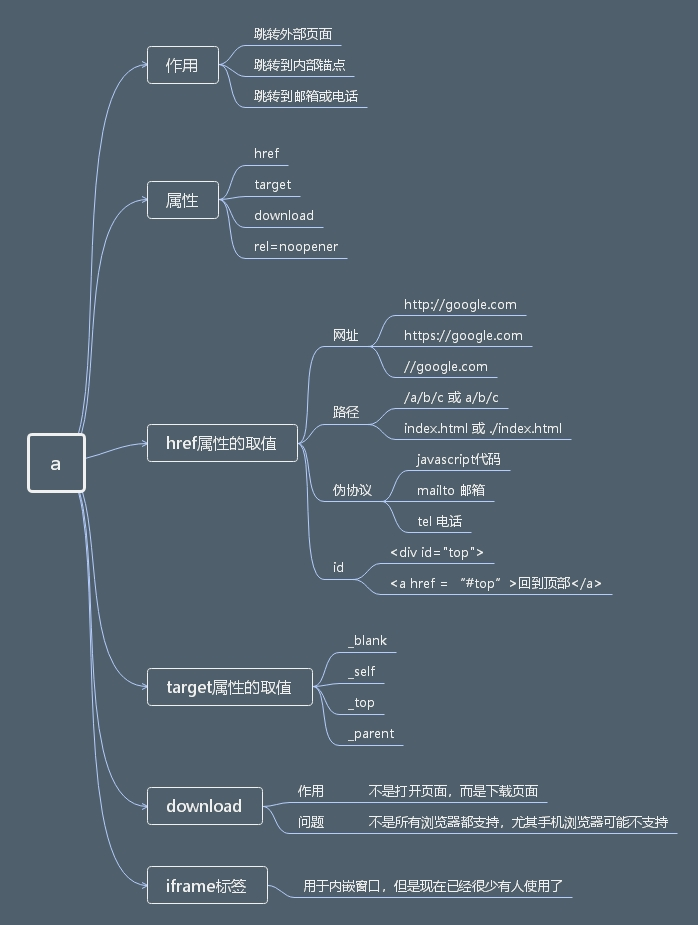
a
作用:
- 跳转到外部页面
- 跳转到内部锚点
- 跳转到电话或邮箱
属性:
href
href属性能取哪些值:
- 网址
<a href="http://google.com">谷歌</a>
<!--http-->

<a href="https://google.com">谷歌</a>
<!--https-->

<a href="//google.com">谷歌</a>
<!--直接用//-->
以上三种方式都能跳转到外部链接,最推荐第三种书写方式,因为这样写跳转时会自动判断合适的协议。
- 路径
<a href="/a/b.html">绝对路径方式:访问a目录里的b.html文件</a>

<a href="a/b.html">相对路径方式访问a目录里的b.html文件</a>
注意:最前面的 “/” 并不是指硬盘上的根目录,而是指当前网页所在的文件夹,把这个文件夹视为根目录。
- 伪协议
<a href="javascript:;">空的伪协议</a>
<!--点击标签后,页面不执行任何动作-->


<a href="javascript:alert("hello,world!");">加了js代码的伪协议</a>
<!--可直接在里面写js代码-->


<a href="mailto:10086@qq.com">发邮件给我</a>
<!--这里写邮件地址,若是在手机端打开此页面,会自动跳转到邮件客户端-->


<a href="tel:18818810086">打电话给我</a>
<!--和邮箱同理,手机端点击,会自动跳转到拨号盘-->
很多人会用其他一些方式来作为js空伪协议的替代方案,来实现点击后页面没任何动作的效果,解析如下:
<a href=" ">什么都不写</a>
<!--点击后会自动刷新页面,不适合作为替代方案-->


<a href="#">写一个#号</a>
<!--点击后会回到页面顶部,不适合作为替代方案-->
- id
当页面非常长时,可以在页面底部设置一个按钮,让用户点击后能直接回到页面顶端,提升用户体验。
这里使用a标签的跳转到内部锚点的特性来实现:
<div id="top">我是顶部</div>
...
中间网页内容
...
<a href="#top">回到顶部</a>
target
target能取哪些值:
- _blank:在一个新的窗口打开页面
<a href="//google.com" target="_blank">谷歌</a>
- _self:此为默认值,直接从所在窗口跳转过去,不会打开一个新窗口。
<a href="//google.com" target="_self">谷歌</a>
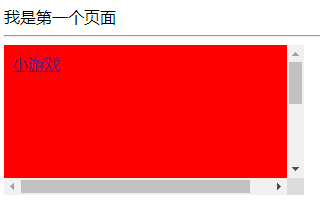
- _top:在最上层的页面跳转,通常配合iframe一起使用。
现在有两个文件:

* 第一个文件 test.html
<body>
    我是第一个页面
    <hr>
    <iframe src="iframe-1.html" frameborder="0" ></iframe>
</body>

* 第二个文件 iframe-1.html
<head>
    <style>
        body {
            background-color: red;
            width: 300px;
            height: 300px;
        }
    </style>
    <!--给body添加样式,以便区分-->
</head>

<body>
    <a href="//4399.com" target="_top">小游戏</a>
</body>
现在有三个文件:

* 第一个文件 test.html
<body>
    我是第一个页面
    <hr>
    <iframe src="iframe-1.html" frameborder="0" ></iframe>
</body>

* 第二个文件 iframe-1.html
<head>
    <style>
        body {
            background-color: red;
            width: 300px;
            height: 300px;

        }
    </style>
</head>

<body>
    <a href="//4399.com" target="_top">小游戏</a>
    <iframe src="iframe-2.html" frameborder="0" ></iframe>
</body>

* 第三个文件 iframe-2.html
<head>
    <style>
        body {
            background-color: pink;
            width: 50px;
            height: 50px;
        }
    </style>
</head>

<body>
    <a href="//so.com" target="_top">360搜索</a>
</body>
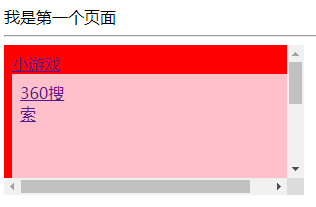
target="_top"是从最上面一层的页面跳转链接。
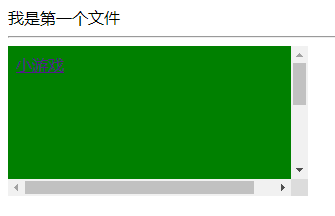
- parent:在所在页面的上一层进行跳转,也是通常配合iframe一起使用。
现在有两个文件:

* 第一个文件:test-2.html
<body>
    我是第一个文件
    <hr>
    <iframe src="iframe-3.html" frameborder="0"></iframe>
</body>

* 第二个文件:iframe-3.html
<head>
    <style>
        body {
            background-color: green;
            width: 300px;
            height: 300px;
        }
    </style>
</head>

<body>
    <a href="//4399.com" target="_parent">小游戏</a>
</body>
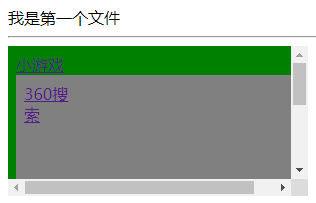
现在有三个文件

* 第一个文件:test-2.html
<body>
    我是第一个文件
    <hr>
    <iframe src="iframe-3.html" frameborder="0"></iframe>
</body>

* 第二个文件:iframe-3.html
<head>
    <style>
        body {
            background-color: green;
            width: 300px;
            height: 300px;
        }
    </style>
</head>

<body>
    <a href="//4399.com" target="_parent">小游戏</a>
    <iframe src="iframe-4.html" frameborder="0"></iframe>
</body>

* 第三个文件:iframe-4.html
<head>
    <style>
        body {
            background-color: gray;
            width: 50px;
            height: 50px;
        }
    </style>
</head>

<body>
    <a href="//so.com" target="_parent">360搜索</a>
</body>
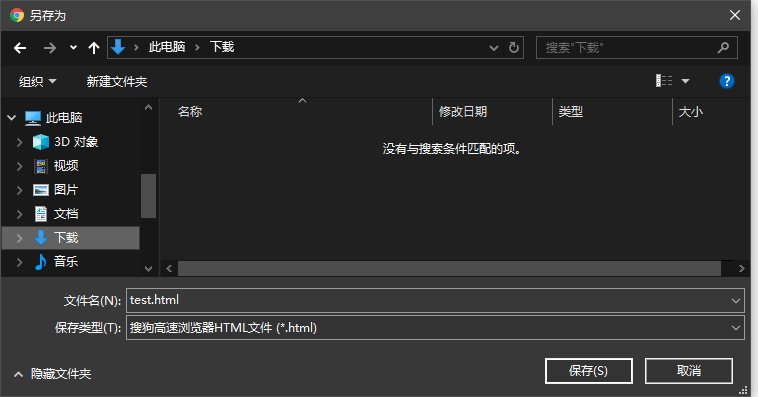
download
作用:下载页面,而不是打开页面 问题:兼容性不好,不是所有浏览器都支持,尤其是手机浏览器很可能不支持
<a href=" " download>下载页面</a>

rel=noopener
此属性内容暂不细述,以后会补充。
iframe
作用:iframe通常是用于网页里嵌套另一个网页
问题:现在已经基本不使用这个标签了
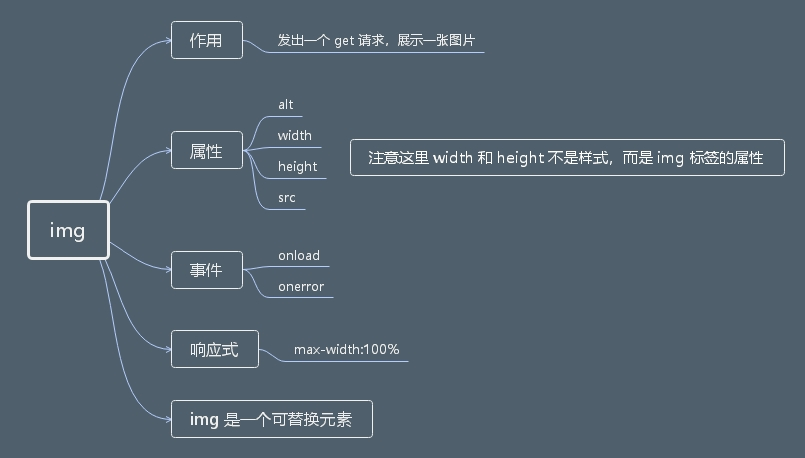
img
作用
- 发出一个 get 请求
- 展示一张图片
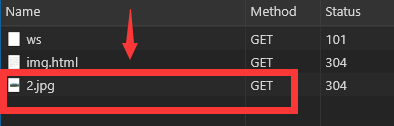
在网页加载图片的时候,我们打开控制台,是可以发现图片存在一个 get 请求的。
属性
alt
作用:当图片没有加载出来时,出现一个说明信息
<img src="1.jpg" alt="一张风景图片">
这里可以准备一张替代图片,来告诉用户重新加载,以提升用户体验:
<body>
    <img src="1.jpg" alt="一张风景图片" id="img1">

    <script>
        img1.onerror = function () {
            img1.src = "/404.jpg";
        }
    </script>
</body>
width
<img src="1.jpg" width="200px">
注意:改图片宽度,一般图片高度会自适应的跟着改变
height
<img src="1.jpg" height="200px">
注意:改图片高度,一般图片宽度会自适应的跟着改变
如果两个都改就会出现图片变形的情况,作为前端尽量要避免图片变形,太难看了:
<img src="1.jpg" width="400px" height="100px">

src
图片来源:可以是本地文件,也可以是网络地址
<img src="1.jpg">

<img src="http://img4.imgtn.bdimg.com/it/u=4020921554,3675519984&fm=26&gp=0.jpg">
事件
- onload:加载事件
- onerror:加载出错事件
响应式
很多网页里的图片像素要比移动端屏幕宽的,直接浏览体验很不好,所以在样式里加max-width:100%
<head>
    <style>
        img {
            max-width: 100%;
        }
    </style>
<body>
    <img src="1.jpg">
</body>
img是可替换元素
暂不细述,以后补充。
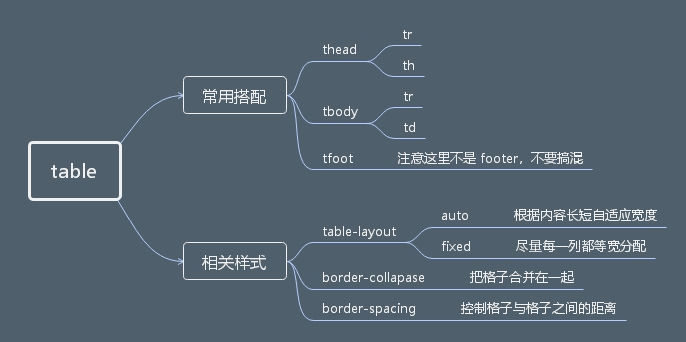
table
常用搭配
<table>
        <thead></thead>
        <tbody></tbody>
        <tfoot></tfoot>

        <!--注意这里不要把 tfoot 想当然的写成 tfooter ,要区分开,不能惯性思维-->

    </table>
很多人会直接这样写:
<table>
        <tr>
            <td>1</td>
            <td>2</td>
        </tr>
        <tr>
            <td>3</td>
            <td>4</td>
        </tr>
    </table>

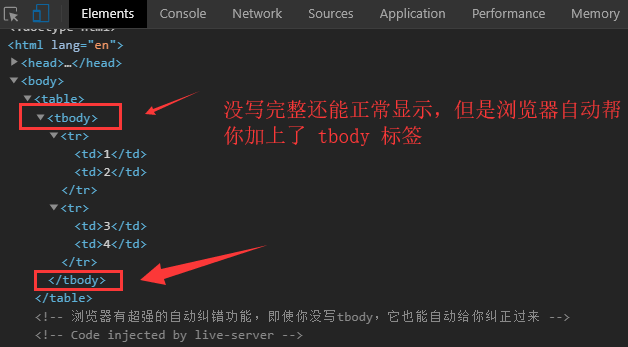
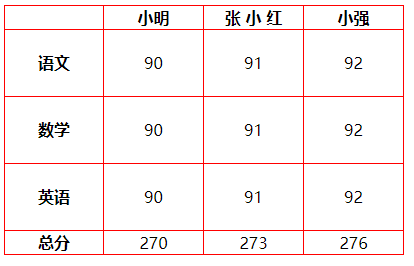
因此,还是推荐把结构写完整的。另外还有一个地方能体现浏览器的自动纠错能力很强,就是即使把 thead 、 tbody 、 tfoot 的顺序给写错了,浏览器还是能正常显示:
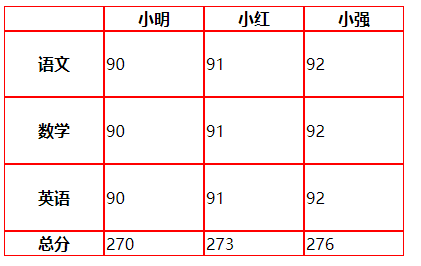
<table>
        <thead>
            <tr>
                <th></th>
                <th>小明</th>
                <th>小红</th>
                <th>小强</th>
            </tr>
        </thead>
        <tfoot>
            <tr>
                <th>总分</th>
                <td>270</td>
                <td>273</td>
                <td>276</td>
            </tr>
        </tfoot>
        <tbody>
            <tr>
                <th>语文</th>
                <td>90</td>
                <td>91</td>
                <td>92</td>
            </tr>
            <tr>
                <th>数学</th>
                <td>90</td>
                <td>91</td>
                <td>92</td>
            </tr>
            <tr>
                <th>英语</th>
                <td>90</td>
                <td>91</td>
                <td>92</td>
            </tr>
        </tbody>

        <!--下图添加了一些样式,以方便展示效果-->

    </table>
相关样式
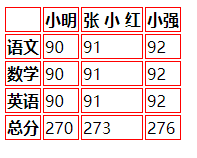
1. table-layout:
第一种常见的取值:
<style>
        table {
            table-layout: auto
        }

        <!--table-layout 样式默认值为 auto,会根据内容长短来排宽度-->

</style>
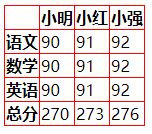
第二种常见的取值:
<style>
        table {
            table-layout: fixed;
        }

        <!--取fixed值时,会尽量给每个格子分配相等的宽度-->
        <!--这里可以明显看到下图每格是等宽的-->

</style>
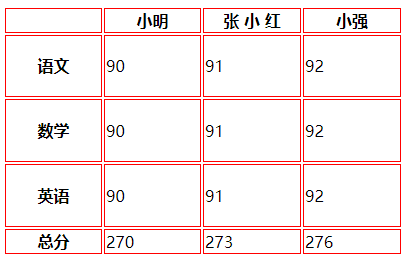
2. border-collapase:
把表格的格子给合并起来,看起来更自然一些:
table {
            table-layout: auto;
            border-collapse: collapse;
        }
3. border-spacing:
控制各个格子之间的距离,通常写成 0 ,和border-collapse: collapse;效果接近;
table {
            border-spacing: 0px;
        }
一些感想
- 温故而知新,多复习旧的知识,能得到很多新的东西;
- 看似都是很常用的标签,但是有很多细节值得我们去注意;
