

1、安装verdaccio
verdaccio 仍然在持续不断的更新,并且只需要通过很少的配置就能轻松完成npm仓库的搭建。
npm i -g verdaccio
2、安装 pm2
为了更加方便进程管理,我使用了pm2,虽然它并不是必须的。
npm i -g pm2
我使用pm2来启动/暂停verdaccio
pm2 start verdaccio  // 启动,直接verdaccio也可以
pm2 stop verdaccio // 停止
3、配置修改
接下来需要在config.yaml进行配置的修改,才能让所有在同一局域网的机器访问到该仓库
目录:/Users/用户/.config/verdaccio
#
# This is the default config file. It allows all users to do anything,
# so don't use it on production systems.
#
# Look here for more config file examples:
# https://github.com/verdaccio/verdaccio/tree/master/conf
#

# path to a directory with all packages
#所有包的缓存目录
storage: ./storage
# path to a directory with plugins to include
#插件目录
plugins: ./plugins
#web服务配置
web:
  title: Verdaccio
  # comment out to disable gravatar support
  # gravatar: false
  # by default packages are ordercer ascendant (asc|desc)
  # sort_packages: asc
#验证服务
auth:
  htpasswd:
    file: ./htpasswd
    # Maximum amount of users allowed to register, defaults to "+inf".
    # You can set this to -1 to disable registration.
    # max_users: 1000

# a list of other known repositories we can talk to
#公有仓库的配置
uplinks:
  npmjs:
    url: https://registry.npmjs.org/

packages:
  '@*/*':
    # scoped packages
    access: $all
    publish: $authenticated
    unpublish: $authenticated
    proxy: npmjs

  '**':
    # allow all users (including non-authenticated users) to read and
    # publish all packages
    #
    # you can specify usernames/groupnames (depending on your auth plugin)
    # and three keywords: "$all", "$anonymous", "$authenticated"
    access: $all

    # allow all known users to publish/publish packages
    # (anyone can register by default, remember?)
    publish: $authenticated
    unpublish: $authenticated

    # if package is not available locally, proxy requests to 'npmjs' registry
    proxy: npmjs

# You can specify HTTP/1.1 server keep alive timeout in seconds for incoming connections.
# A value of 0 makes the http server behave similarly to Node.js versions prior to 8.0.0, which did not have a keep-alive timeout.
# WORKAROUND: Through given configuration you can workaround following issue https://github.com/verdaccio/verdaccio/issues/301. Set to 0 in case 60 is not enough.
server:
  keepAliveTimeout: 60

middlewares:
  audit:
    enabled: true

# log settings
logs:
  - { type: stdout, format: pretty, level: http }
  #- {type: file, path: verdaccio.log, level: info}
#experiments:
#  # support for npm token command
#  token: false

#监听的端口,让同一网络下的所有计算机访问
listen: 0.0.0.0:4873

# This affect the web and api (not developed yet)
#i18n:
#web: en-US
配置修改,重启之后,每台计算机通过访问http://xxx:4873,就都能访问到私有仓库。注意,这里访问的网络IP,非机器IP。
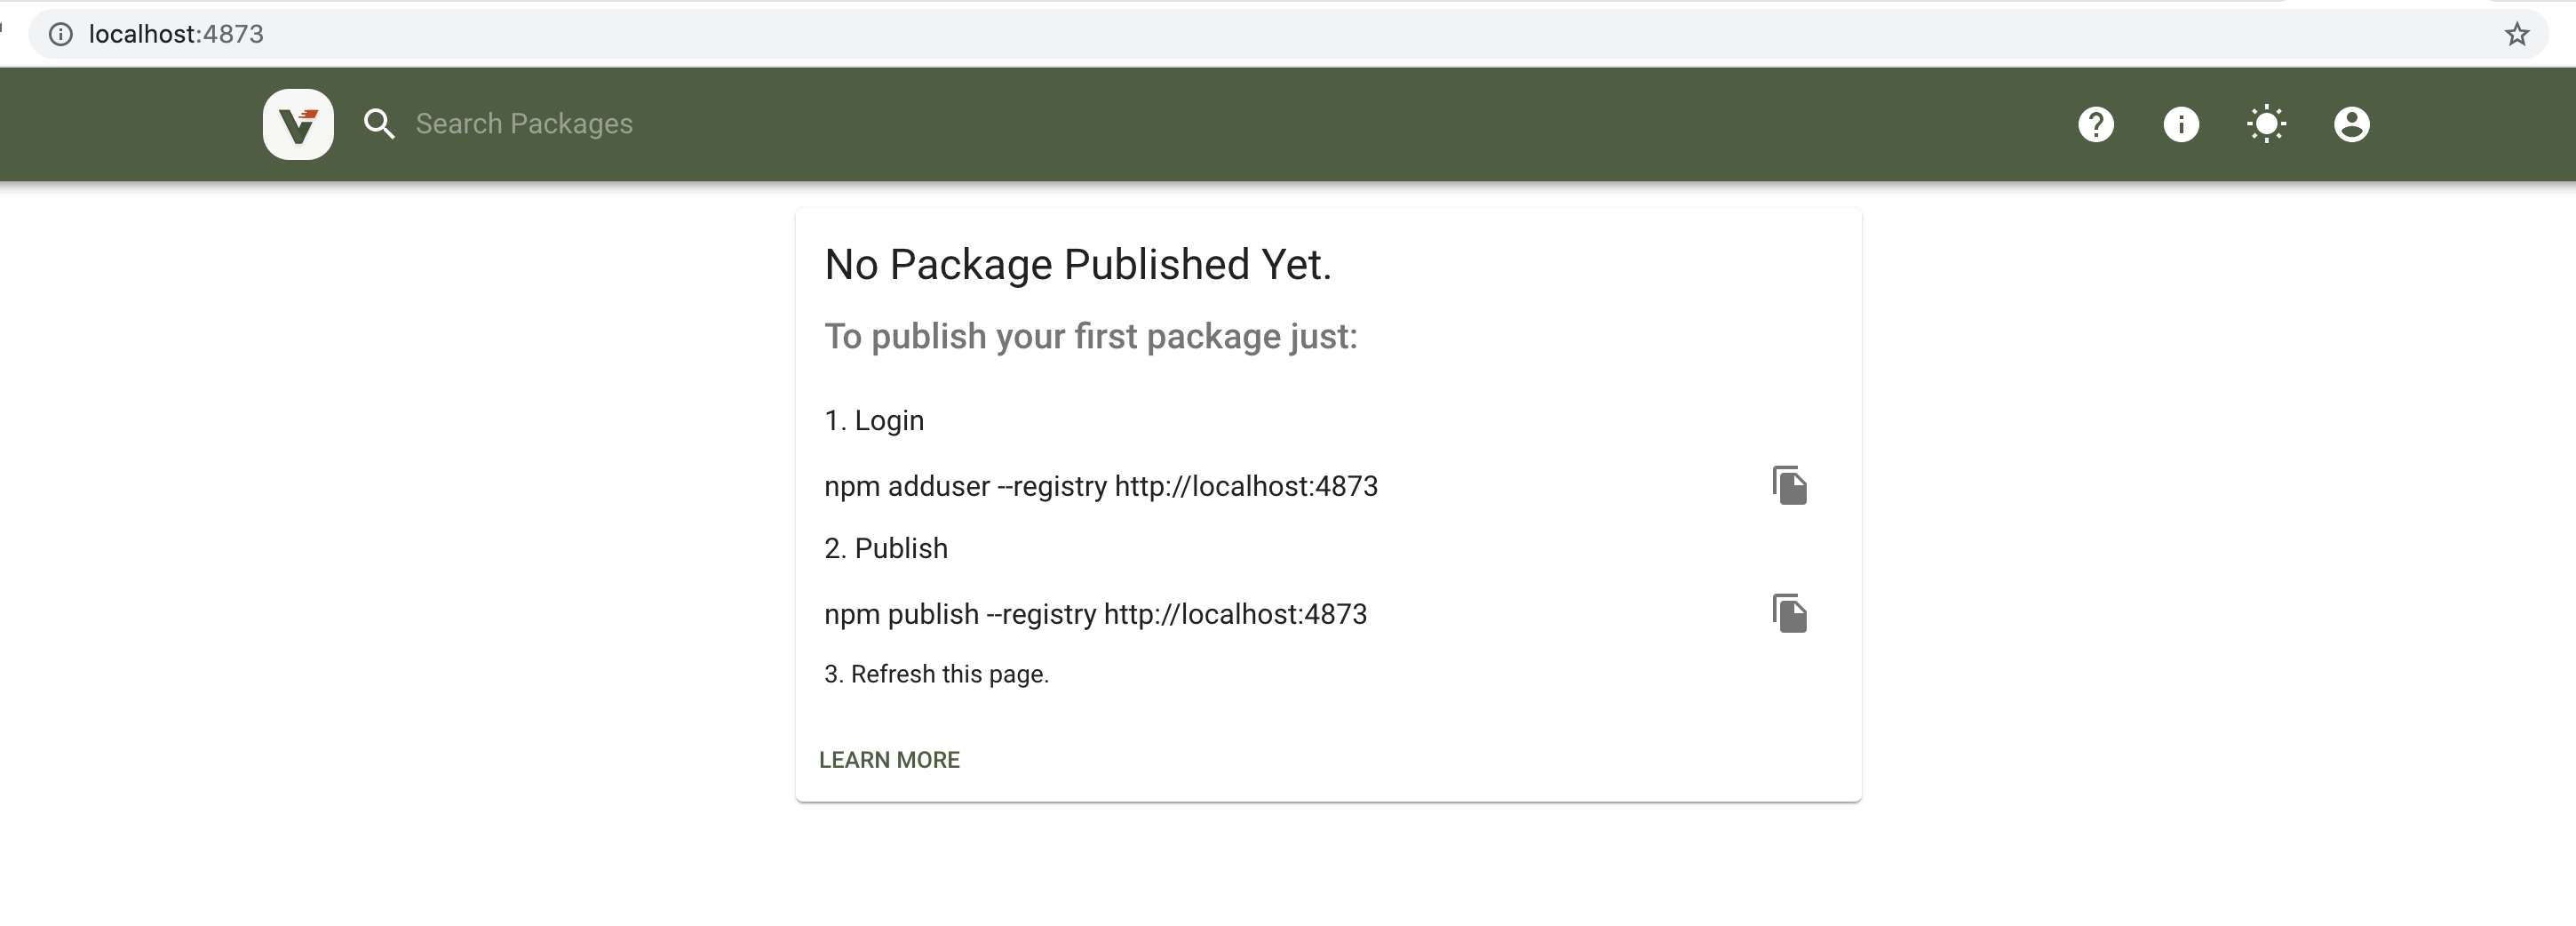
4、发布包
修改npm服务指向本地,然后在本地注册一个用户,就能使用这个用户发布包了
#当前npm 服务指向本地
npm set registry http://localhost:4873
# 注册用户 在本地注册一个用户然后指向我们的地址然后我们就可以发布包了
npm adduser --registry http://xxx:4873
Username: xxx
Password: xxx
Password: xxx
Email: (this IS public) xxx
Logged in as yg-ui on http://xxx/ (你的ip地址)
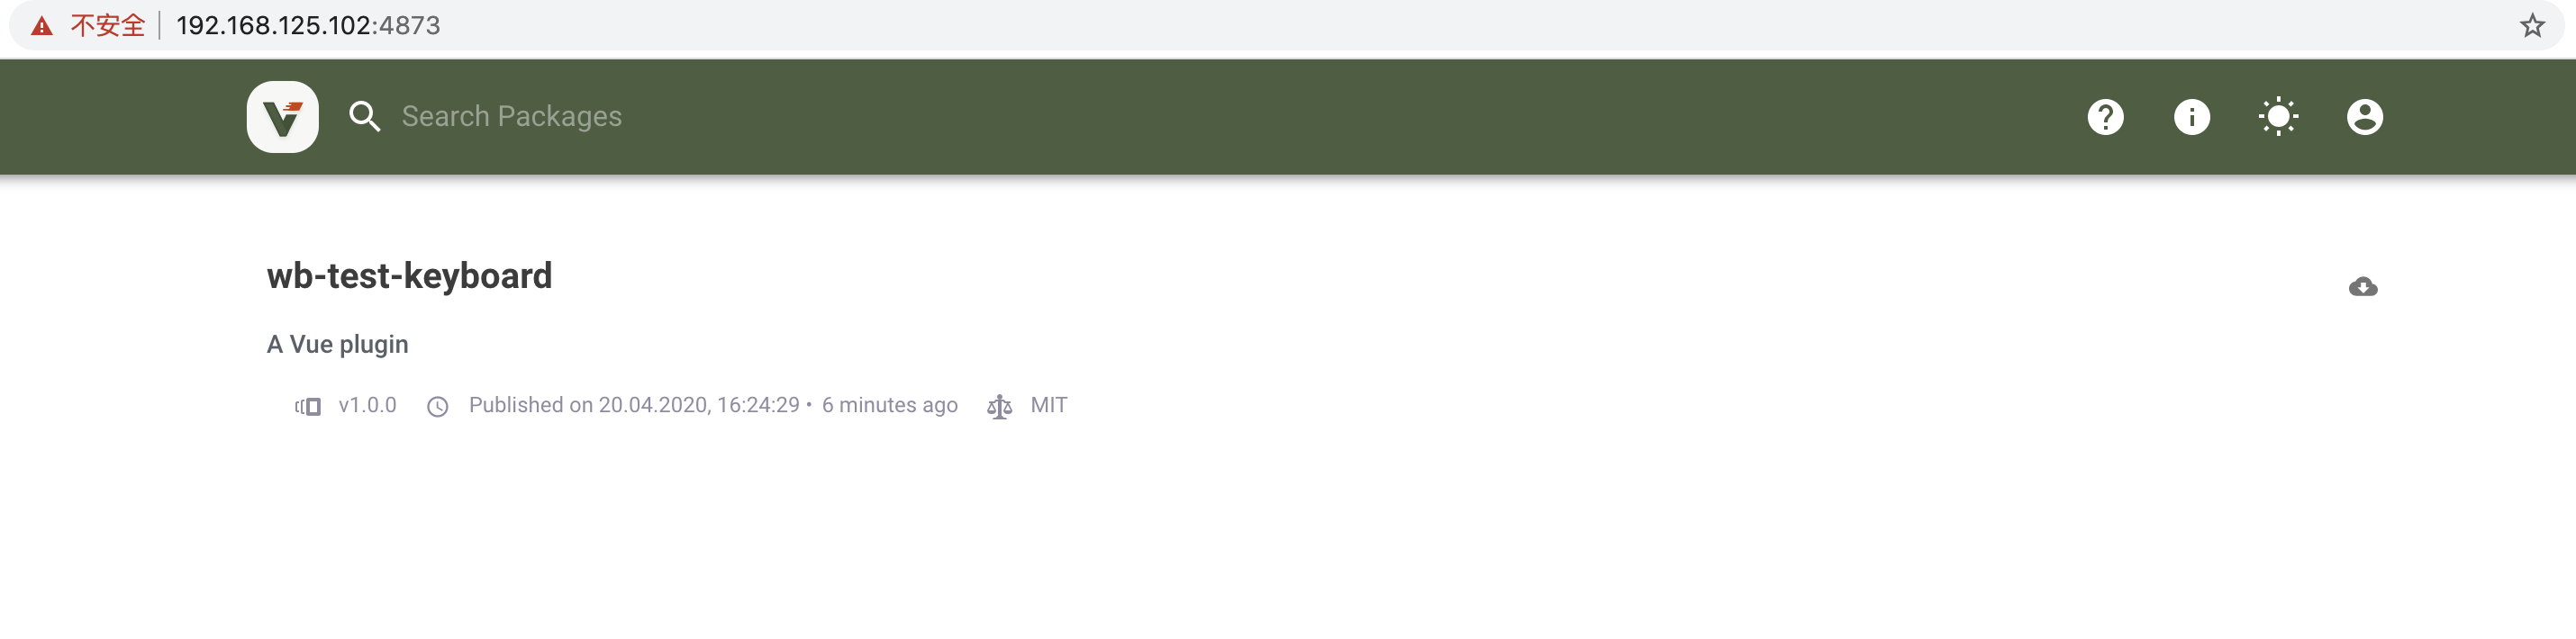
这时候我们就注册一个用户,我们可以用这个用户名和密码去登录去上图窗口去登录了
先准备好一个文件包,然后执行npm publish,就能将包发布到私有仓库了。
mkdir wb-test-keyboard
cd wb-test-keyboard
npm init #生成package.json,然后开始组件开发
npm publish           # 第二次发包已经切换到我们私服地址的情况下
npm publish --registry http://xxx:4873   #未切换到我们的私服时,直接加后缀可以发布到私服上。
  第二次发包我们需要npm login 输入用户密码以及邮箱即可
5、删除包
如果想删除包,可以通过下面的方法删除。
目录:/Users/用户名/.config/verdaccio/storage
yg@user:~$ cd /home/yg/.config/verdaccio
yg@user:~/.config/verdaccio$ ls
config.yaml  htpasswd  storage
yg@user:~/.config/verdaccio$ cd storage
yg@user:~/.config/verdaccio/storage$ ls
yg@user:~/.config/verdaccio/storage$ rm -rf  wb-test-keyboard
