

大家好,我是robert,今天是用webpack从0开发一个ts版的element源码系列教程4
作者:robert
本项目是作者边学边分享,有些地方讲些的可能并不专业。如果有问题或者不懂的地方欢迎大家留言讨论,也欢迎大家多提提意见
仓库地址:gitee.com/dawwdadfrf/…
一. 将vue改装为ts模式
1. 安装vue模版相关的ts依赖包
npm i --save-dev vue-property-decorator
2.修改webpack相关的配置
在ts解析规则里增加vue的解析规则
use: [
    {
      loader: "ts-loader",
      options: { appendTsxSuffixTo: [/\.vue$/] }
    }
  ]
3.此时webpack的代码
const path = require('path');
const HtmlWebpackPlugin = require('html-webpack-plugin');
const VueLoaderPlugin = require('vue-loader/lib/plugin');
  module.exports = {
    entry: './examples/main.ts',
    output: {
      filename: 'bundle.js',
      path: path.resolve(__dirname, '../dist')
    },
    devServer: {
      host: '127.0.0.1',
      port: 8085,
      publicPath: '/',
      hot: true
    },
    plugins: [
      new HtmlWebpackPlugin({           //打包生成新的html文件
        template: './examples/index.tpl',
      }),
      new VueLoaderPlugin(),

    ],
    module: {
      rules: [
        {
          test: /\.vue$/,
          loader: 'vue-loader'
        },
        {
          test: /\.tsx?$/,
          exclude: /node_modules/,
          use: [
            {
              loader: "ts-loader",
              options: { appendTsxSuffixTo: [/\.vue$/] }
            }
          ]
        },
      ]
   },
}
4.更改examples文件夹下面的app.vue文件的内容为
<template>
    <div>
       {{msg}}
    </div>
</template>

<script lang="ts">
import Vue from "vue";
import Component from "vue-class-component";
@Component
export default class App extends Vue {
    msg = 123;
}
</script>
5.启动项目
npm run dev
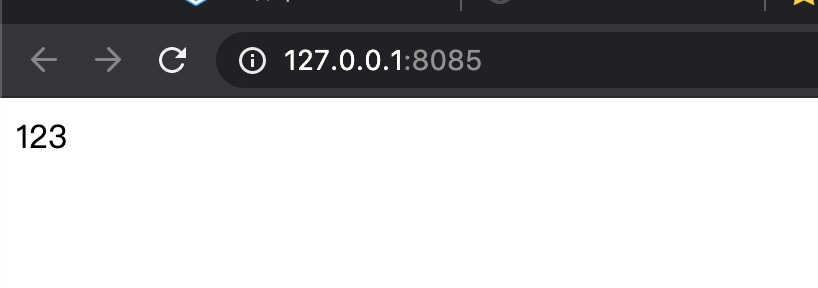
6.此时网页的内容显示应该为
7.将代码发送到仓库
git add .
git commit -m '[feature]将vue文件改变为ts版本模式'
git push
二.优化webpack
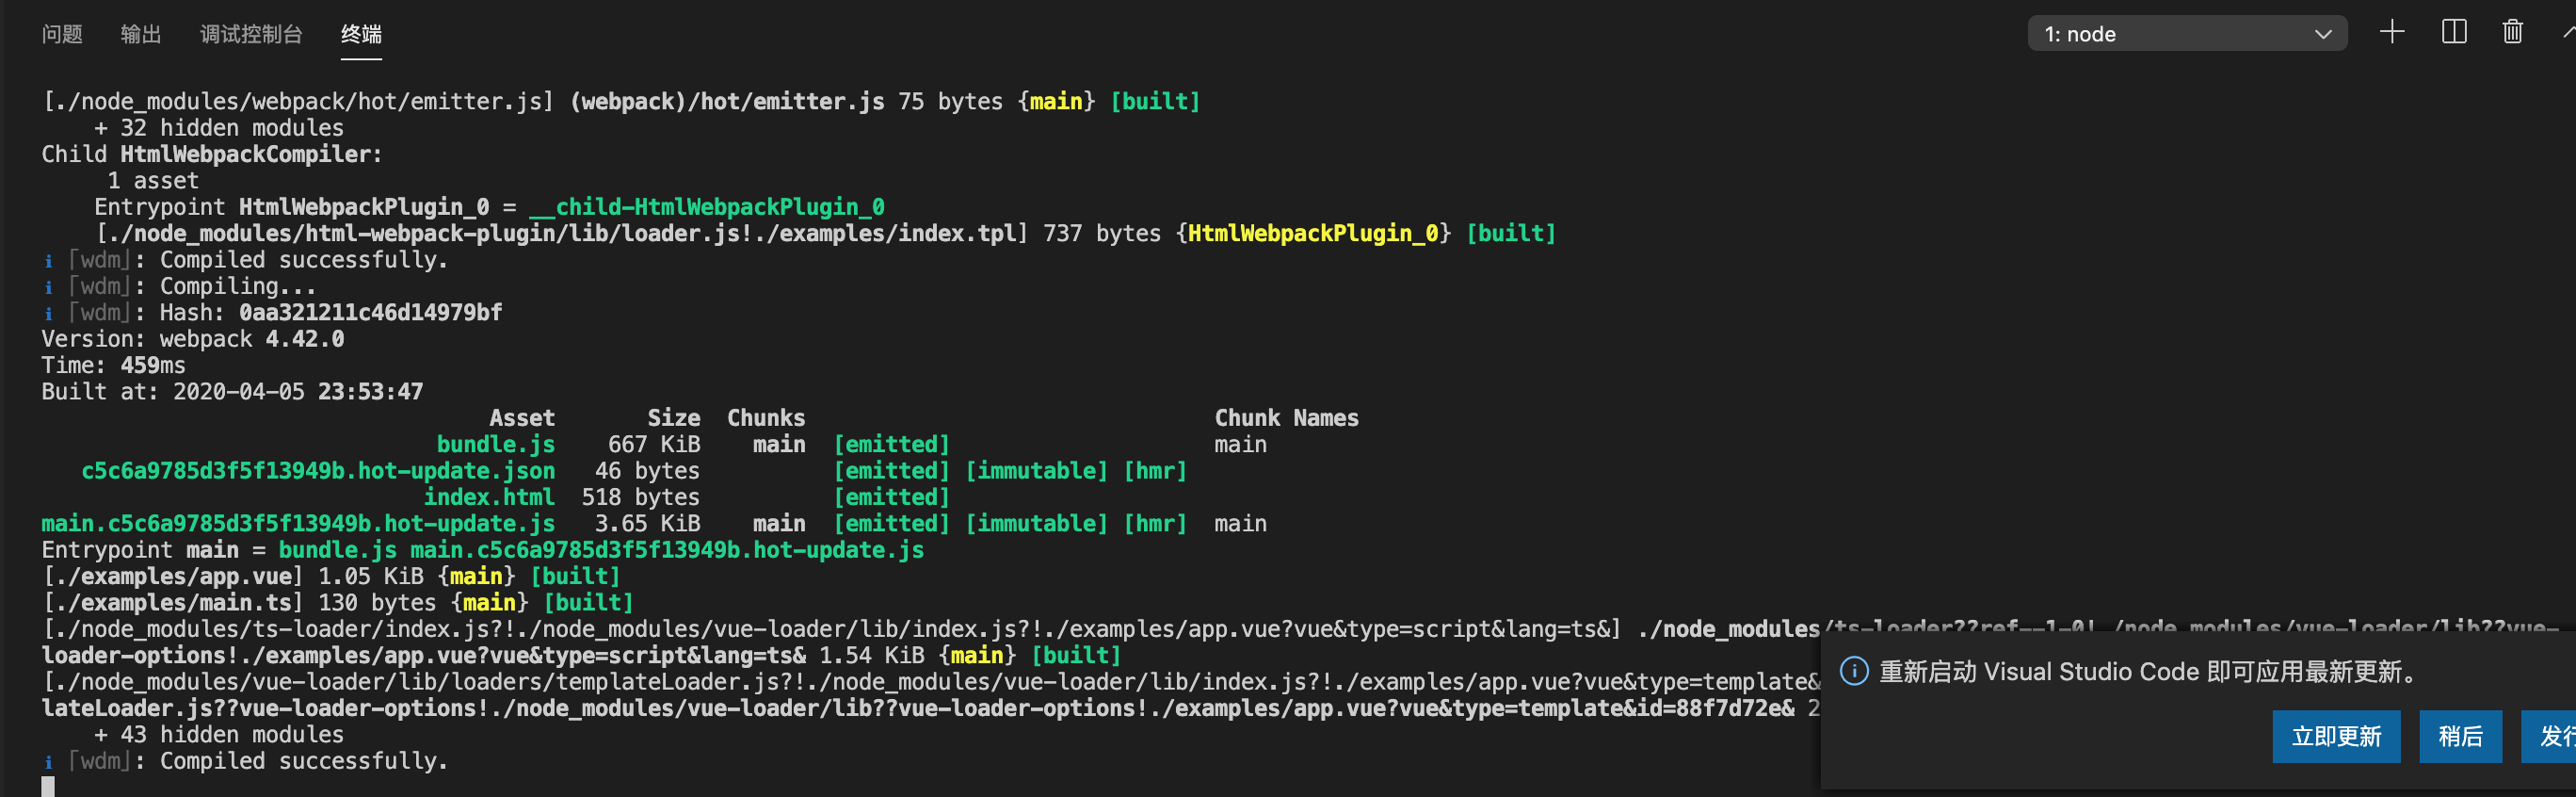
1.当我们通过npm run dev运行项目的时候,此时控制面板内容特别多特别乱,我们将他简化一下
1.我们可以通过 friendly-errors-webpack-plugin来清理启动信息
npm i --save-dev friendly-errors-webpack-plugin
2.修改webpack里devServer中的相关内容
 devServer: {
  host: '127.0.0.1',
  port: 8085,
  publicPath: '/',
  hot: true,
  stats: "errors-only"
}
3.在webpack的plugins增加相关内容
new FriendlyErrorsWebpackPlugin({
    compilationSuccessInfo: {
        messages: [
            `Your application is running here: http://127.0.0.1:8085`
        ]
    }
})
4.此时webpack的内容为
const path = require('path');
const HtmlWebpackPlugin = require('html-webpack-plugin');
const VueLoaderPlugin = require('vue-loader/lib/plugin');
const FriendlyErrorsWebpackPlugin = require("friendly-errors-webpack-plugin");

  module.exports = {
    entry: './examples/main.ts',
    output: {
      filename: 'bundle.js',
      path: path.resolve(__dirname, '../dist')
    },
    devServer: {
      host: '127.0.0.1',
      port: 8085,
      publicPath: '/',
      hot: true,
      stats: "errors-only"
    },
    plugins: [
      new HtmlWebpackPlugin({           //打包生成新的html文件
        template: './examples/index.tpl',
      }),
      new VueLoaderPlugin(),
      new FriendlyErrorsWebpackPlugin({
        compilationSuccessInfo: {
            messages: [
                `Your application is running here: http://127.0.0.1:8085`
            ]
        }
      })
    ],
    module: {
      rules: [
        {
          test: /\.vue$/,
          loader: 'vue-loader'
        },
        {
          test: /\.tsx?$/,
          exclude: /node_modules/,
          use: [
            {
              loader: "ts-loader",
              options: { appendTsxSuffixTo: [/\.vue$/] }
            }
          ]
        },
      ]
   },
}
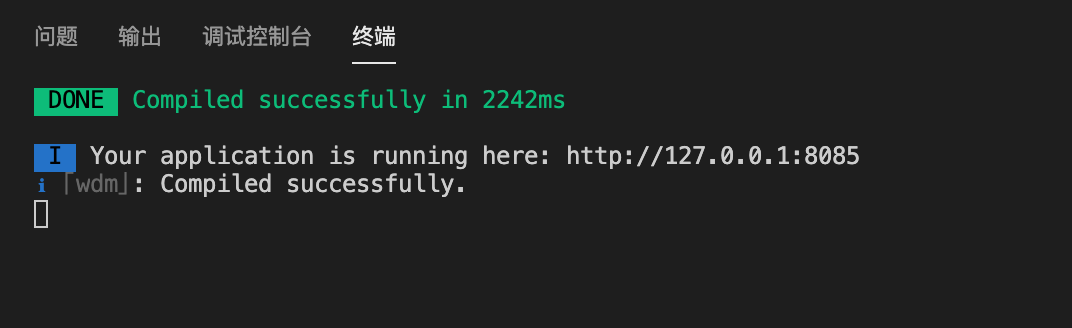
5.重新运行npm run dev,此时控制台应为
6.将代码发送到仓库
git add .
git commit -m '[feature]清理启动日志信息'
git push
以上内容如有遗漏错误,欢迎留言 ✍️指出,一起进步💪💪💪
如果觉得本文对你有帮助,🏀🏀留下你宝贵的 👍
