

这篇文章我们主要讲解怎么环境的配置,为了模拟真实的环境,我采用虚拟,避免线下win开发,线上Linux部署造成的问题。
用的到软件
- Vmware 15(虚拟机用于装系统)
- 操作系统centos7 64 位(测试阶段的操作系统)
- phpstorm(编辑器)
- 宝塔面板(用于运维)
- composer 用于安装laravel应用,以及PHP的包管理
- Nginx 1.8.1(提供web服务)
- MySQL 5.7.29(数据存储)
- PHP-7.2
- Redis-5.0(NOSQL)
- Navicat(数据库管理软件)
- Git(用于版本控制)
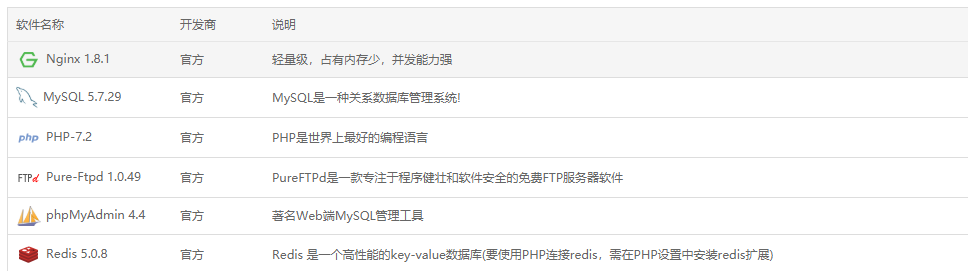
我们假设你的虚拟环境已经安装好,centos7的操作系统也安装好了,宝塔面板已经按照要求安装完毕,配置如下图
安装composer
1、切换到超级用户
su root
2、安装composer
yum install composer -y
3、修改composer的镜像地址为ali的镜像地址,加速国内的访问
composer config -g repo.packagist composer https://mirrors.aliyun.com/composer
安装laravel
composer create-project --prefer-dist laravel/laravel leeBlog
NGINX部署
server
{
    listen 80;
    server_name leeblog.com;
    index index.php index.html index.htm default.php default.htm default.html;
    root /www/wwwroot/leeBlog.com/public;

    #SSL-START SSL相关配置,请勿删除或修改下一行带注释的404规则
    #error_page 404/404.html;
    #SSL-END

    #ERROR-PAGE-START  错误页配置,可以注释、删除或修改
    #error_page 404 /404.html;
    #error_page 502 /502.html;
    #ERROR-PAGE-END

    #PHP-INFO-START  PHP引用配置,可以注释或修改
    include enable-php-72.conf;
    #PHP-INFO-END

    location / {
        try_files $uri $uri/ /index.php?$query_string;
    }

    #REWRITE-START URL重写规则引用,修改后将导致面板设置的伪静态规则失效
    include /www/server/panel/vhost/rewrite/leeblog.com.conf;
    #REWRITE-END

    #禁止访问的文件或目录
    location ~ ^/(\.user.ini|\.htaccess|\.git|\.svn|\.project|LICENSE|README.md)
    {
        return 404;
    }

    #一键申请SSL证书验证目录相关设置
    location ~ \.well-known{
        allow all;
    }

    location ~ .*\.(gif|jpg|jpeg|png|bmp|swf)$
    {
        expires      30d;
        error_log off;
        access_log /dev/null;
    }

    location ~ .*\.(js|css)?$
    {
        expires      12h;
        error_log off;
        access_log /dev/null;
    }
    access_log  /www/wwwlogs/leeblog.com.log;
    error_log  /www/wwwlogs/leeblog.com.error.log;
}
ps一定要记着加这句(单一入口机制的原因)
    location / {
        try_files $uri $uri/ /index.php?$query_string;
    }
修改本地的host文件
192.168.0.102 leeblog.com
重新打开浏览器 访问leeblog.com,看到下图说明你已经成功配置好了环境

整个项目的结构如下,后面开发阶段我会讲解每个目录的作用
├───app
│   ├───Console
│   ├───Exceptions
│   ├───Http
│   │   ├───Controllers
│   │   └───Middleware
│   └───Providers
├───bootstrap
│   └───cache
├───config
├───database
│   ├───factories
│   ├───migrations
│   └───seeds
├───doc
│   └───img
├───public
├───resources
│   ├───js
│   ├───lang
│   │   └───en
│   ├───sass
│   └───views
├───routes
├───storage
│   ├───app
│   │   └───public
│   ├───framework
│   │   ├───cache
│   │   │   └───data
│   │   ├───sessions
│   │   ├───testing
│   │   └───views
│   └───logs
├───tests
│   ├───Feature
│   └───Unit
└───vendor