

这篇文章介绍如何如何下载 spring 源码,编译,并导入 IDE。
本地环境:win10、IDEA2019.2.3、JDK1.8、Maven3.6.3
spring 版本:spring-framework-5.2.0.RELEASE
下载 spring 源码
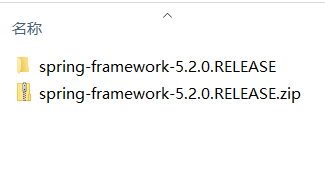
spring 源码托管在 github 上,选择对应的版本下载,我这里下载的是 zip 压缩包(用的第三方的下载工具,下载速度比较快,比如迅雷),下载到本地并解压
github地址:github.com/spring-proj…
配置
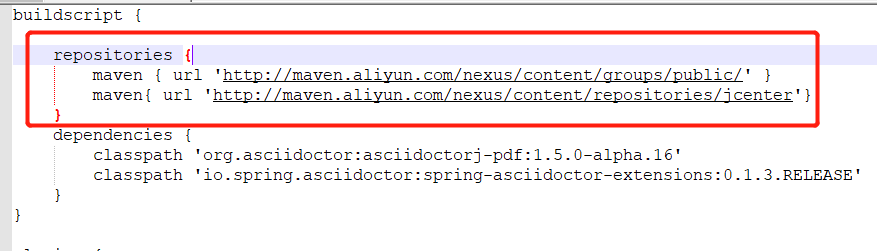
进入到刚才解压的项目的根目录,编辑 build.gradle 文件,配置阿里云镜像,有两处需要修改:
- 在 buildscript 节点下添加
    repositories {
    	maven { url 'http://maven.aliyun.com/nexus/content/groups/public/' }
    	maven{ url 'http://maven.aliyun.com/nexus/content/repositories/jcenter'}
    }
如图:
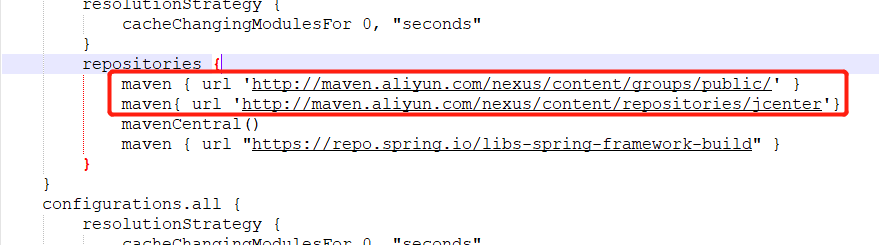
- 找到 dependencyManagement 节点下面的 repositories 节点,添加:
    maven { url 'http://maven.aliyun.com/nexus/content/groups/public/' }
    maven{ url 'http://maven.aliyun.com/nexus/content/repositories/jcenter'}
如图:
编译
如图为官方的说明,spring 源码导入 IDEA 的步骤:
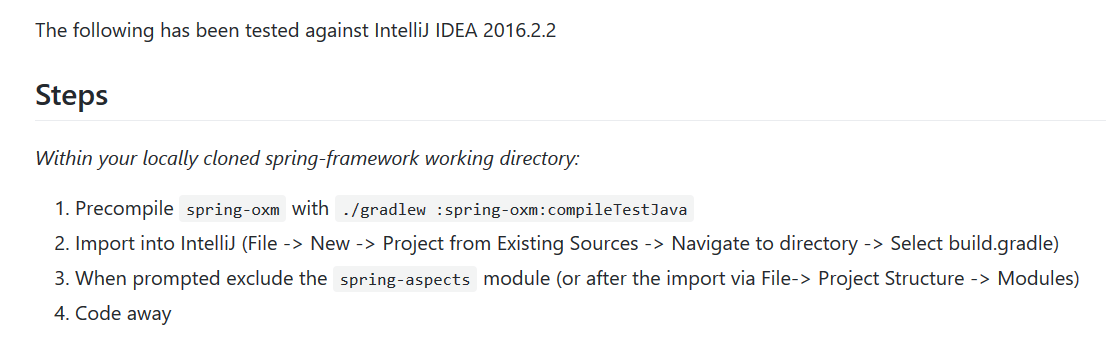
- 首先预编译 spring-oxm ,来到项目的根目录,我们利用项目自带的 gradle.bat 来编译,在命令行输入
gradlew.bat :spring-oxm:compileTestJava
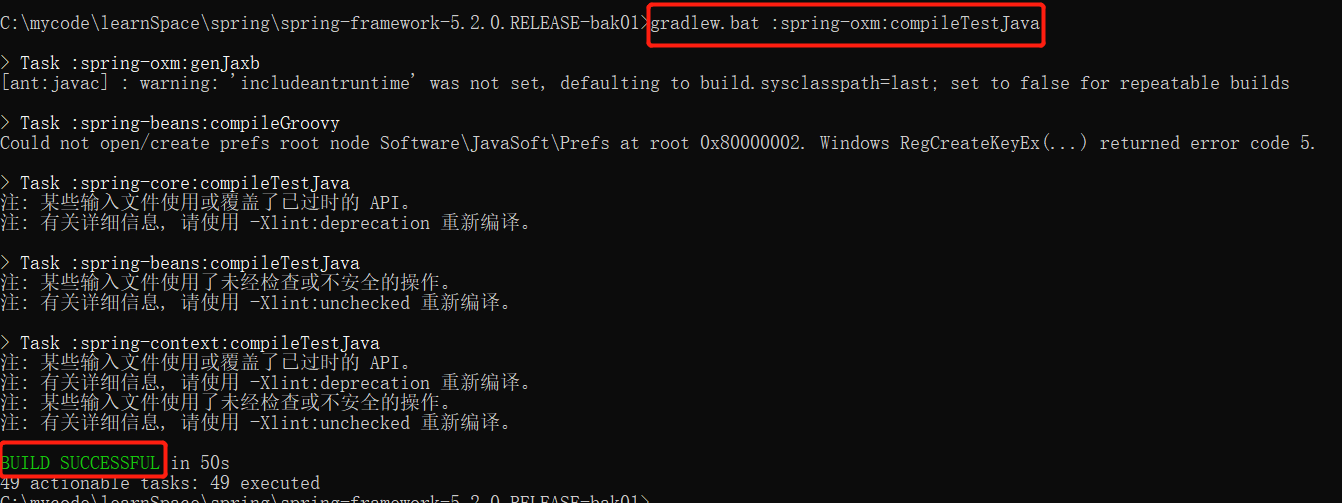
如图出现 BUILD SUCCESSFUL 说明编译成功。
注:
- 这里编译的时候比较慢,要耐心等待,可能还会报错,报错多数是因为网络的问题,需要多次尝试。另外网上一些博客里说是还要下载安装 gradle 我自己试了很多次,发现安装不安装都可以,如果本地安装 gradle (需要配置环境变量),可以通过
gradle :spring-oxm:compileTestJava命令来编译。 - 如果多次尝试还是不行,可以先把项目导入到 idea 里面,然后手动去下载 jar 包,将下载好的 jar 包放到
.gradle\caches\modules-2\files-2.1,这需要你先找到.gradle文件夹的位置,(如果你用过 maven 的话,一定知道有个.m2文件夹,它们在一个文件夹下);也可以用 everything 的工具搜一下,就出来了。
导入 IDEA
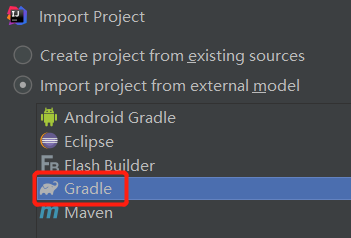
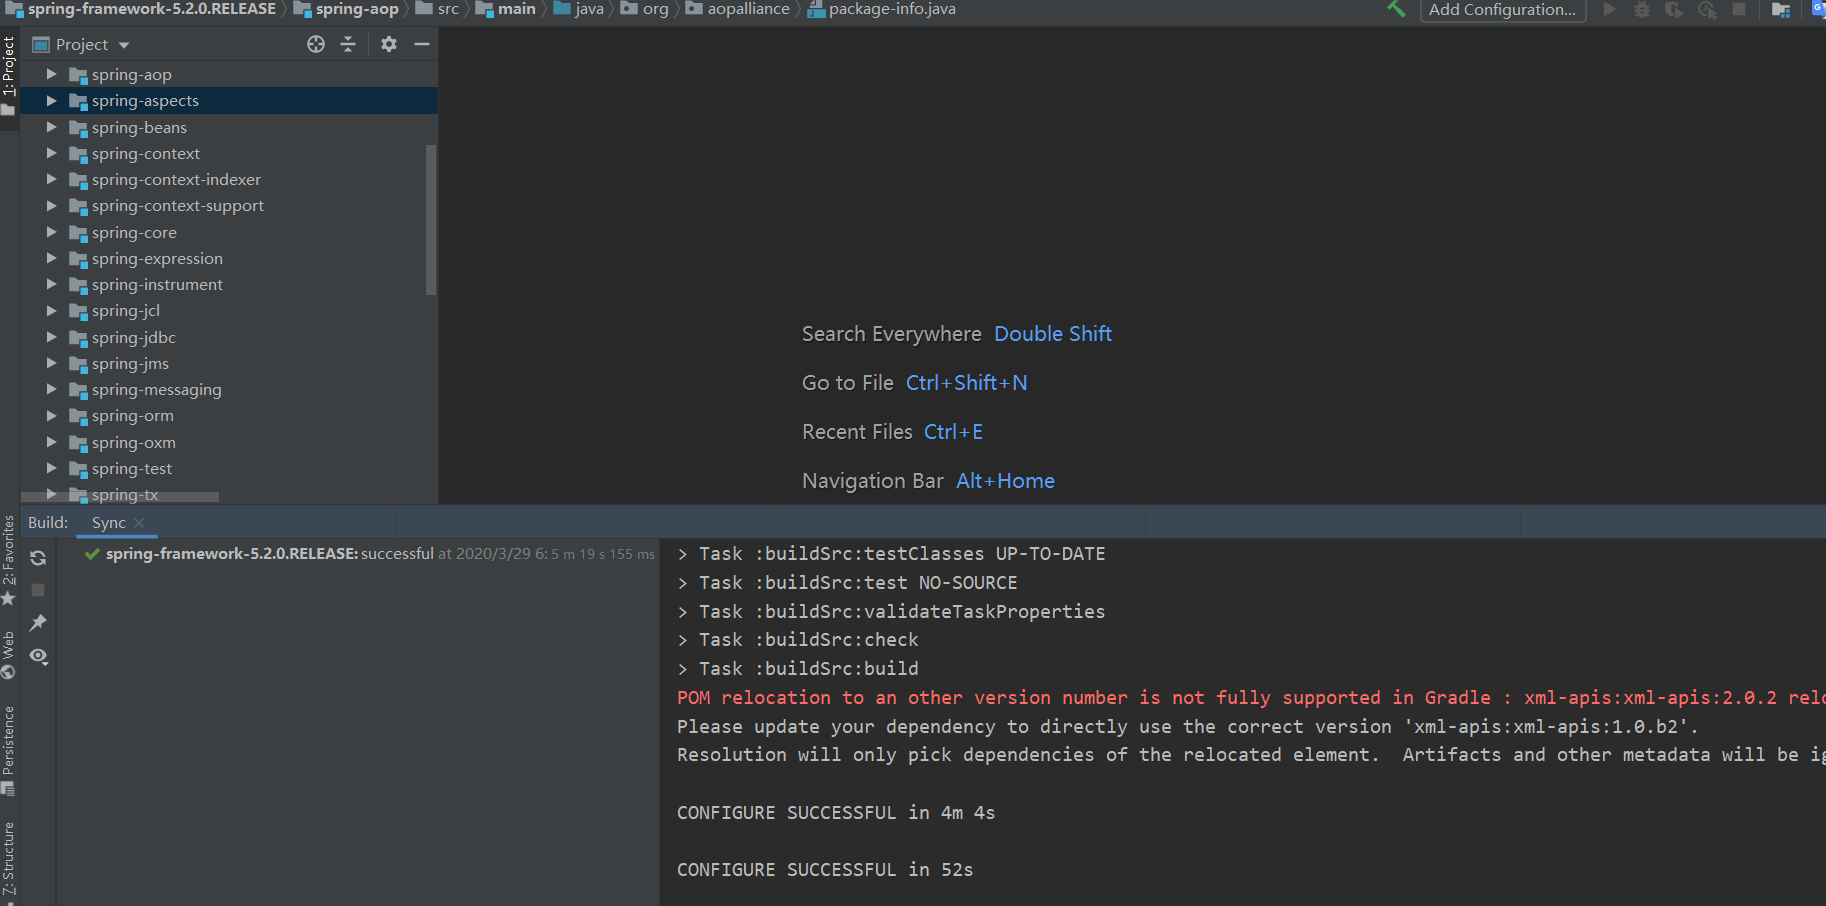
打开 IDEA ,选择 import project 导入刚才配置好的 spring 源码,以 Gradle 的方式导入
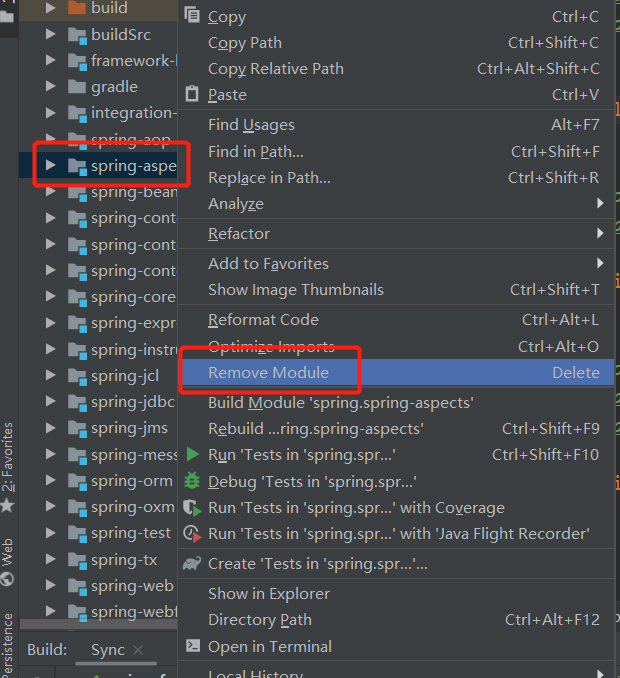
最后需要将 spring-aspects 模块移除,aspects 有自己的编译器,会影响 JVM 的加载:
验证
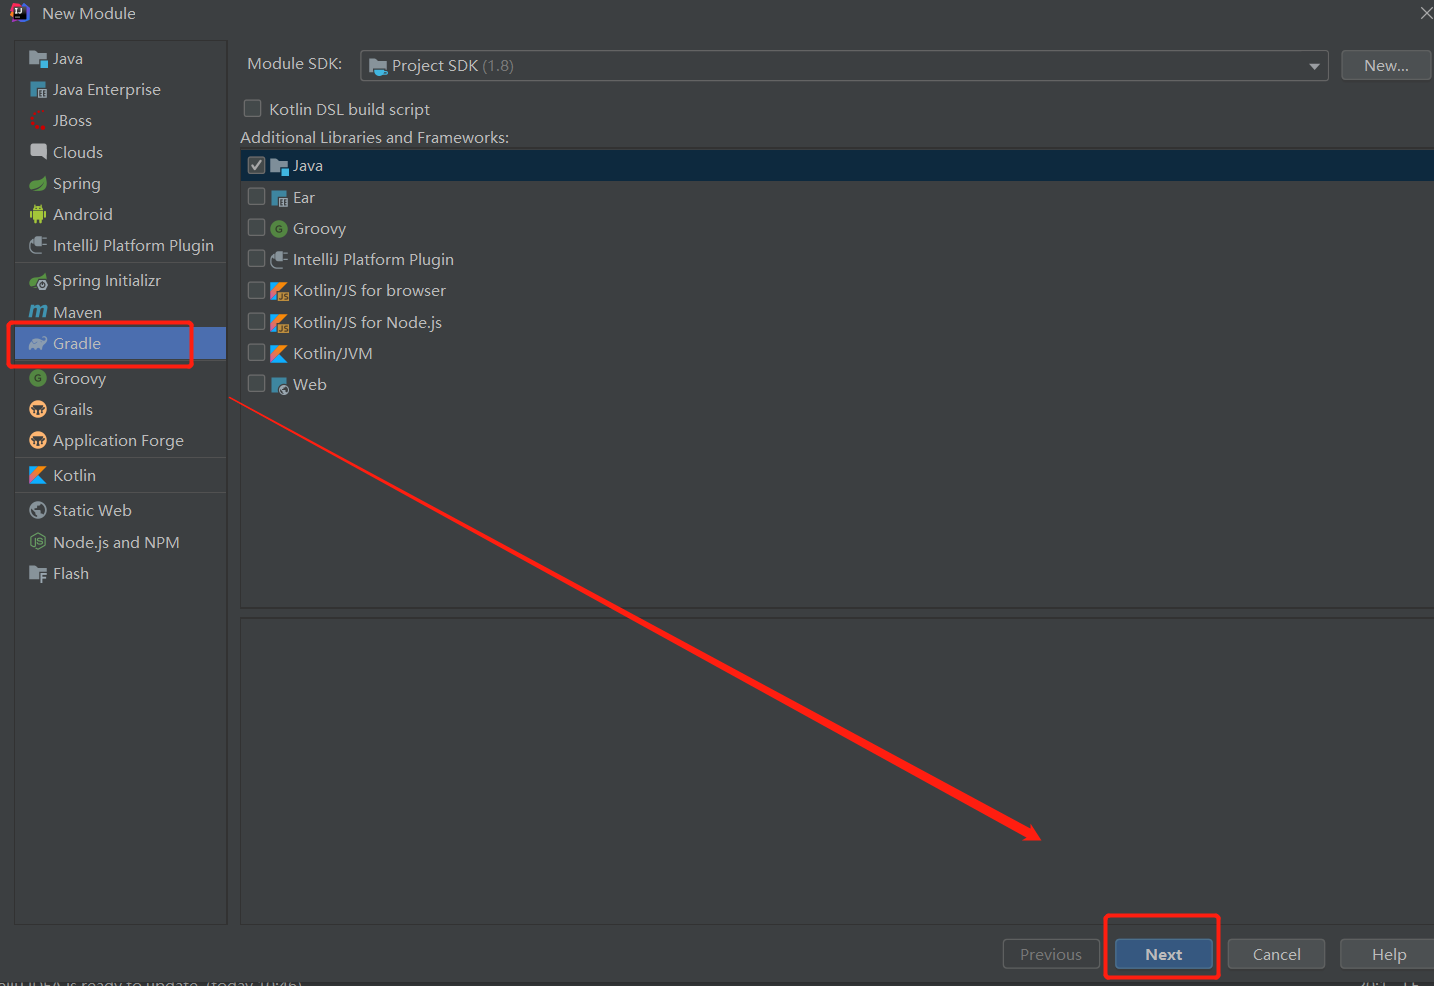
现在我们通过简单的几行代码验证一下是否导入成功,在刚刚导入的 spring 源码项目下新建一个Module spring-demo
首先给我们新建的 module 添加依赖,找到 build.gradle 文件,dependencies 节点下面添加上 compile(project(":spring-context")) 如图:
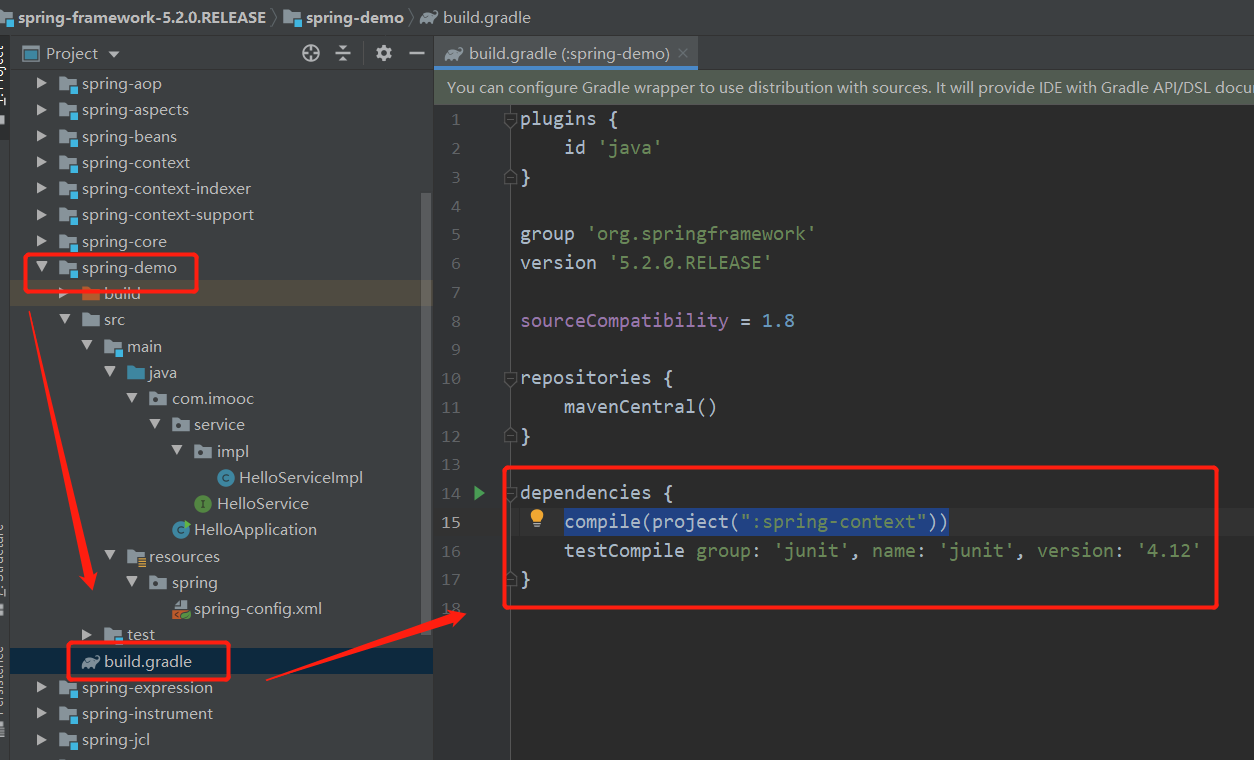
新建一个 service 接口 HelloService
public interface HelloService {

	void sayHello(String str);
}
实现类 HelloServiceImpl
public class HelloServiceImpl implements HelloService {
	@Override
	public void sayHello(String str) {
		System.out.printf("hello spring,hello " + str);
	}
}
这里使用 xml 文件来注册 service(可以使用注解来注册 service ),在 resources 目录下新建 spring-config.xml
<?xml version="1.0" encoding="UTF-8"?>
<beans xmlns="http://www.springframework.org/schema/beans"
	   xmlns:xsi="http://www.w3.org/2001/XMLSchema-instance"
	   xsi:schemaLocation="http://www.springframework.org/schema/beans
       http://www.springframework.org/schema/beans/spring-beans.xsd">

	<!-- 注入 helloService -->
	<bean id="helloService" class="com.imooc.service.impl.HelloServiceImpl"/>
</beans>
新建一个 class:
public class HelloApplication {

	public static void main(String[] args) {
        	String path = "C:\\mycode\\learnSpace\\spring\\spring-framework-5.2.0.RELEASE\\spring-demo\\src\\main\\resources\\spring\\spring-config.xml";
        	ApplicationContext context = new FileSystemXmlApplicationContext(path);
        	HelloService helloService = (HelloService) context.getBean("helloService");
        	helloService.sayHello("cj-ervin");
	}
}
启动 HelloApplication main 函数,运行结果:
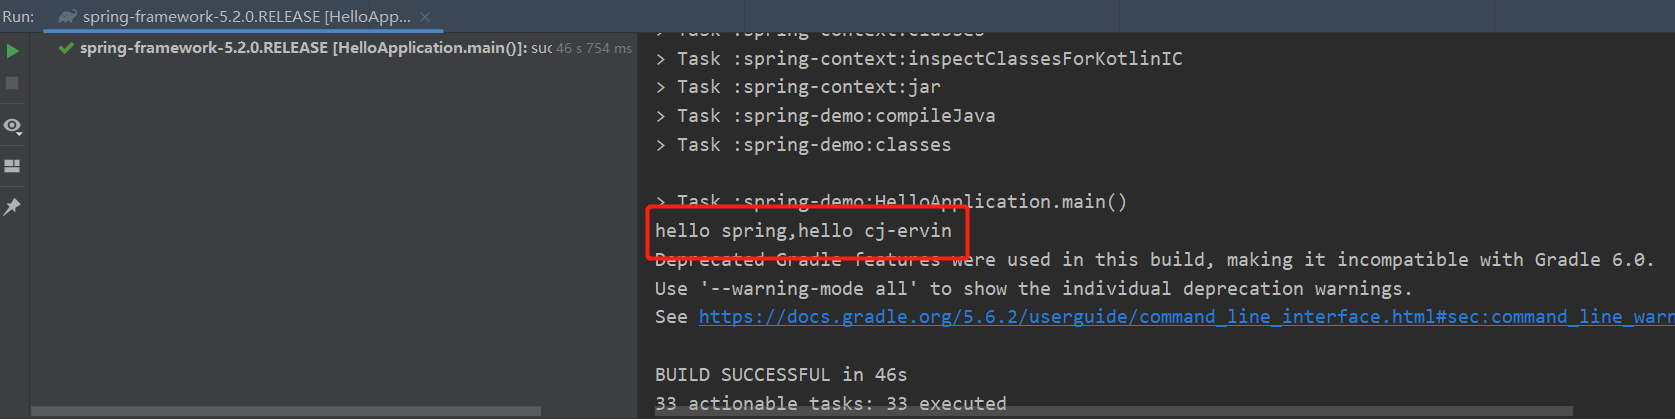
至此,验证通过,spring 源码成功导入 IDEA 。
说明
本篇博客整理来自本人最近在学习的某课网 spring 源码课程,供学习参考,如有错误,还望指出。
