

首先确定已经安装了node
搭建vue项目环境
1:全局安装 vue-cli
npm install --global vue-cli
2:进入项目目录,创建一个基于webpack模板的新项目:
vue init webpack 项目名
如:
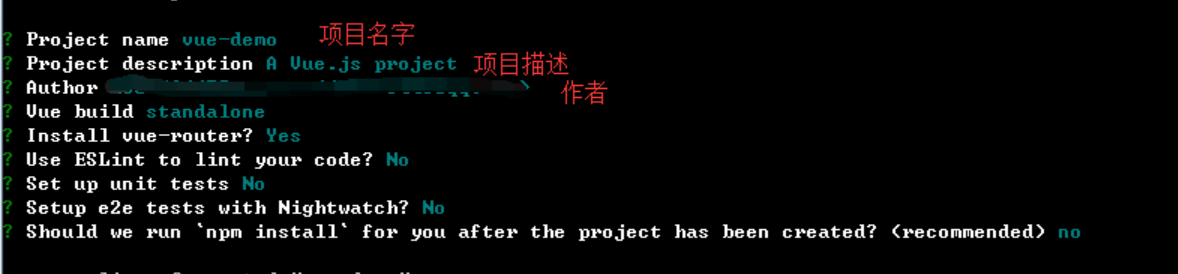
- Vue build : 打包方式,回车即可;
- Install vue-router : 是否要安装 vue-router,项目中肯定要使用到 所以Y 回车;
- Use ESLint to lint your code : 是否需要 js 语法检测 目前我们不需要 所以 n 回车;
- Set up unit tests : 是否安装 单元测试工具 目前我们不需要 所以 n 回车;
- Setup e2e tests with Nightwatch : 是否需要 端到端测试工具 目前我们不需要 所以 n 回车; 3: 进入项目,安装依赖
cd 项目名
npm i  //安装依赖
4: npm run dev,启动项目
5:vuex是一个专为Vue.js应用程序开发的状态管理模式,要想使用,首先要在vue项目中安装vuex。
npm install vuex --save
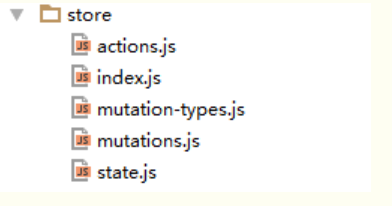
6: 在src文件目录下新建一个名为store的文件夹,目录如下:
import Vue from 'vue'
import Vuex from 'vuex'

import state from './state'
import actions from './actions'
import mutations from './mutations'

Vue.use(Vuex)

export default new Vuex.Store({
   state,
   actions,
   mutations
})
state.js的内容:
export default {
    homeList: {}
}
action.js的内容:
import { getHomeCasual } from './../api/index'

import { HOME_LIST } from './mutation-types';


export default {
  async getHomeListData({commit}){
     const result = await getHomeCasual();
     commit(HOME_LIST,{homeList:result});
   }
}
mutation-types.js,内容如下:
export const HOME_LIST = 'home_list'
mustations.js,内容如下:
import { HOME_LIST } from './mutation-type'
export default {
   [HOME_LIST](state,{homeList}){
      state.homeList = homeList;
   }
}
7: 在main.js里面引入store,然后再全局注入,这样就可以在任何一个组件里面使用this.$store了。 如:
import store from './store'//引入store

new Vue({
  el: '#app',
  router,
  store,//使用store
  template: '<App/>',
  components: { App }
})
