

绘制方块与阴影
示例代码
#ifdef GL_ES
precision mediump float;
#endif

uniform float u_time;
uniform vec2 u_resolution;
uniform vec2 u_mouse;

/** 绘制线条
* @param {float } x 坐标点
* @param {float } s 划线的位置
* @param {float } w 现对与屏幕宽度的线宽
*/
float stroke(float x, float s, float w){
    float d = step(s, x + w * 0.5) - step(s, x - w * 0.5);
    return clamp(d, 0.0, 1.0);
}
/** 填充一个区域
* @param x 坐标点
* @param size 大小
*/
float fill(float x, float size){
    return 1.0 - step(size,x);
}

/** 绘制一个三角形
* @param st 坐标点
*/
float triSDF(vec2 st){
    st = (st * 2.0 - 1.0) * 2.0;  // -2 2
    return max(abs(st.x) * 0.866025 + st.y * 0.5, -st.y * 0.5); //0.866025 = sin(120°)
}


/** 旋转
* @param v 坐标值
* @param angle 旋转的弧度
*/
vec2  rotate(vec2 st, float angle){
    float cos_theta = cos(angle);
    float sin_theta = sin(angle);
    vec2 _st =  mat2(cos_theta, -sin_theta, sin_theta, cos_theta) * (st - 0.5);
    return _st + 0.5;
}

/** 绘制一个矩形
* @param st 坐标值
* @param s 区域大小
*/
float rectSDF(vec2 st, vec2 s){
    st = st * 2.0 -1.0;
    return max(abs(st.x / s.x), abs(st.y / s.y));
}

void main(){
    vec2 st = gl_FragCoord.xy / u_resolution;
    st.x *= u_resolution.x/u_resolution.y;
    st.y *= u_resolution.y/u_resolution.x;

    vec3 color = vec3(0.0);

    st = rotate(vec2(st.x, 1.0-st.y), radians(45.0));
    float off = 0.025;
    vec2 s = vec2(1.0);

    color +=fill(rectSDF(st + off, s), 0.4);
    color +=fill(rectSDF(st - off, s), 0.4);

    color *=step(0.38, rectSDF(st + off, s));

    gl_FragColor = vec4(color, 1.0);
}
代码效果
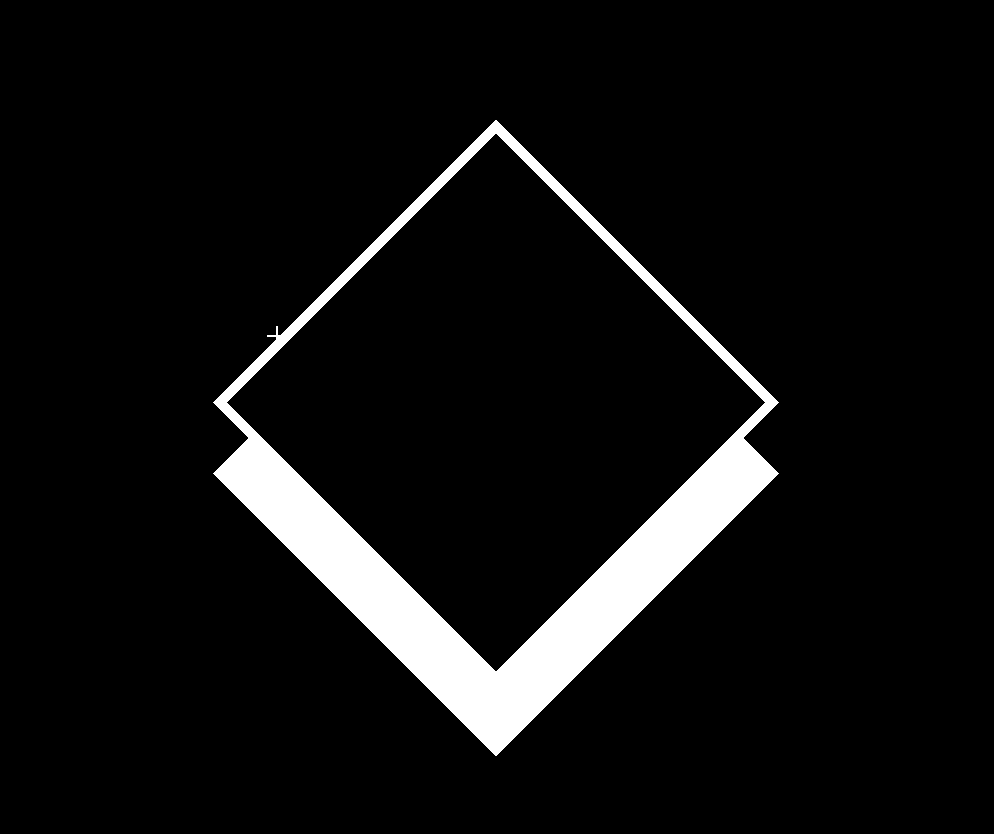
《像素精灵元素GLSL》期待你的关注与点赞
