

绘制图片,并让图片动起来
让我们用shader来绘制图片
以下代码中 sampler2D ,在 uniform 语句中是内部变量类型,表示 u_tex0 是一个纹理贴图的类型,u_tex0 是我们传给GPU的二维纹理句柄,在最后一句中调用texture2D(texture,uv) 方法,是glsl的内部方法,在OpenGL ES 3.0中将被舍弃,是渲染的颜色根据coord的坐标作为uv,取纹理贴图上对应的颜色。
The details are slightly different for OpenGL ES, but the end result is the same: texture2D() was deprecated and replaced by texture() in OpenGL ES 3.0; see section 8.8 of the 3.0 GLSL ES specification.
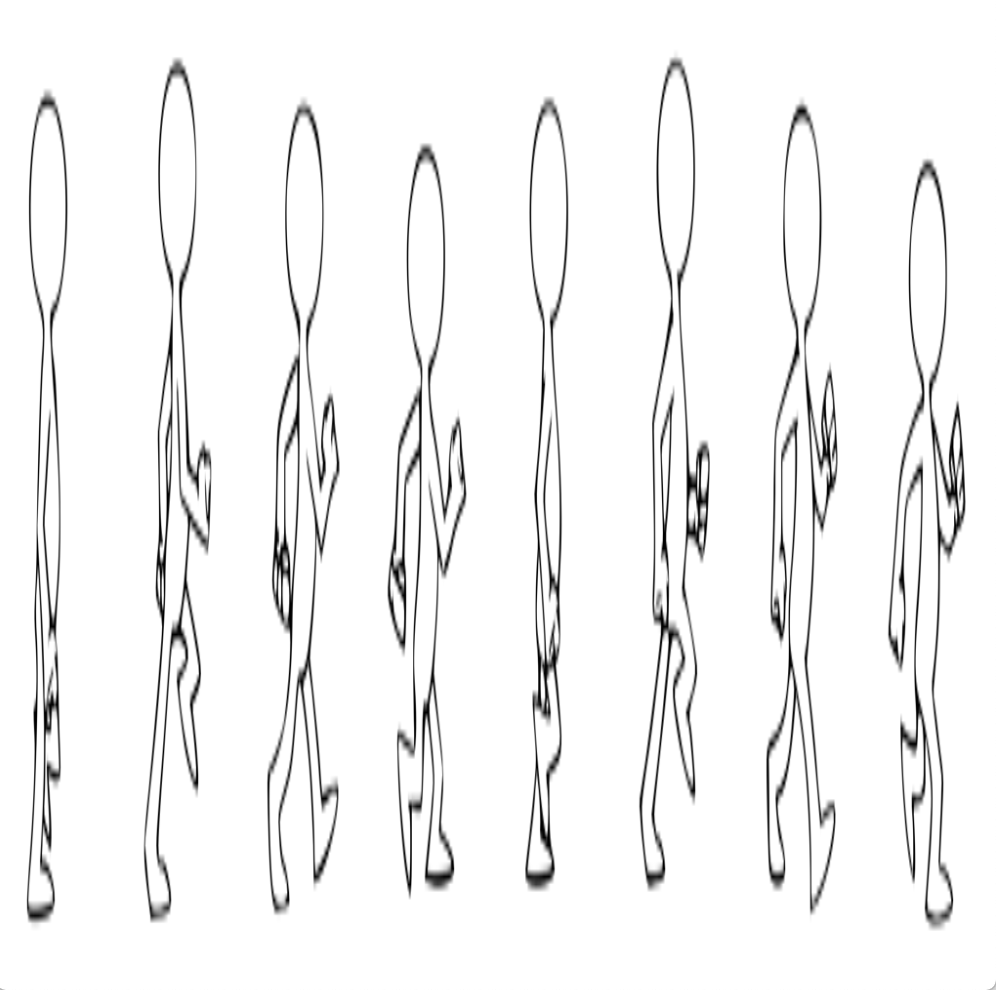
本次示例我们使用的图片如下

- 示例代码一
#ifdef GL_ES
precision mediump float;
#endif

uniform float u_time;
uniform vec2 u_resolution;
uniform vec2 u_mouse;
uniform sampler2D u_tex0;

void main(){
    vec2 coord = gl_FragCoord.xy / u_resolution;
    vec3 color = vec3(0.0);

    gl_FragColor = texture2D(u_tex0,coord);
}
这里需要说明是是,根据https://juejin.cn/post/6844904070340165639中,我们的介绍,我们查看代码显示的效果通过 glslViewer 就可以查看了,这里我们需要给运行的代码加上参数
glslViewer -l image.frag ./assets/WalkingManSpriteSheet.png,最后面加上图片的地址
关于glslView如何传参可以参考github.com/patriciogon…
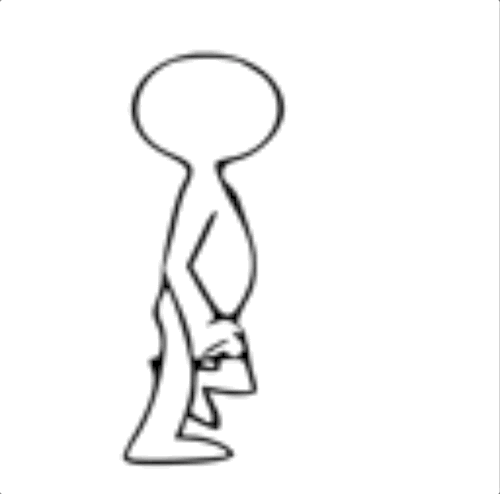
- 代码效果
- 示例代码二
利用u_time让动画动起来,代码中使用的mod是内部函数,取模
#ifdef GL_ES
precision mediump float;
#endif

uniform float u_time;
uniform vec2 u_resolution;
uniform vec2 u_mouse;
uniform sampler2D u_tex0;

void main(){
    vec2 coord = gl_FragCoord.xy / u_resolution;
    vec3 color = vec3(0.0);

    coord.x =floor(mod(u_time * 10.0, 8.0))/8.0 + coord.x /8.0;

    gl_FragColor = texture2D(u_tex0,coord);
}
- 代码效果
《跟我一起学glsl编程》期待你的关注与点赞
