

springboot提供了一个开发者模块 spring-boot-devtools 来支持热加载功能。
配置步骤
1、添加依赖包
在build.gradle dependencies中添加
dependencies {
   compile("org.springframework.boot:spring-boot-devtools")
}
2、开启页面热加载功能
在build.gradle文件根节点中加入
bootRun {
   addResources = true
}
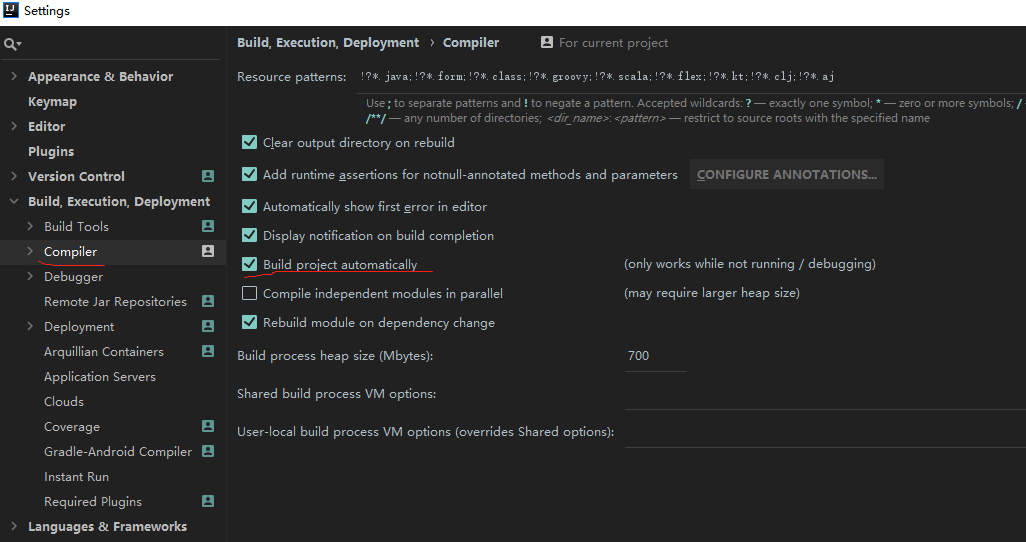
3、开启idea自动编译
1、idea设置
Preference -> Build, Execution, Deployment -> Compiler 中勾选 Build project automatically
2、调出Registry菜单
2.1 windows: Ctrl + Alt + Shift + /
2.2 mac: option + command + shift + /
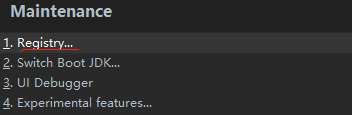
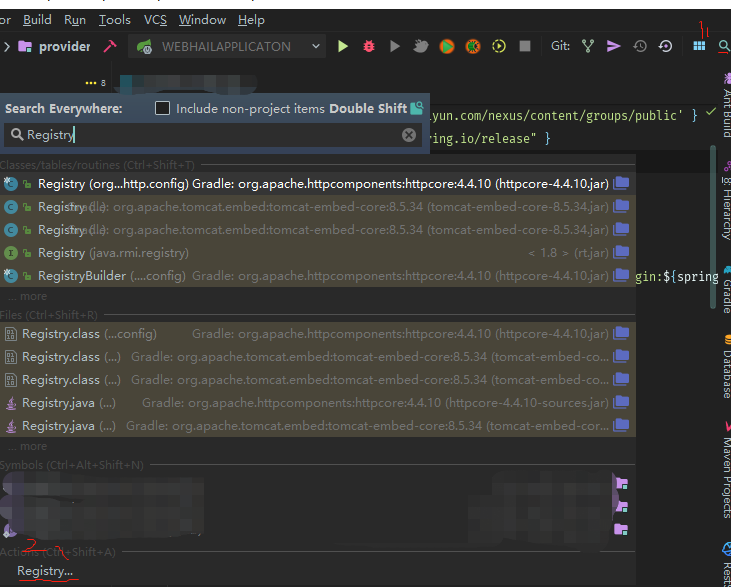
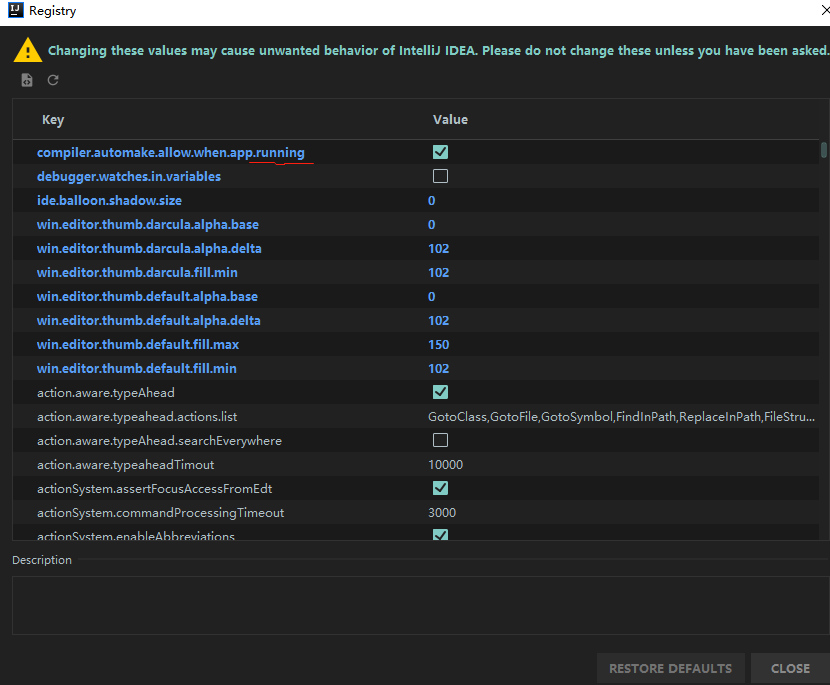
调出Registry菜单后,点击进入,勾选 compiler.automake.allow.when.app.running
4、 spingboot项目debug配置
1、进入配置界面: 点击 Edit Configurations进入
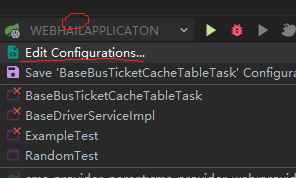
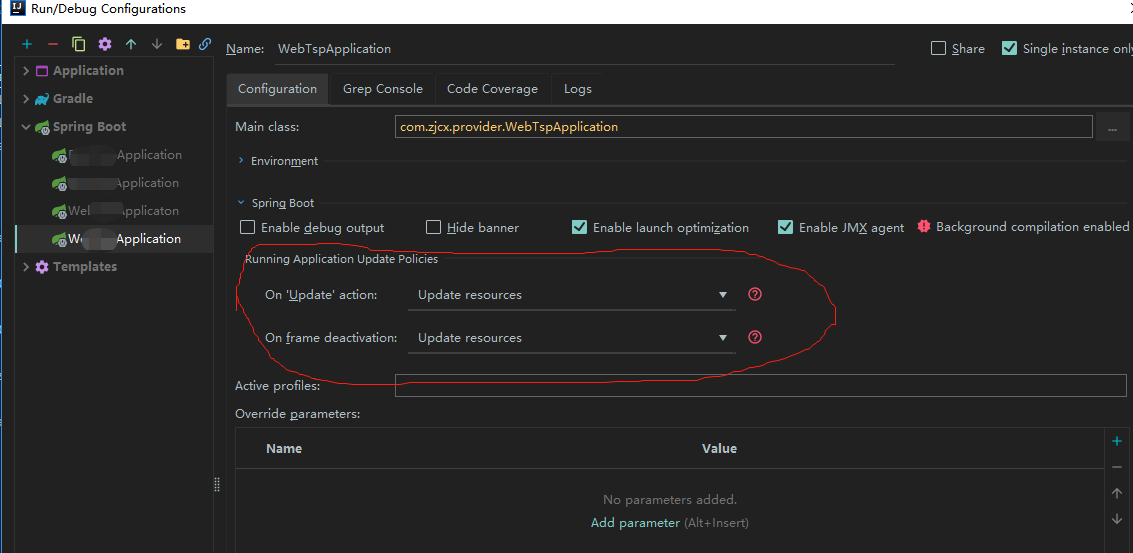
2、配置项目更新策略
5、禁用模板缓存
application.properties或application.yml配置文件,freemarker为例:
spring.freemarker.cache=false
结语
祝大家一次搞定
