由于GitHub在国内访问时,速度感人,所以放在GitHub上的hexo改放在服务器,但又不想花时间在搭建环境上,因此有了这篇花里胡哨的文章了。
idea安装docker插件
可参考上篇文章IDEA中花里胡哨地使用Docker
编写dockerfile
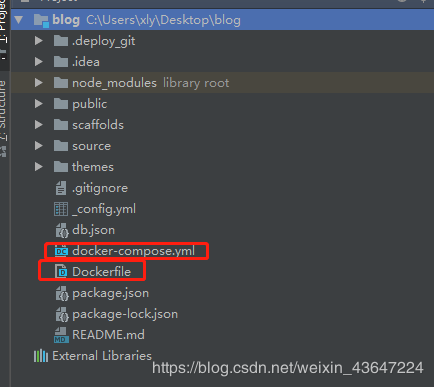
在你的hexo项目下新建一个dockerfile和docker-compose
dockerfile内容
# /Dockerfile
FROM node:8-alpine as builder
WORKDIR /project
COPY . /project/
RUN yarn \
    && yarn global add hexo-cli \
    && hexo g

FROM nginx:alpine
COPY --from=builder /project/public /usr/share/nginx/html
RUN apk add --no-cache bash
- 将hexo生成的public文件打进nginx的html目录中
docker-compose内容
# /docker-compose.yml
version: '3'
services:
  app:
    container_name: blog
    build:
      context: ./
      dockerfile: Dockerfile
    ports:
    - "8080:80"
    restart: on-failure
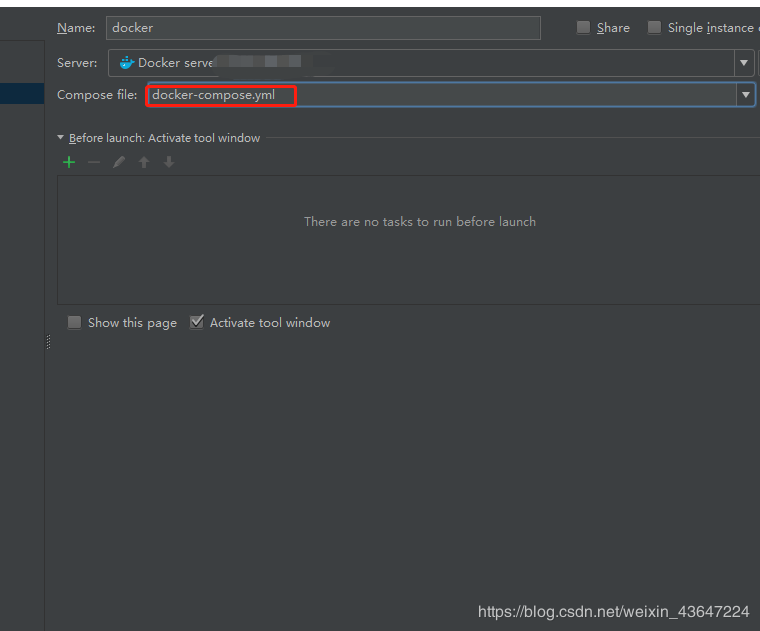
使用docker-compose运行,并将宿主的8080映射到容器80端口上
运行docker-compose
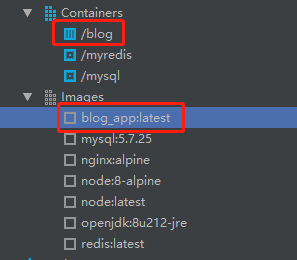
成功的标志