

1、安装Flutter环境
-
配置镜像
由于国内访问Flutter会受到限制,我们需要配置Flutter官方为我们搭建的临时镜像,在当前用户的环境变量文件中加入下面的环境变量:
export PUB_HOSTED_URL=https://pub.flutter-io.cn
export FLUTTER_STORAGE_BASE_URL=https://storage.flutter-io.cn
-
安装Flutter SDK
1、去Flutter官网下载最新的安装包。(可能需要翻墙)
2、解压安装包
3、配置读取路径的环境变量
/// 解压
unzip ~/Downloads/flutter_macos_xxx.zip
/// 配置环境变量
export PATH=`pwd`/flutter/bin:$PATH
- 测试是否安装成功
flutter help
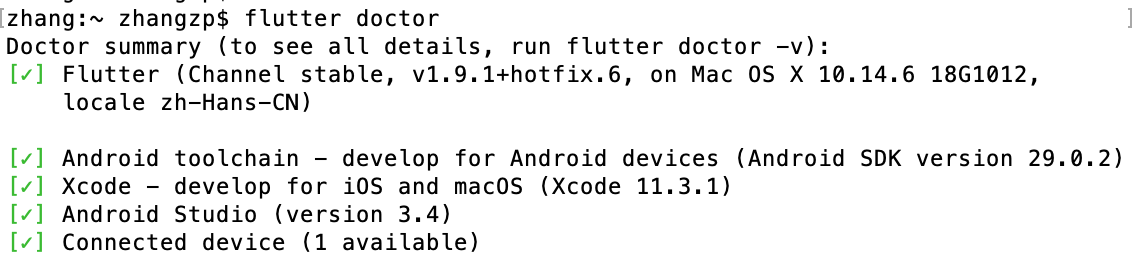
- 检查缺失的依赖项
flutter doctor
下面的依赖项没有打勾的项是需要去安装的(除了Android Studio)
-
安装编辑器
安装好Flutter环境之后,我们可以使用任何编辑器与命令行工具来开发Flutter程序。不过,Flutter推荐使用IntelliJ IDEA、Android Studio和VSCode等IDE,因为Flutter为它们提供了编辑器插件。(这里以安装android studio为例)
具体步骤:
1、下载并安装andorid studio
下载链接
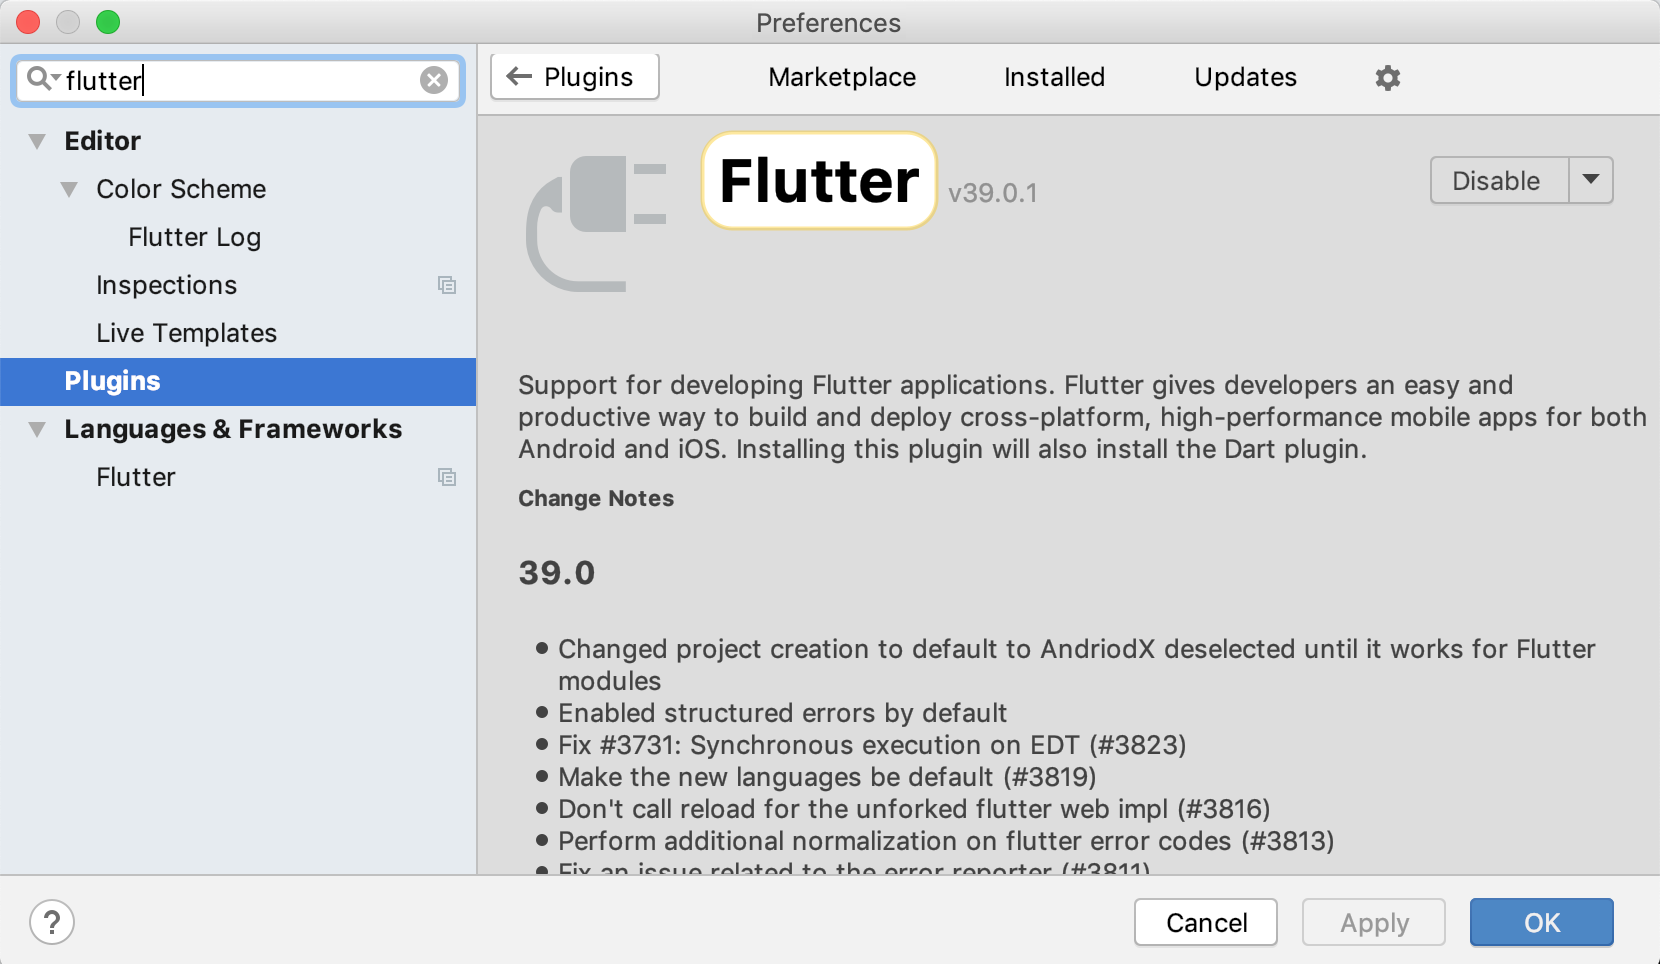
2、安装Flutter插件和Dart插件
启动android studio->Preferences->Plugins->搜索Flutter插件并安装
2、iOS平台配置
为了支持在iOS平台下混编flutter代码,需要对podfile进行一些修改。将下面的代码拷贝替换到podfile文件中:
# CocoaPods analytics sends network stats synchronously affecting flutter build latency.
ENV['COCOAPODS_DISABLE_STATS'] = 'true'

project 'Runner', {
  'Debug' => :debug,
  'Profile' => :release,
  'Release' => :release,
}

# 分析配置文件
def parse_KV_file(file, separator='=')
  file_abs_path = File.expand_path(file)
  if !File.exists? file_abs_path
    return [];
  end
  pods_ary = []
  skip_line_start_symbols = ["#", "/"]
  File.foreach(file_abs_path) { |line|
      next if skip_line_start_symbols.any? { |symbol| line =~ /^\s*#{symbol}/ }
      plugin = line.split(pattern=separator)
      if plugin.length == 2
        podname = plugin[0].strip()
        path = plugin[1].strip()
        podpath = File.expand_path("#{path}", file_abs_path)
        pods_ary.push({:name => podname, :path => podpath});
      else
        puts "Invalid plugin specification: #{line}"
      end
  }
  return pods_ary
end

target 'Runner' do
  platform :ios, '9.0'

  # pod库
  # ...

  system('rm -rf .symlinks')
  system('mkdir -p .symlinks/plugins')

  # Flutter Pods(分析Generated.xcconfig文件,找到Flutter root地址)
  generated_xcode_build_settings = parse_KV_file('./Flutter/Generated.xcconfig')
  if generated_xcode_build_settings.empty?
    puts "Generated.xcconfig must exist. If you're running pod install manually, make sure flutter pub get is executed first."
  end
  generated_xcode_build_settings.map { |p|
    if p[:name] == 'FLUTTER_FRAMEWORK_DIR'
      symlink = File.join('.symlinks', 'flutter')
      File.symlink(File.dirname(p[:path]), symlink)
      pod 'Flutter', :path => File.join(symlink, File.basename(p[:path]))
    end
  }

  # Plugin Pods(加载当前工程用到的Flutter pod插件)
  plugin_pods = parse_KV_file('../.flutter-plugins')
  plugin_pods.map { |p|
    symlink = File.join('.symlinks', 'plugins', p[:name])
    File.symlink(p[:path], symlink)
    pod p[:name], :path => File.join(symlink, 'ios')
  }
end

# Prevent Cocoapods from embedding a second Flutter framework and causing an error with the new Xcode build system.
install! 'cocoapods', :disable_input_output_paths => true

# 修改所有pod库的ENABLE_BITCODE为NO
post_install do |installer|
  installer.pods_project.targets.each do |target|
    target.build_configurations.each do |config|
      config.build_settings['ENABLE_BITCODE'] = 'NO'
    end
  end
end
3、运行
- XCode
如果你打开的是iOS工程文件,并想用xcode进行编译。你需要先用命令编译flutter代码,成功后才能在xcode下进行编译。
编译flutter代码:(flutter工程目录下)
# 创建flutter库(当pubspec.yaml文件有变动才需执行)
flutter pub get

# 编译flutter代码
flutter run --debug
- VSCode/Android Studio
如果用的是VSCode或者Android Studio,直接run就可以了。
