

背景
在单体应用中,依赖配置文件可以解决大部分配置的需求,但是在分布式场景下,成千上百的应用部署在多台机器上,如果每台分别配置、重启先不说出错的概率,本身维护的成本就很高,因此配置中心应运而生。配置中心可以管理不同环境(Dev、Test、Stage、Prod)和不同集群配置,以及在修改配置后将实时动态推送到各应用进行及时刷新。
配置中心对比
目前市面上有很多的配置中心,本篇主要挑选应用较广的几个针对关键项进行对比,如下表所示
| 功能点 | spring-cloud-config | ctrip-apollo | disconf |
|---|---|---|---|
| 灰度发布 | 不支持 | 支持 | 不支持部分更新 |
| 告警通知 | 不支持 | 支持 | 支持 |
| 实例配置监控 | 需结合springadmin | 支持 | 支持 |
| 配置生效时间 | 通过refresh生效 | 实时 | 实时 |
| 配置更新推送 | 手工触发 | 支持 | 支持 |
| 配置定时拉取 | 无 | 支持 | 依赖事件驱动 |
| 本地缓存配置 | 无 | 支持 | 支持 |
| Spring Boot支持 | 原生支持 | 支持 | 不支持 |
| Spring Cloud支持 | 原生支持 | 支持 | 不支持 |
| 业务侵入性 | 弱 | 弱 | 弱,支持注解及xml方式 |
| 统一管理 | 无,通过git操作 | 统一界面 | 统一界面 |
本篇重点介绍Spring Cloud Config,其他配置中心如Apollo将在后续篇章中进行详细介绍。 Spring Cloud Config是一个集中化外部配置的分布式系统,不依赖注册中心,是一个独立的配置中心,由server和client组成。支持多种存储配置信息的形式,主要包括jdbc、Vault、Native、svc、git,其中默认为git,本篇也将使用git进行介绍。
工作原理:client启动时会向server端发起请求,server接收到请求后,根据配置的仓库地址,将git上的文件clone到本地的一个临时目录中(git的本地仓库目录),然后server再读取本地文件返回给client,该方案是用来保证高可用,当git服务器故障或者网络请求异常时,保证server仍然可以正常工作。
项目实战
server 代码及配置
parent pom.xml
为了简化管理和配置,在父工程里配置好依赖管理,让子工程配置文件变得简洁,详细pom文件可参考git代码。
pom.xml
    <dependencies>
        <dependency>
            <groupId>org.springframework.boot</groupId>
            <artifactId>spring-boot-starter-web</artifactId>
        </dependency>

        <dependency>
            <groupId>org.springframework.boot</groupId>
            <artifactId>spring-boot-starter-actuator</artifactId>
        </dependency>

        <dependency>
            <groupId>org.springframework.cloud</groupId>
            <artifactId>spring-cloud-config-server</artifactId>
        </dependency>
    </dependencies>
启动类
@EnableConfigServer注解开启Spring Cloud Config的服务功能
@SpringBootApplication
@EnableConfigServer
public class ConfigServerGitApplication {

    public static void main(String[] args) {
        SpringApplication.run(ConfigServerGitApplication.class, args);
    }
}
配置文件 application.yml
server:
  port: 8094

spring:
  cloud:
    config:
      server:
        git:
          # git 服务器地址
          uri: https://github.com/chuli/spring-cloud-config.git
          # git 用户名
          username:
          # git 密码
          password:
          # 搜索该目录下所有满足条件的配置文件,可以添加多个目录,用逗号分隔
          search-paths: SC-DEMO-CONFIG

  application:
    name: git-config-server
config 仓库
在git仓库https://github.com/chuli/spring-cloud-config.git中创建SC-DEMO-CONFIG目录,然后在该目录下创建四个文件,分别命名为config-info-dev.yml、config-info-test.yml、config-info-stage.yml、config-info-prod.yml,在config-info-XXX.yml中添加如下内容,其中[test]根据不同命名对应不同名称
com:
  kk:
    demo:
      config: [test] this is git config demo
config server 测试
在浏览器中输入http://localhost:8094/config-info/prod/master,其中prod还可以替换成其他环境,master也可以替换其他分支,显示结果如下


client 代码及配置
pom.xml
    <dependencies>
        <dependency>
            <groupId>org.springframework.boot</groupId>
            <artifactId>spring-boot-starter-web</artifactId>
        </dependency>

        <dependency>
            <groupId>org.springframework.boot</groupId>
            <artifactId>spring-boot-starter-security</artifactId>
        </dependency>

        <dependency>
            <groupId>org.springframework.boot</groupId>
            <artifactId>spring-boot-starter-actuator</artifactId>
        </dependency>

        <dependency>
            <groupId>org.springframework.cloud</groupId>
            <artifactId>spring-cloud-config-client</artifactId>
        </dependency>
    </dependencies>
启动类
@SpringBootApplication
public class GitConfigClientApplication {

    public static void main(String[] args) {
        SpringApplication.run(GitConfigClientApplication.class, args);
    }
}
为了更好地观察获取到的git配置,需要创建一个Controller用于访问返回的信息,同时还需要创建一个ConfigProperties的Bean,用于注入远程配置上的信息
@RefreshScope
@Component
public class ConfigInfoProperties {

    @Value("${com.kk.demo.config}")
    private String config;

    public String getConfig() {
        return config;
    }
}
被@RefreshScope修饰的Bean是延迟加载的,只有在第一次访问时才会被初始化,刷新Bean也是同理,下次访问会创建一个新的对象
@RefreshScope
@RestController
@RequestMapping("config")
public class ConfigClientController {

    @Autowired
    private ConfigInfoProperties configInfoProperties;

    @RequestMapping("/getConfigInfo")
    public String configInfoAction() {
        return configInfoProperties.getConfig();
    }
}
配置文件 bootstrap.yml
bootstrap.yml 会优先于application.yml加载,会先去加载远程配置文件信息,并配置到项目中,然后启动该项目
spring:
  cloud:
    config:
      # 请求的具体分支,该demo使用master
      label: master
      # config server的地址
      uri: http://localhost:8094
      # 远程的具体配置文件,可以写多个,通过逗号隔开,
      # 该demo使用 https://github.com/chuli/spring-cloud-config/SC-DEMO-CONFIG/config-info-xx.yml
      name: config-info
      # 使用哪个环境的配置,如dev、test、stage、prod
      profile: dev
配置文件 application.yml
server:
port: 8095
spring:
application:
name: git-config-client
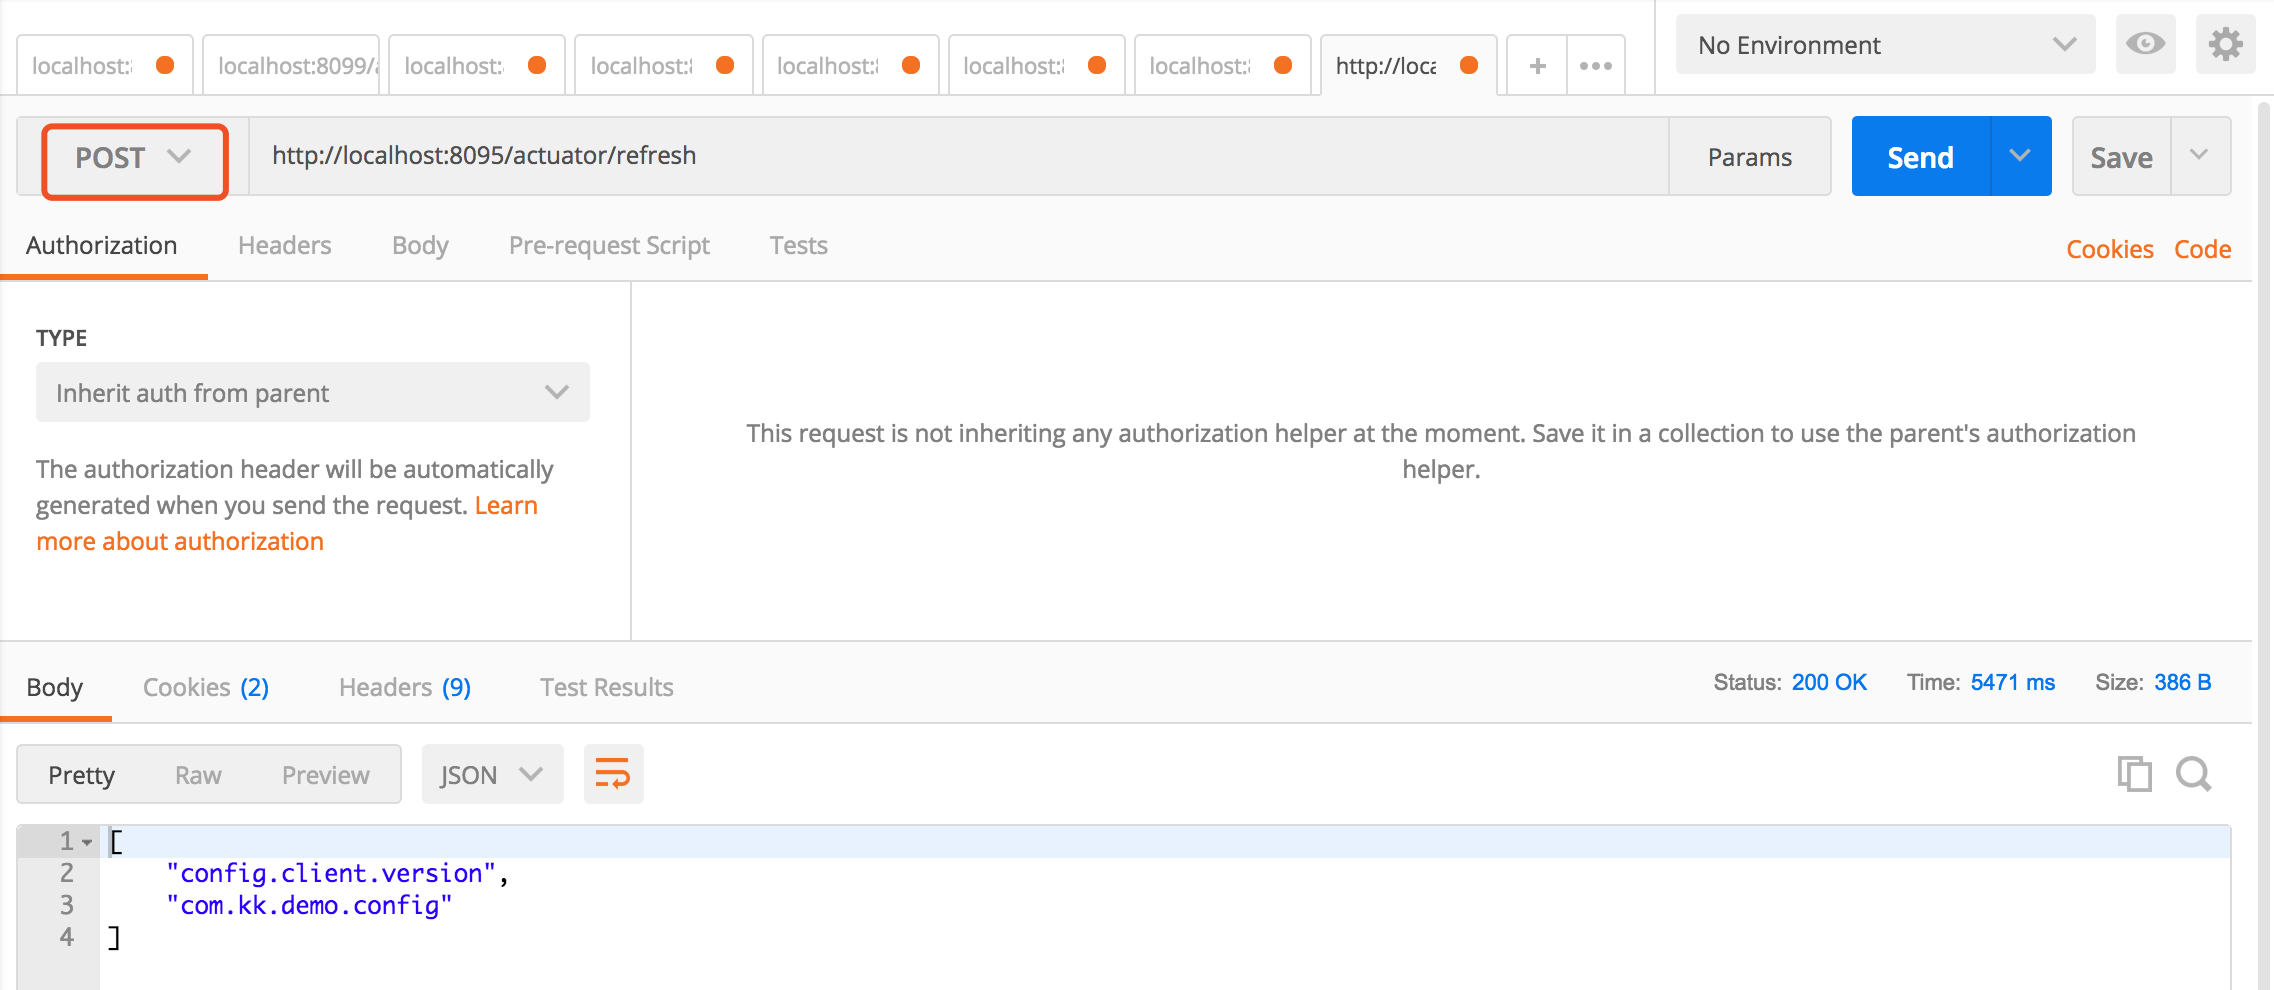
management:
endpoints:
web:
exposure:
include: '*'
# 包含所有端点的信息,默认只打开info、health的端点
endpoint:
health:
# 总是显示详细的信息
show-details: always
config client 测试
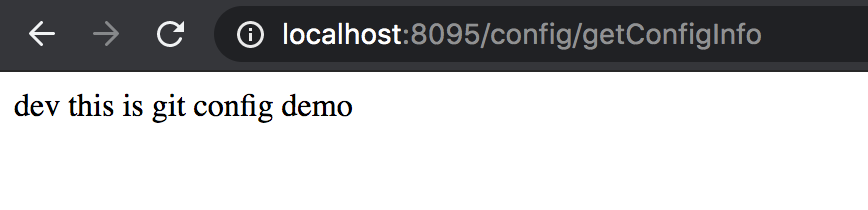
在浏览器中输入http://localhost:8095/config/getConfigInfo,显示结果如下

示例代码
git-config-server and git-server-client 地址
相关推荐
Spring cloud Eureka 服务注册中心
服务提供与消费(上篇)
服务提供与消费(下篇)
Spring Cloud 负载均衡器 Ribbon
