

1、html-webpack-plugin
1.1 install
yarn add html-webpack-plugin --dev
1.2 webpack.config.js 引入 html-webpack-plugin 插件
const htmlWebpackPlugin = require('html-webpack-plugin');
1.3 找出所有的 html 文件
const glob = require('glob');
const htmlWebpackPlugin = require('html-webpack-plugin');

const pluginAll = [];
const pages = glob.sync(path.join(SRC_PATH, '/pages/**/*.html'));
console.log(pages);
pages.forEach((page, index) => {
    const pageStr = page.match(/src\/pages\/(\S*)\.html/);
    const name = pageStr[1];
    const plug = new htmlWebpackPlugin({
        filename: path.join(DIST_PATH, `${name}.html`),
        title: `test${name}`,
        template: `${SRC_PATH}/pages/${name}.html`,
        inject: true, // head body true
        hash: true,
        chunks: [name]
        // manify: true
    });
    pluginAll.push(plug);
})

module.exports = {
    // ...
    // 插件
    plugins: pluginAll,
    // ...
};
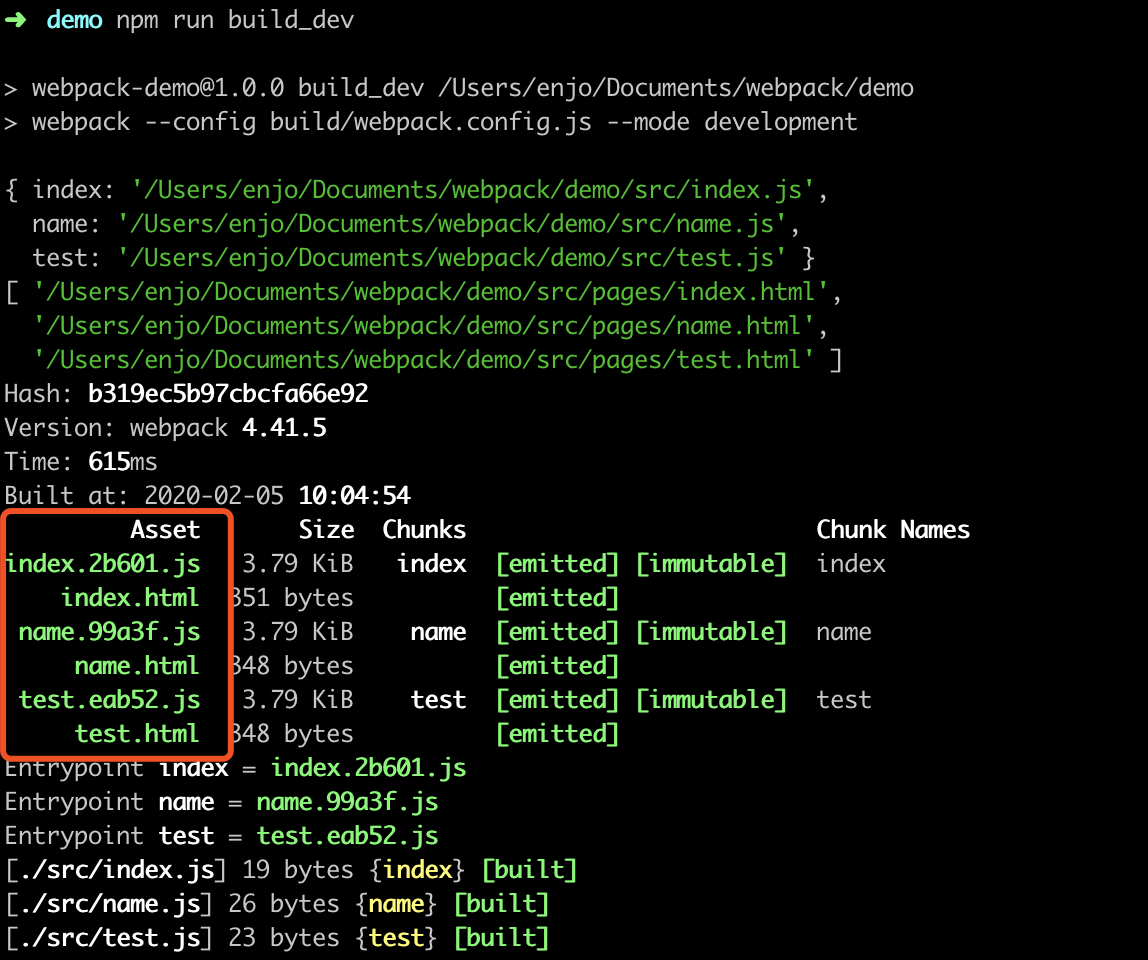
1.4 npm run build_dev

2. MiniCssExtractPlugin-分离CSS文件
官网:webpack.docschina.org/plugins/min…
2.1 安装
yarn add mini-css-extract-plugin -D
2.2 引入
// 引入分离 CSS 文件的模块
const MiniCssExtractPlugin = require("mini-css-extract-plugin");
2.3 配置
module.exports = {
// ...
// 模块解析:默认 webpack 只认识 js 文件,如果需要处理其他文件,需要配置对应的 loader
module: {
rules: [
// 实际处理顺序:从右往左
// css-loader 让 webpack 能够识别解析 CSS 文件
// style-loader 通过动态的创建style标签的形式(js),让解析后的css内容,能够作用到页面中
{
// 正则:匹配所有以 .css 结尾的文件
test: /\.css$/,
use: [
{
loader: MiniCssExtractPlugin.loader,
options: {
publicPath: '../'
}
},
'css-loader'
] // 先使用 css-loader 再使用 style-loader
}
]
},
// 插件
plugins: [
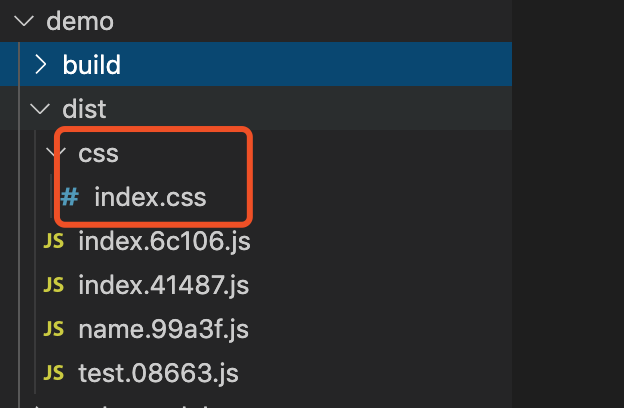
new MiniCssExtractPlugin({
filename: "css/index.css"
})
],
// ...
};
3. 清除 dist 目录的插件
yarn add clean-webpack-plugin -D
// 导入清除插件,可以在每次打包之前,清除 dist 目录的内容
const { CleanWebpackPlugin } = require('clean-webpack-plugin');

// 插件
module.exports = {
    // ...
    plugins: [
        // 自动生成 html 的插件
        new htmlWebpackPlugin({
            template: './public/index.html'
        }),
        // 分离 CSS 的插件,定义打包好的文件的存放路径和文件名
        new MiniCssExtractPlugin({
            filename: "css/index.css"
        }),
        // 清除 dist 目录的插件
        new CleanWebpackPlugin()
    ],
    // ...
}
