一、配置准备
需要的软件

二、配置步骤
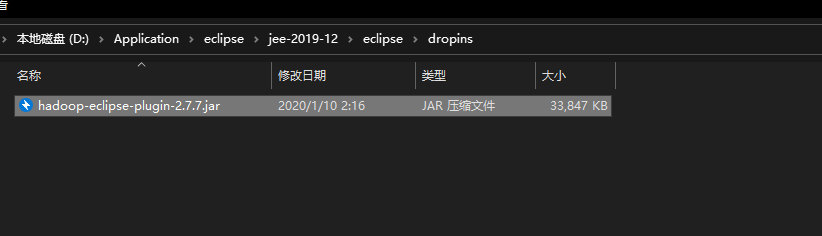
1.在eclipse中添加hadoop的插件hadoop-eclipse-plugin-2.7.7.jar
将插件放到eclipse的dropins目录下
2.配置windows本地的hadoop环境
2.1将hadoop-2.7.7.tar.gz解压(注意解压后的路径不要有中文)
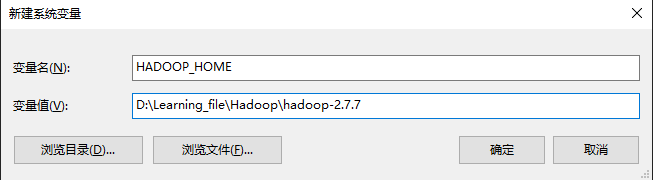
2.2配置环境变量
D:\Learning_file\Hadoop\hadoop-2.7.7
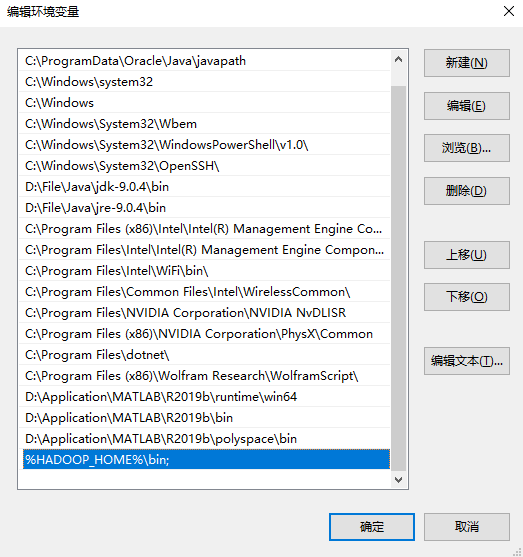
%HADOOP_HOME%\bin;
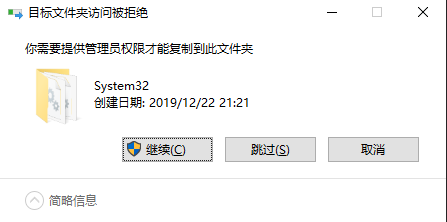
3.添加Windows下兼容性的插件
将hadoop.dll添加到C:\Windows\System32下 将winutils.exe添加到hadoop解压目录的bin目录下,给管理员权限
4.如果eclipse是开着的,则重启eclipse
5.配置可视化界面
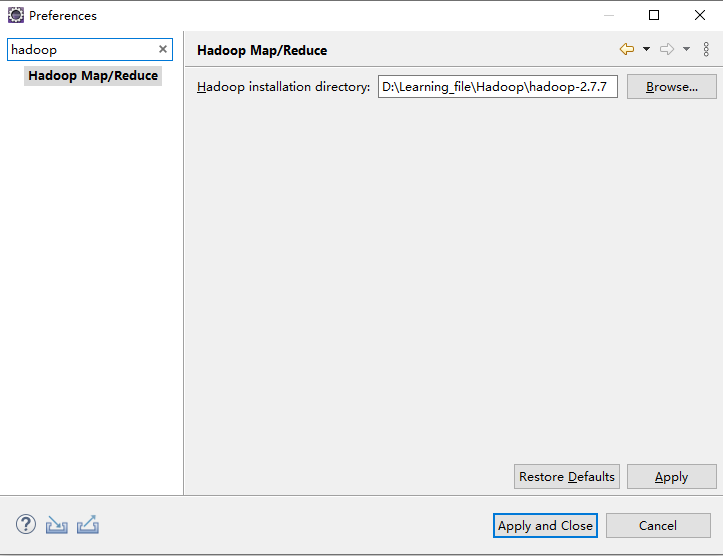
5.1.将hadoop的环境添加到eclipse
Windows-Preferences-hadoop
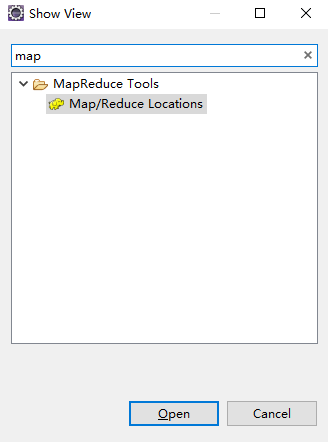
5.2.配置hadoop的通信地址
Windows-Show View-Other-mapreduce

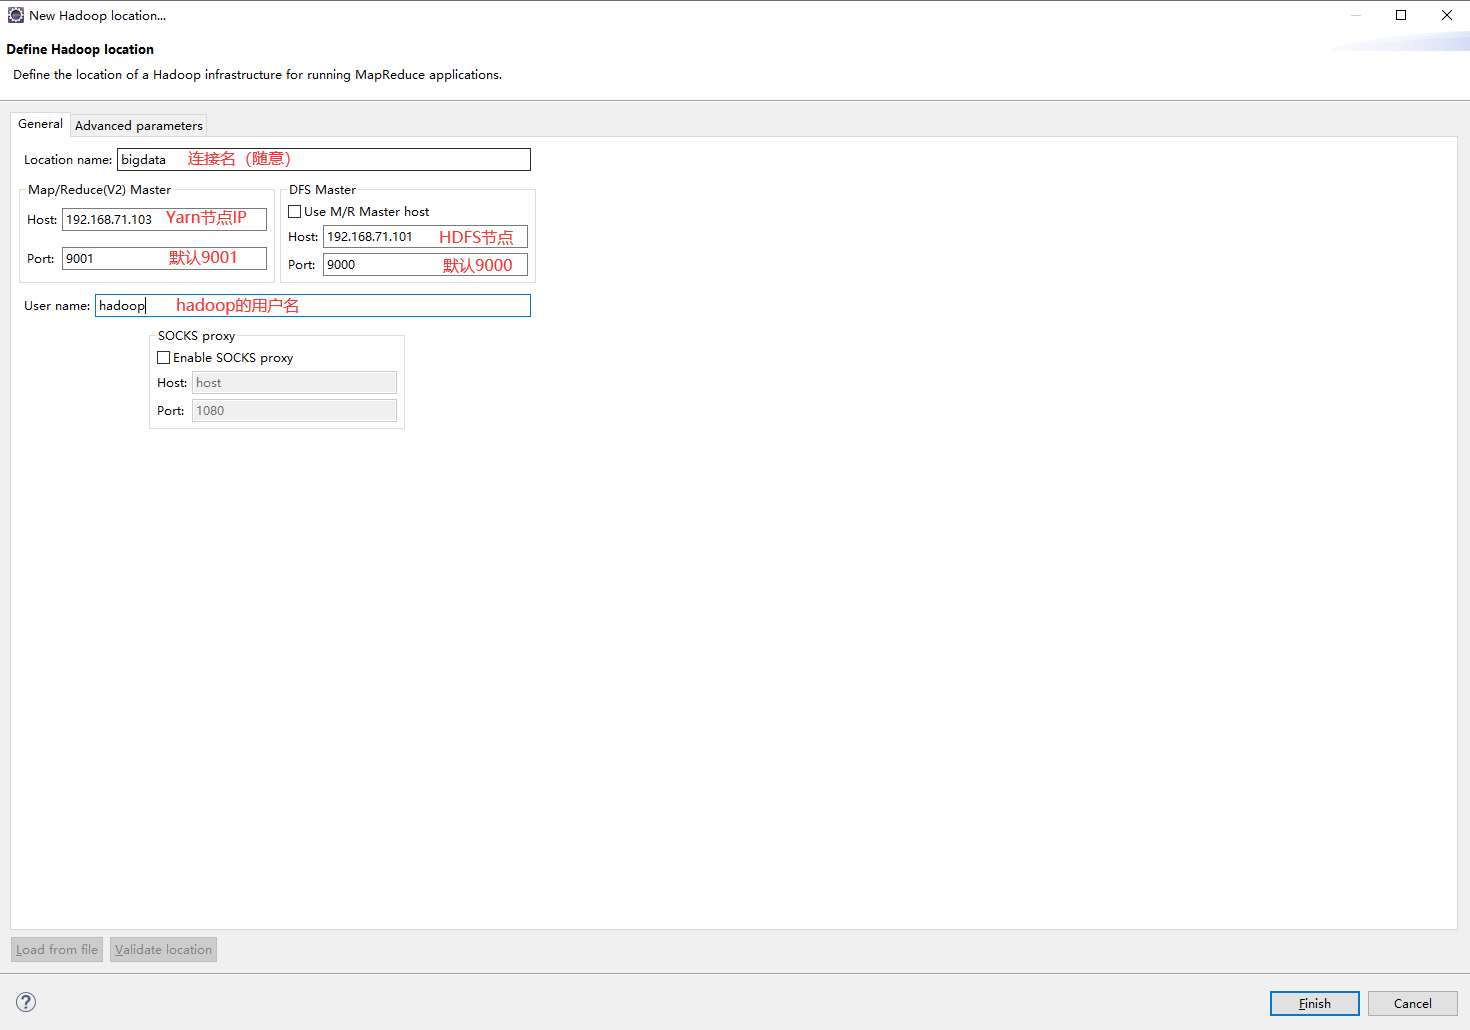

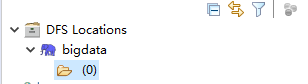
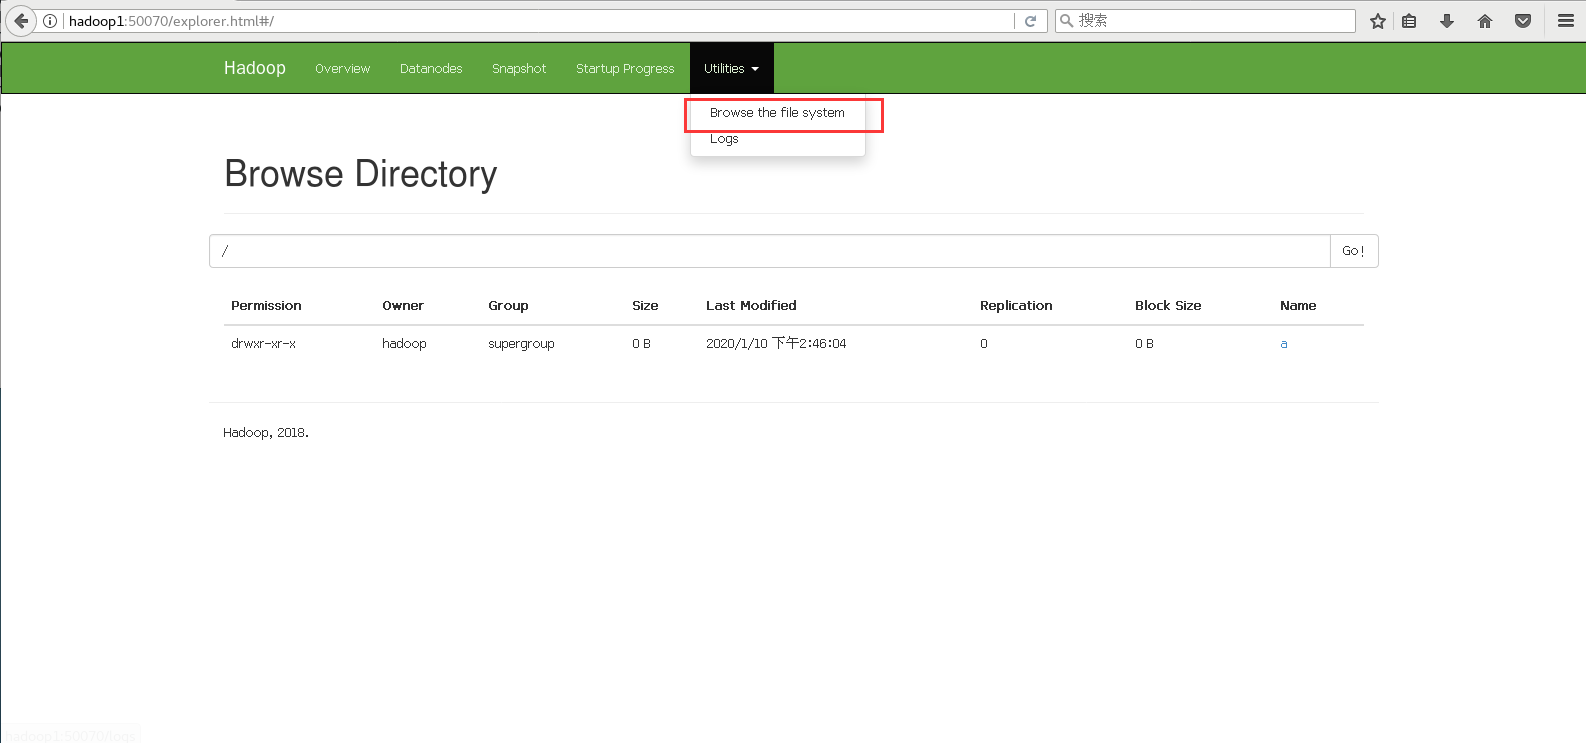
3.使用eclipse连接
hdfs命令行
(1)查看帮助
    hdfs dfs -help

(2)查看当前目录信息
    hdfs dfs -ls /

(3)上传文件
    hdfs dfs -put /本地路径 /hdfs路径

(4)剪切文件
    hdfs dfs -moveFromLocal a.txt /aa.txt

(5)下载文件到本地
    hdfs dfs -get /hdfs路径 /本地路径

(6)合并下载
    hdfs dfs -getmerge /hdfs路径文件夹 /合并后的文件

(7)创建文件夹
    hdfs dfs -mkdir /hello

(8)创建多级文件夹
    hdfs dfs -mkdir -p /hello/world

(9)移动hdfs文件
    hdfs dfs -mv /hdfs路径 /hdfs路径

(10)复制hdfs文件
    hdfs dfs -cp /hdfs路径 /hdfs路径

(11)删除hdfs文件
    hdfs dfs -rm /aa.txt

(12)删除hdfs文件夹
    hdfs dfs -rm -r /hello

(13)查看hdfs中的文件
    hdfs dfs -cat /文件
    hdfs dfs -tail -f /文件

(14)查看文件夹中有多少个文件
    hdfs dfs -count /文件夹

(15)查看hdfs的总空间
    hdfs dfs -df /
    hdfs dfs -df -h /

(16)修改副本数
    hdfs dfs -setrep 1 /a.txt
1.创建一个文件
使用cat创建文件时,以系统默认的文件属性作为新文件的属性,并接受键盘输入作为文件的内容。输入结束时按Ctrl+d退出并保存文件
cat>>filename
2.HDFS创建一个文件夹,命名为a
hdfs dfs -mkdir /a

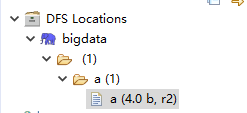
3.上传文件
注意要使用绝对路径
hadoop fs -put /home/hadoop/a /a

4.查看一下这个文件
hdfs dfs -ls /

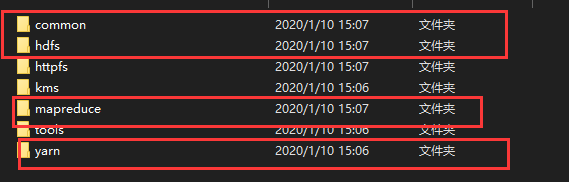
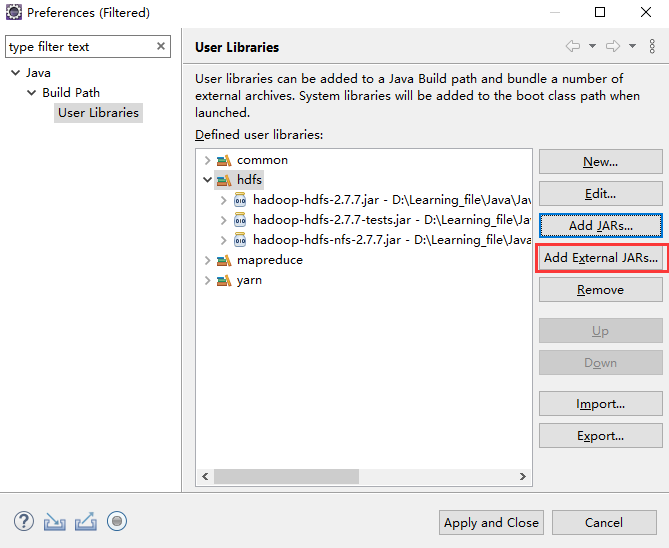
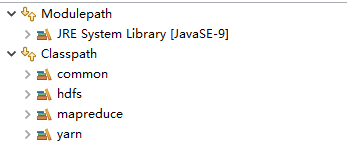
3.eclipse连接hadoop文件
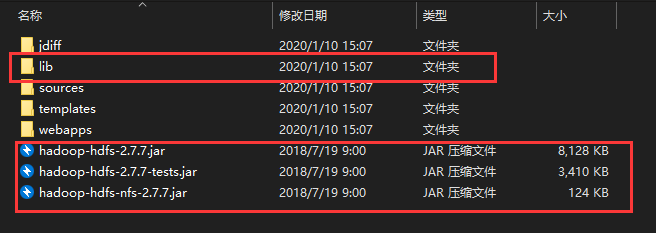
创建一个项目,在build path中导入以下文件,路径hadoop-2.7.7\share\hadoop
在eclipse上传一下这个文件
import java.io.File;
import java.io.FileInputStream;
import java.io.IOException;
import java.net.URI;
import java.net.URISyntaxException;
import org.apache.hadoop.conf.Configuration;
import org.apache.hadoop.fs.FSDataOutputStream;
import org.apache.hadoop.fs.FileSystem;
import org.apache.hadoop.fs.Path;
import org.apache.hadoop.io.IOUtils;
public class Practice1 {
	public static void main(String[] args) throws IOException, InterruptedException, URISyntaxException {
		Configuration conf = new Configuration();
		FileSystem fs = FileSystem.get(new URI("hdfs://192.168.71.101:9000"),conf,"hadoop");//192.168.71.101是你hdfs,也就是第一个主机的ip,hadoop是你的用户名
		Path path = new Path("/b");//你想存放在hdfs的哪个目录下
		boolean b = fs.exists(path);
		if(!b) {
			fs.mkdirs(path);
		}
		FileInputStream in = new FileInputStream(new File("C:\\Users\\17905\\Desktop\\b.txt"));//文件的绝对路径
		FSDataOutputStream out = fs.create(new Path("/b/b.txt"));//存放的位置
		IOUtils.copyBytes(in, out,conf);
		System.out.println("sucess");
	}
}
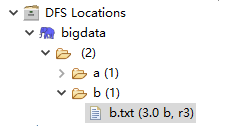
出现success就是成功了
就可以看到这个文件了
import java.io.IOException;
import java.io.InputStream;
import java.net.URI;
import java.net.URISyntaxException;
import org.apache.hadoop.conf.Configuration;
import org.apache.hadoop.fs.FileSystem;
import org.apache.hadoop.fs.Path;
import org.apache.hadoop.io.IOUtils;
public class Practice2 {
	public static void main(String[] args) throws IOException, InterruptedException, URISyntaxException {
		Configuration conf = new Configuration();
		FileSystem fs = FileSystem.get(new URI("hdfs://192.168.71.101:9000"),conf,"hadoop");//192.168.71.101是你hdfs,也就是第一个主机的ip,hadoop是你的用户名
		InputStream inputStream = fs.open(new Path("/b/b.txt"));//存放的位置
		IOUtils.copyBytes(inputStream, System.out, conf);
		System.out.println("sucess");
	}
}

import java.io.IOException;
import java.net.URI;
import java.net.URISyntaxException;
import java.sql.Timestamp;
import org.apache.hadoop.conf.Configuration;
import org.apache.hadoop.fs.BlockLocation;
import org.apache.hadoop.fs.FileStatus;
import org.apache.hadoop.fs.FileSystem;
import org.apache.hadoop.fs.Path;
public class Practice3 {
public static void main(String[] args) throws IOException, InterruptedException, URISyntaxException {
Configuration conf = new Configuration();
FileSystem fs = FileSystem.get(new URI("hdfs://192.168.71.101:9000"),conf,"hadoop");
FileStatus[] listStatus = fs.listStatus(new Path("/b"));
for (int i = 0; i < listStatus.length; i++) {
// if(listStatus[i].isDir()==false) {
// System.out.println("这是个文件");
// }
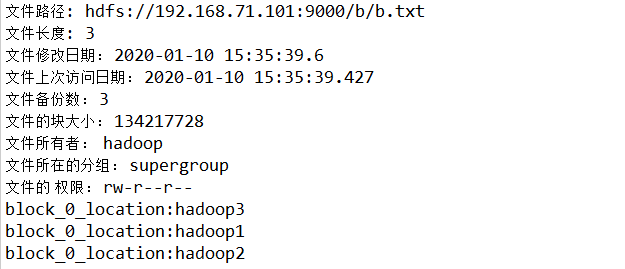
System.out.println("文件路径: "+listStatus[i].getPath());
System.out.println("文件长度: "+listStatus[i].getLen());
System.out.println("文件修改日期: "+new Timestamp (listStatus[i].getModificationTime()).toString());
System.out.println("文件上次访问日期: "+new Timestamp(listStatus[i].getAccessTime()).toString());
System.out.println("文件备份数: "+listStatus[i].getReplication());
System.out.println("文件的块大小: "+listStatus[i].getBlockSize());
System.out.println("文件所有者: "+listStatus[i].getOwner());
System.out.println("文件所在的分组: "+listStatus[i].getGroup());
System.out.println("文件的 权限: "+listStatus[i].getPermission().toString());
BlockLocation[] blockLocations = fs.getFileBlockLocations(listStatus[i],0, listStatus[i].getLen());
for (int j = 0; j < blockLocations.length; j++) {
System.out.println(blockLocations[j]);
String [] hosts = blockLocations[j].getHosts();
for (int k = 0; k < hosts.length; k++) {
System.out.println("block_"+j+"_location:"+hosts[k]);
}
}
}
}
}